INTRODUCTION
Hello everyone and happy holidays! This is Pizza Dave, and I have got another review for you. Today I will be going over the new Profile version 1.5. This is an upgraded version of one of the most popular atomizers of 2018, and many are very interested to see how this turned out. I won’t spoil much here, but let’s get right into it eh?
DISCLAIMER: These devices were sent to me by Wotofo for review.
_____________________________________________________________________________________
WHAT YOU GET
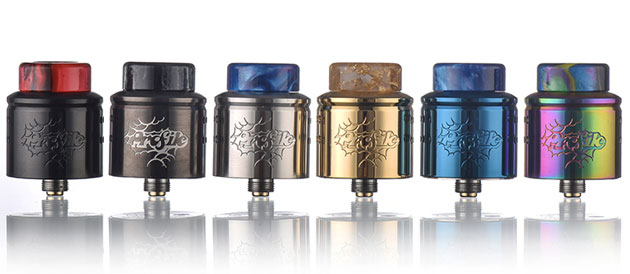
Top caps come in blue, gold, black, stainless steel, rainbow, and gunmetal.
STOCK SHOT
PACKAGING
UNBOXED
_____________________________________________________________________________________
FIRST IMPRESSIONS
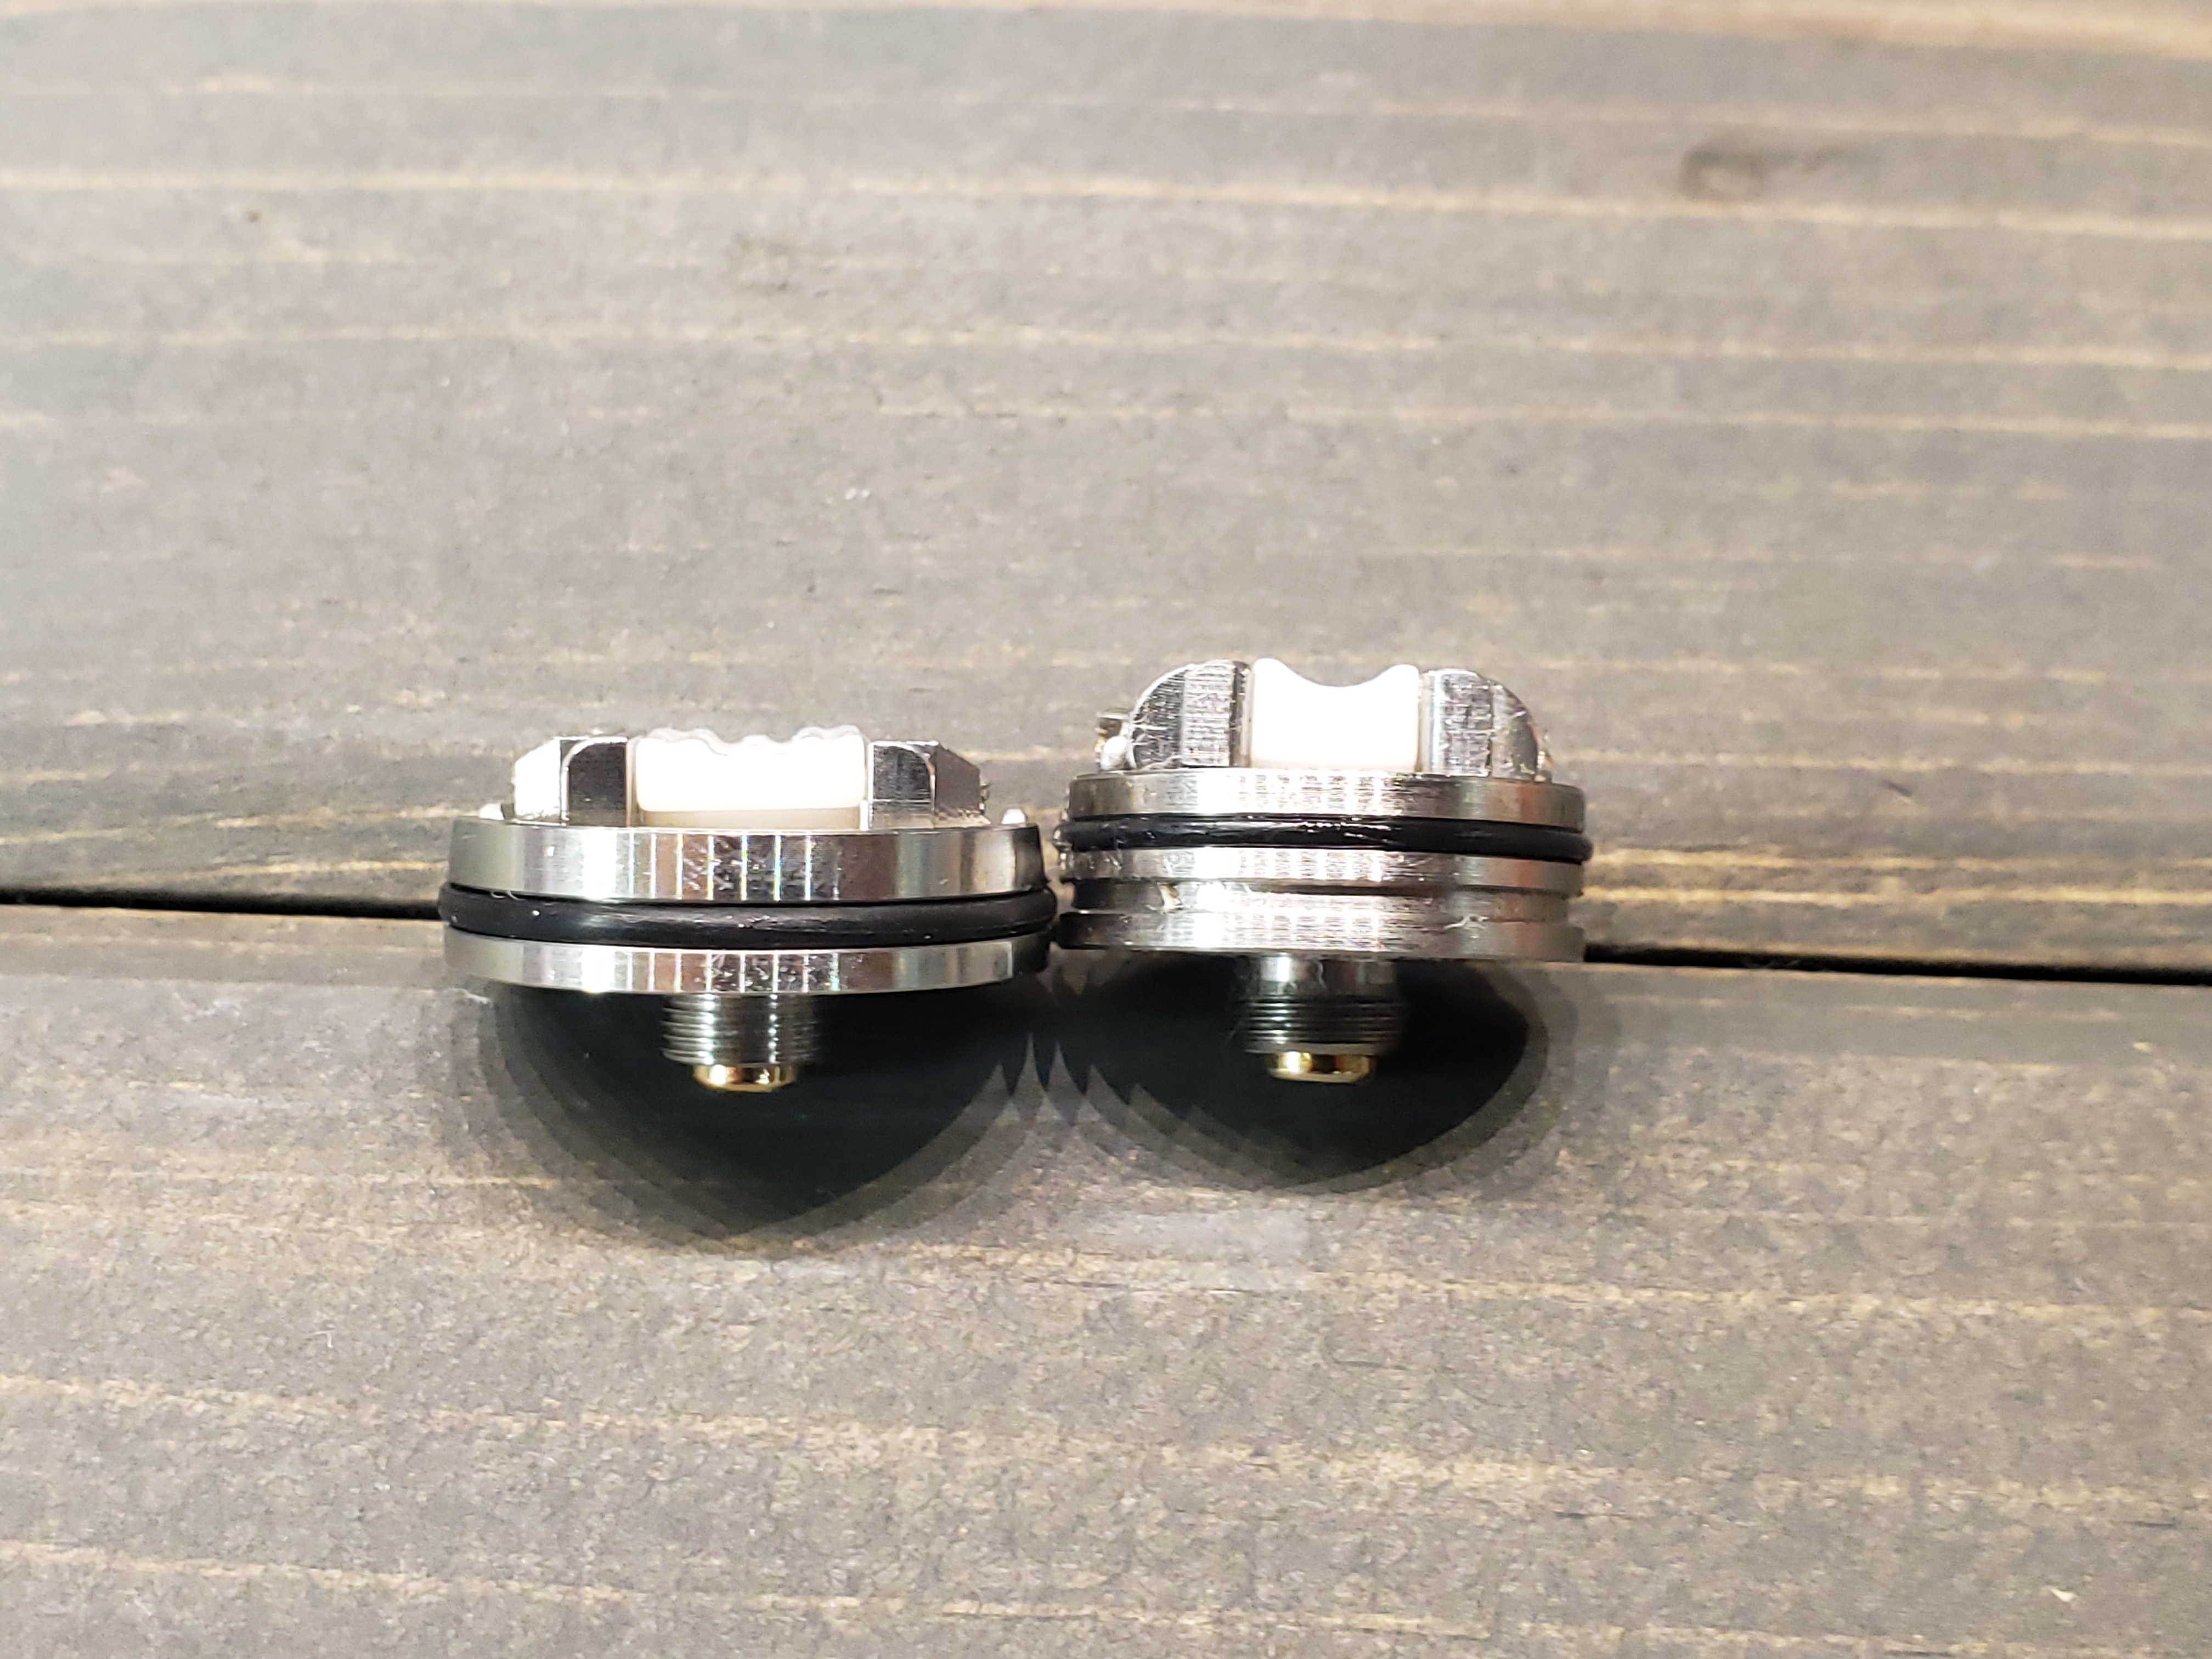
It’s a profile. At first glance, without comparing it side by side with the old one, it doesn’t stand out a ton over the OG until you really start to look. The airflow slots are the first thing that is changed, and becomes obvious. However, once you pop the cap off you notice a big difference. The original profile maintained a 24mm outer diameter, but had a thick cap, shrinking the build deck to a compact 20mm(ish) diameter. The new one has a thinner top cap and offers a wider deck overall for both building and wicking. These changes don’t seem too crazy, but let’s see what they are like.
_____________________________________________________________________________________
BUILD DECK
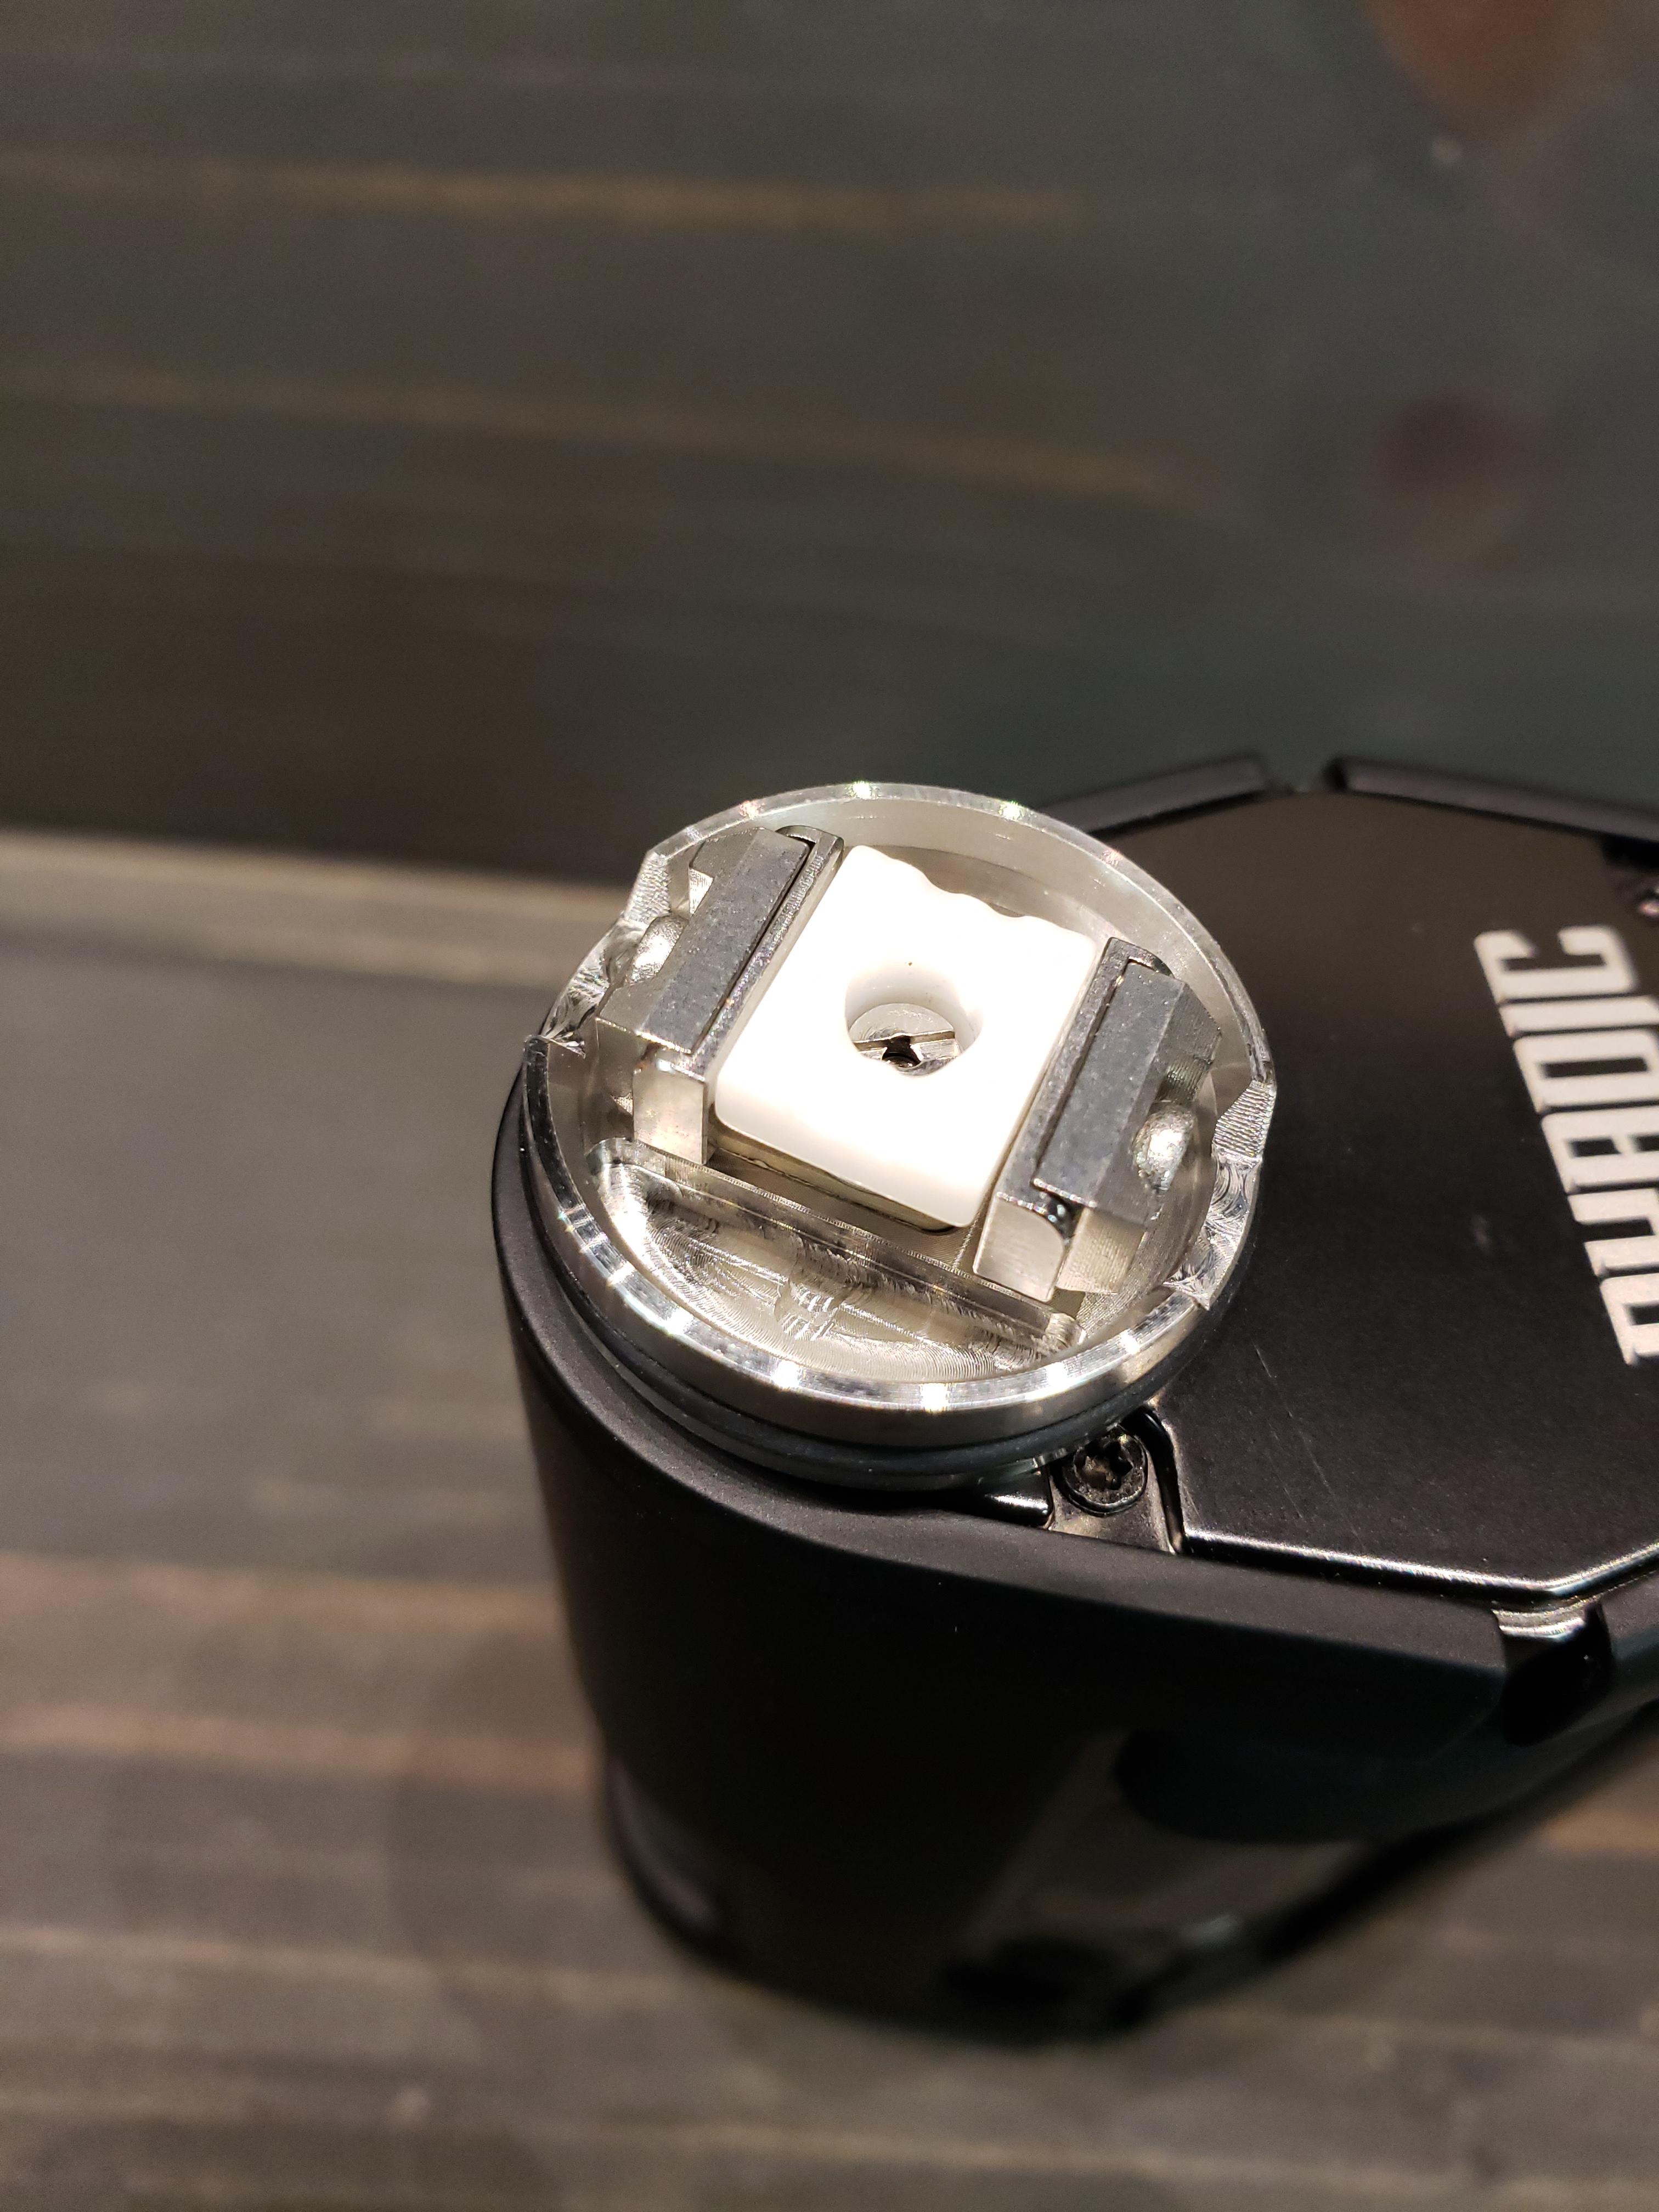
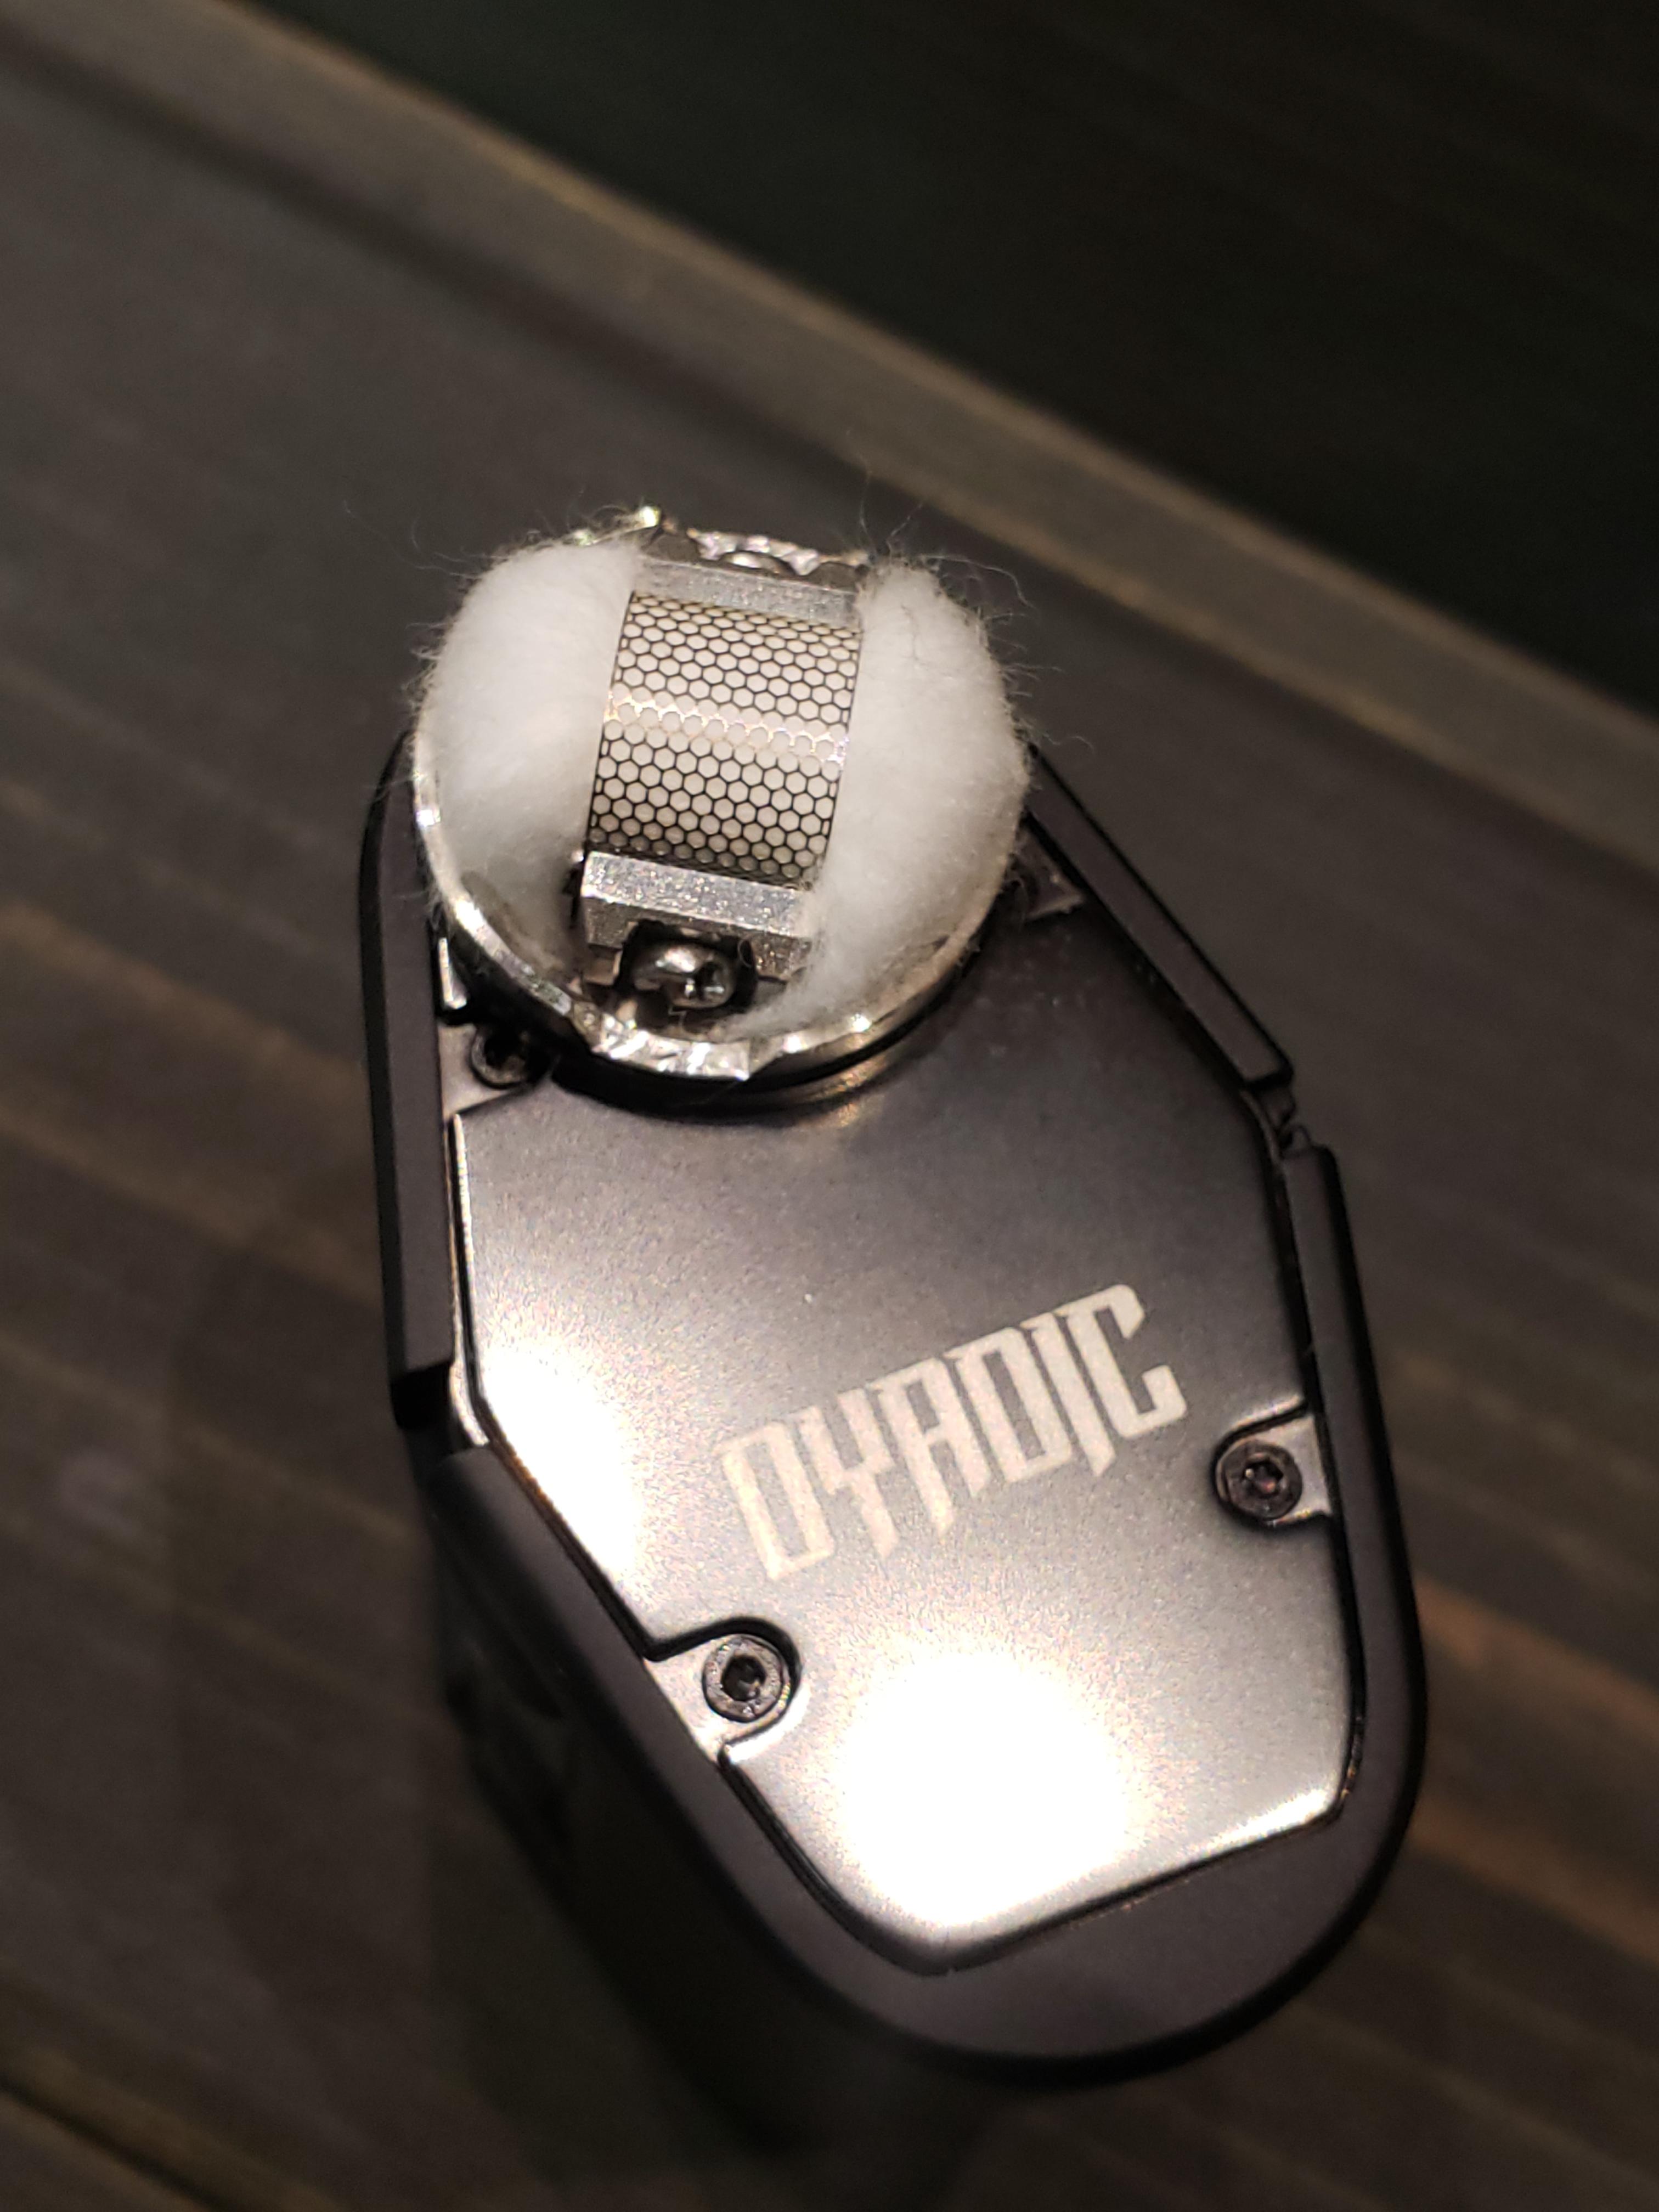
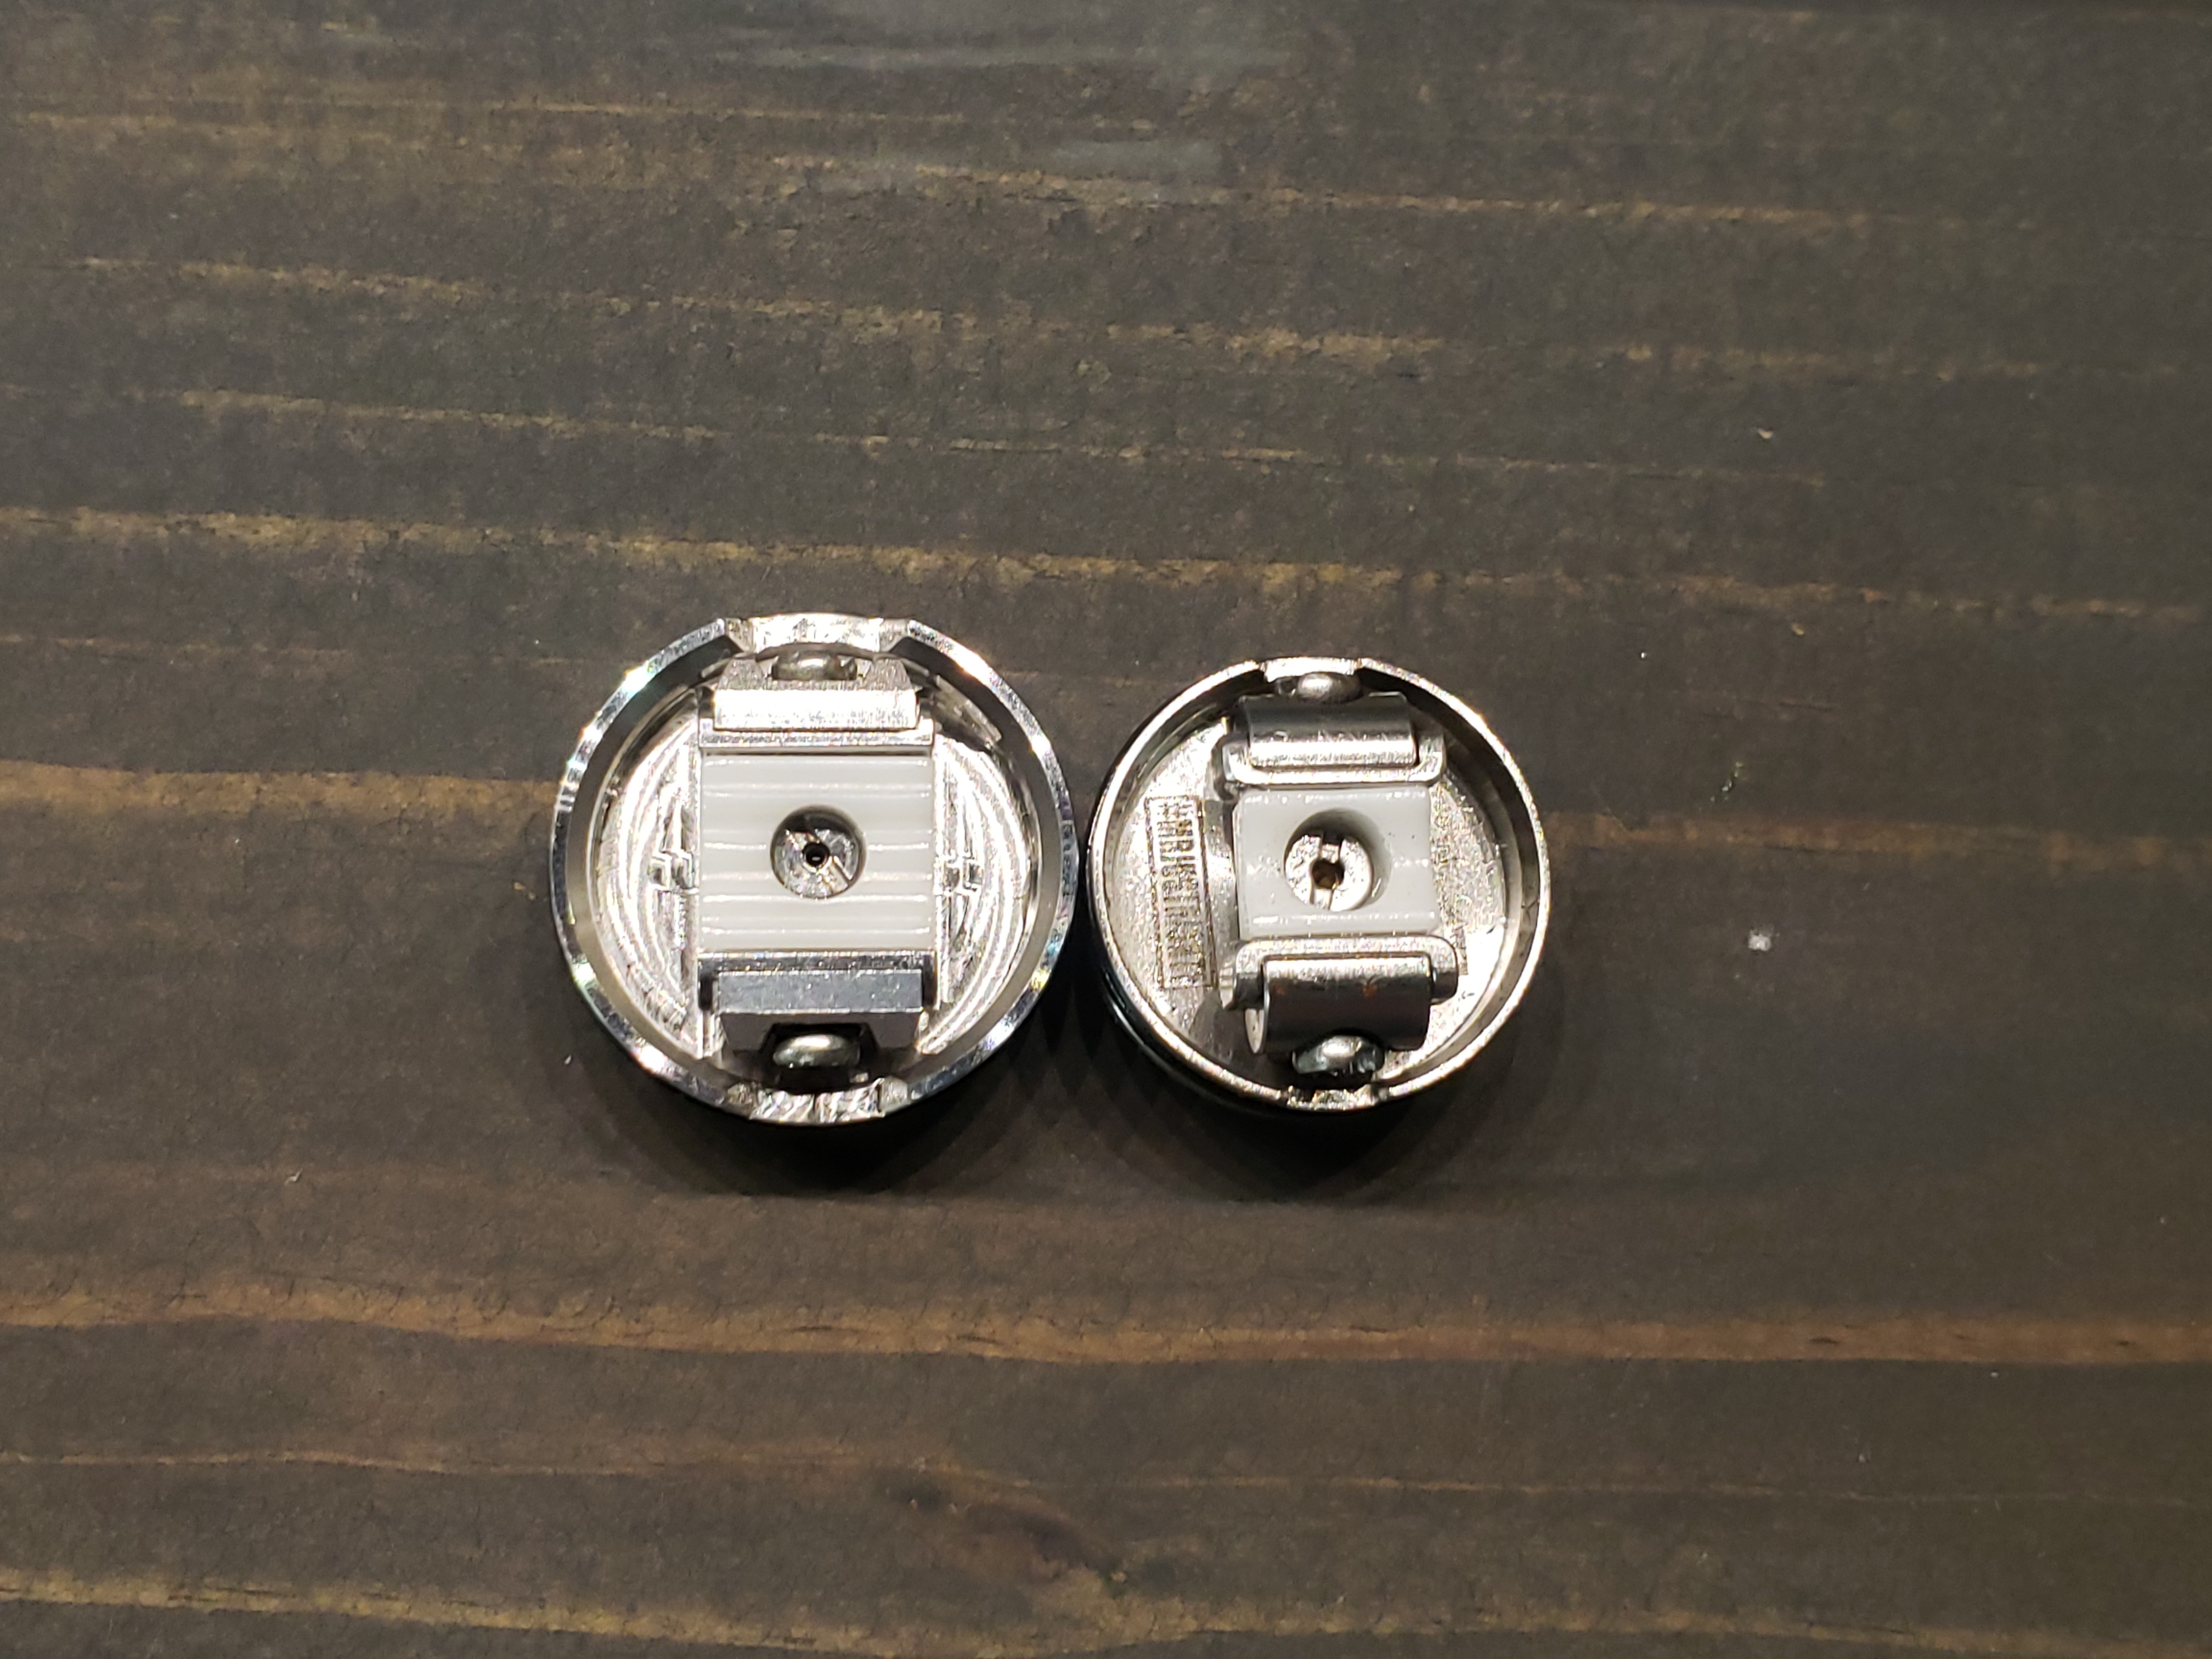
Again, at first glance this build deck looks similar to the original Profile, but I found them to be quite a bit different. FIrst off, the clamps are beefier, in addition to being further apart. This means that the mesh doesn’t have such a tall arch, and flattens out the top. The next change is the white delrin, this time around, is ribbed, which I assume is to aid in wicking. Tossing a build in this rda is simple. Bend the mesh strip over the included tool, set in place, tighten down. I then like to heat the mesh up at about 15-20 watts to a light glow before wicking.
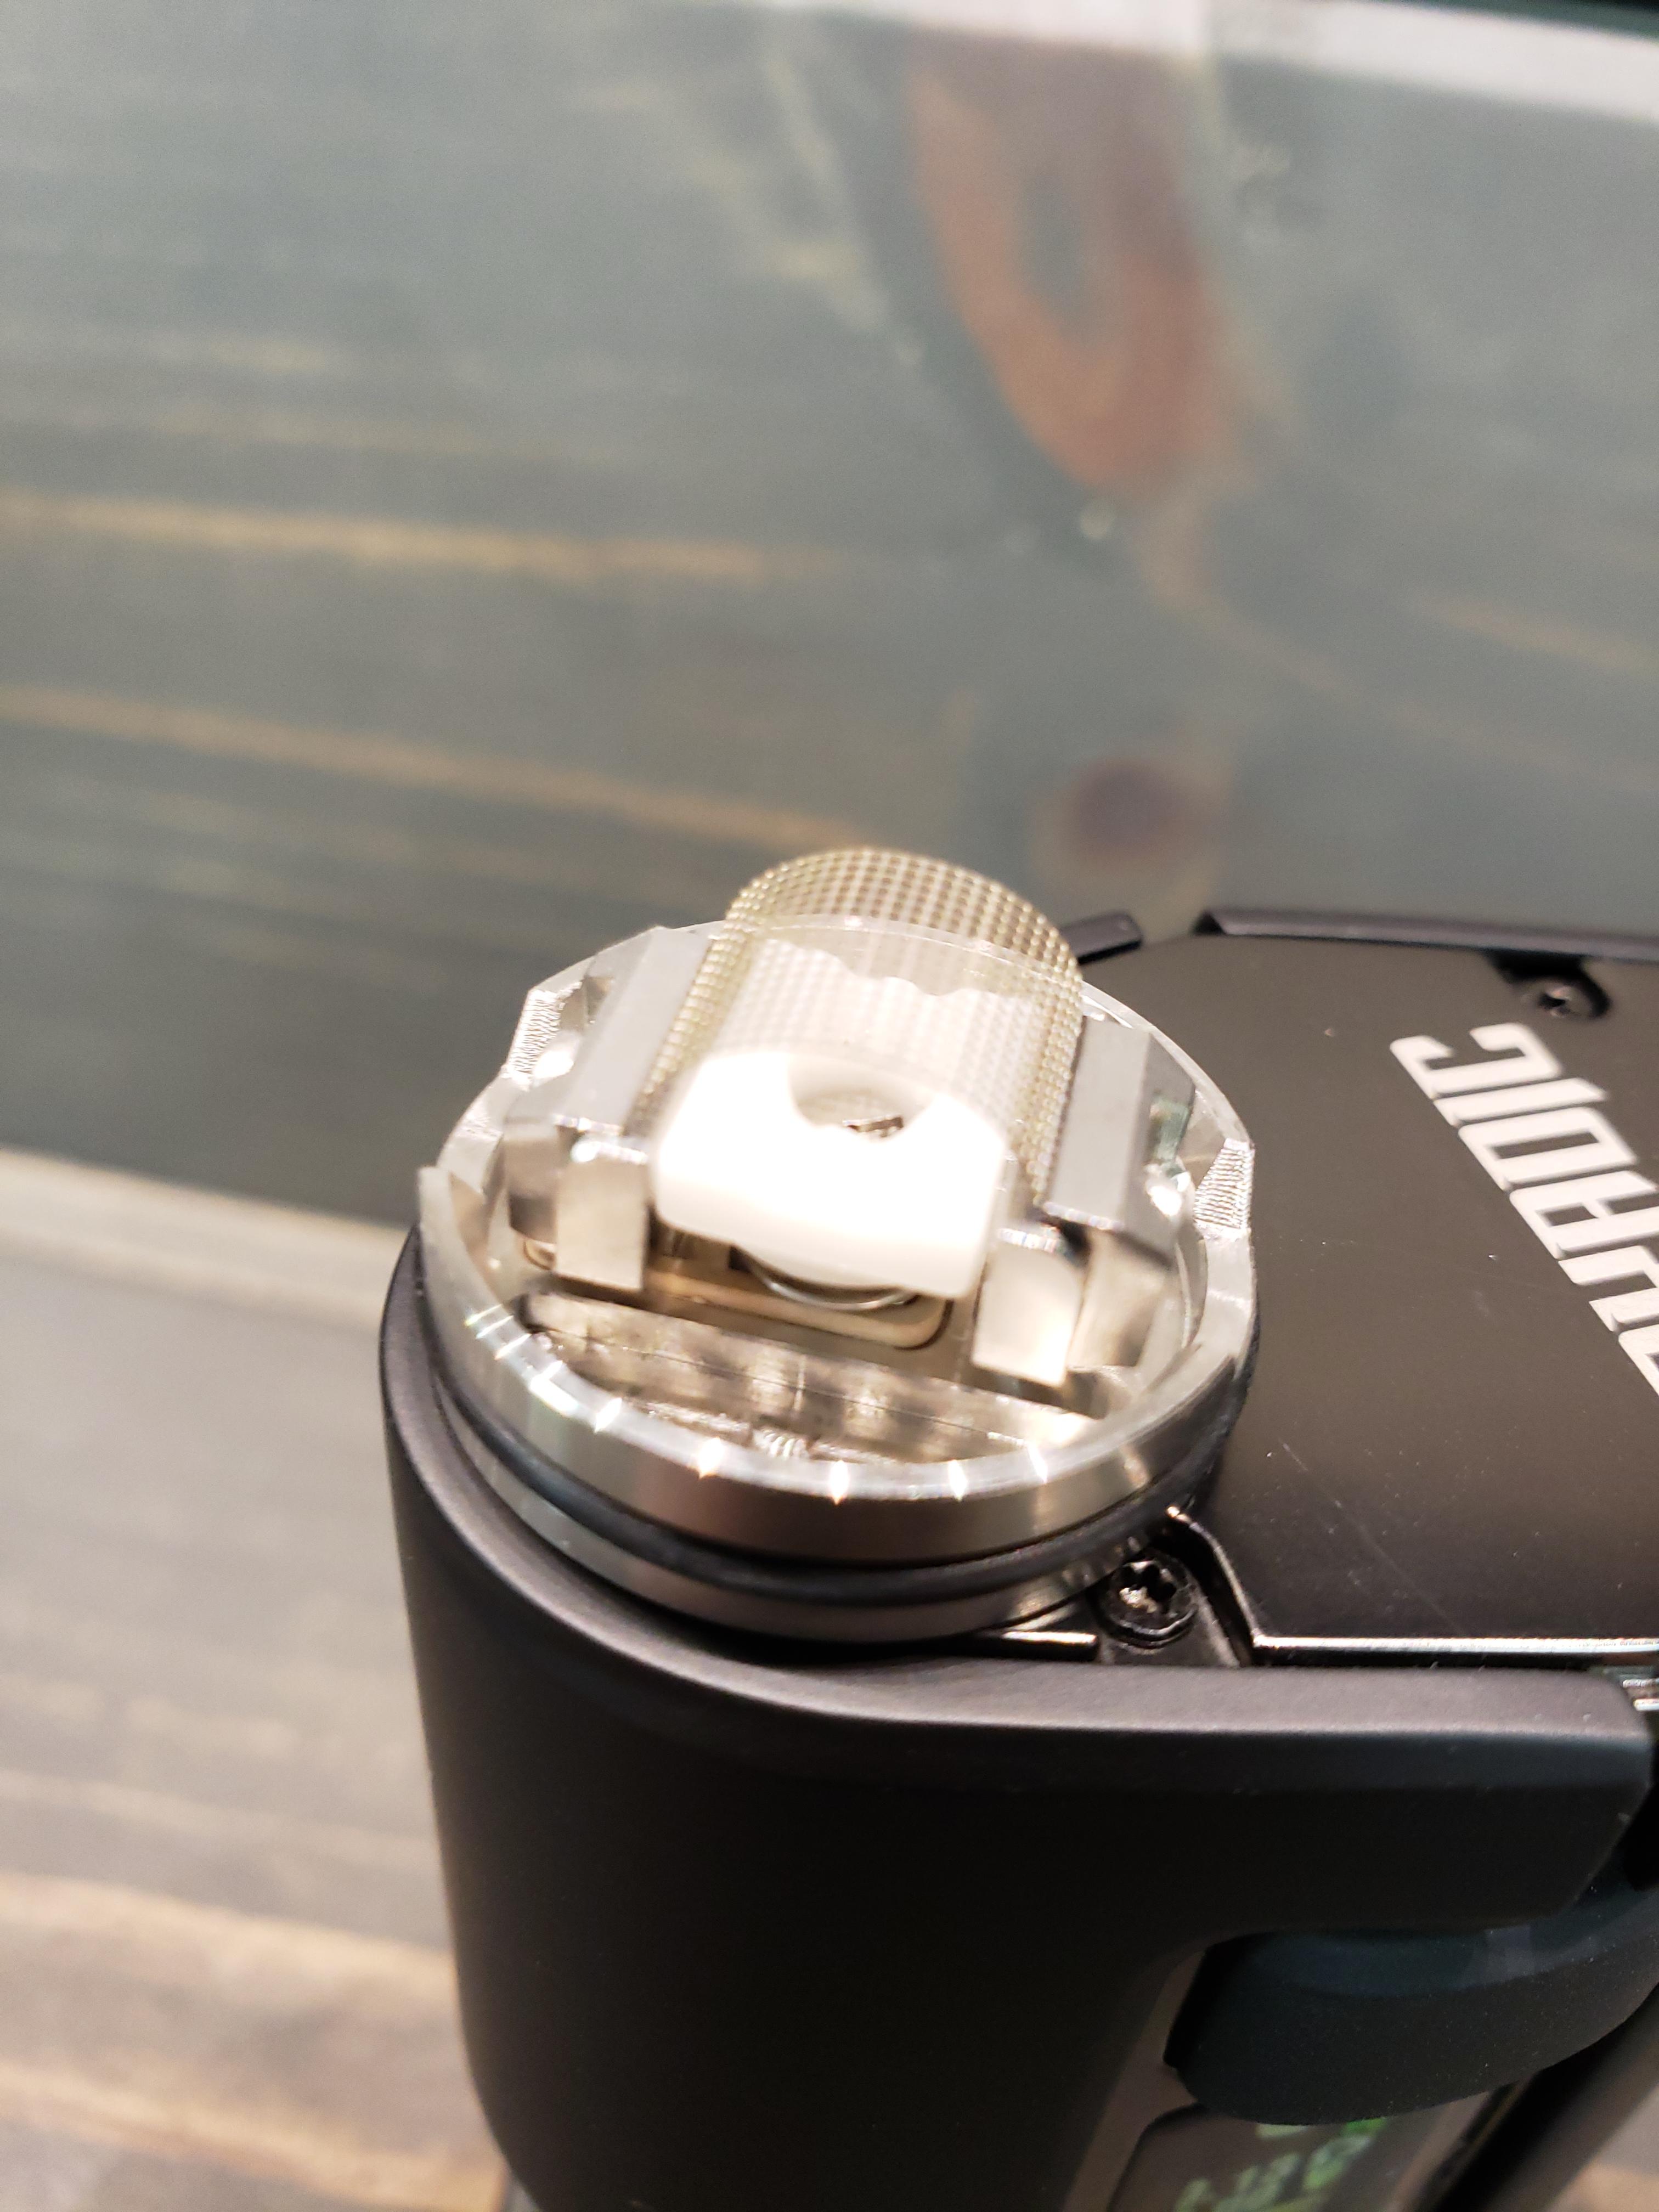
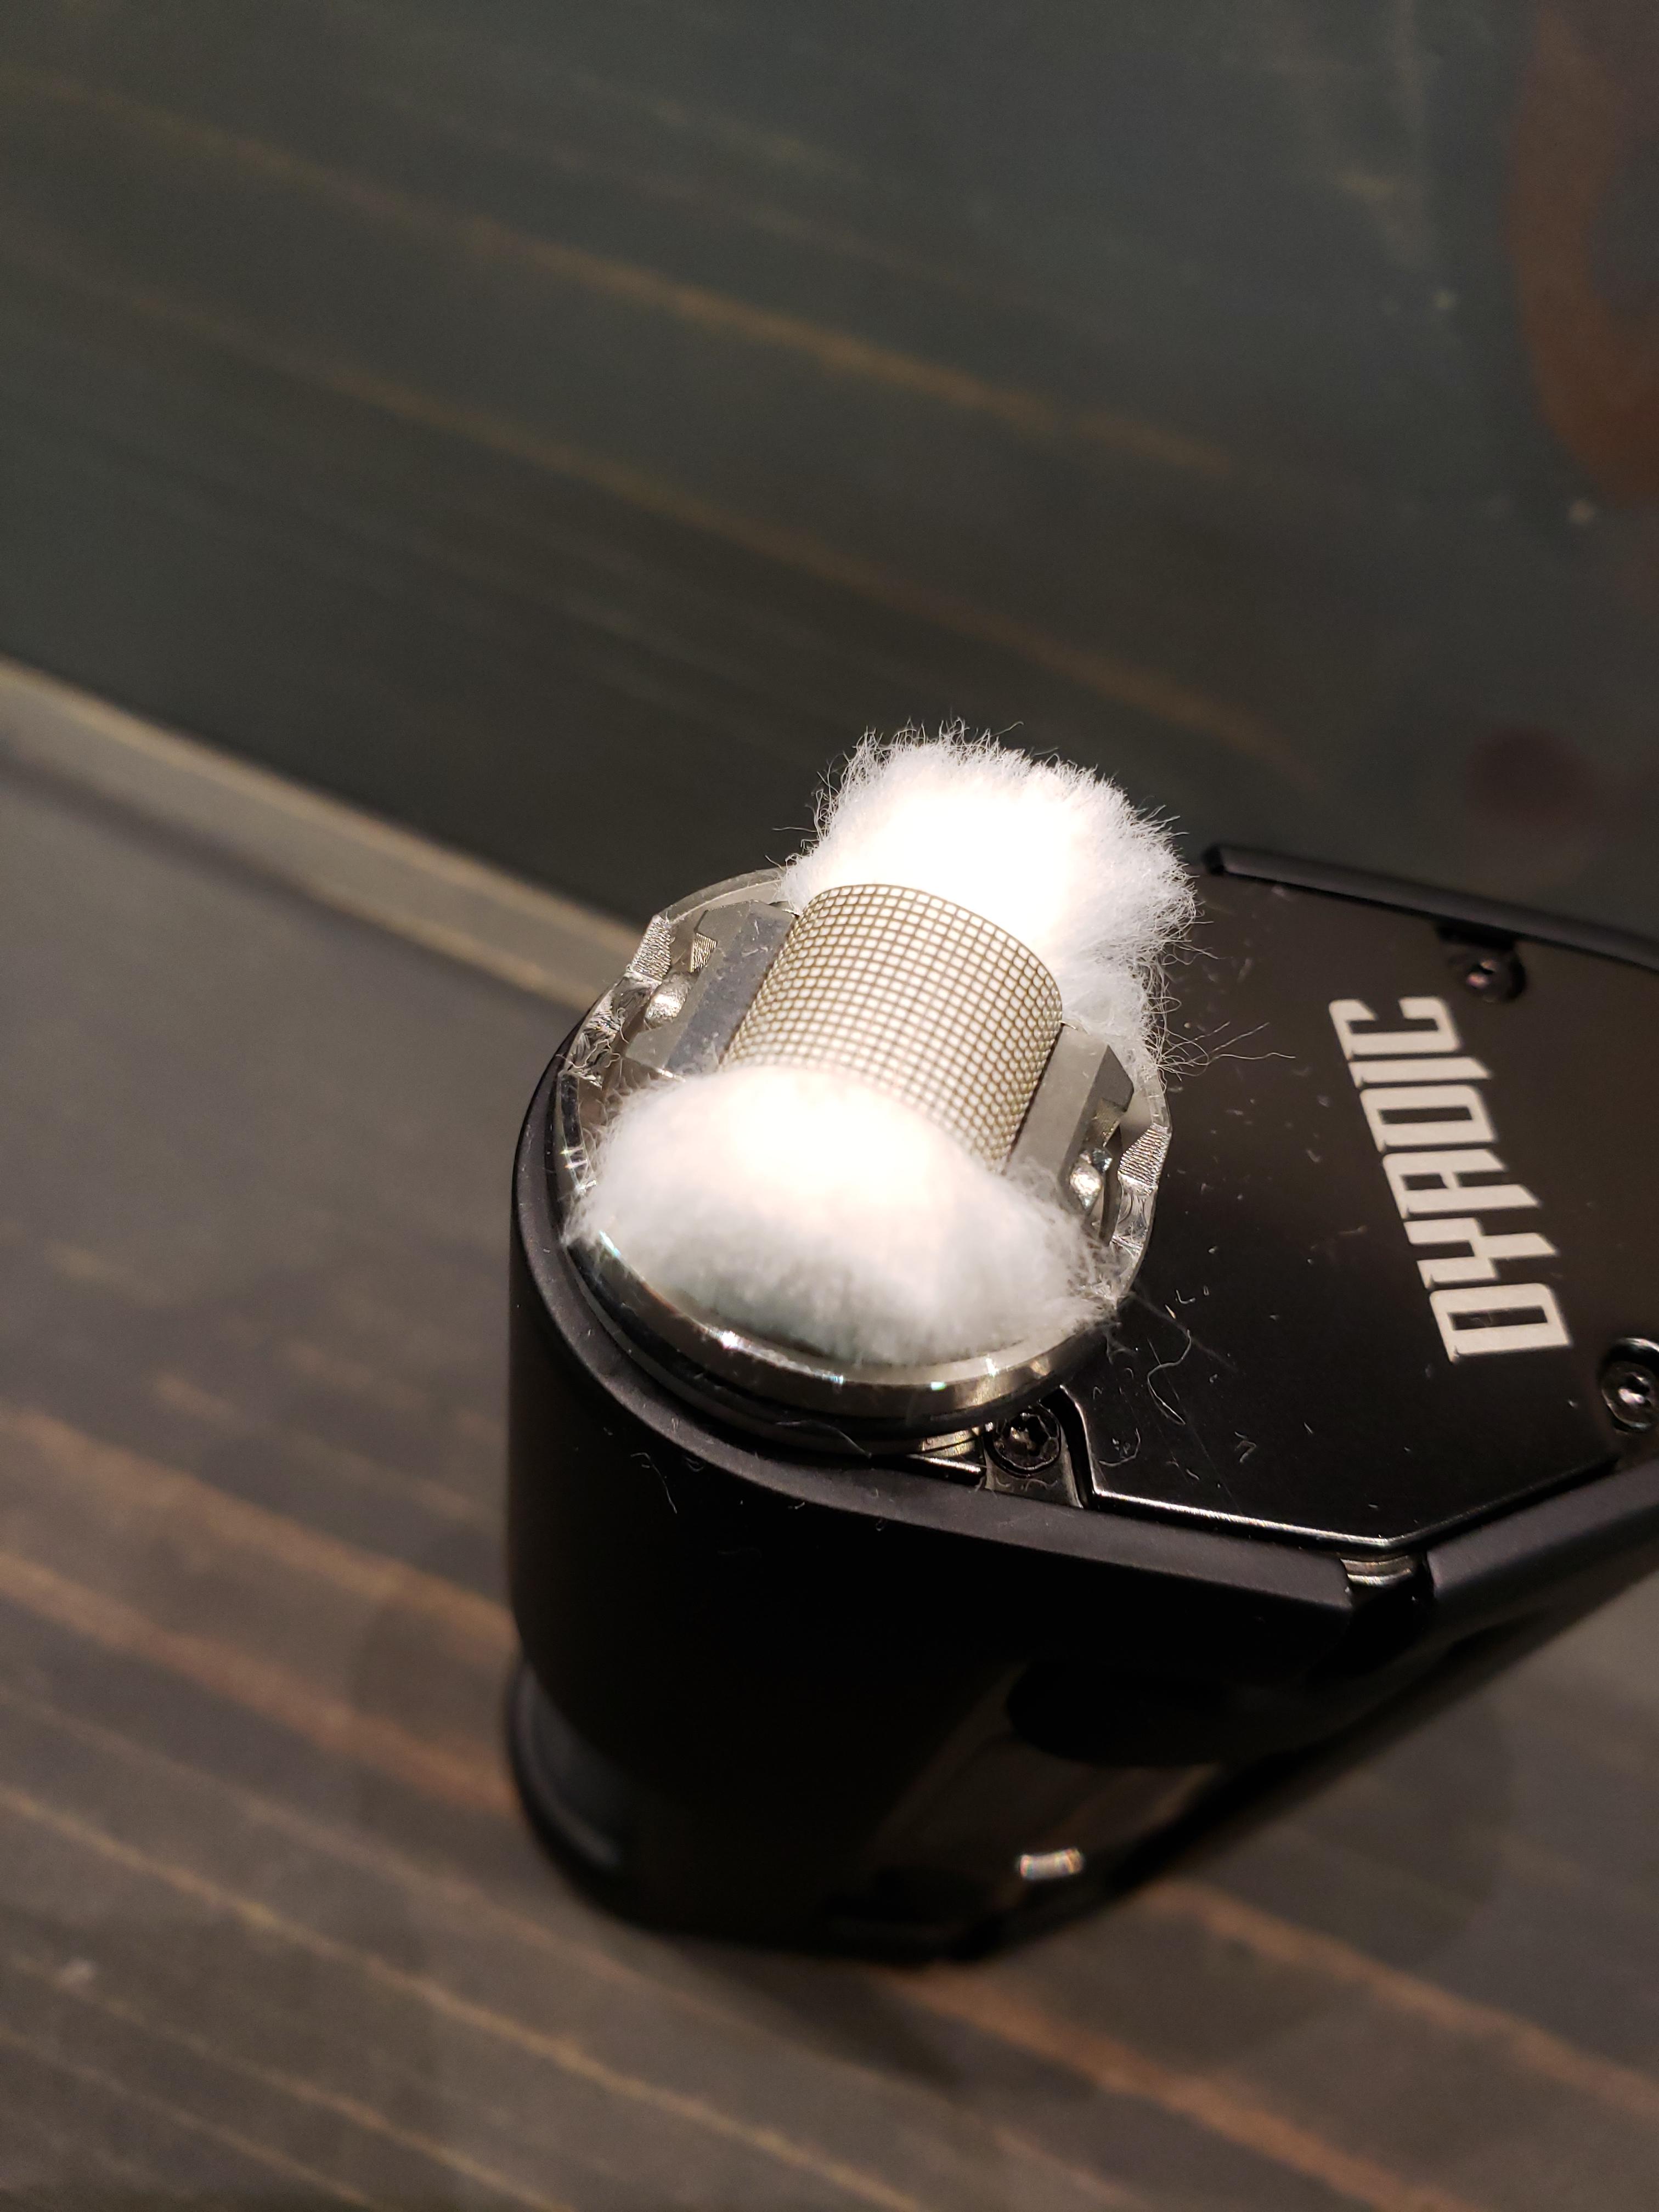
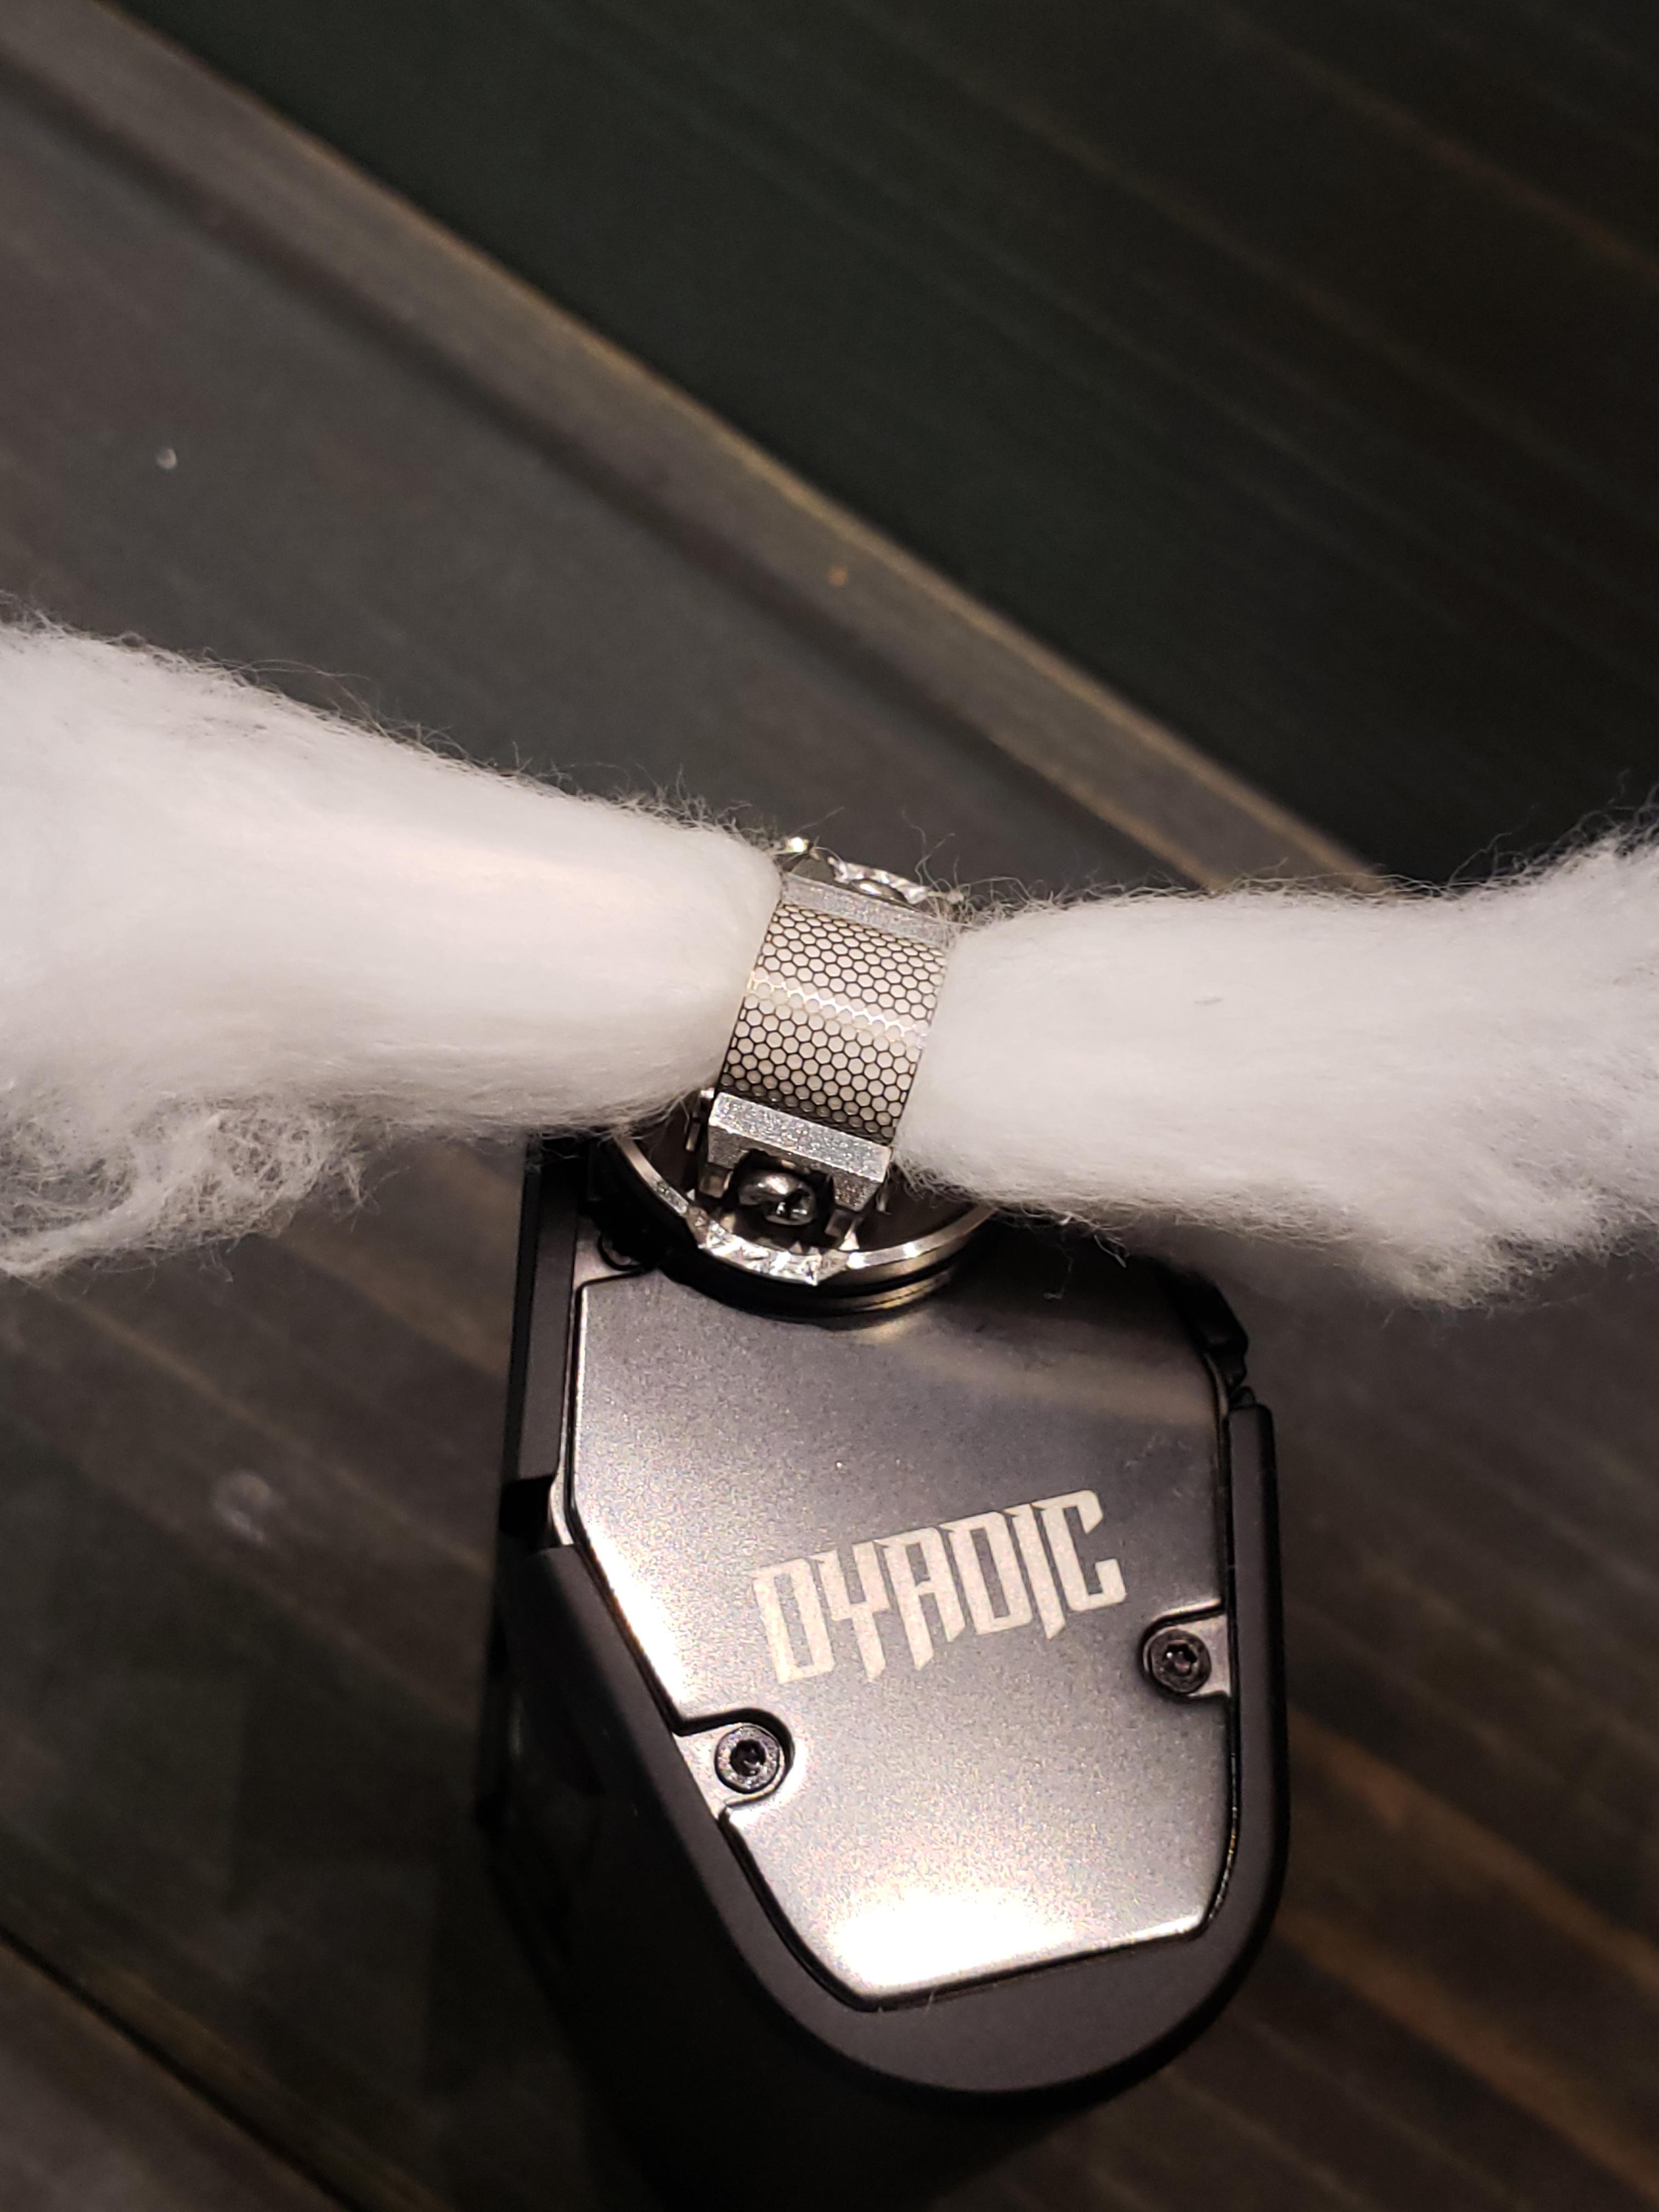
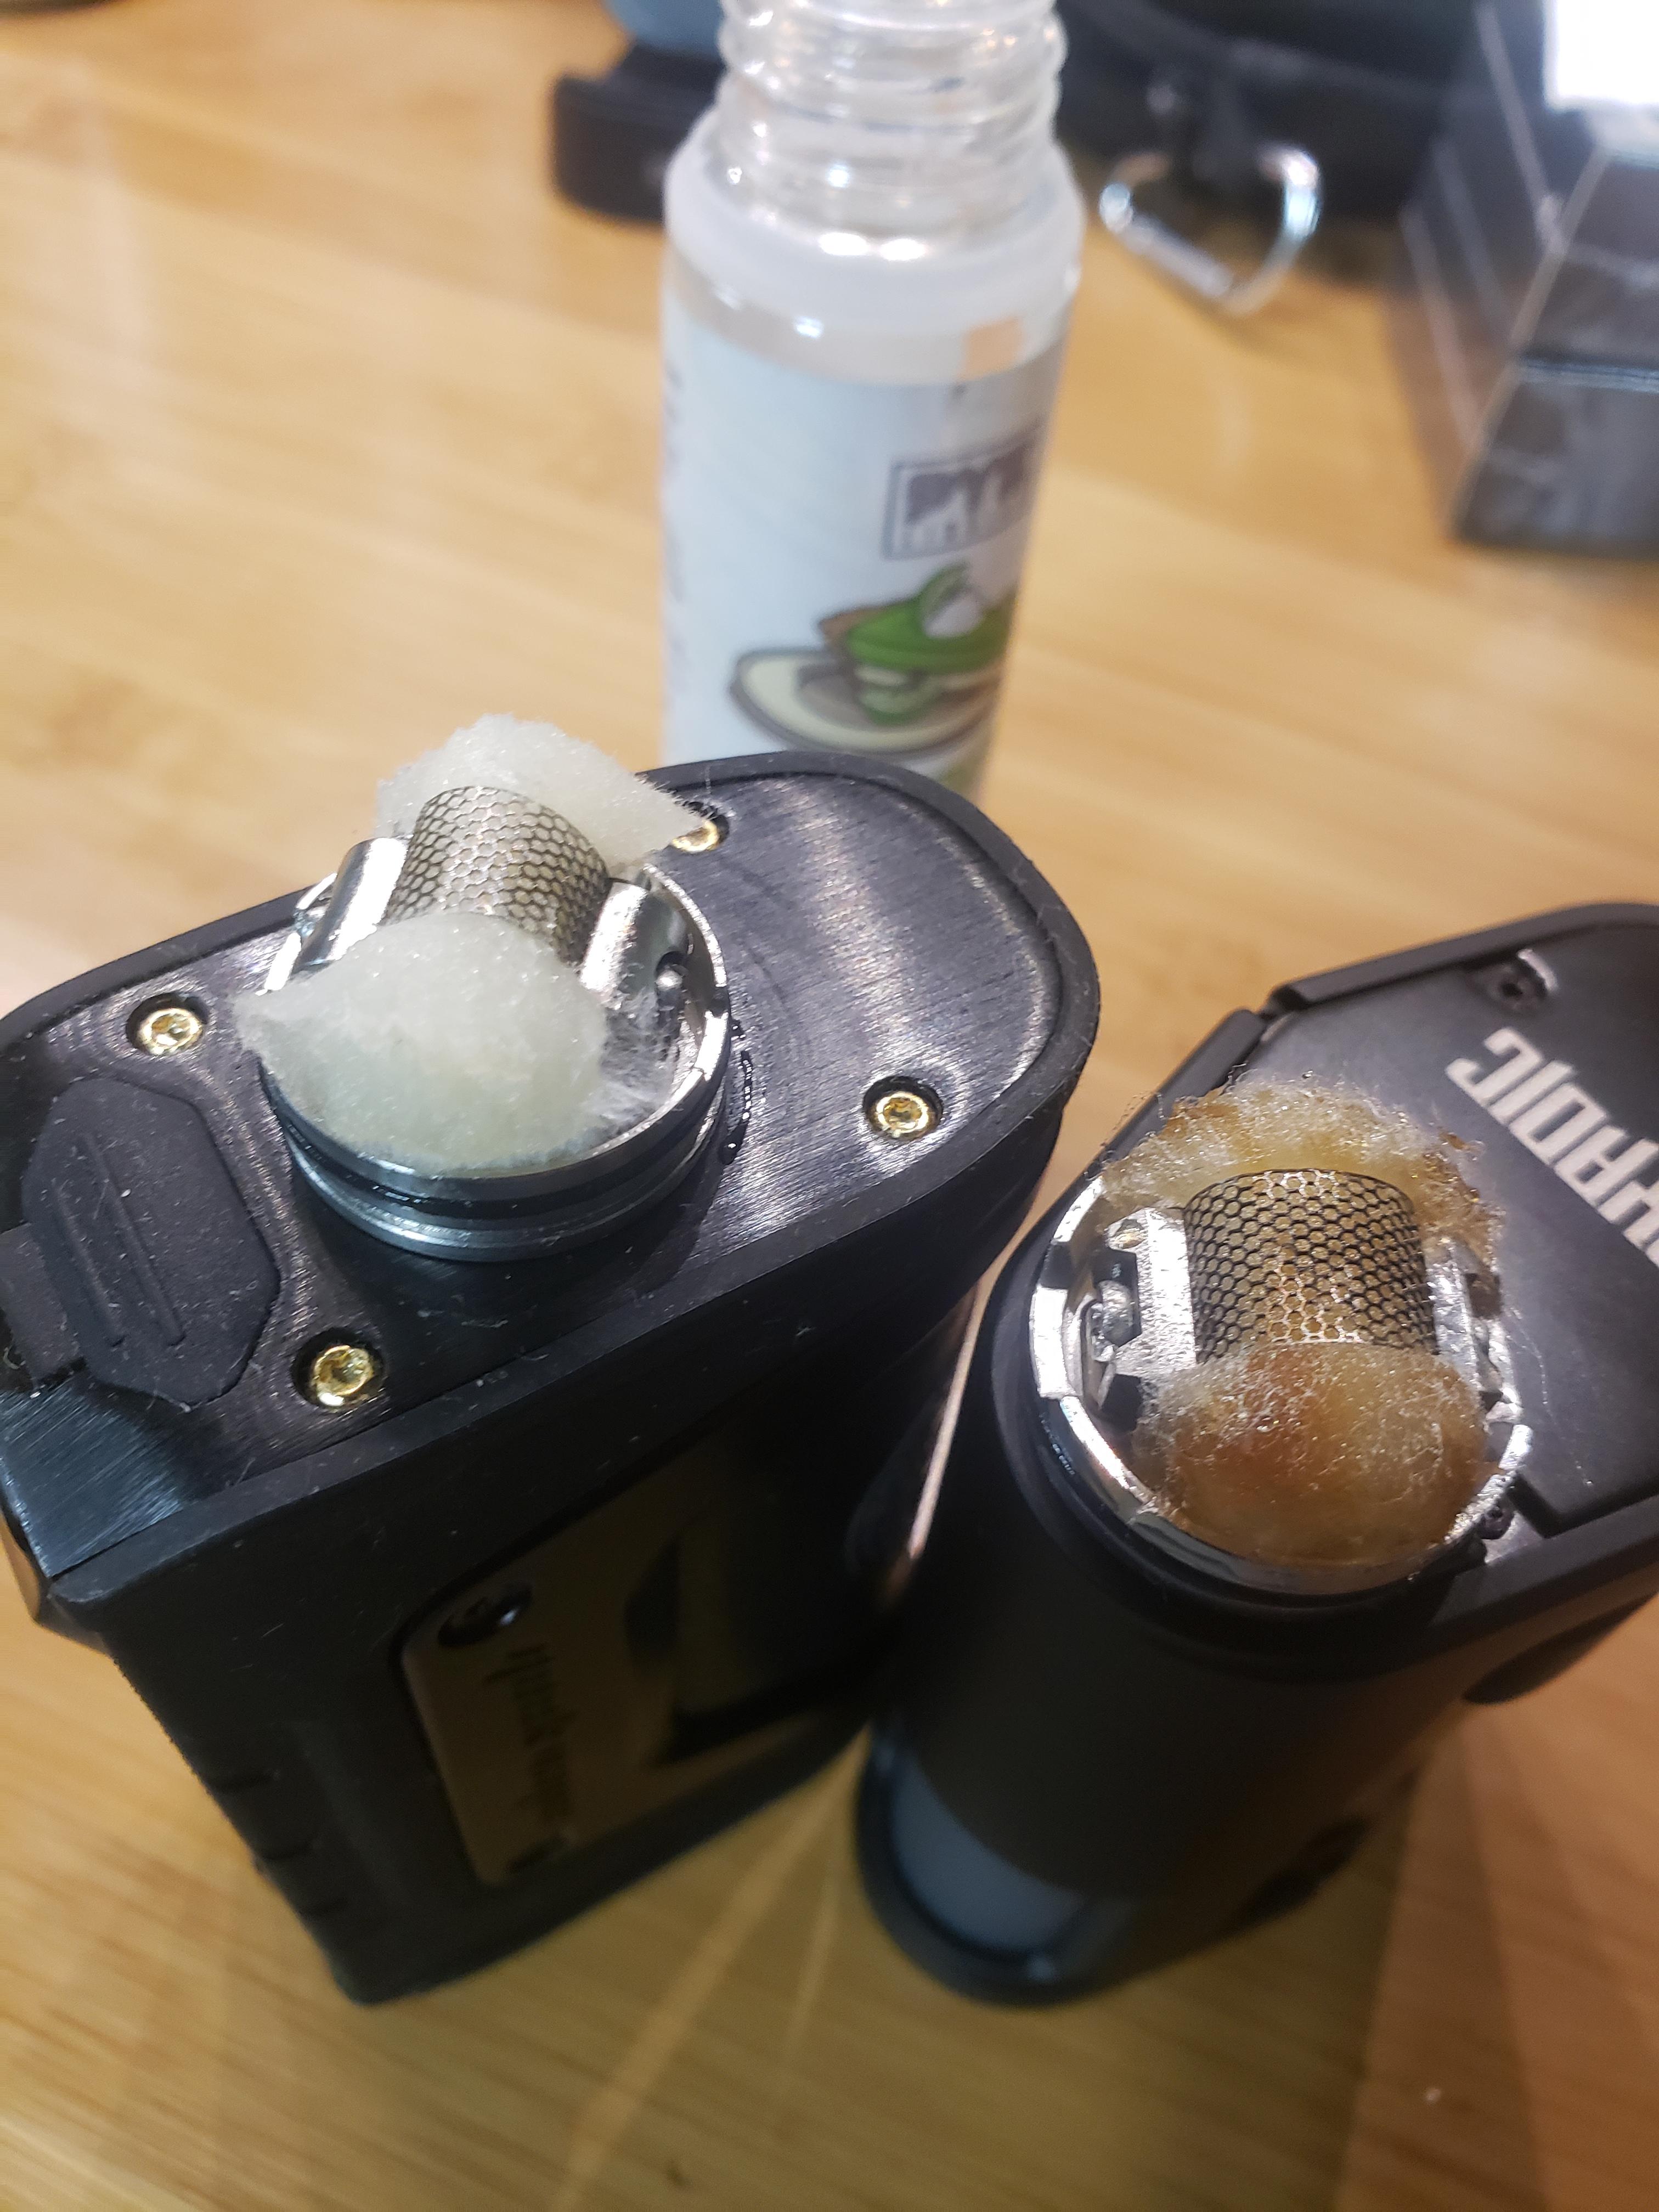
Wicking this is the same as before, but maybe just a little more difficult to get started thanks to the flatter arc of the mesh. Once the end gets through, it is all good, but the lower arc is noticeable right away. I stuck to using the Wotofo wide cotton for all of my builds, and it works just fine. I stuck it through the mesh, fluffed the ends, and I like I snip at a slight angle. This gave me a little more room to tuck into the build deck and it worked every time. Not hard to build at all and might edge out the original by a smidge. There are pictures in my photo gallery showing how I wick it.
_____________________________________________________________________________________
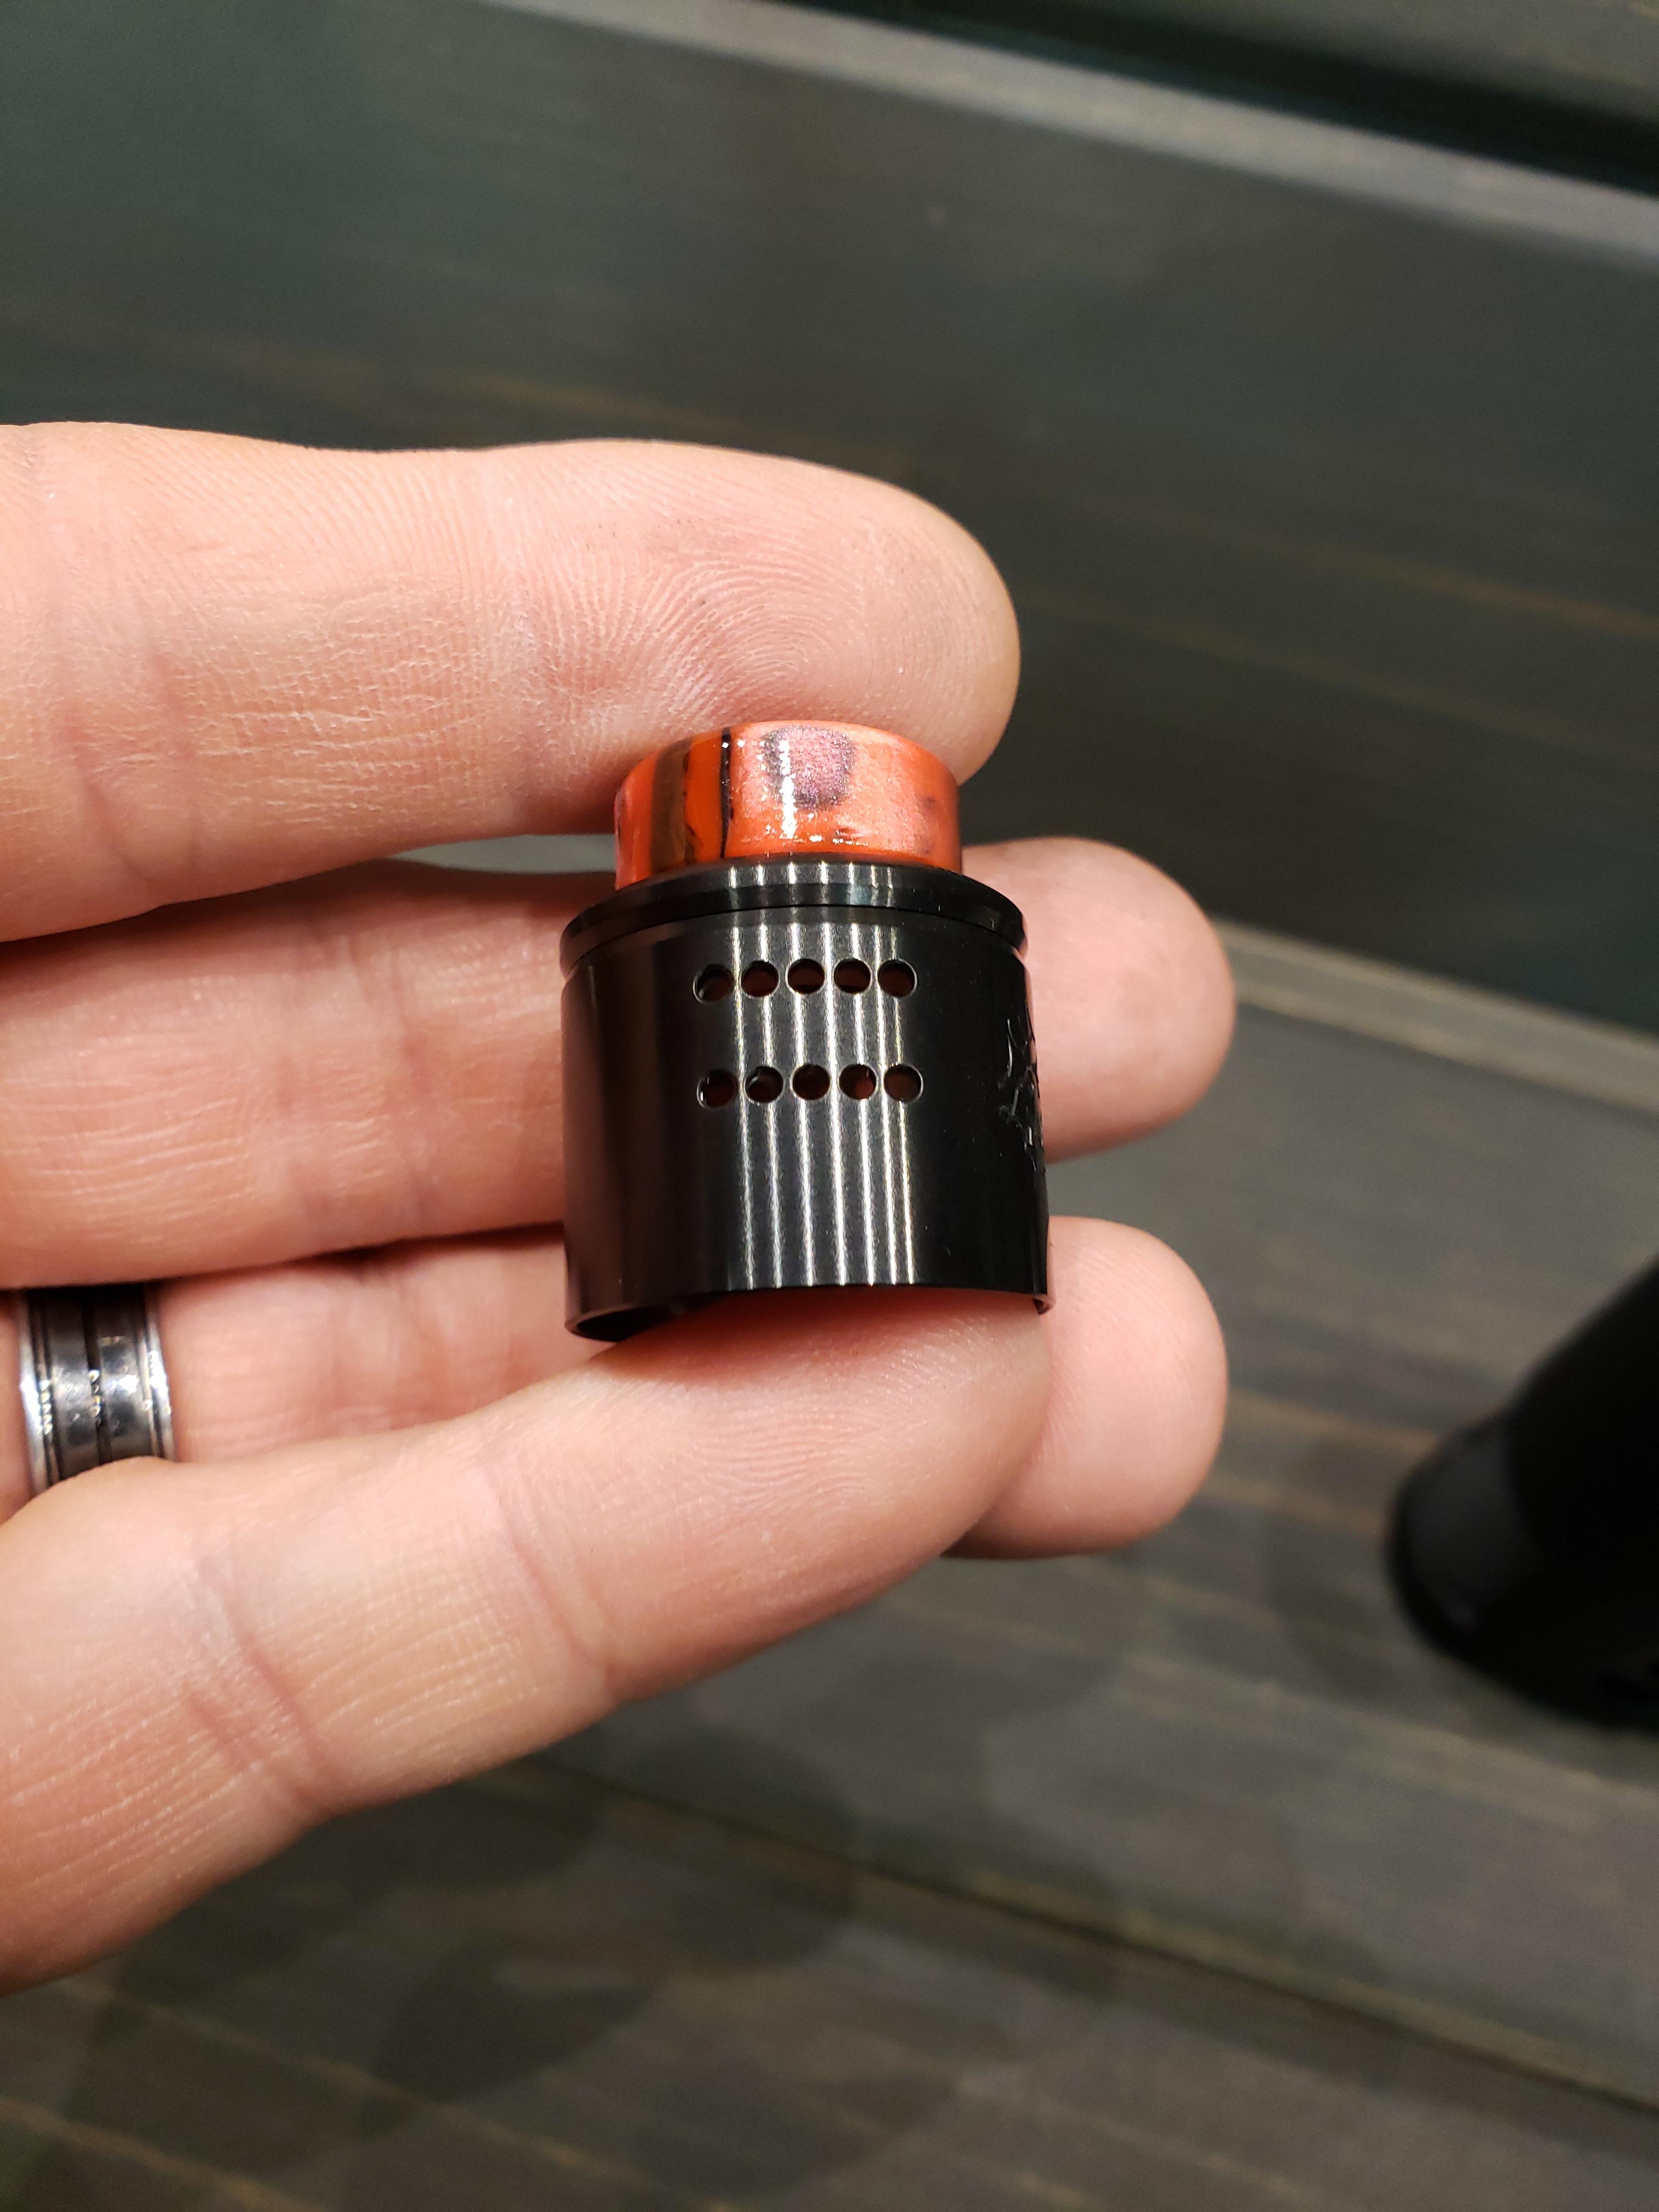
AIR FLOW
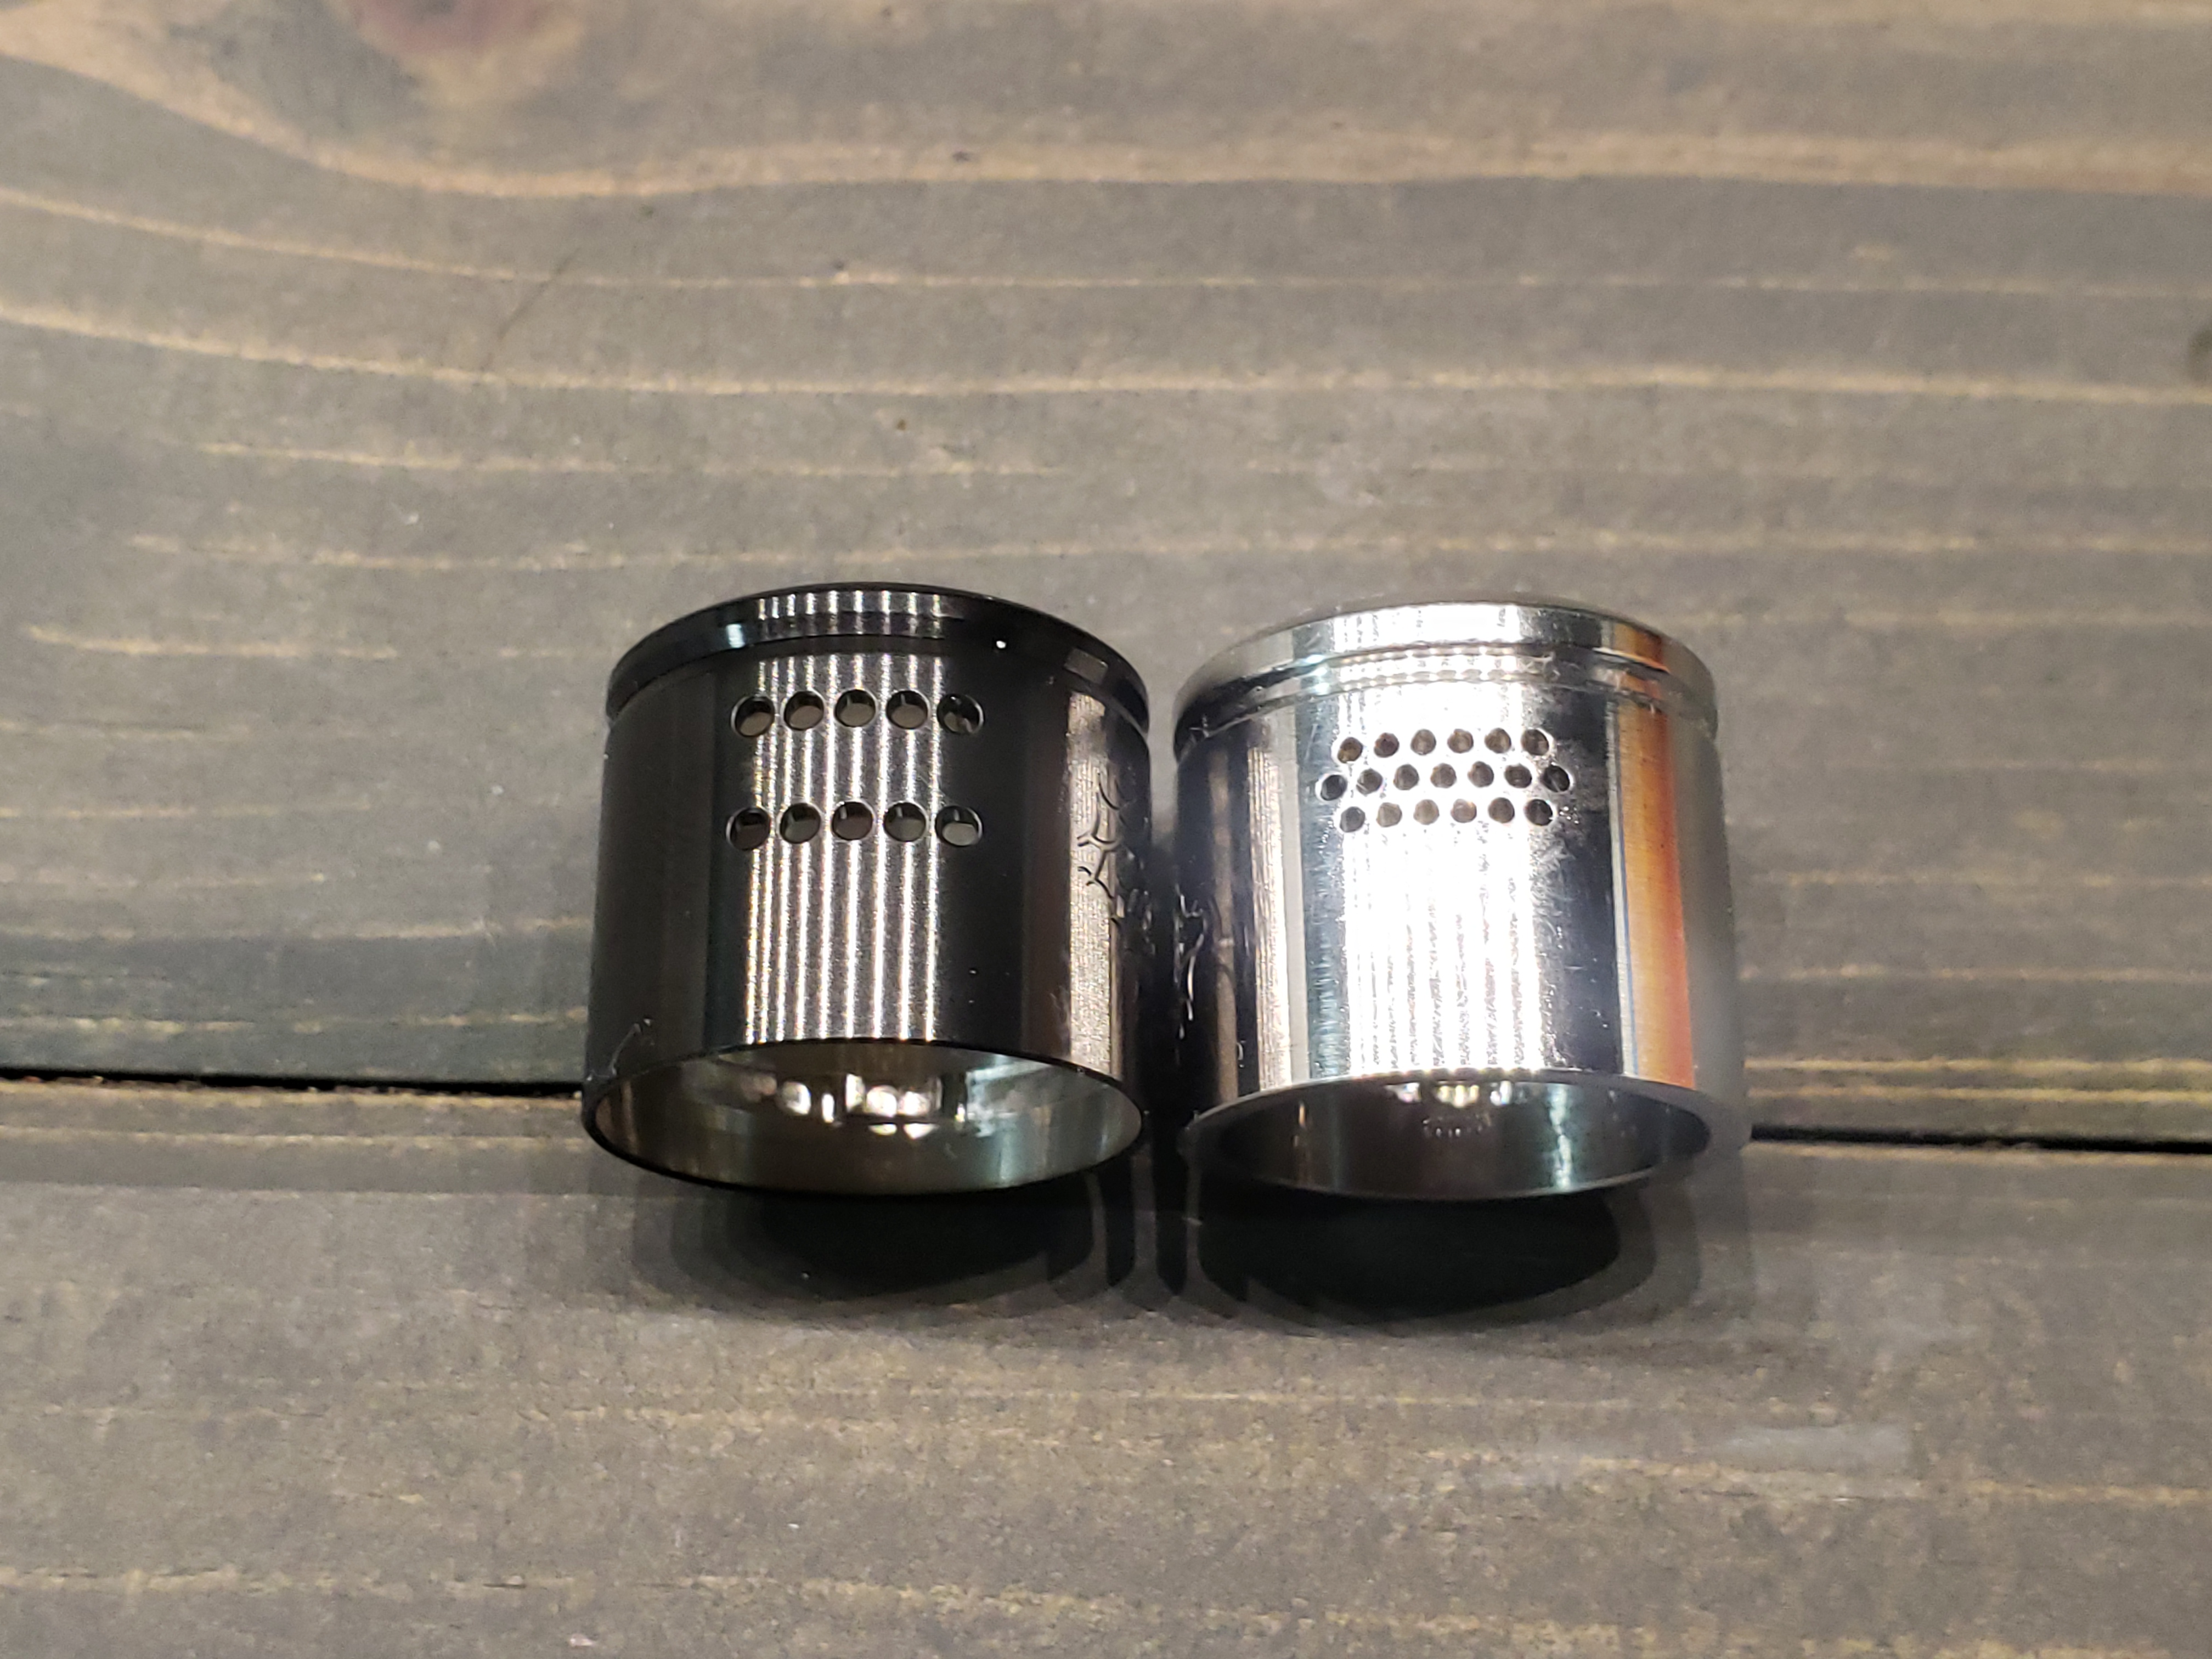
This is another noticeable change. The airflow on the original was a nice little oval centered on the mesh, with 19 tiny holes in rows. These would be closed off by vertical row, and once closed, the air flow was off center. The new air flow has 10 larger holes, with 1 set placed lower on the mesh and the other at the arch of the mesh. The new air flow also has the option to close off the top row of airflow for a more restricted draw. If you wanted to close off the OG profile, that meant you closed air flow off right to left and it left you with uncentered air flow on the mesh. At least with this new one, you can close down and still have the lower row of holes centered on the coil.
_____________________________________________________________________________________
PHOTO GALLERY


_____________________________________________________________________________________
Hello everyone and happy holidays! This is Pizza Dave, and I have got another review for you. Today I will be going over the new Profile version 1.5. This is an upgraded version of one of the most popular atomizers of 2018, and many are very interested to see how this turned out. I won’t spoil much here, but let’s get right into it eh?
DISCLAIMER: These devices were sent to me by Wotofo for review.
_____________________________________________________________________________________
WHAT YOU GET
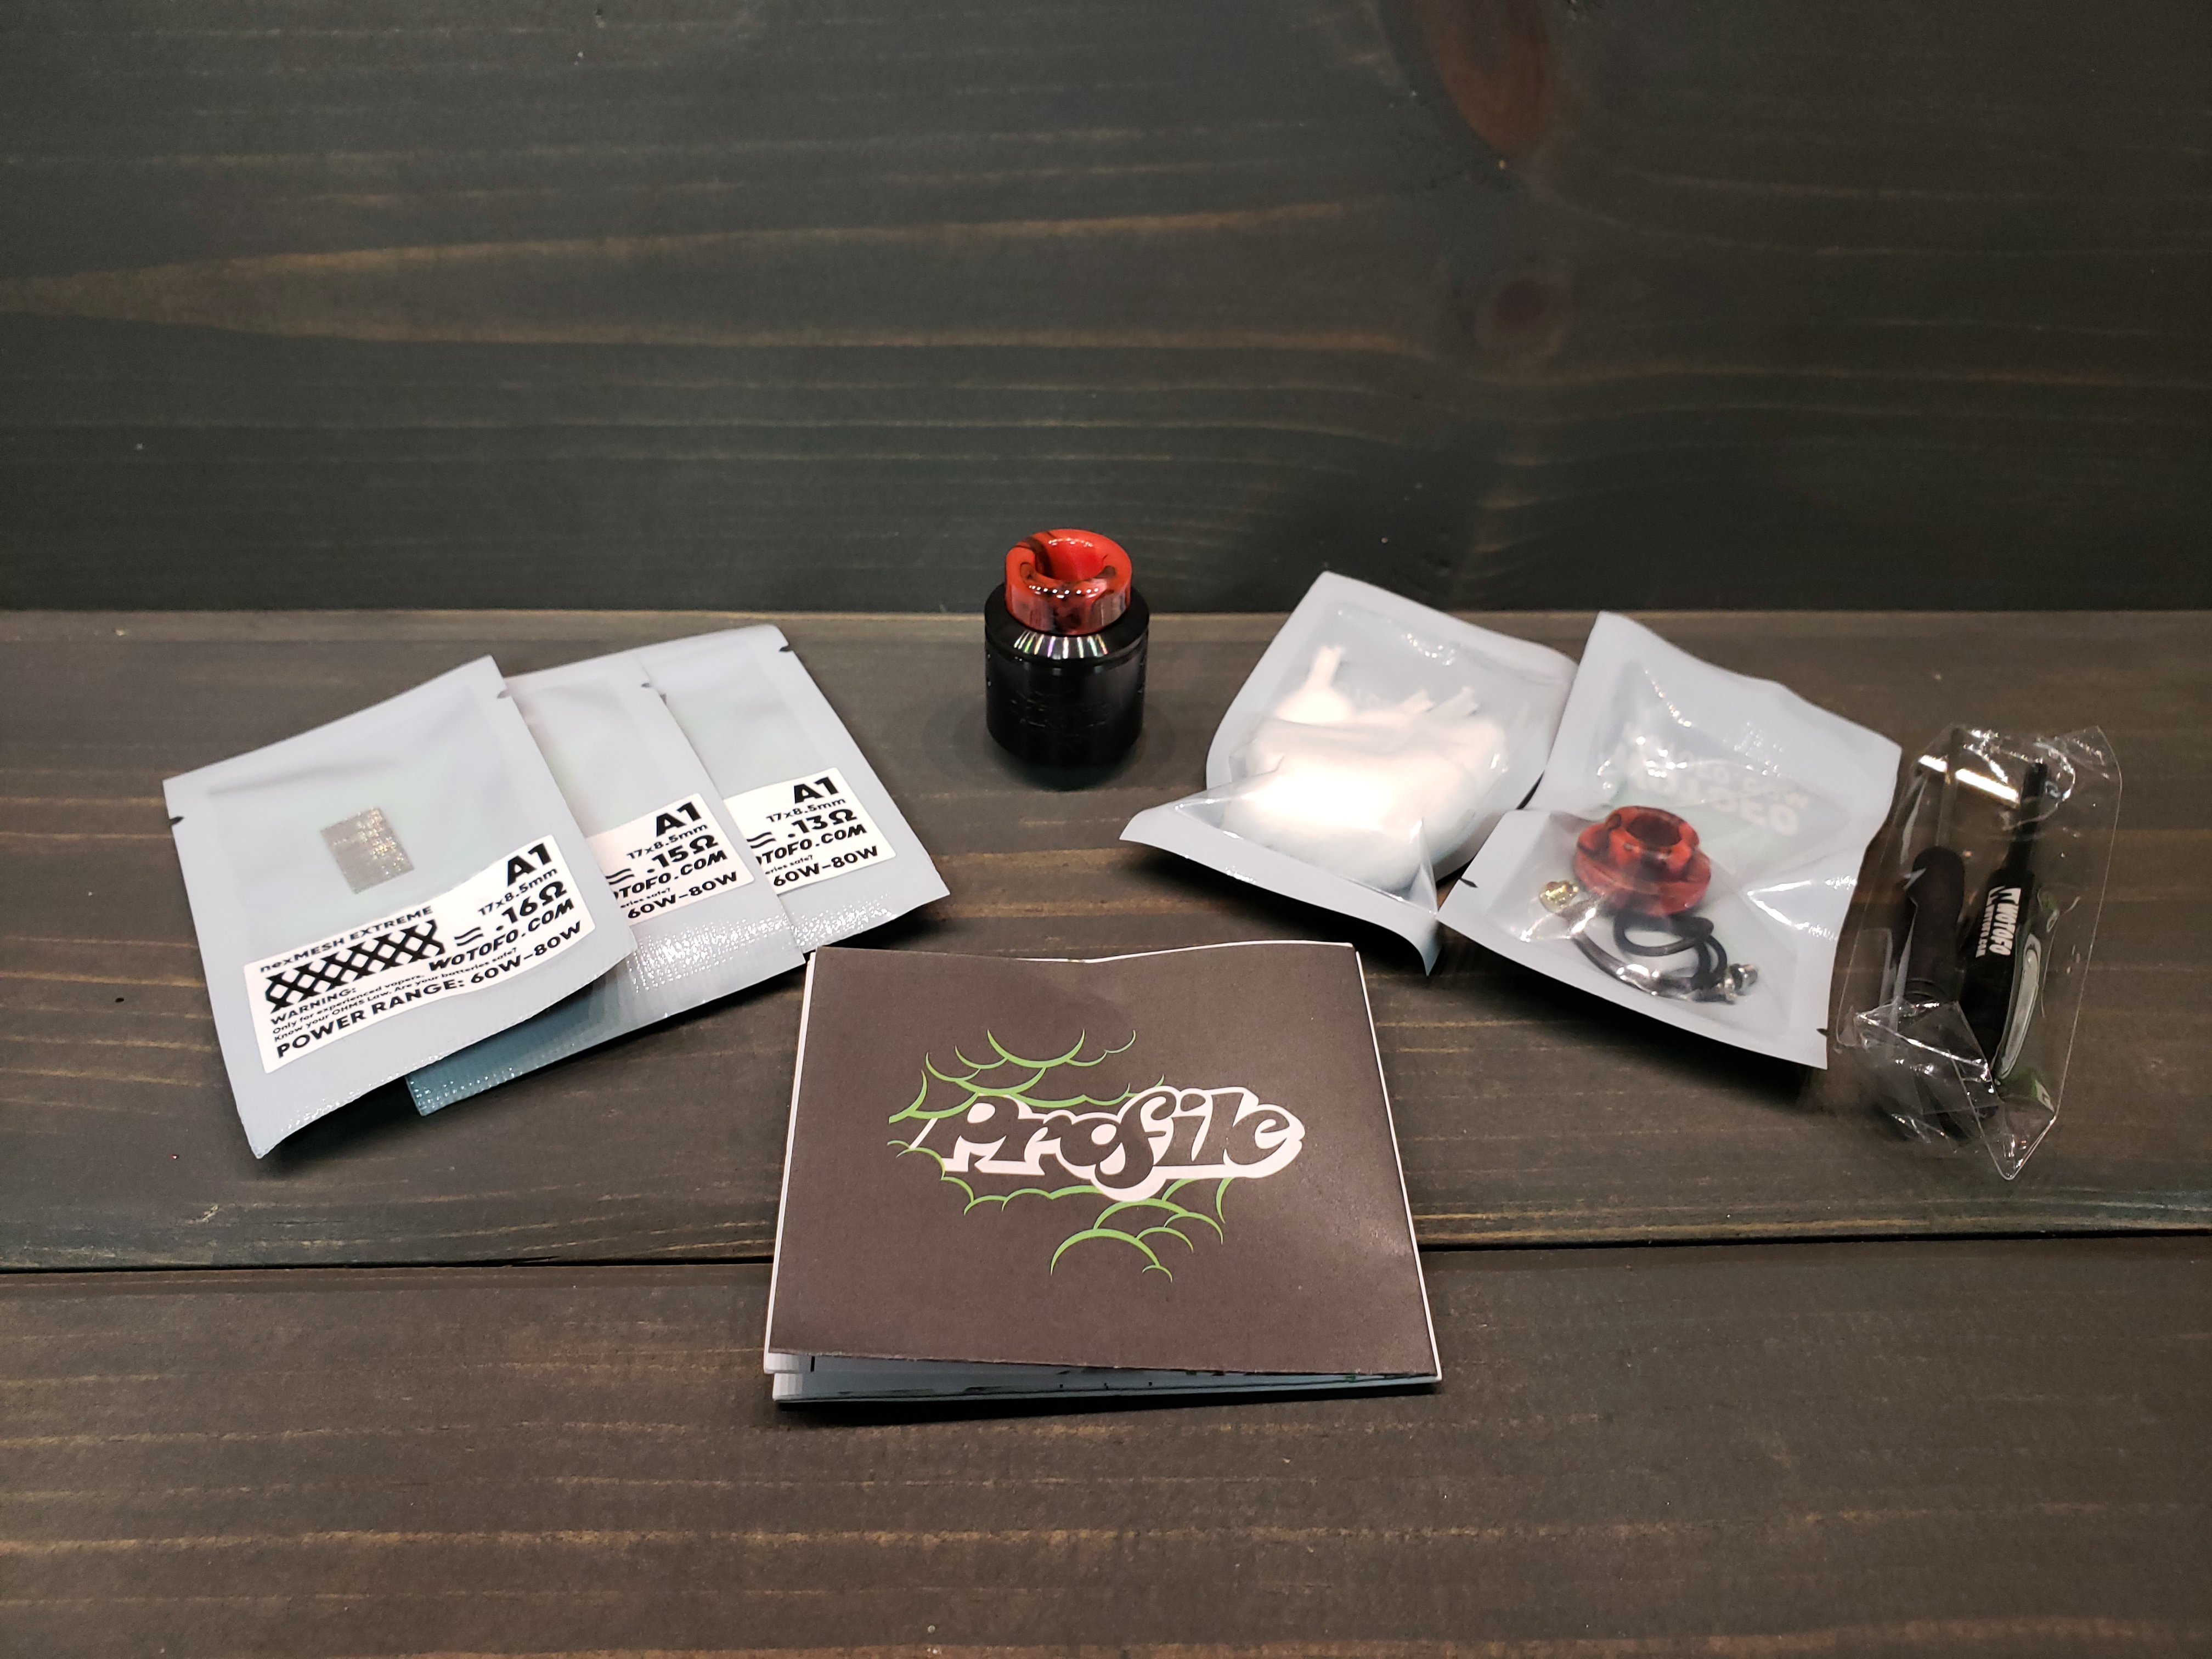
- Profile V1.5 RDA
- 1 Shorty Resin 810 drip tip
- 1 Resin 810 drip tip
- 1 Mesh install tool
- 1 Coil screwdriver and allen key
- 1 .15-ohm nexMESH CHILL strip
- 1 .13-ohm nexMESH TURBO strip
- 1 .16-ohm nexMESHXTREME strip
- 1 bag of FAT wotofo cotton
- Spare screws and o-rings
- Paperwork
Top caps come in blue, gold, black, stainless steel, rainbow, and gunmetal.
STOCK SHOT
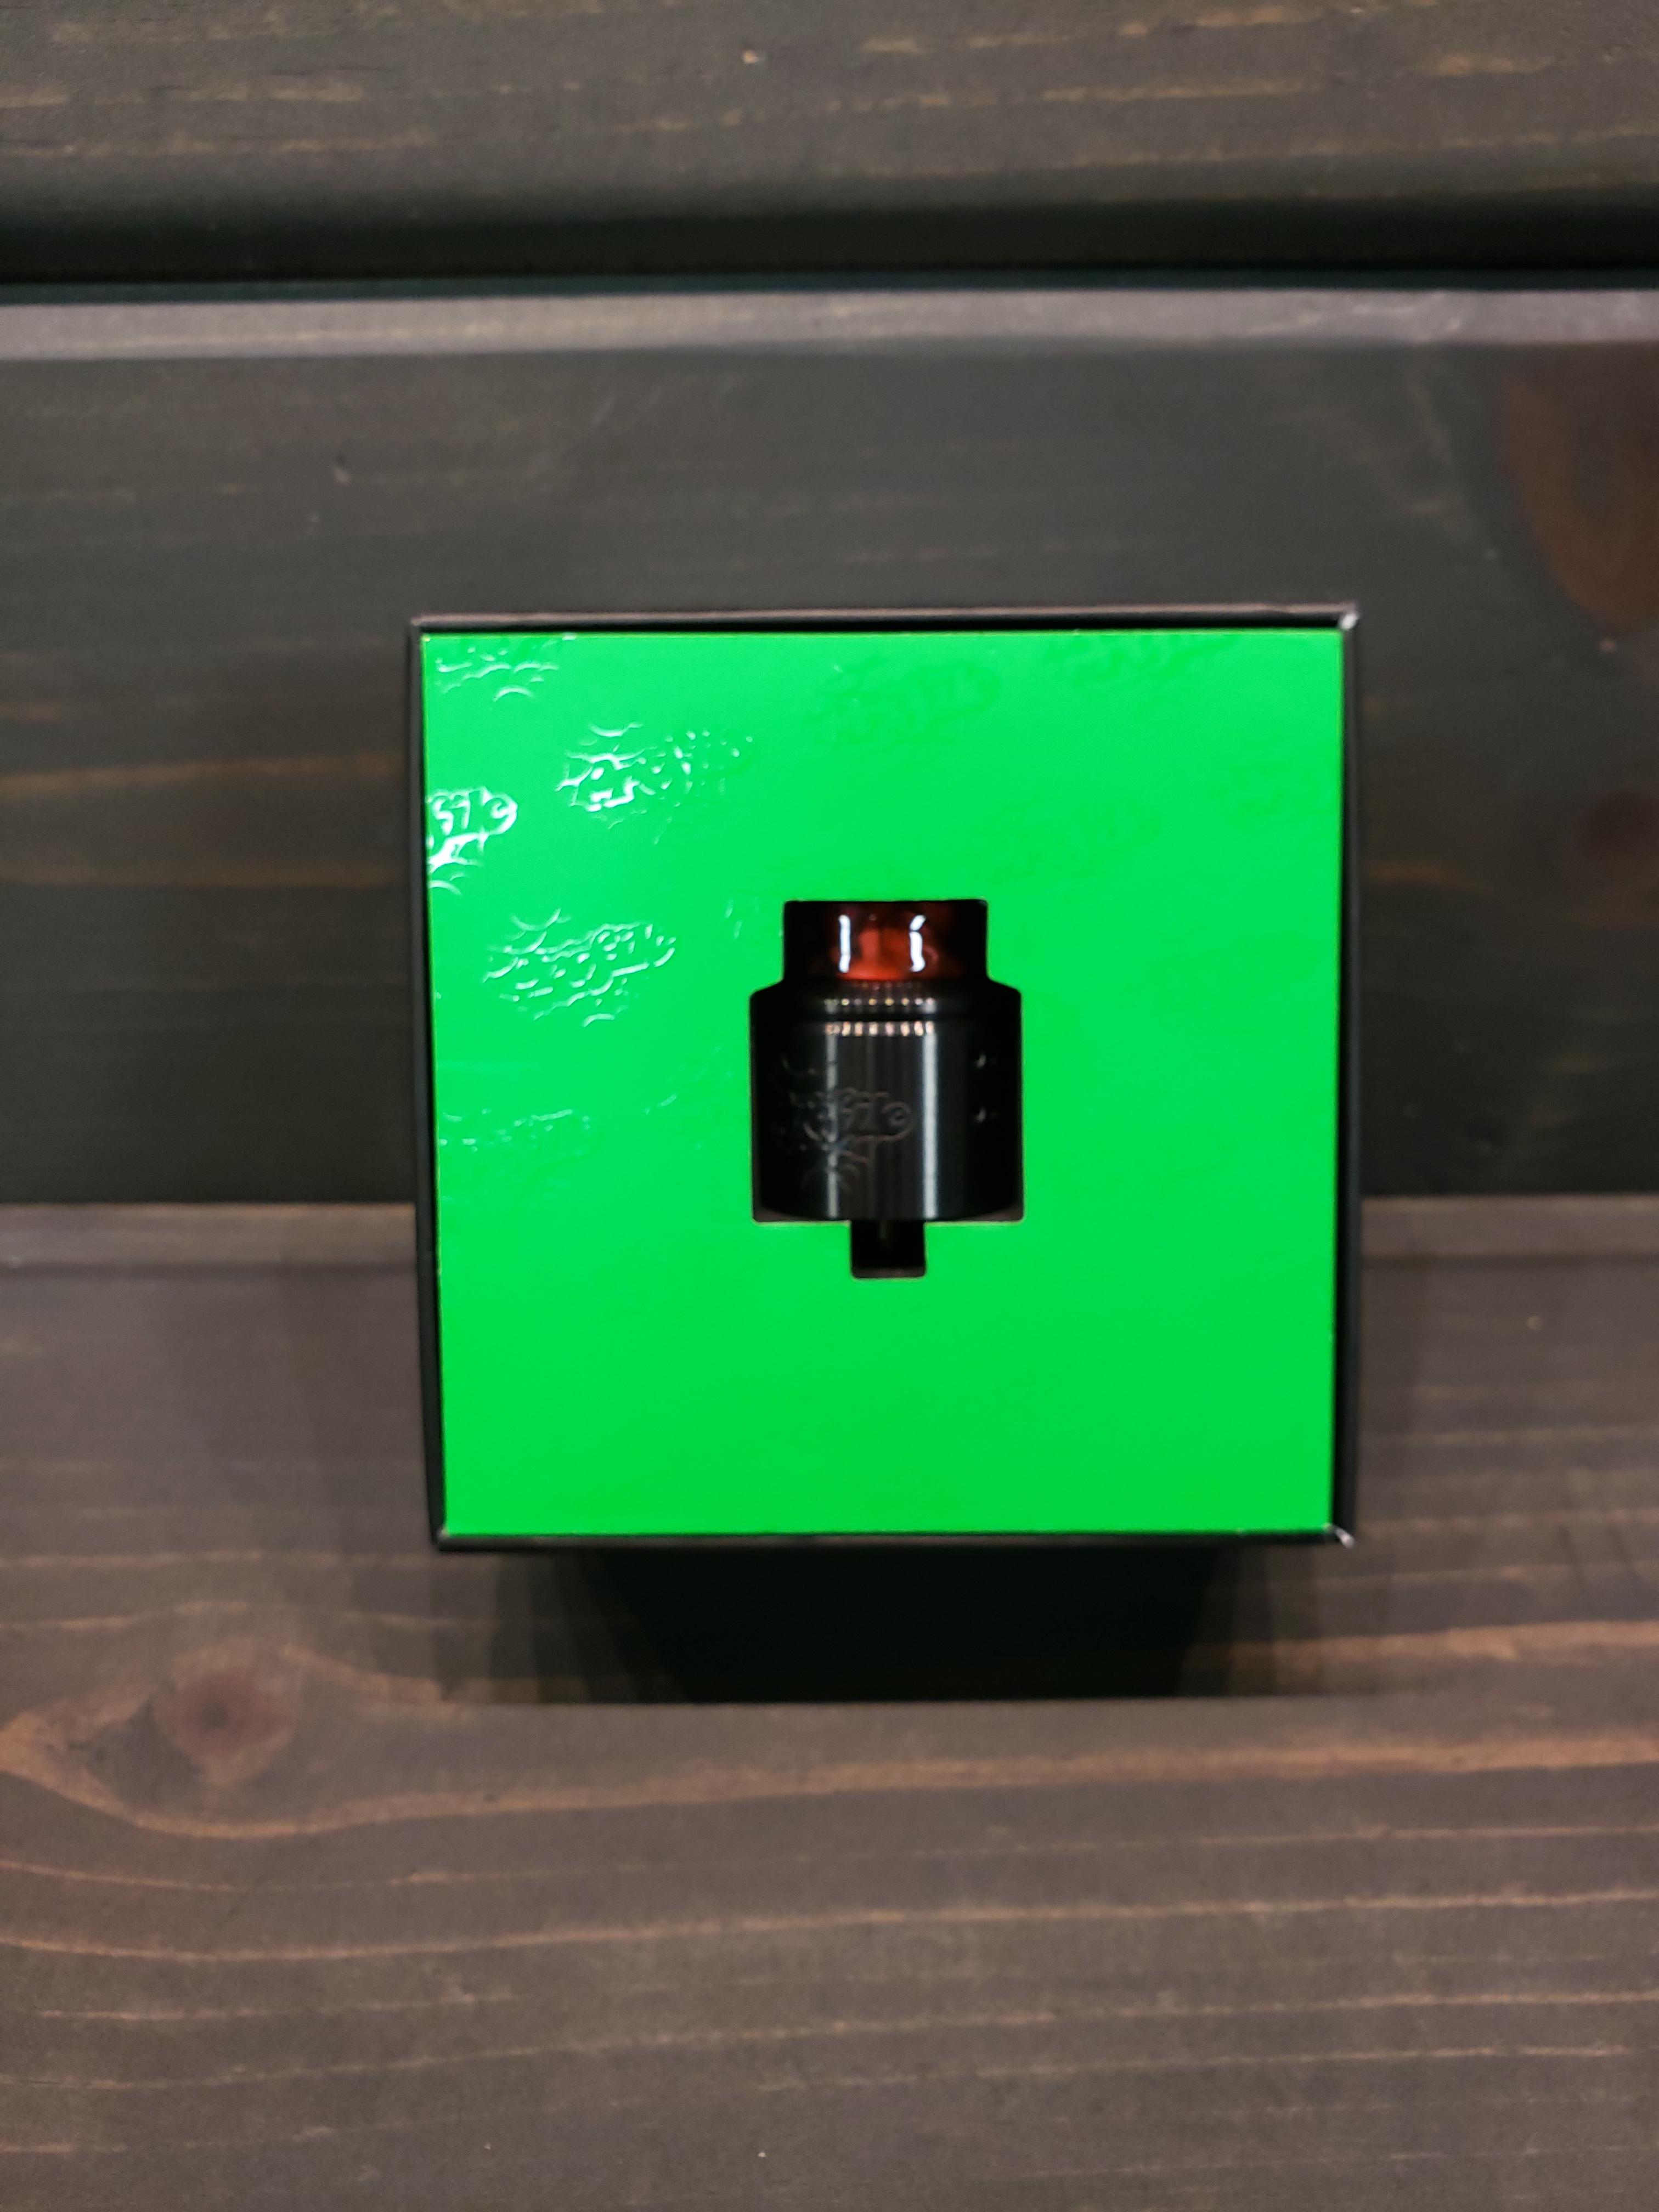
PACKAGING
UNBOXED
_____________________________________________________________________________________
FIRST IMPRESSIONS
It’s a profile. At first glance, without comparing it side by side with the old one, it doesn’t stand out a ton over the OG until you really start to look. The airflow slots are the first thing that is changed, and becomes obvious. However, once you pop the cap off you notice a big difference. The original profile maintained a 24mm outer diameter, but had a thick cap, shrinking the build deck to a compact 20mm(ish) diameter. The new one has a thinner top cap and offers a wider deck overall for both building and wicking. These changes don’t seem too crazy, but let’s see what they are like.
_____________________________________________________________________________________
BUILD DECK
Again, at first glance this build deck looks similar to the original Profile, but I found them to be quite a bit different. FIrst off, the clamps are beefier, in addition to being further apart. This means that the mesh doesn’t have such a tall arch, and flattens out the top. The next change is the white delrin, this time around, is ribbed, which I assume is to aid in wicking. Tossing a build in this rda is simple. Bend the mesh strip over the included tool, set in place, tighten down. I then like to heat the mesh up at about 15-20 watts to a light glow before wicking.
Wicking this is the same as before, but maybe just a little more difficult to get started thanks to the flatter arc of the mesh. Once the end gets through, it is all good, but the lower arc is noticeable right away. I stuck to using the Wotofo wide cotton for all of my builds, and it works just fine. I stuck it through the mesh, fluffed the ends, and I like I snip at a slight angle. This gave me a little more room to tuck into the build deck and it worked every time. Not hard to build at all and might edge out the original by a smidge. There are pictures in my photo gallery showing how I wick it.
_____________________________________________________________________________________
AIR FLOW
This is another noticeable change. The airflow on the original was a nice little oval centered on the mesh, with 19 tiny holes in rows. These would be closed off by vertical row, and once closed, the air flow was off center. The new air flow has 10 larger holes, with 1 set placed lower on the mesh and the other at the arch of the mesh. The new air flow also has the option to close off the top row of airflow for a more restricted draw. If you wanted to close off the OG profile, that meant you closed air flow off right to left and it left you with uncentered air flow on the mesh. At least with this new one, you can close down and still have the lower row of holes centered on the coil.
_____________________________________________________________________________________
PHOTO GALLERY
_____________________________________________________________________________________