INTRODUCTION
Hello everyone and welcome to another review. This is Pizza Dave and today I will be going over the Target PM80se by Vaporesso. This is the follow up to the Target PM80 I reviewed a while back. That device wasn’t too bad, but this makes some changes to make it a whole different animal, with the most obvious change being an 18650 battery instead of a measly built-in 2000mah battery. I will go over all these tweaks in the review, but let’s get right to it eh?
DISCLAIMER: This device was sent to me by Vaporesso for review.
_____________________________________________________________________________________
WHAT YOU GET
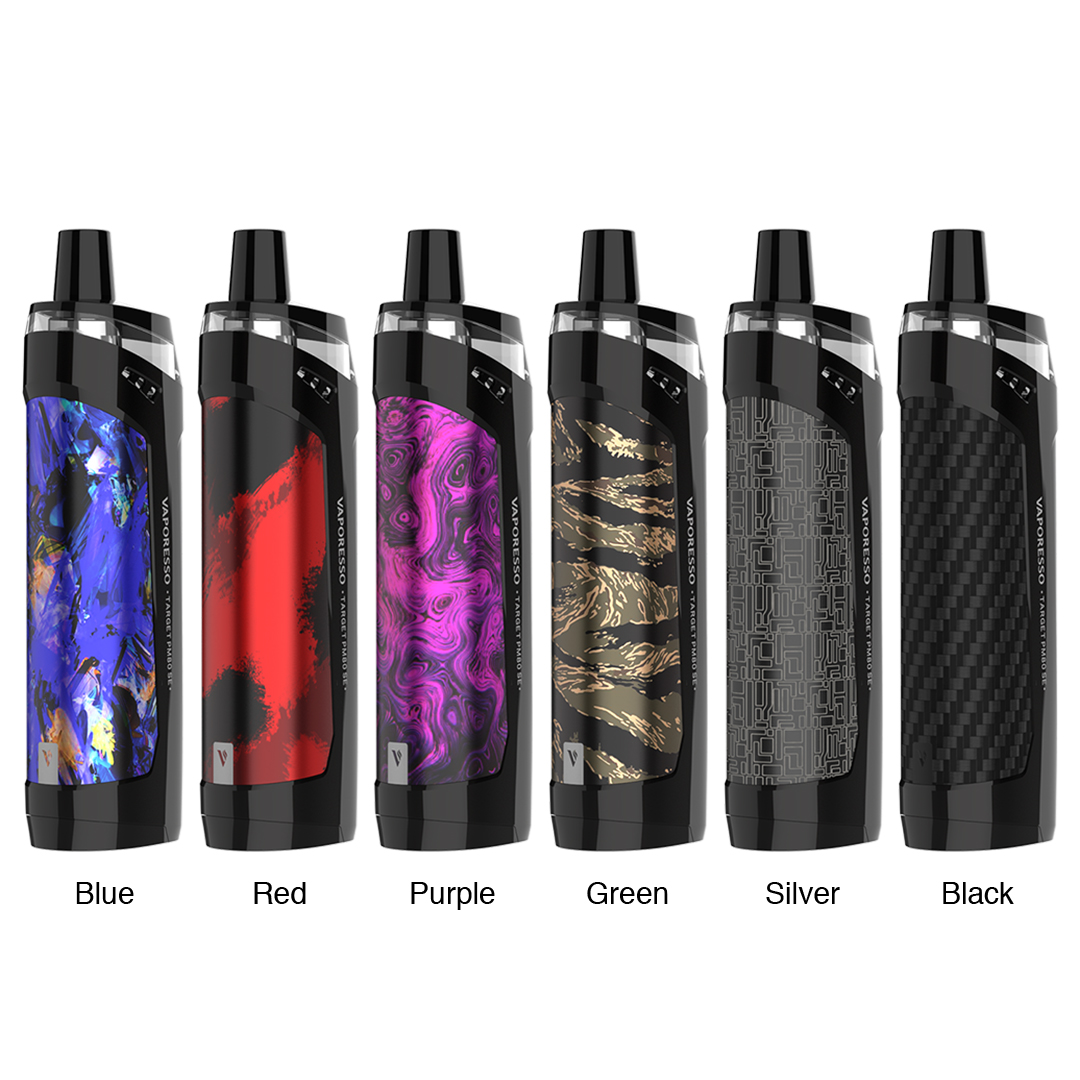
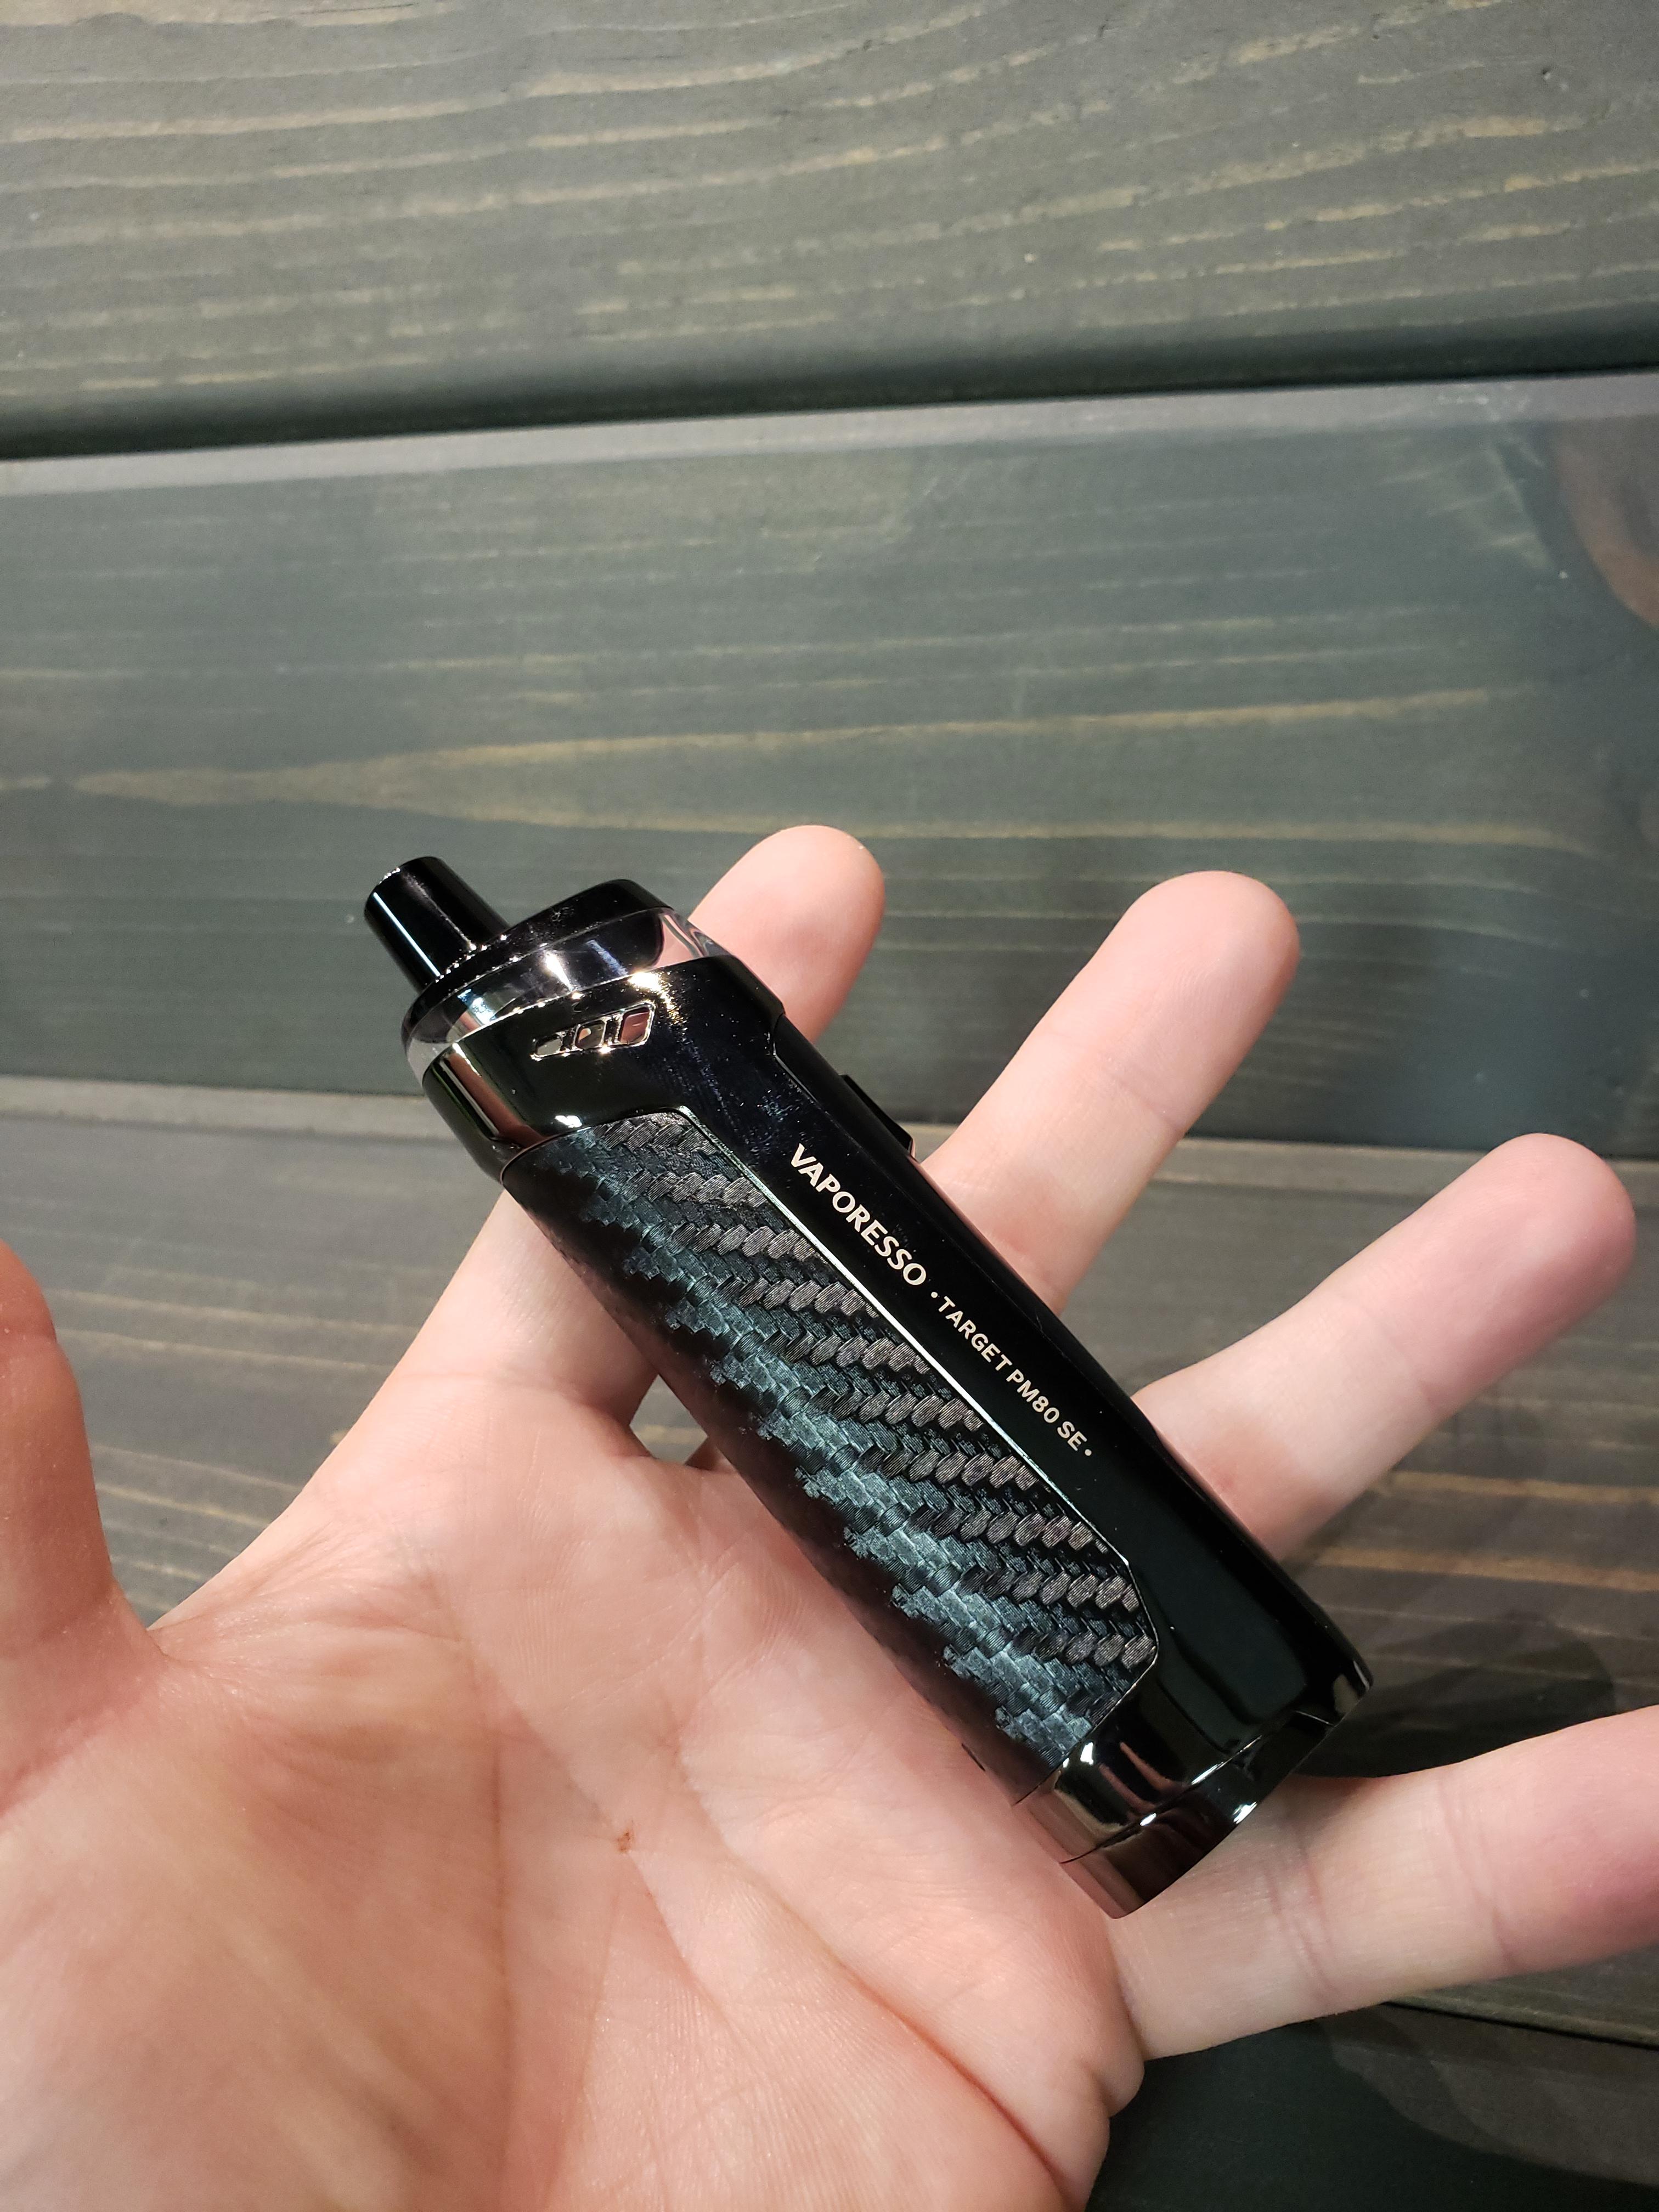
Available in gunmetal bodies with accent panels of blue, black(carbon fiber pattern), red, green, purple, and silver.
STOCK SHOT
PACKAGING

UNBOXED
_____________________________________________________________________________________
Measurements: 121.3mm x 24.8mm x 33.4mm
Battery: Single 18650
Power Range: 5-80w, scrolling in .5-watt increments
Capacity: 4mL (2mL for TPD)
Other features: .91” non-color display
_____________________________________________________________________________________
FIRST IMPRESSIONS
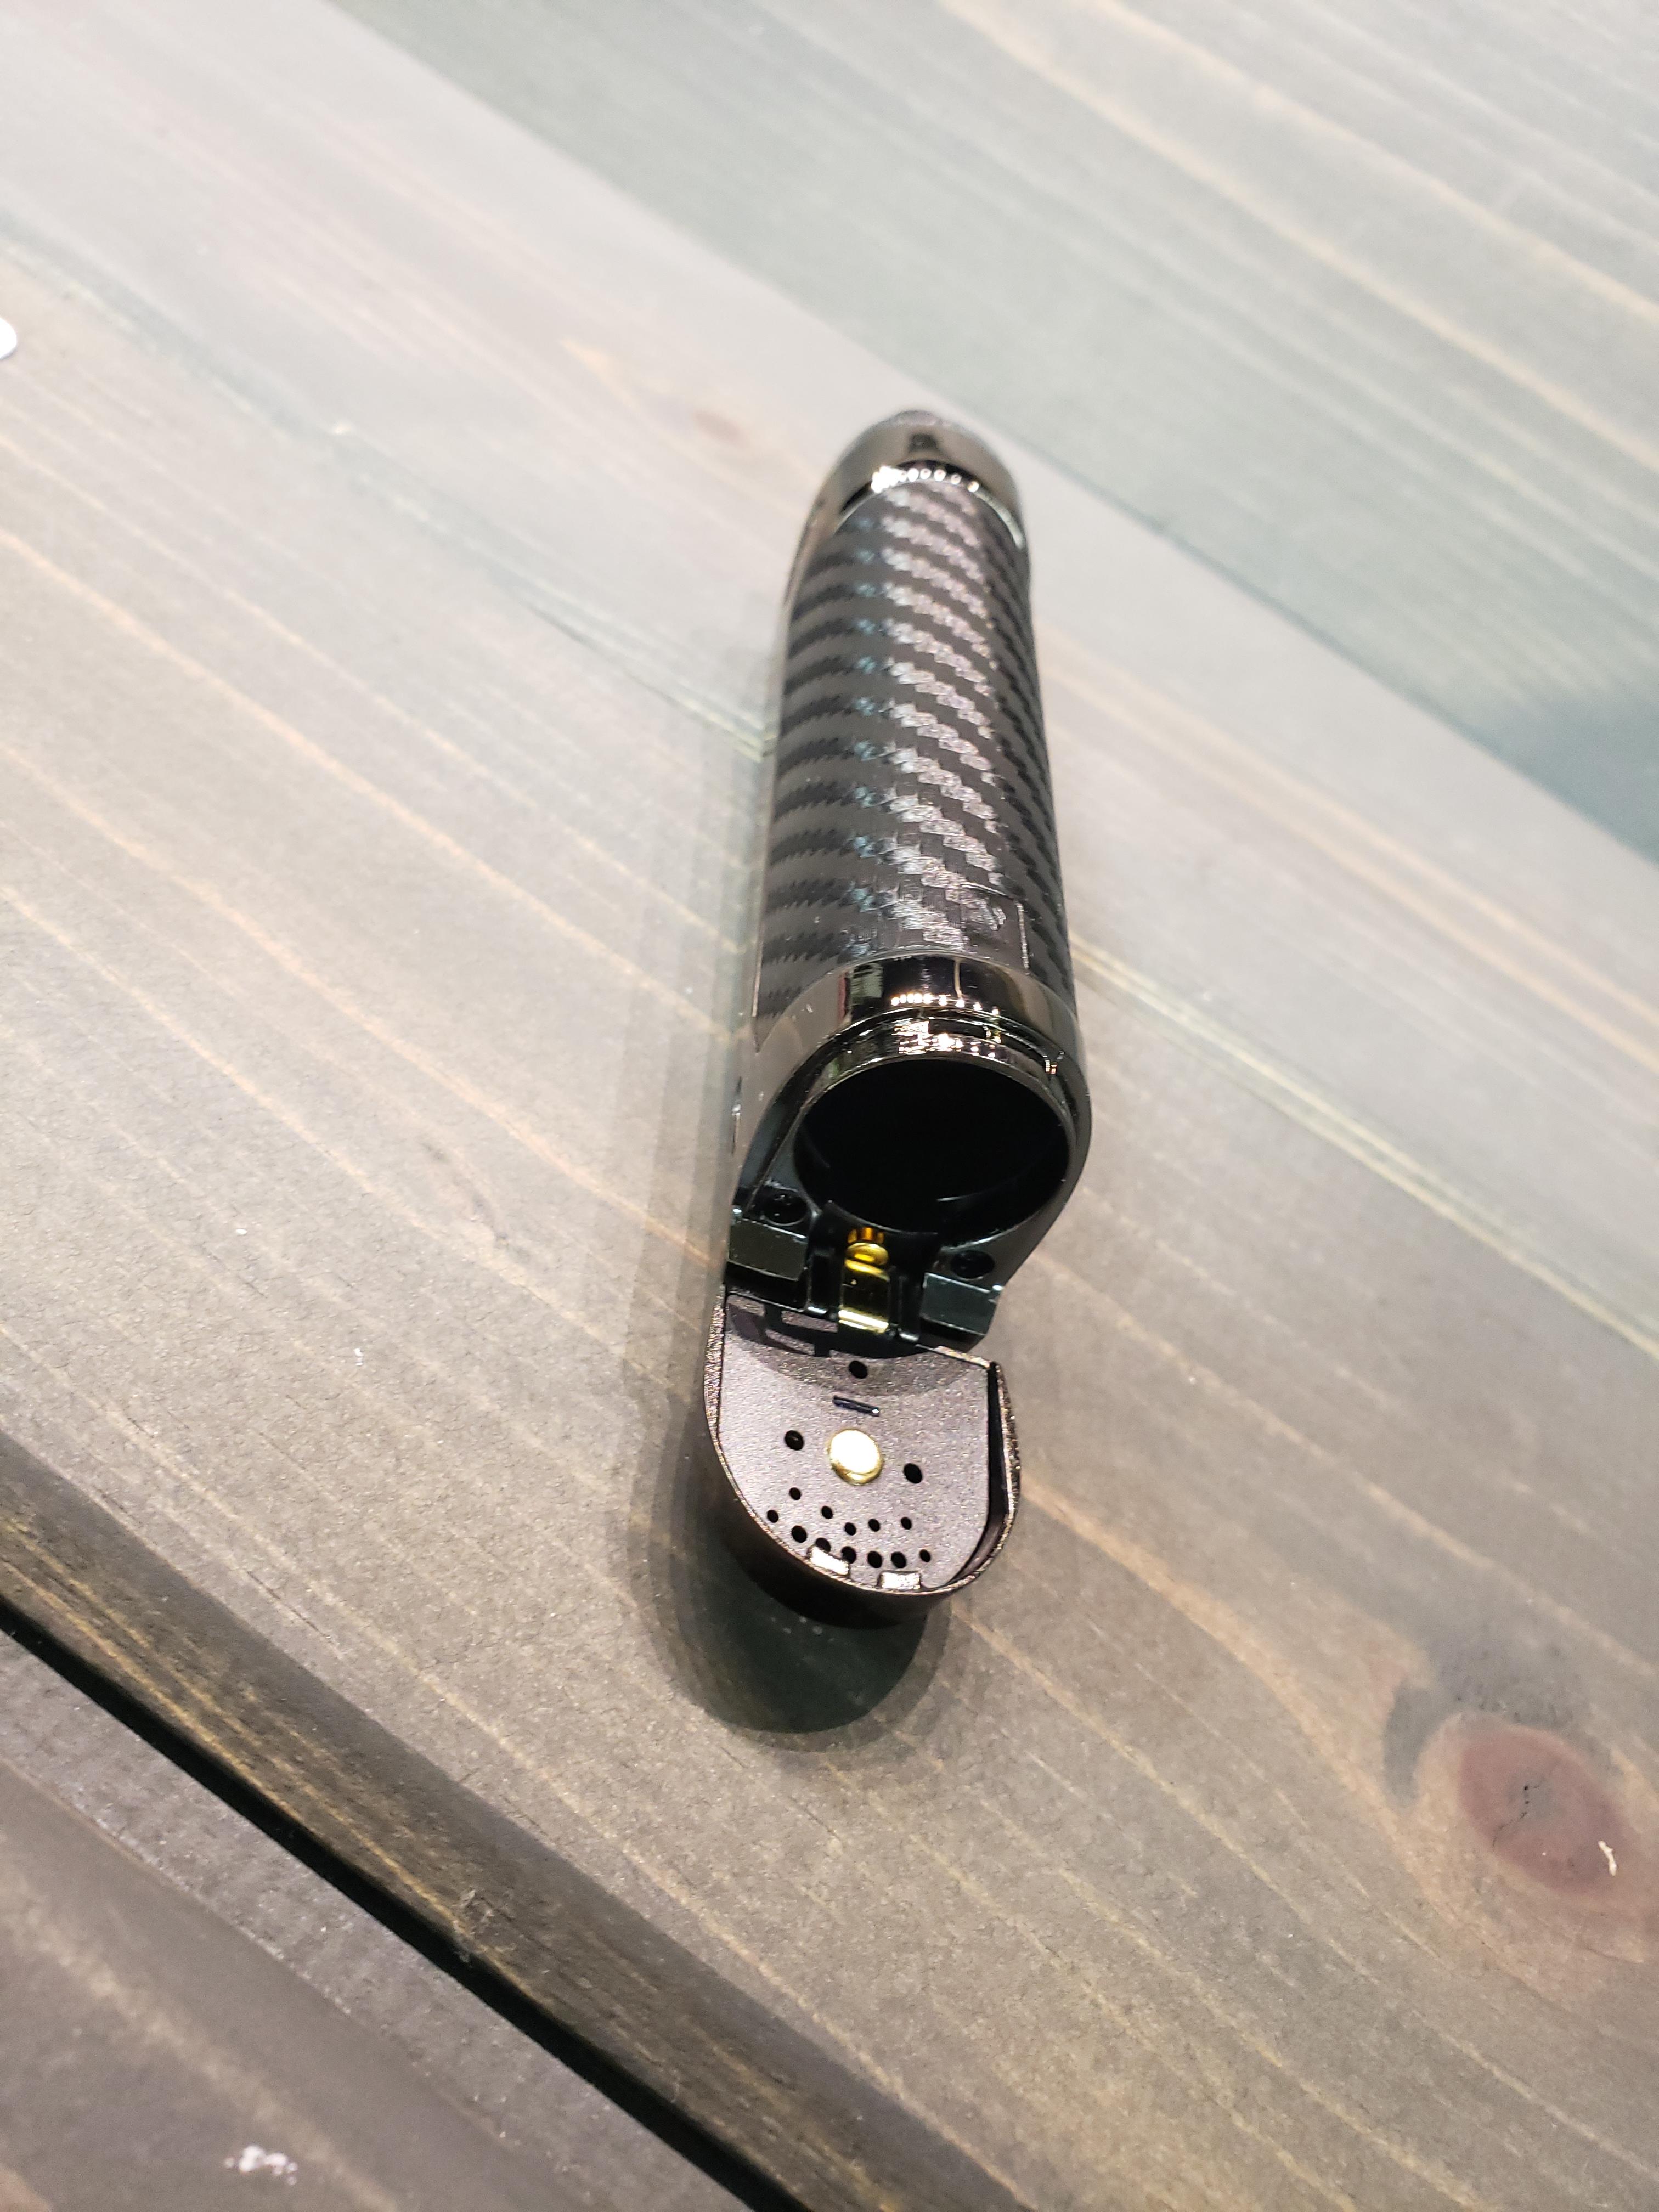
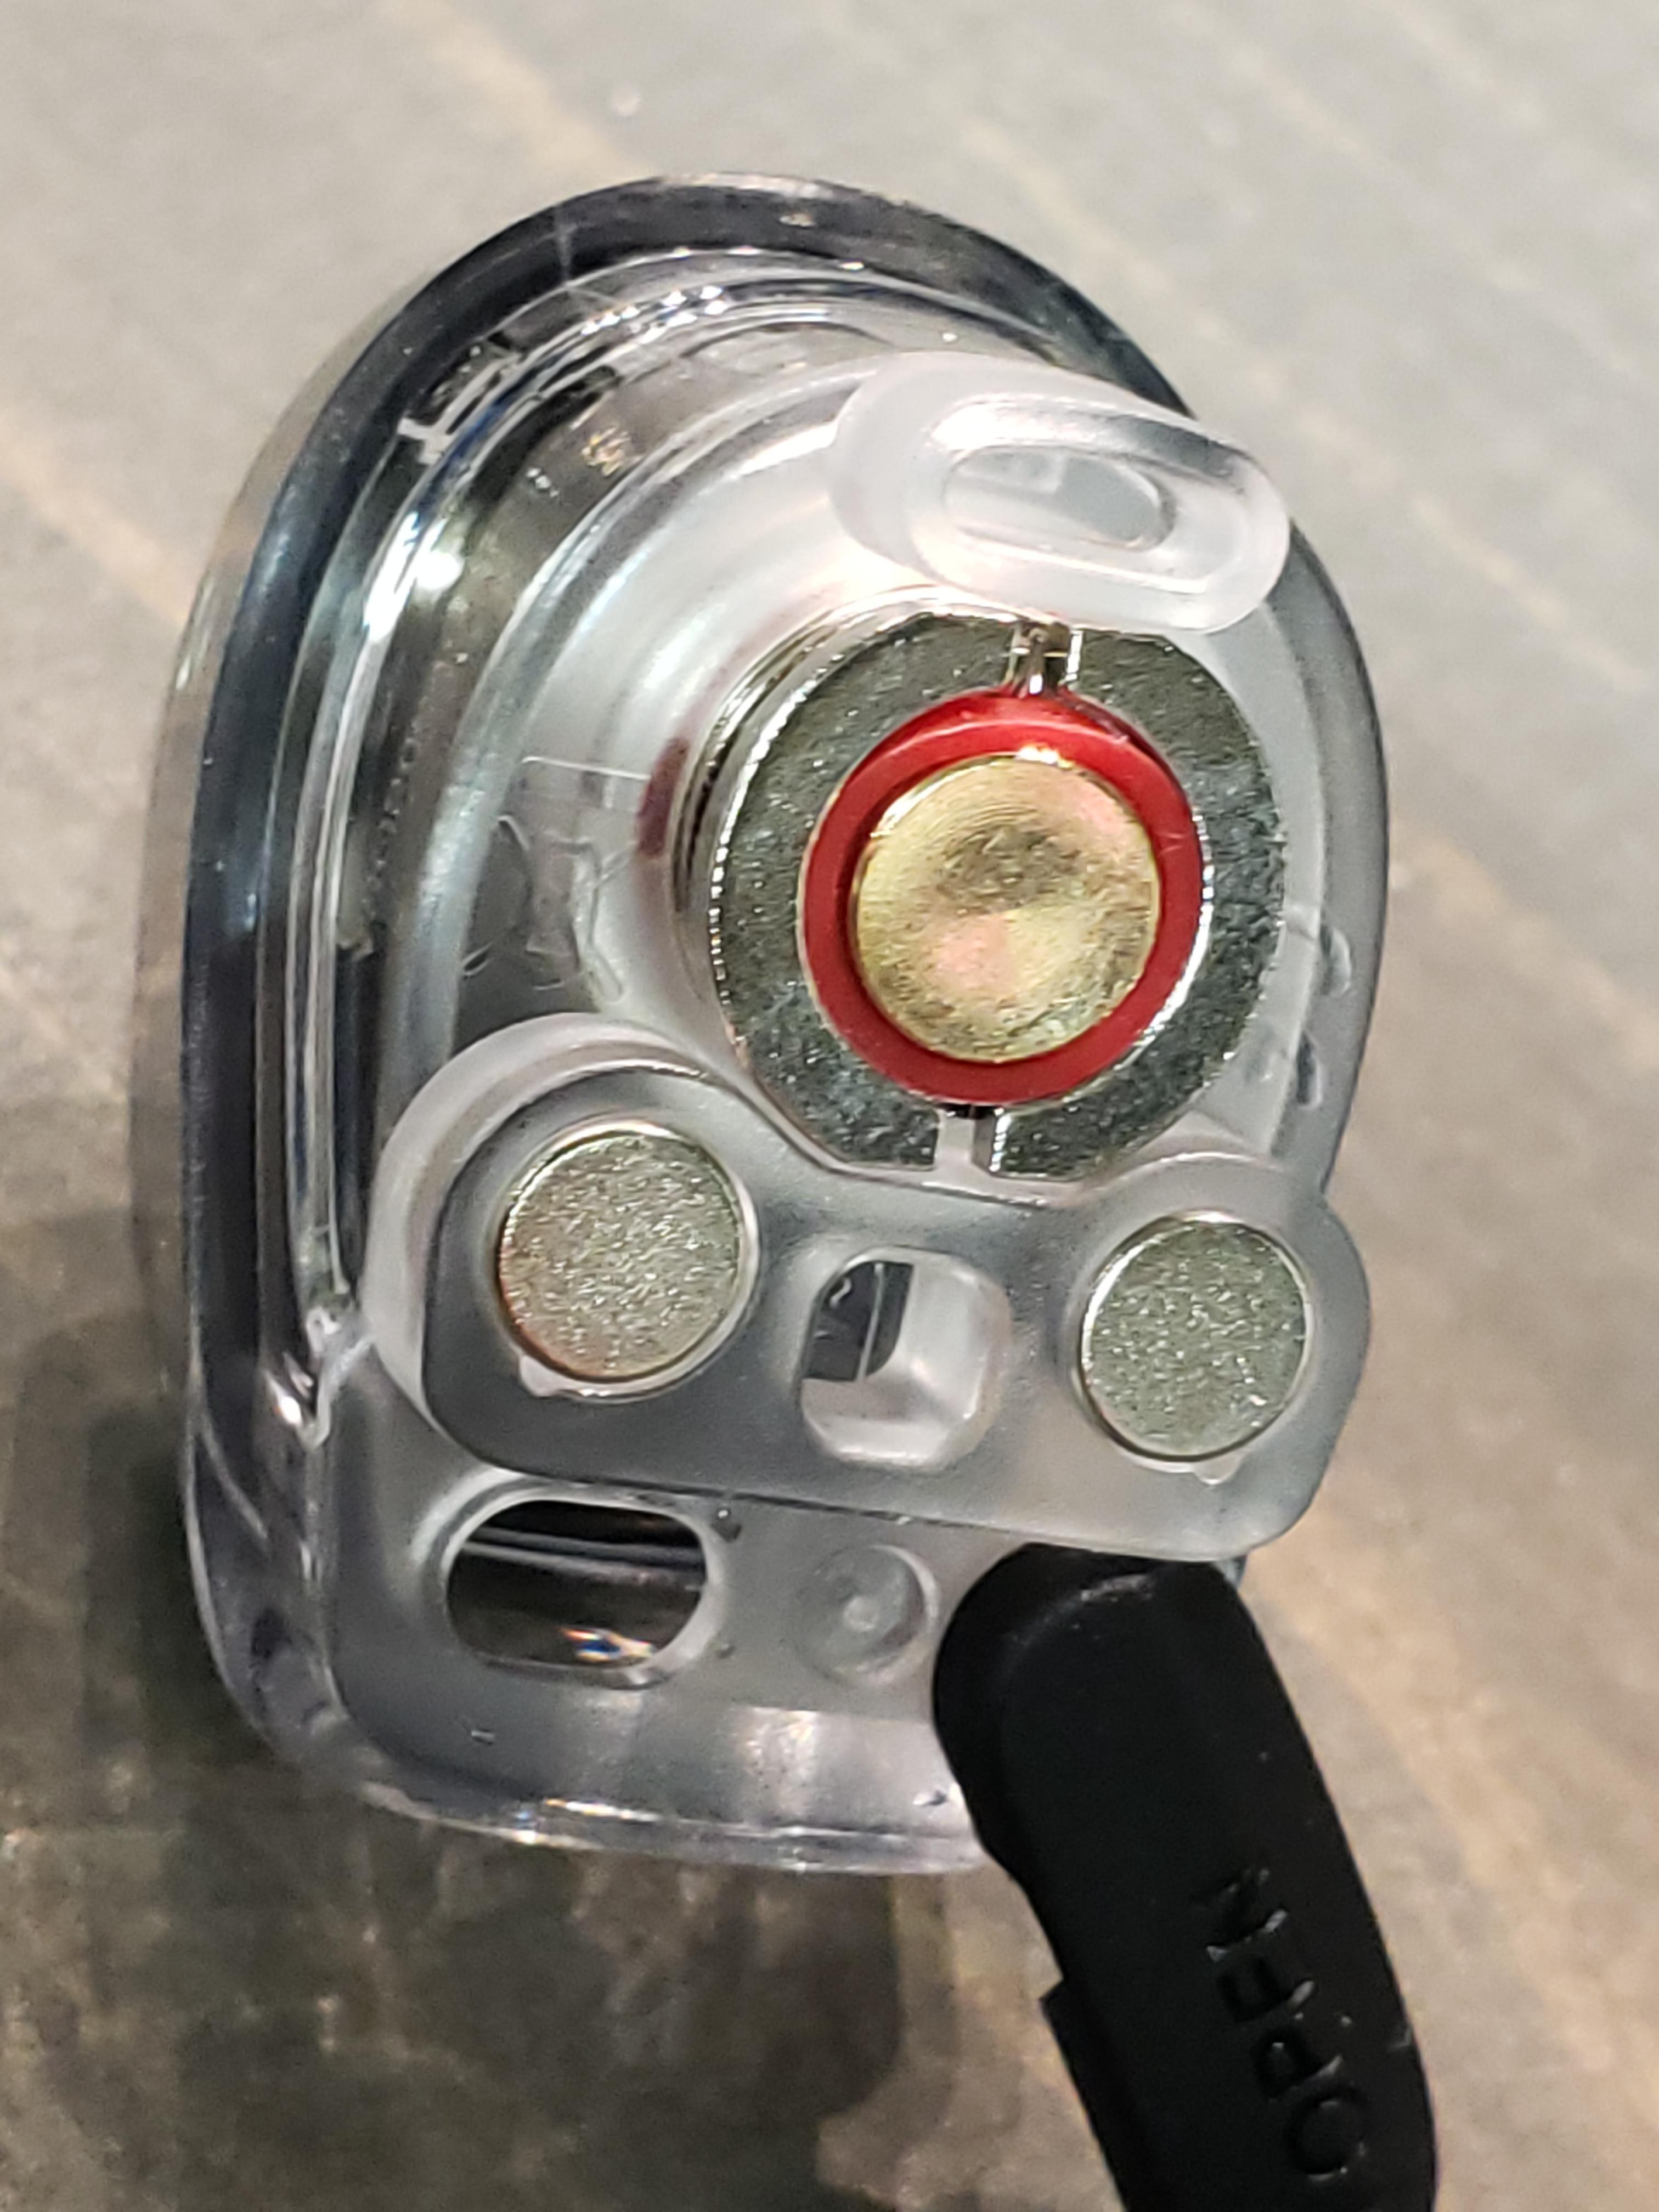
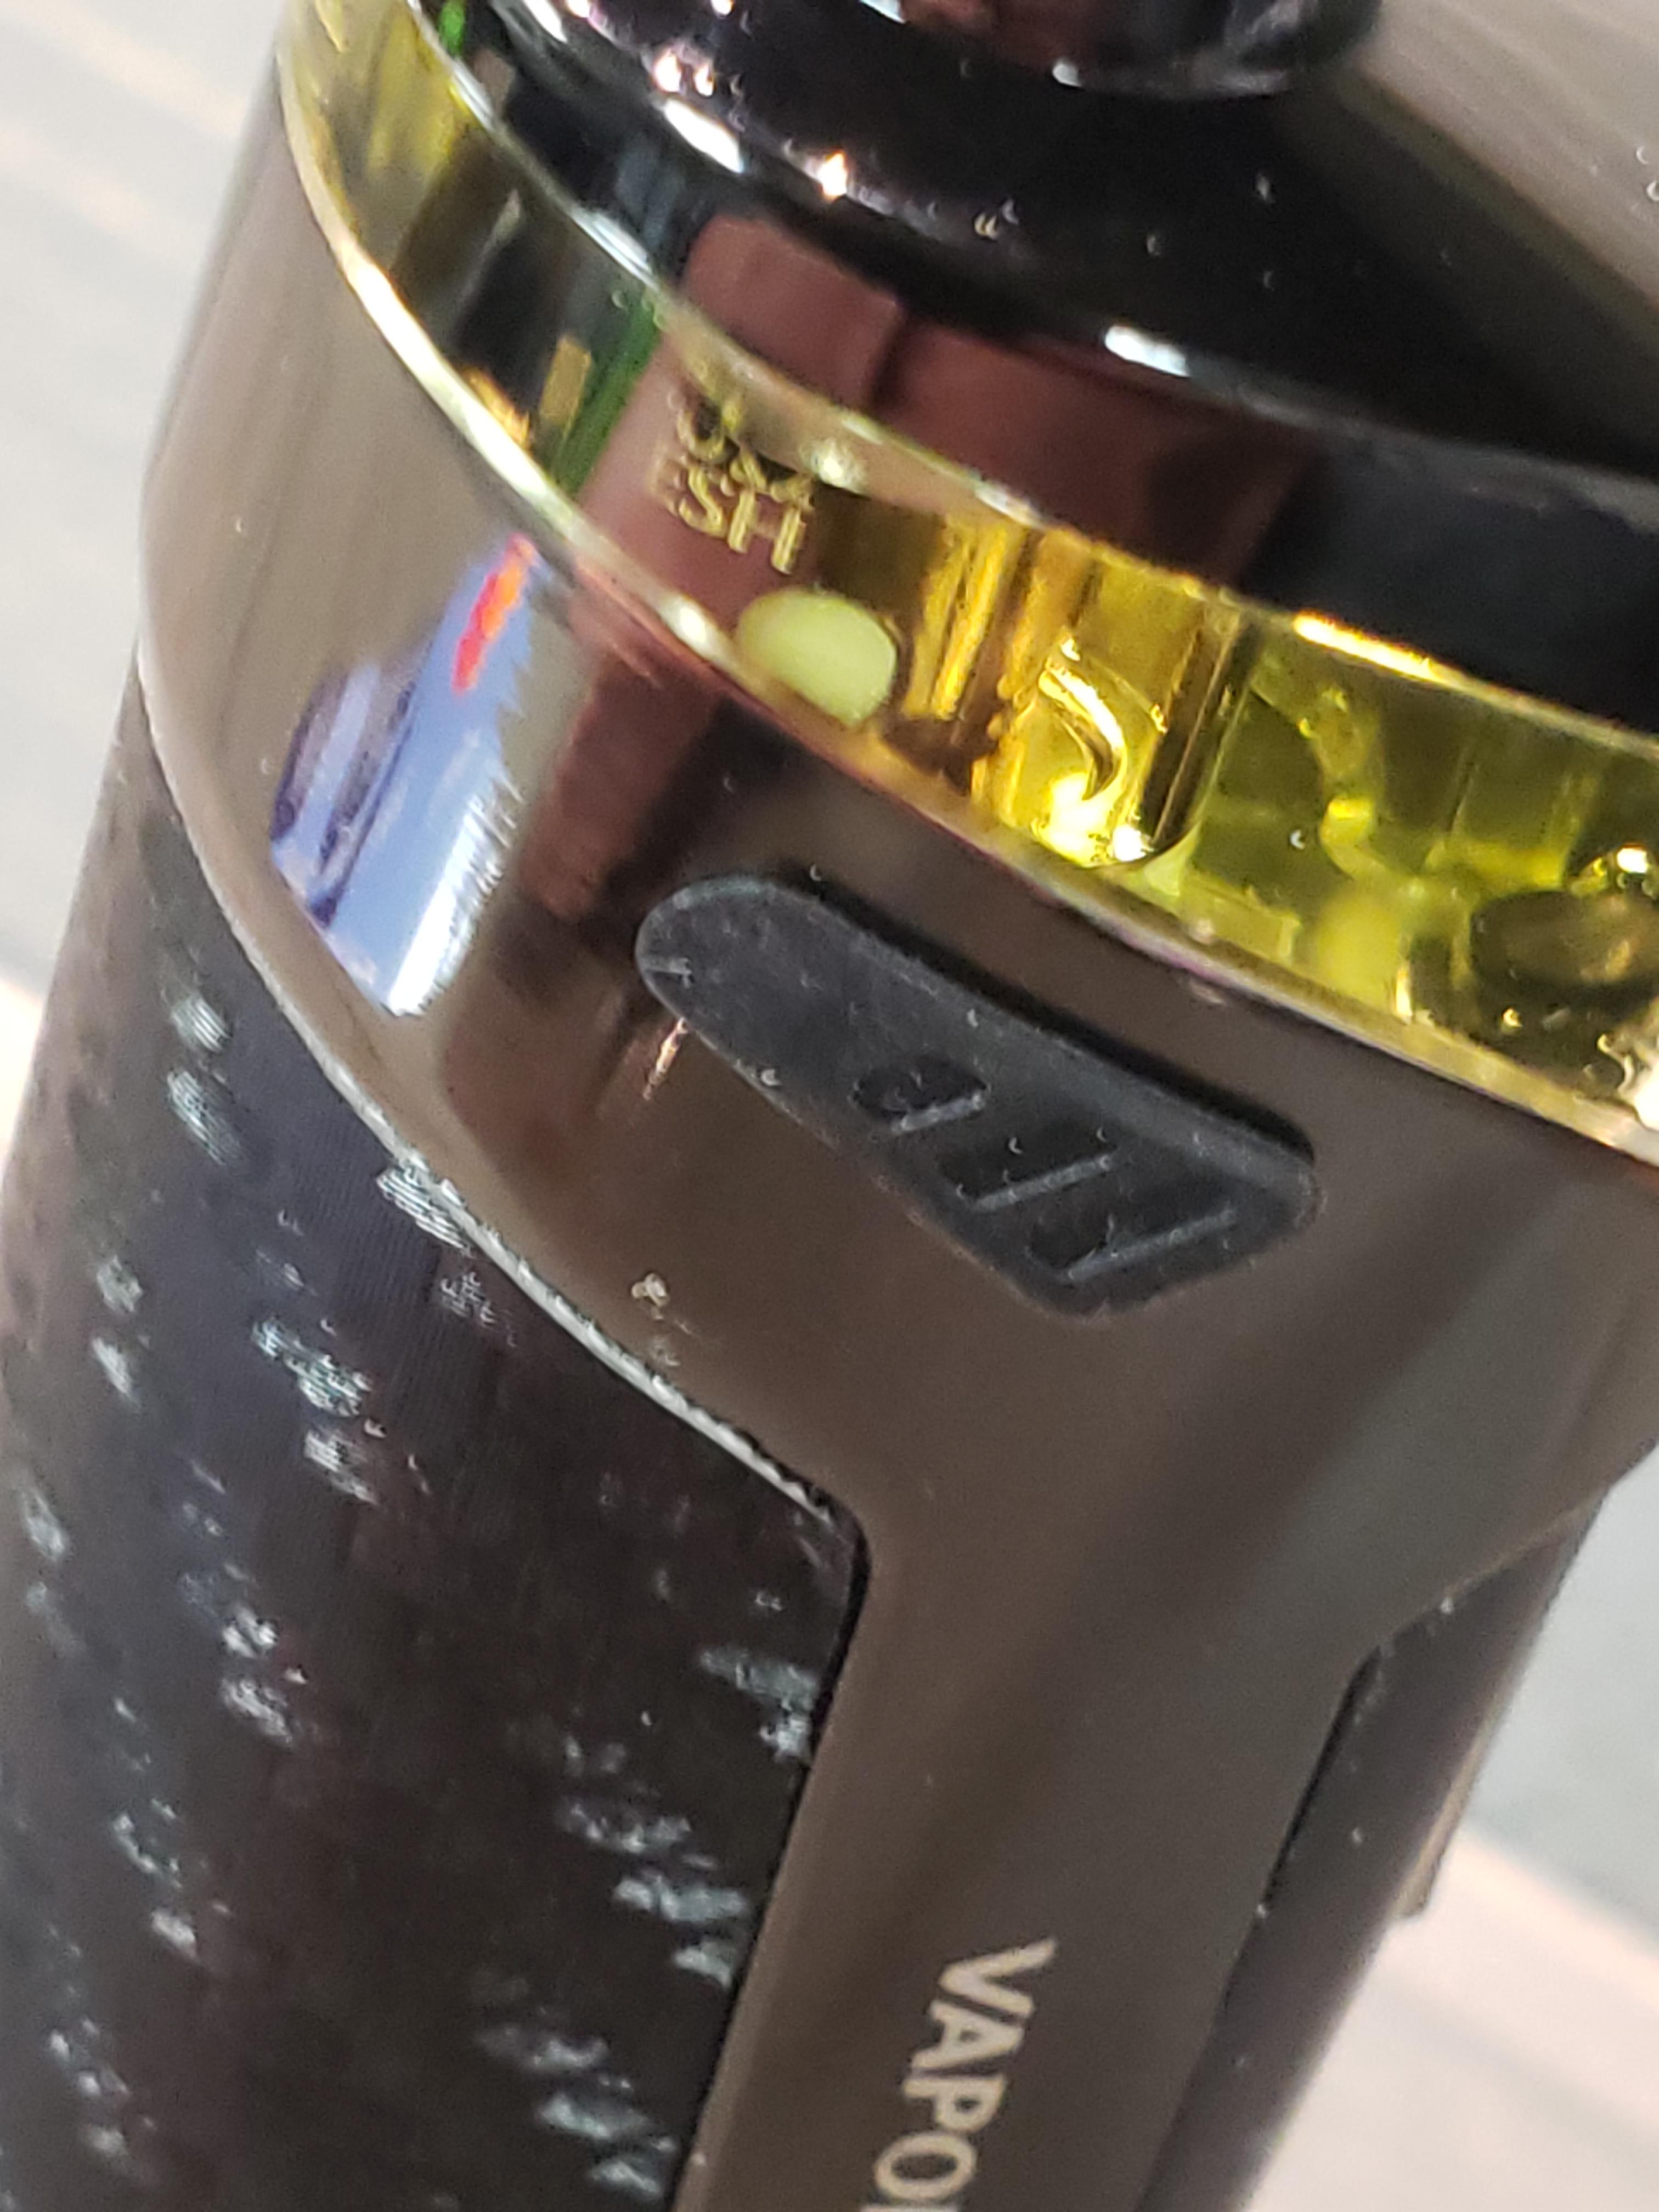
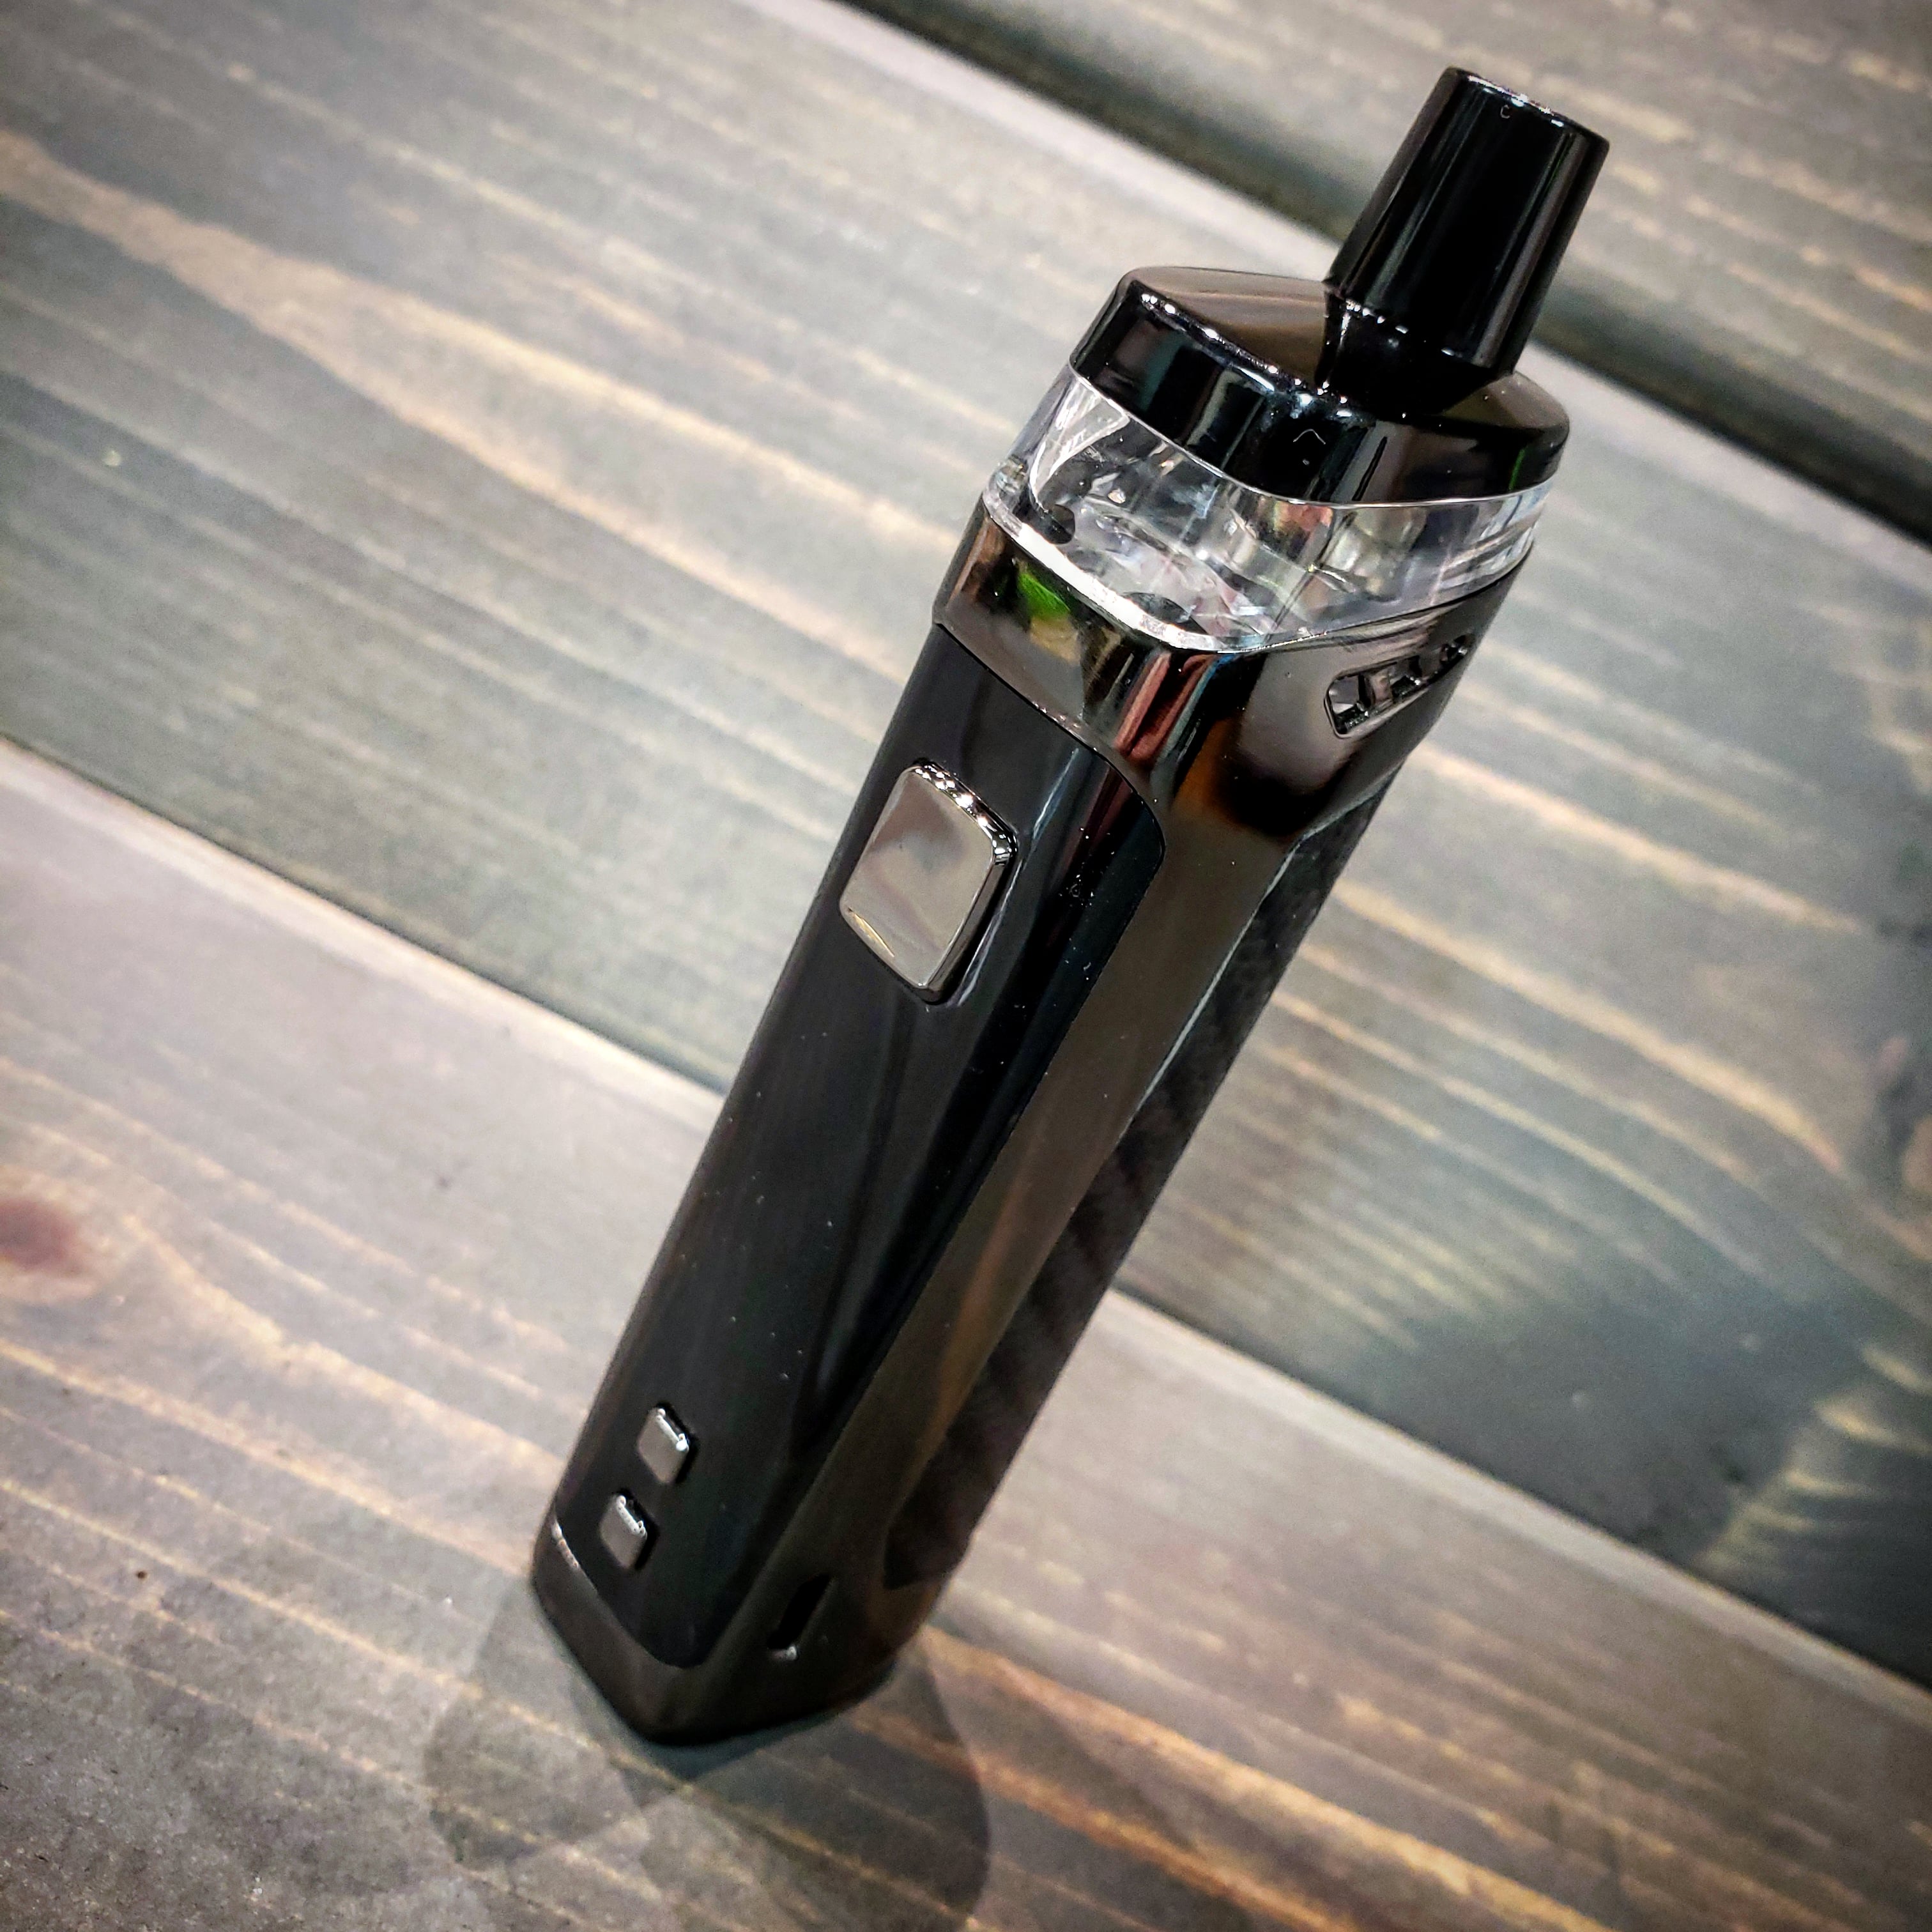
Well, well, well. The same, but different. Little bit taller, little bit slimmer, but still offering the same look as the previous model. Up top, the pod is the same as before, with the same nice fill port that is much less messy than other rubber flapper fill ports we have seen before. As you work the way down the body, you will find that the display has now changed from a color, vertical display to a horizontal single color display thanks to the Axon chip inside. Since it shares the same name as the Gen mod, I can only assume it is a dumbed down version of the same chipset. At the bottom, you will find a hinged battery door. Nothing too fancy, just a regular slide and hinge mechanism. Feels ok, but not super solid considering how small it is. The looks of the device overall work for me. I love the color scheme, simplicity, and form factor. It feels great as I transfer it over and over in my hand and the button works for thumb or finger firing.
_____________________________________________________________________________________
OPERATION
I will say this time and time again, but Vaporesso always has consistency when it comes to operating their chipsets. Once you have used one, they follow a similar pattern making it easy to dive in and start using. Here is a breakdown of the operation:
That covers how to operate this device. Once you know the few button combos, it is super simple to navigate and use.
_____________________________________________________________________________________
USEAGE
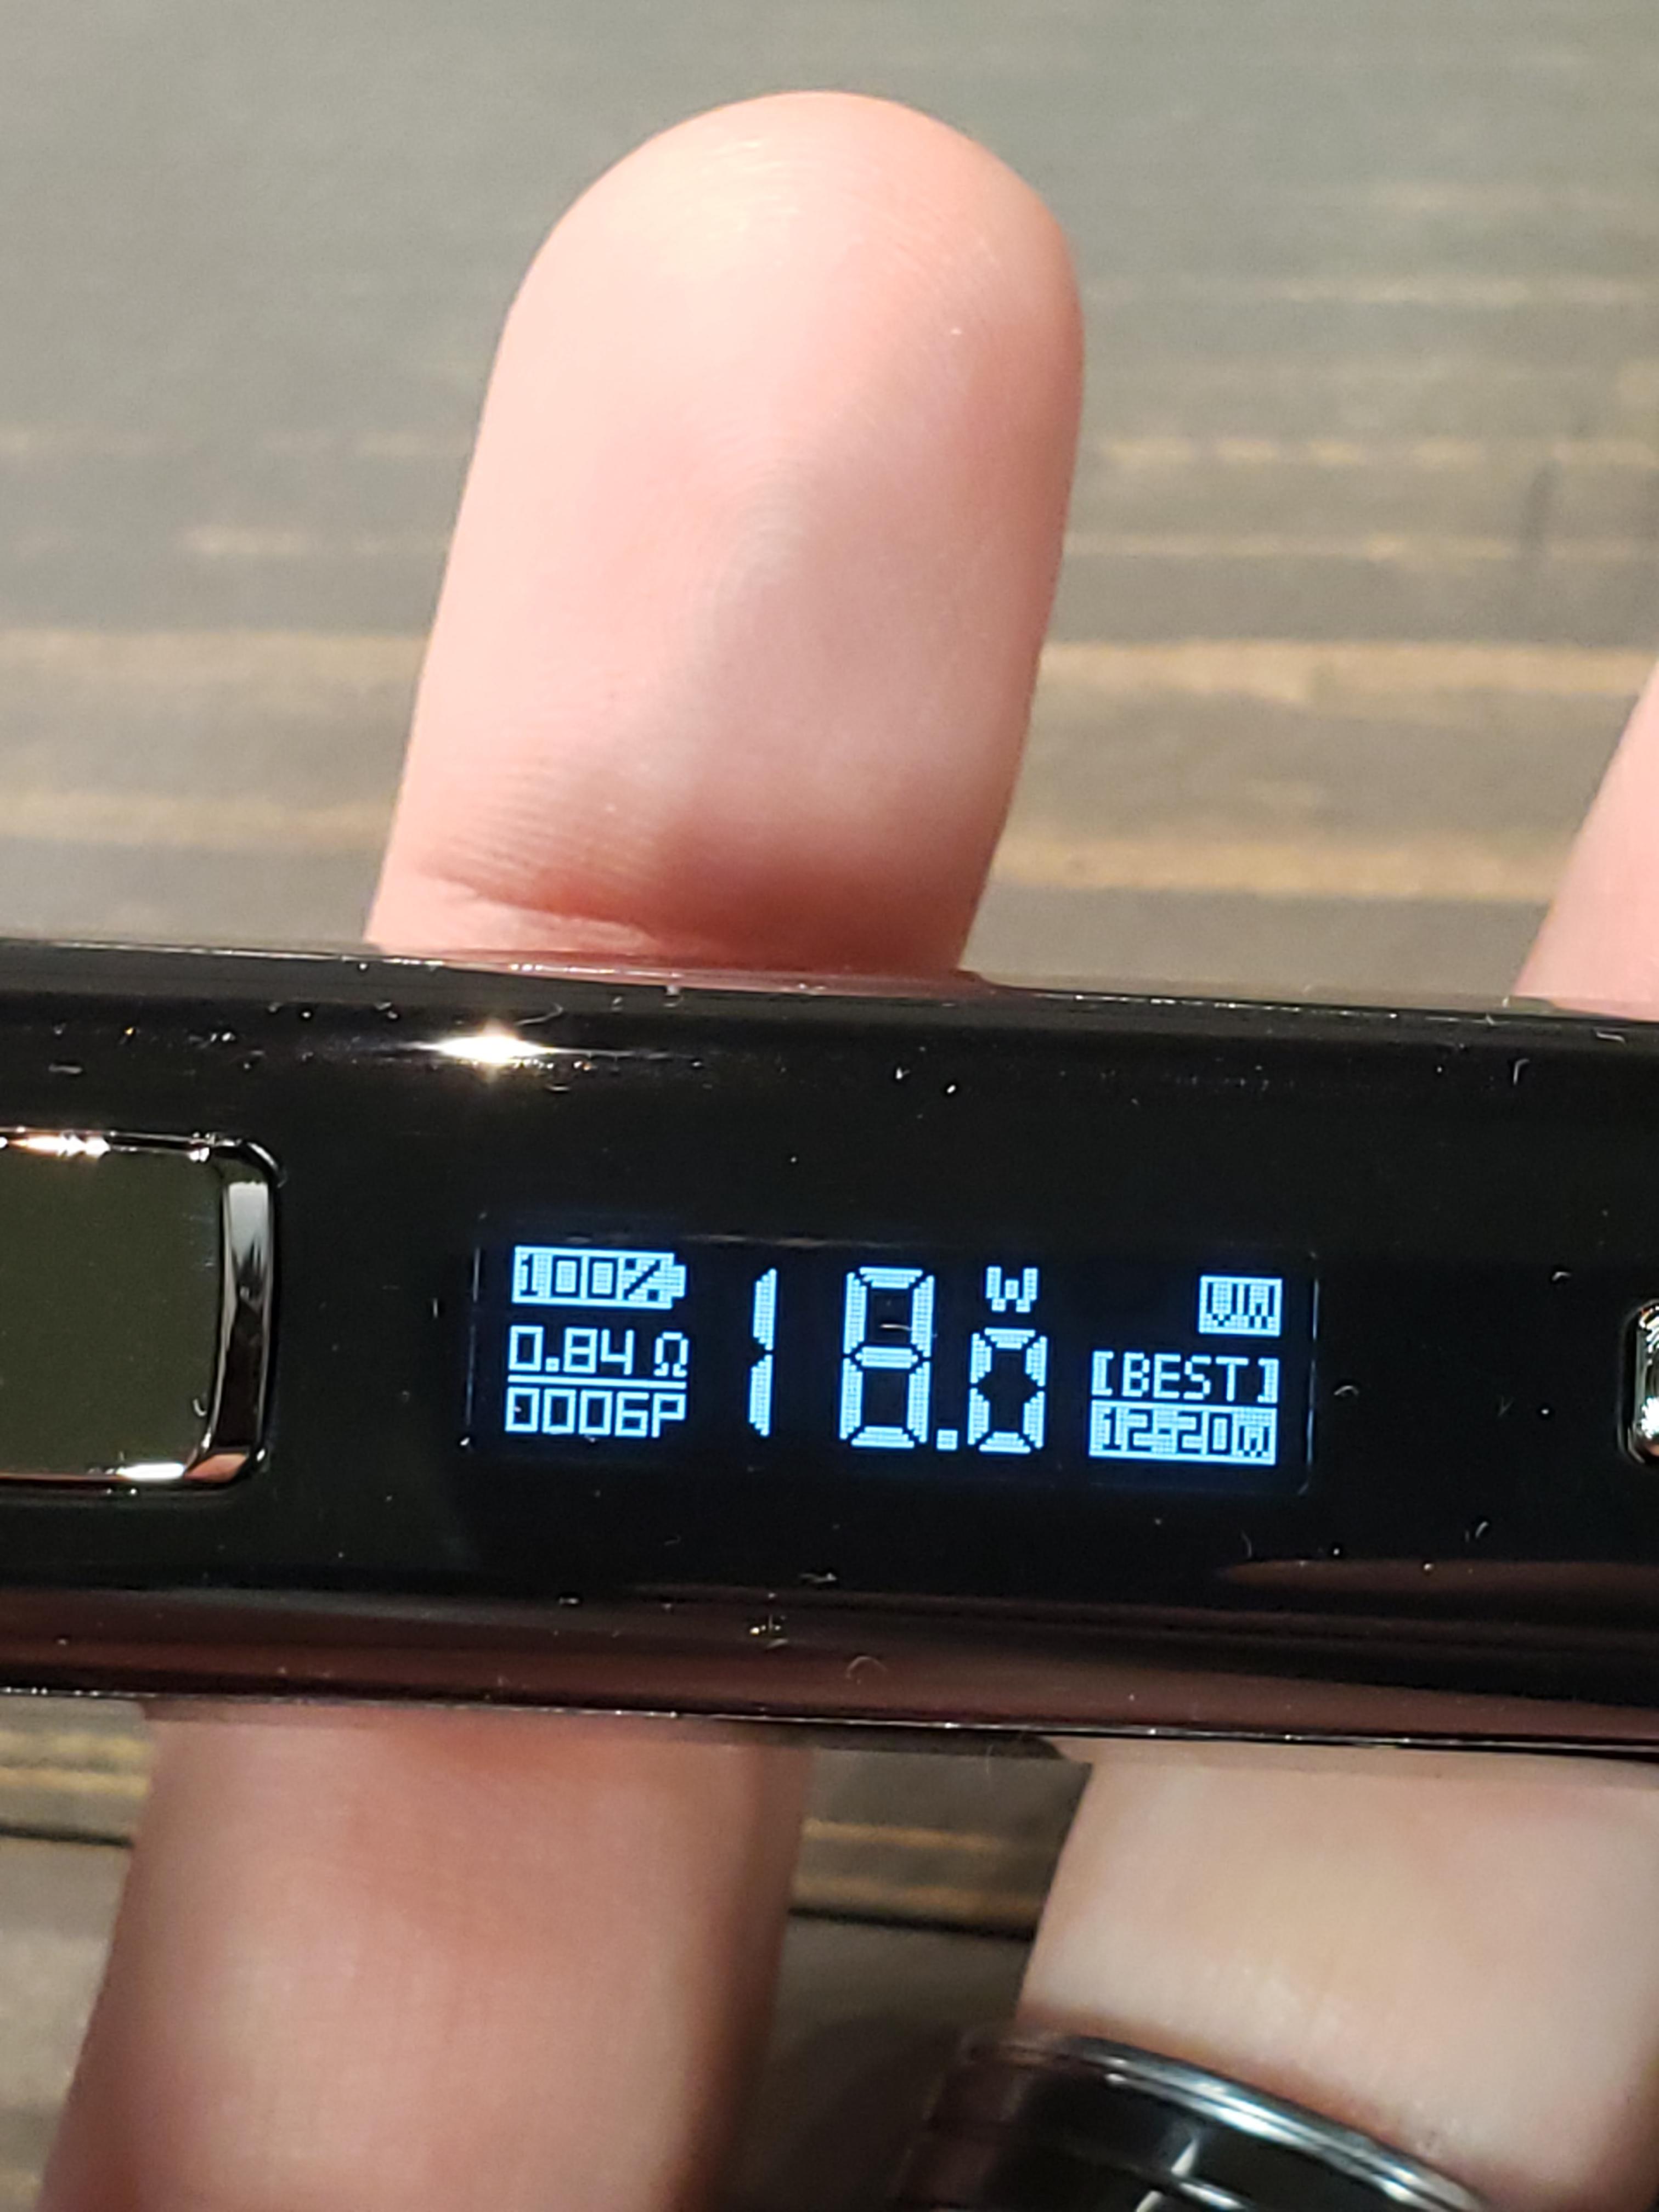
Thanks to the simple chipset, getting started on the device is super easy. One of the standout features of the chipset is how it recognizes what coil is installed and offers a “best” range shown on the lower right corner of the display and it sets wattage on new coils to the middle road of that range. It is pretty much idiot proof and I appreciate that. I tested out a wide range of coils for this one, and I decided to break down usage more by each coil more than anything.
.2-ohm GTX Mesh coil - This is designed more for direct lung. I used mine at 55w with 3mg liquid and it was excellent. Flavor is solid, airflow is smooth, and it is a great option for more vapor on the go. My only complaint with the coil is that after a handful of refills I started to see some leaking into the base.
.6-ohm GTX Mesh coil - For this one, I decided to go with 6mg liquid. Glad I did, as it is a little more restricted, and with lower power comes a desire for higher nicotine. This coil was beautiful for 6mg and I found myself wanting to grab it even more now than with the lower resistance more cloud chasing setup in the .2-ohm coil.
Optional RBA base - Ah yes, an RBA base. I didn’t see this coming, but glad it did. For this one, I used the provided coil which is a 2mm round spaced build. Without modifying the coil it came out to .71-ohms which the device detected as good between 16-25w. Building the RBA isn’t the easiest in the world, but I found it to work great right out of the gate with my first build. Challenge number one is size. It is small, so it takes some gentle hands to install and position the coil. Challenge two is preheating, since they don’t include a base for a 510. I combated this by partially installing into the pod with the cap off, fired it on low wattage and looked for hot spots through the drip tip. It was glowing perfectly, so it was time to wick. This thing uses hardly any cotton outside of the coil. I thinned mine out a ton and just barely tucked into the juice flow inlets. Works great, keeps up, and no leaks after 12 mls. I can’t really complain.
Other notes in regard to using the device itself. I enjoy it. It is compact, LOVE that it uses an external 18650, and it just works. There is very little to complain about.
_____________________________________________________________________________________
PHOTO GALLERY

_____________________________________________________________________________________
Hello everyone and welcome to another review. This is Pizza Dave and today I will be going over the Target PM80se by Vaporesso. This is the follow up to the Target PM80 I reviewed a while back. That device wasn’t too bad, but this makes some changes to make it a whole different animal, with the most obvious change being an 18650 battery instead of a measly built-in 2000mah battery. I will go over all these tweaks in the review, but let’s get right to it eh?
DISCLAIMER: This device was sent to me by Vaporesso for review.
_____________________________________________________________________________________
WHAT YOU GET
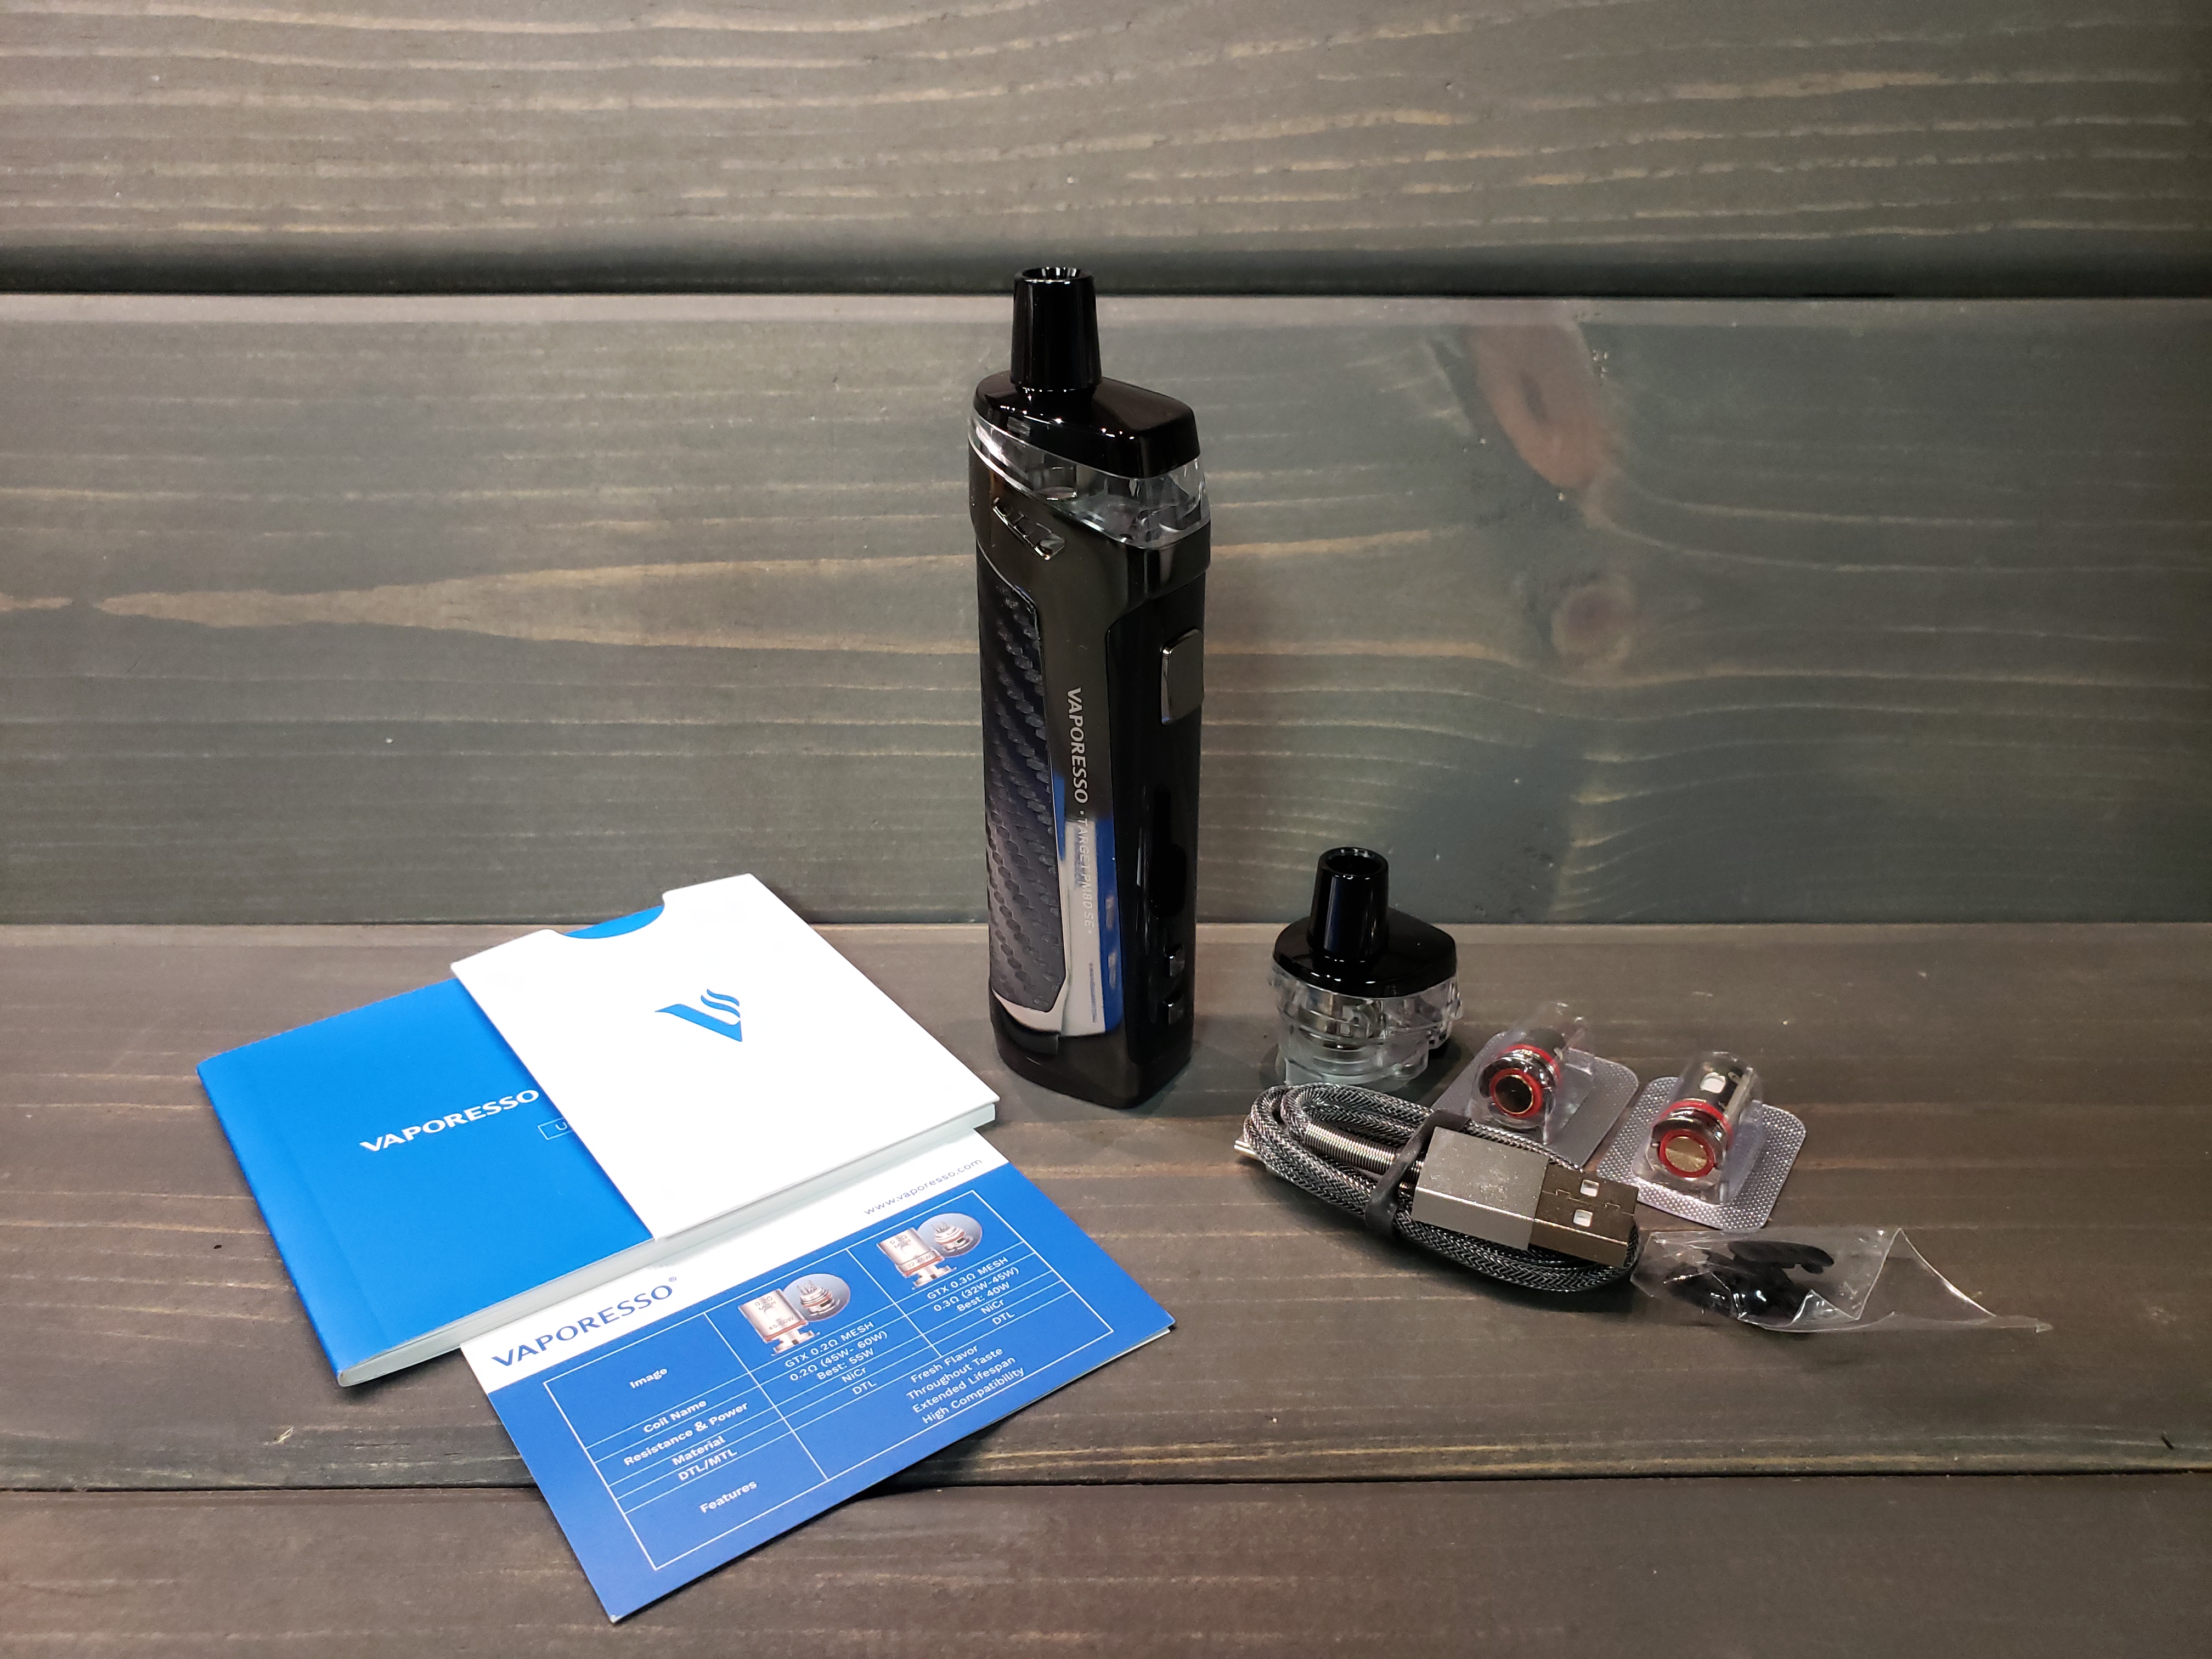
- 1 Vaporesso Target PM80se
- 2 4mL pods
- 1 .2-ohm GTX mesh coil
- 1 .6-ohm GTX mesh coil
- Airflow adjustment inserts
- 1 Micro USB charging cable
- Paperwork
Available in gunmetal bodies with accent panels of blue, black(carbon fiber pattern), red, green, purple, and silver.
STOCK SHOT
PACKAGING
UNBOXED
_____________________________________________________________________________________
Measurements: 121.3mm x 24.8mm x 33.4mm
Battery: Single 18650
Power Range: 5-80w, scrolling in .5-watt increments
Capacity: 4mL (2mL for TPD)
Other features: .91” non-color display
_____________________________________________________________________________________
FIRST IMPRESSIONS
Well, well, well. The same, but different. Little bit taller, little bit slimmer, but still offering the same look as the previous model. Up top, the pod is the same as before, with the same nice fill port that is much less messy than other rubber flapper fill ports we have seen before. As you work the way down the body, you will find that the display has now changed from a color, vertical display to a horizontal single color display thanks to the Axon chip inside. Since it shares the same name as the Gen mod, I can only assume it is a dumbed down version of the same chipset. At the bottom, you will find a hinged battery door. Nothing too fancy, just a regular slide and hinge mechanism. Feels ok, but not super solid considering how small it is. The looks of the device overall work for me. I love the color scheme, simplicity, and form factor. It feels great as I transfer it over and over in my hand and the button works for thumb or finger firing.
_____________________________________________________________________________________
OPERATION
I will say this time and time again, but Vaporesso always has consistency when it comes to operating their chipsets. Once you have used one, they follow a similar pattern making it easy to dive in and start using. Here is a breakdown of the operation:
- 5 clicks of the fire button turns the device on and off
- 3 clicks of the fire button locks out the adjustment button, but the device still fires. 3 clicks again unlock, and this is indicated right on the display
- Pressing fire and down together shows the chip and firmware information
- Pressing fire and up together flips the screen orientation
- Pressing the up and down enters the menu
- Smart VW mode - out of the box, VW mode is in smart mode. This shows recommended settings and sets to the middle ground of that range. If you turn this off, the VW is a standard VW mode where you control everything and it removes the “S” next to VW in the right corner. It still shows the “best” range on the lower right, but it will not change the wattage automatically when a coil is inserted.
- VW mode - variable wattage
- VV mode - variable voltage
- Default - sets device back to default settings
- Exit
- Smart VW mode - out of the box, VW mode is in smart mode. This shows recommended settings and sets to the middle ground of that range. If you turn this off, the VW is a standard VW mode where you control everything and it removes the “S” next to VW in the right corner. It still shows the “best” range on the lower right, but it will not change the wattage automatically when a coil is inserted.
That covers how to operate this device. Once you know the few button combos, it is super simple to navigate and use.
_____________________________________________________________________________________
USEAGE
Thanks to the simple chipset, getting started on the device is super easy. One of the standout features of the chipset is how it recognizes what coil is installed and offers a “best” range shown on the lower right corner of the display and it sets wattage on new coils to the middle road of that range. It is pretty much idiot proof and I appreciate that. I tested out a wide range of coils for this one, and I decided to break down usage more by each coil more than anything.
.2-ohm GTX Mesh coil - This is designed more for direct lung. I used mine at 55w with 3mg liquid and it was excellent. Flavor is solid, airflow is smooth, and it is a great option for more vapor on the go. My only complaint with the coil is that after a handful of refills I started to see some leaking into the base.
.6-ohm GTX Mesh coil - For this one, I decided to go with 6mg liquid. Glad I did, as it is a little more restricted, and with lower power comes a desire for higher nicotine. This coil was beautiful for 6mg and I found myself wanting to grab it even more now than with the lower resistance more cloud chasing setup in the .2-ohm coil.
Optional RBA base - Ah yes, an RBA base. I didn’t see this coming, but glad it did. For this one, I used the provided coil which is a 2mm round spaced build. Without modifying the coil it came out to .71-ohms which the device detected as good between 16-25w. Building the RBA isn’t the easiest in the world, but I found it to work great right out of the gate with my first build. Challenge number one is size. It is small, so it takes some gentle hands to install and position the coil. Challenge two is preheating, since they don’t include a base for a 510. I combated this by partially installing into the pod with the cap off, fired it on low wattage and looked for hot spots through the drip tip. It was glowing perfectly, so it was time to wick. This thing uses hardly any cotton outside of the coil. I thinned mine out a ton and just barely tucked into the juice flow inlets. Works great, keeps up, and no leaks after 12 mls. I can’t really complain.
Other notes in regard to using the device itself. I enjoy it. It is compact, LOVE that it uses an external 18650, and it just works. There is very little to complain about.
_____________________________________________________________________________________
PHOTO GALLERY
_____________________________________________________________________________________