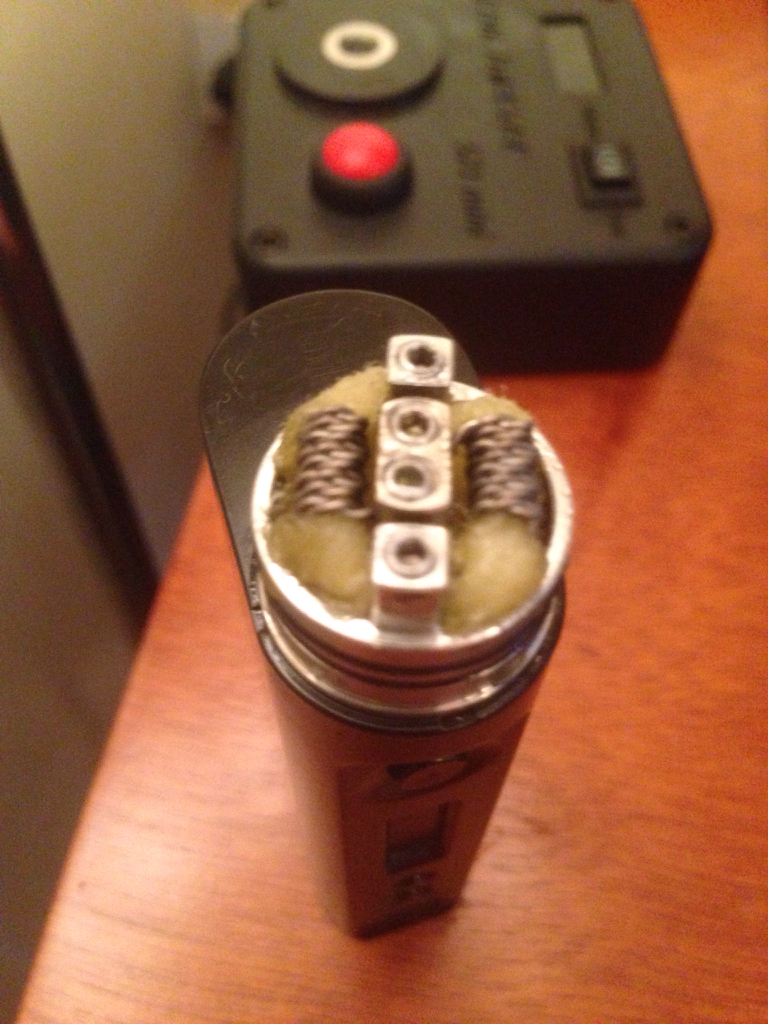
Thanks for the 4 core directions you posted, I made a successful foot.Been out on the road with the band, finally home and slowly building again.
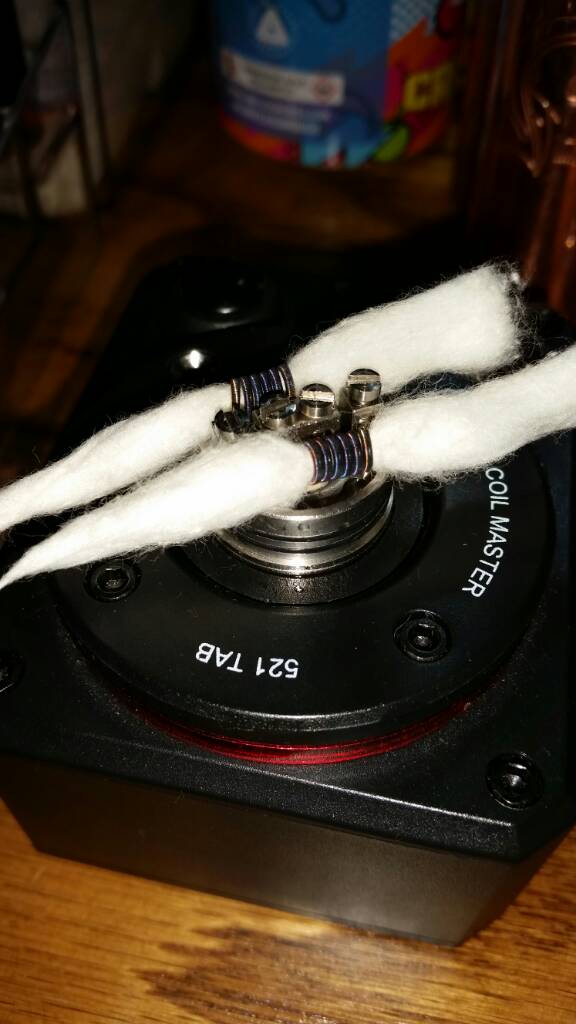
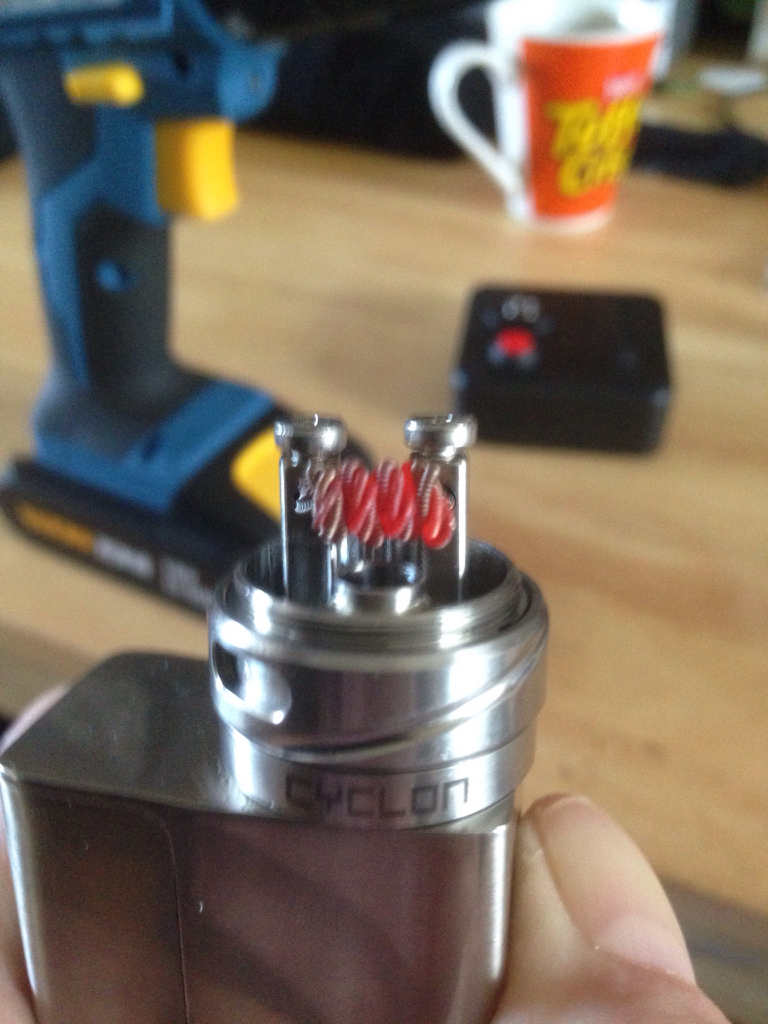
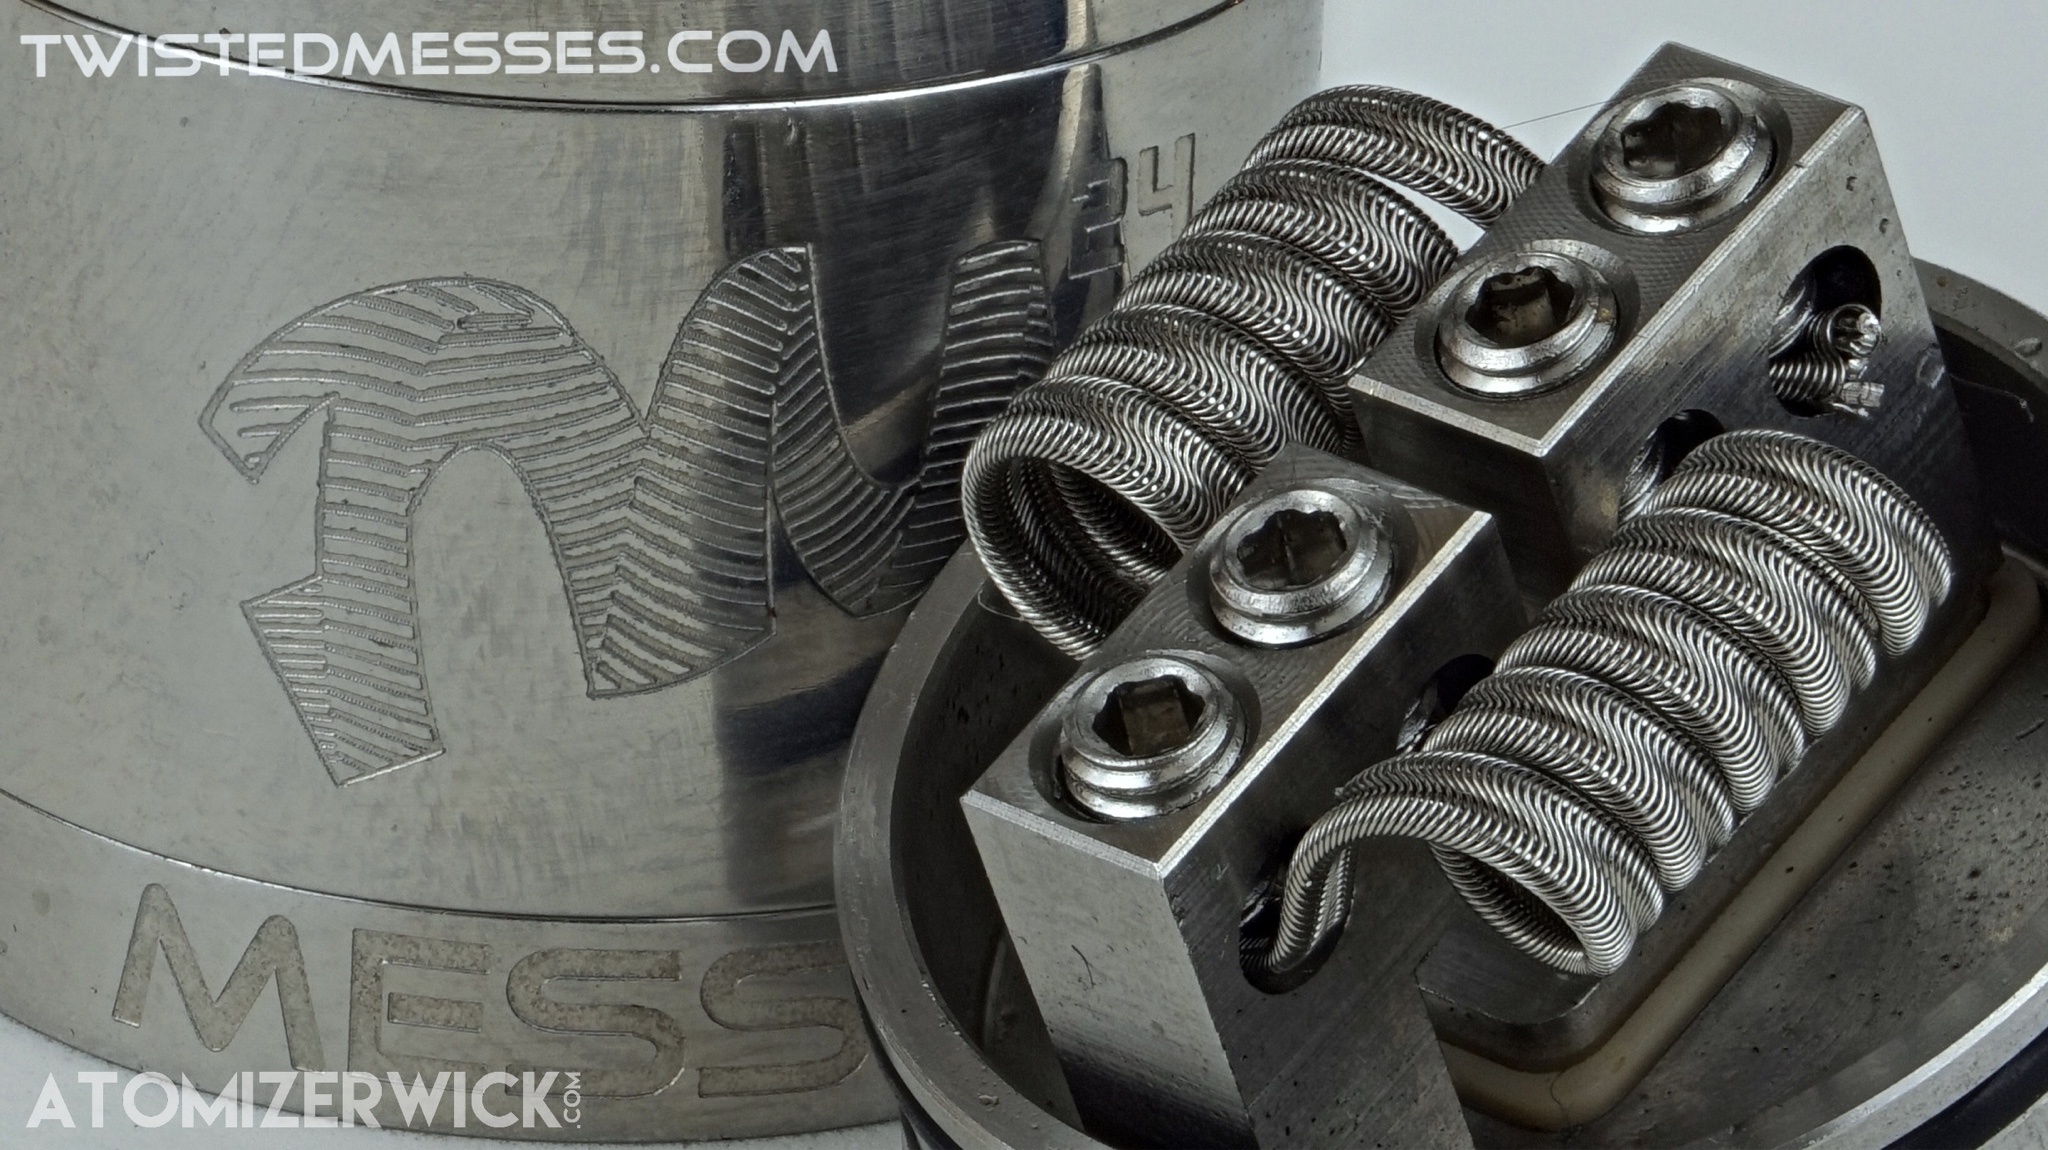
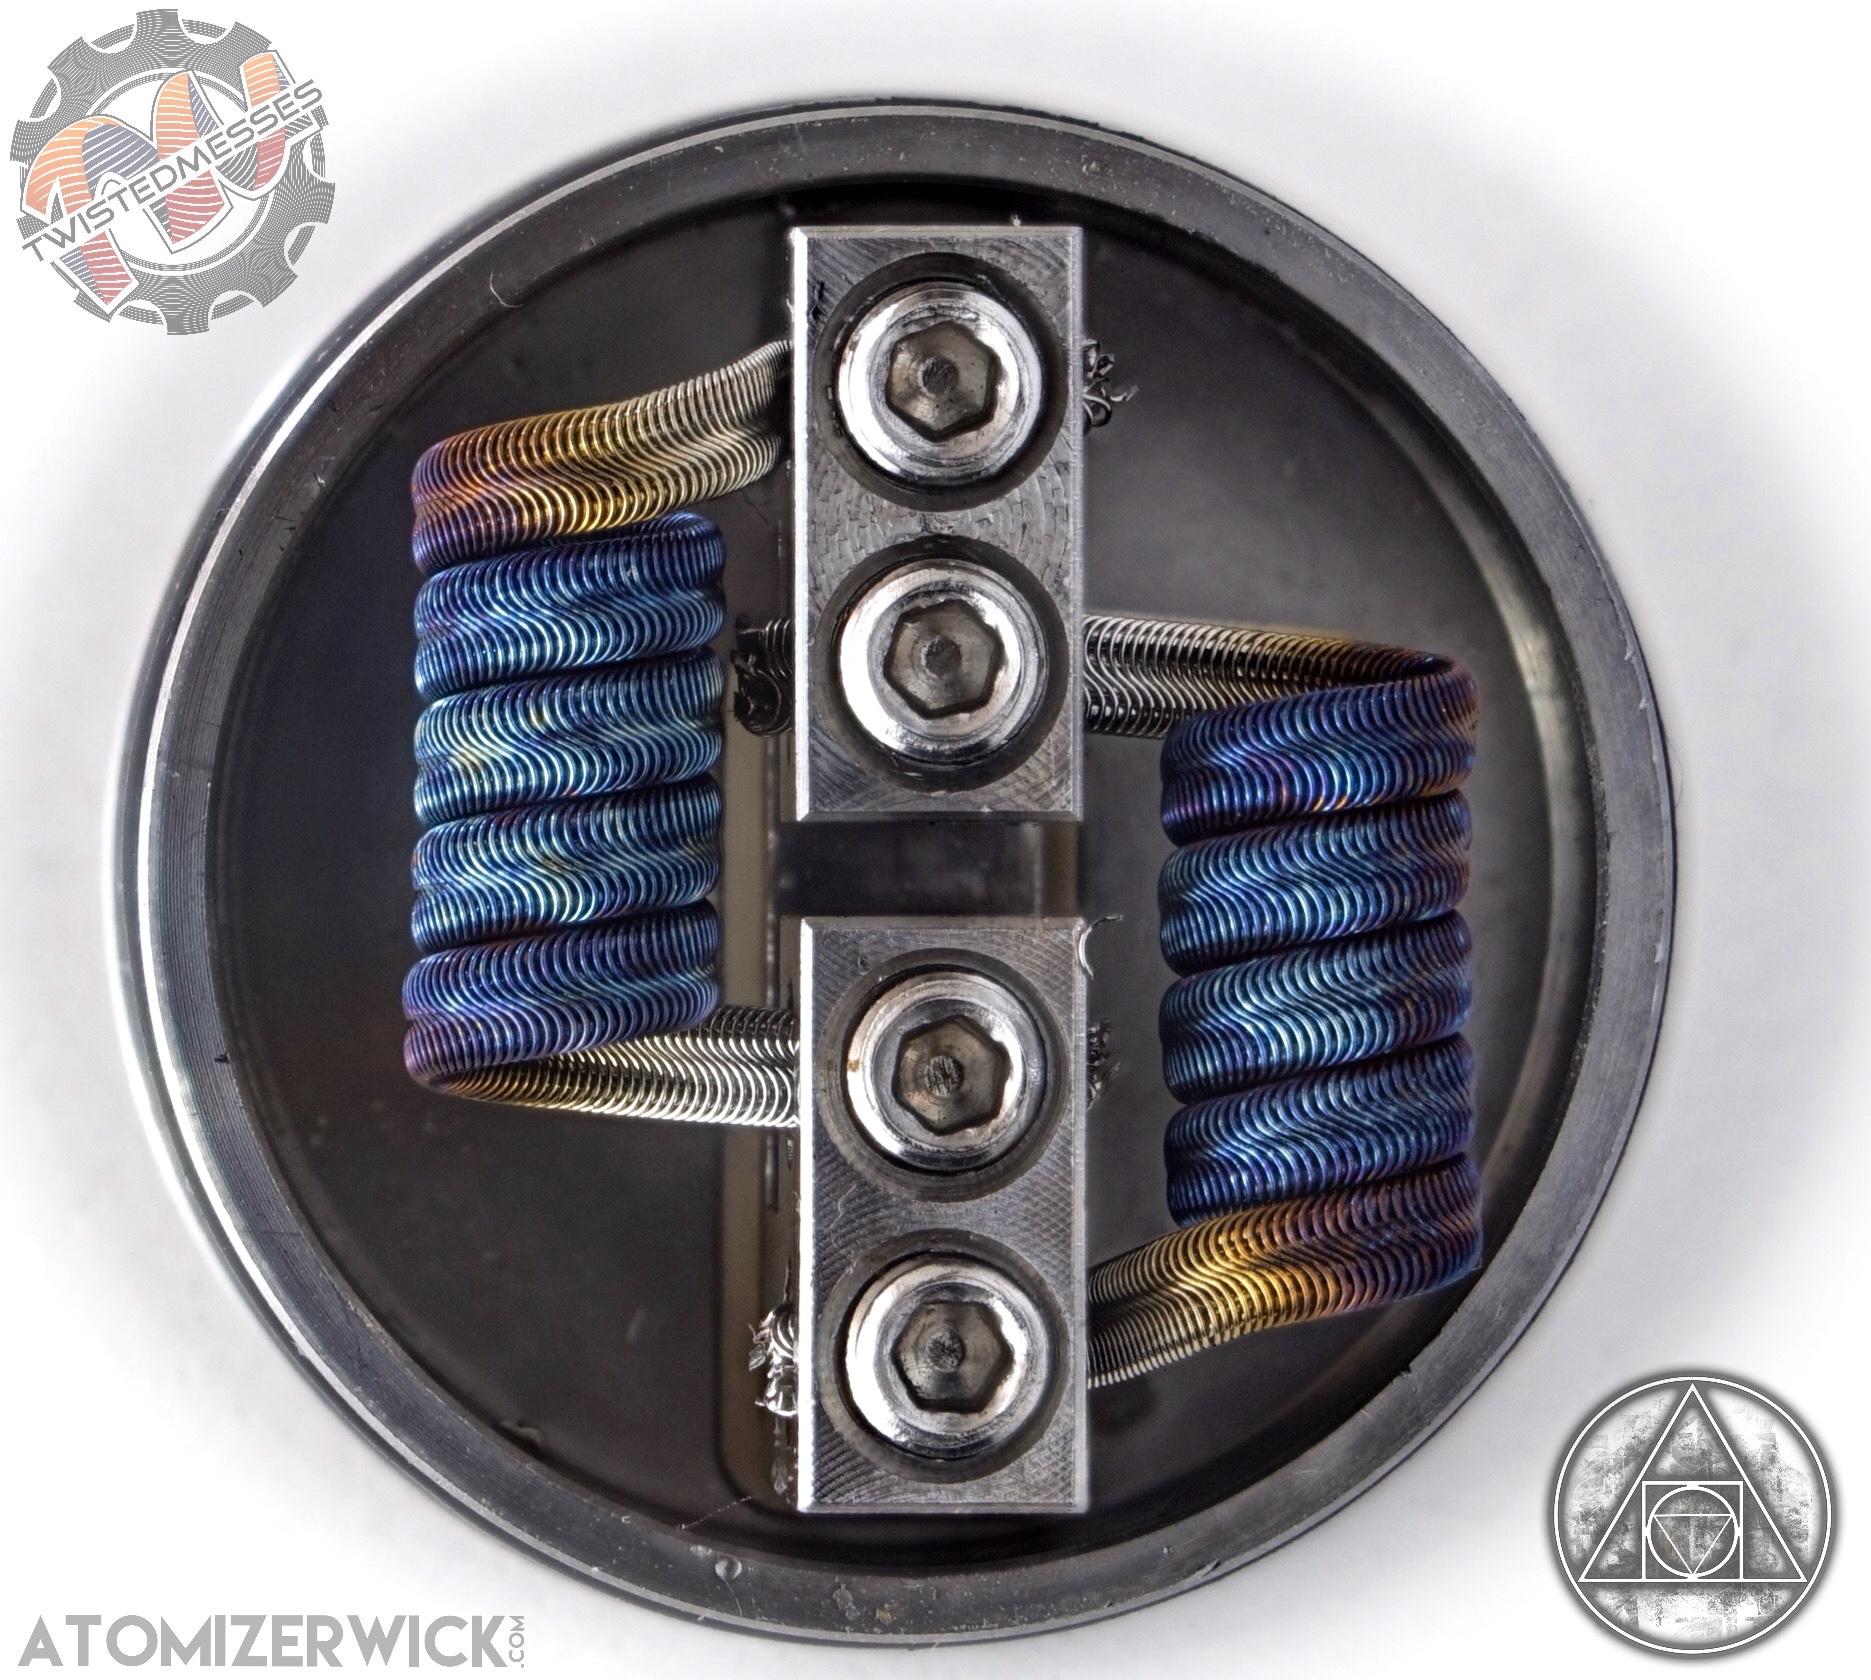
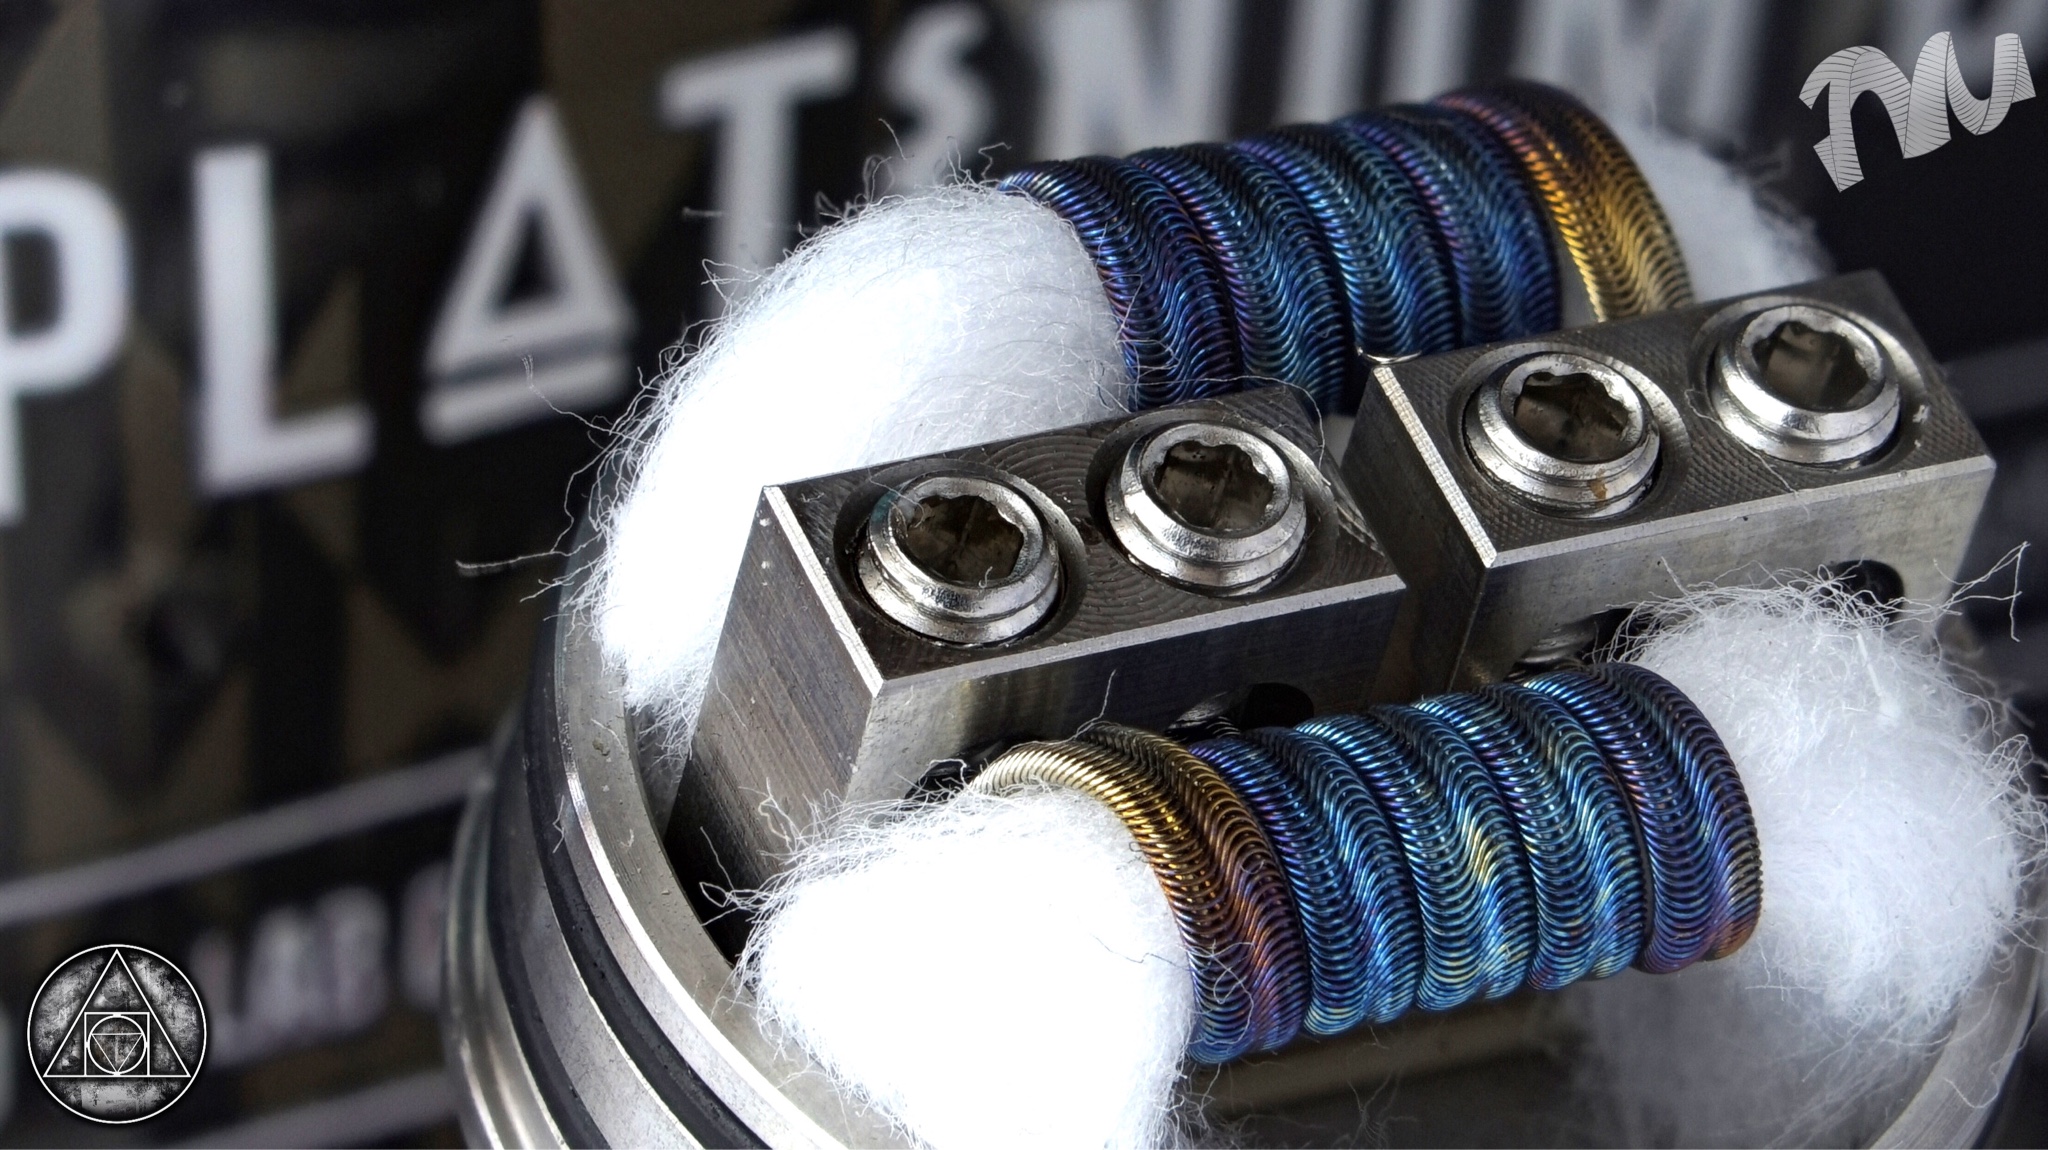
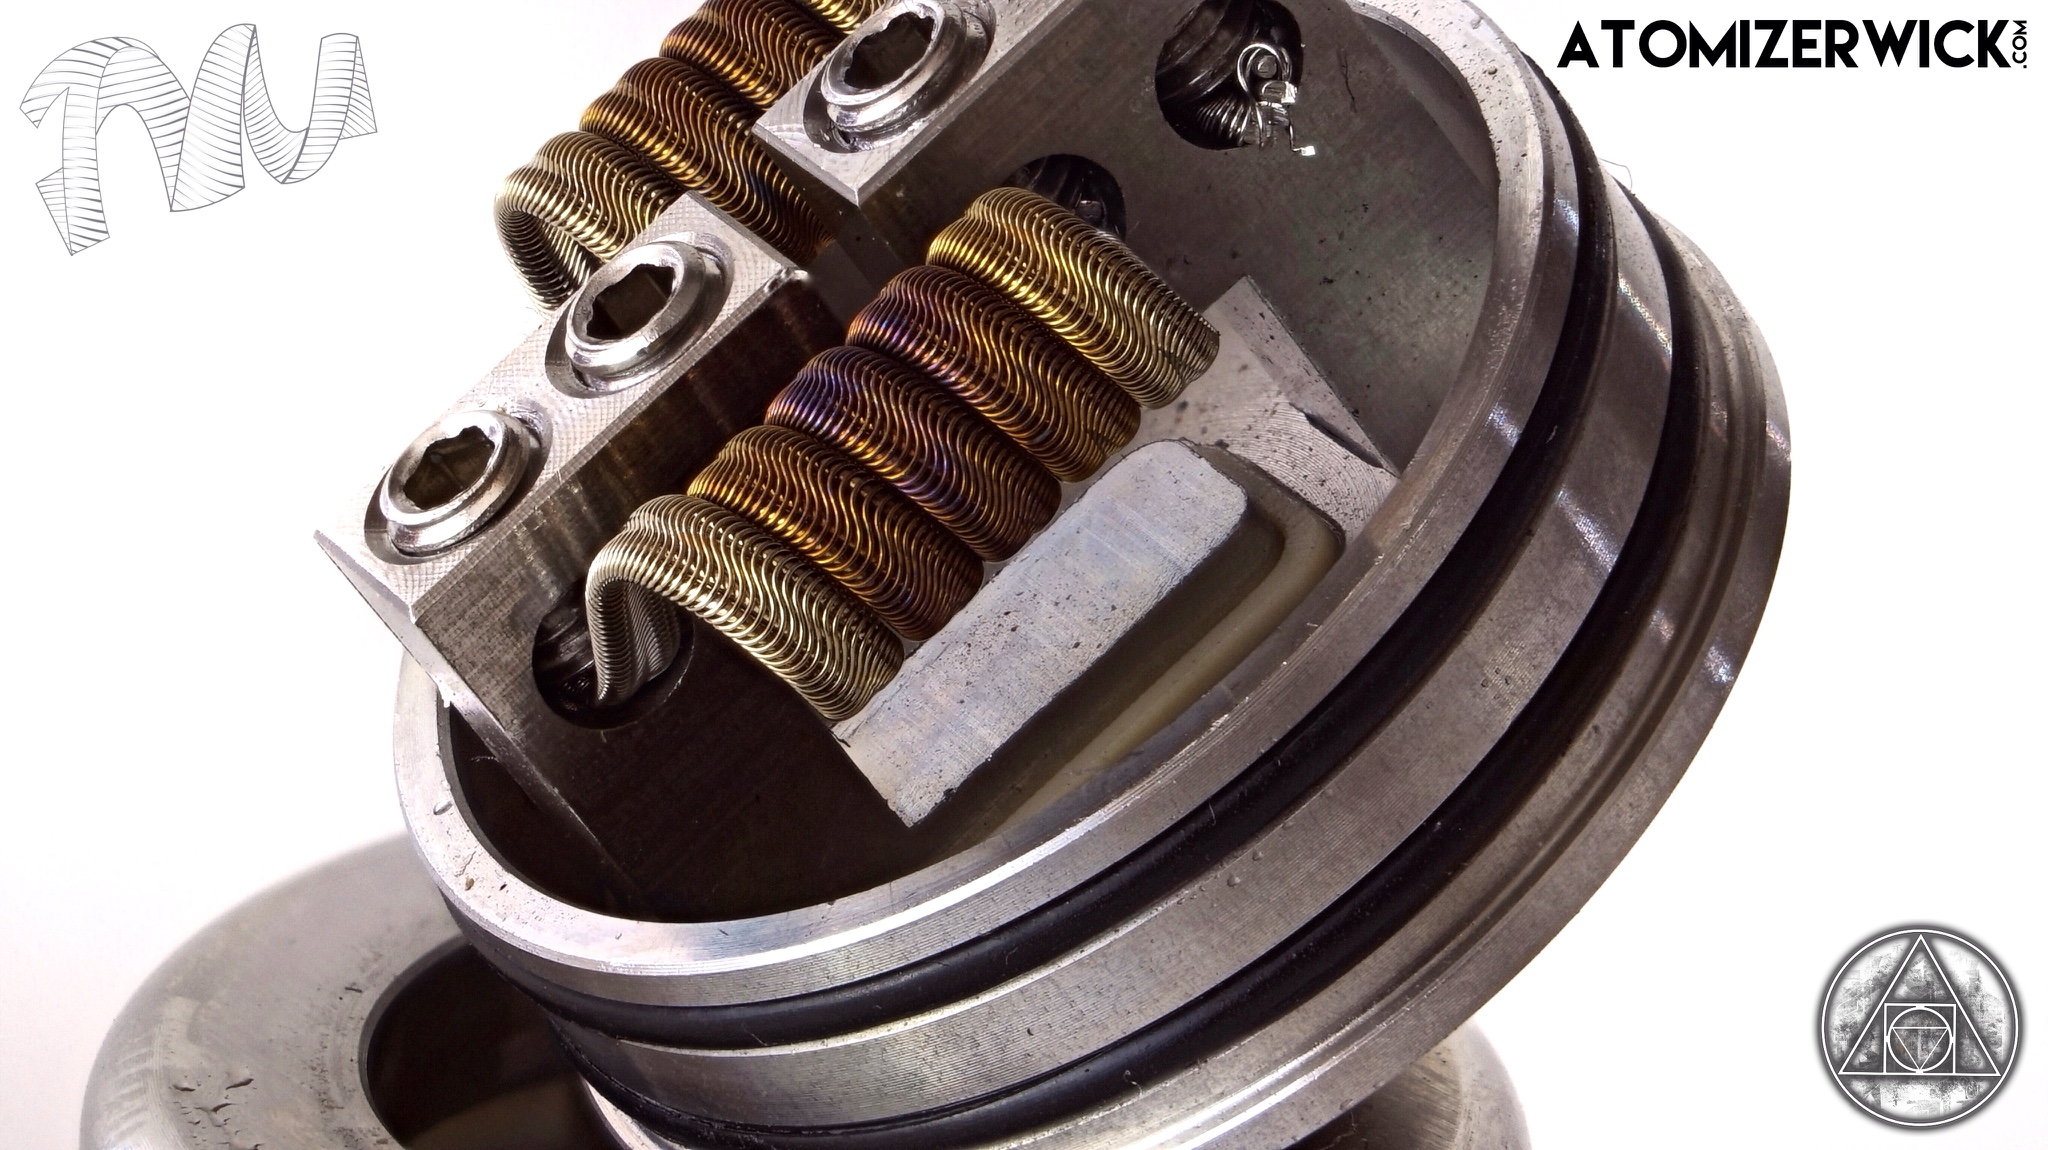
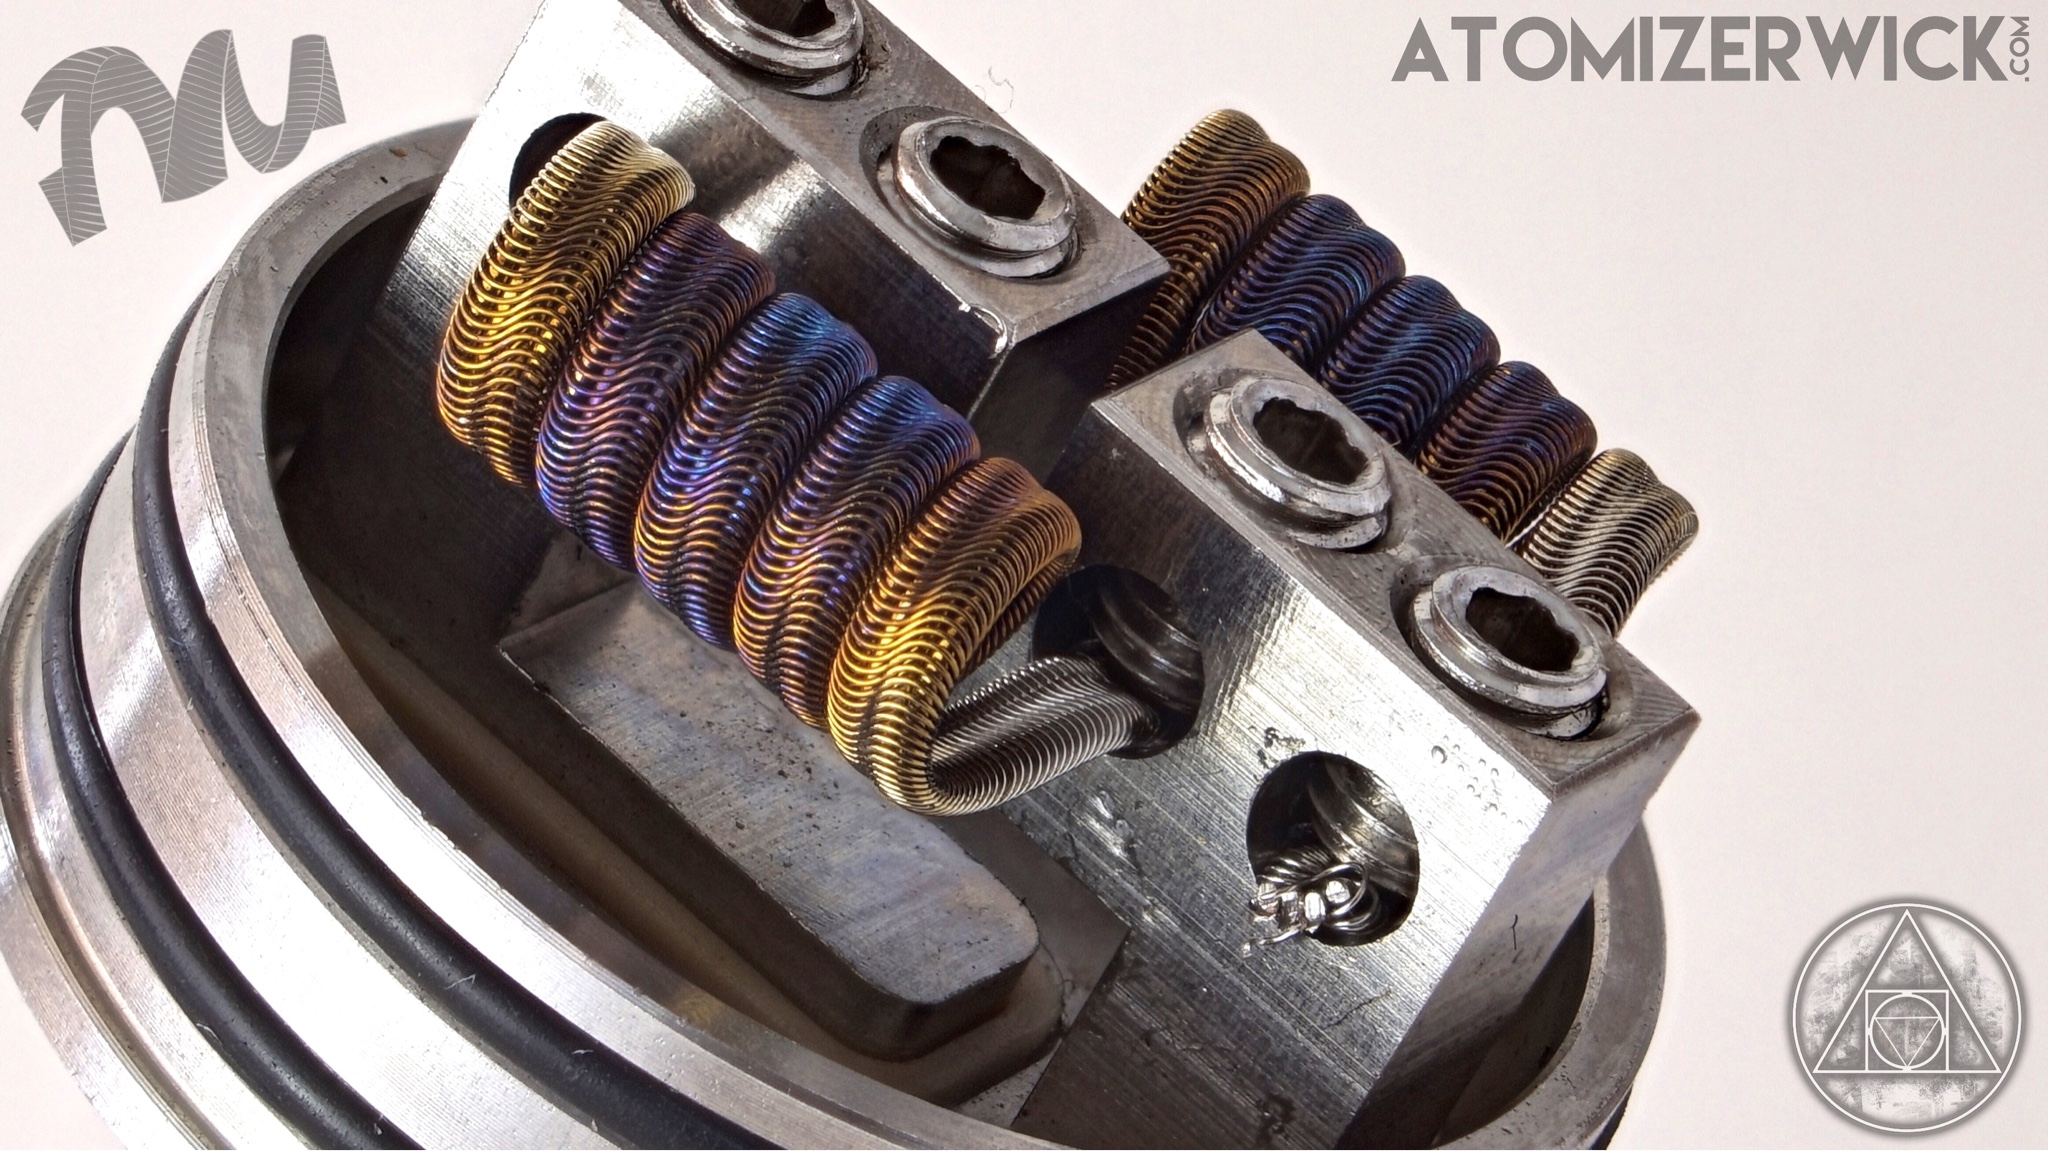
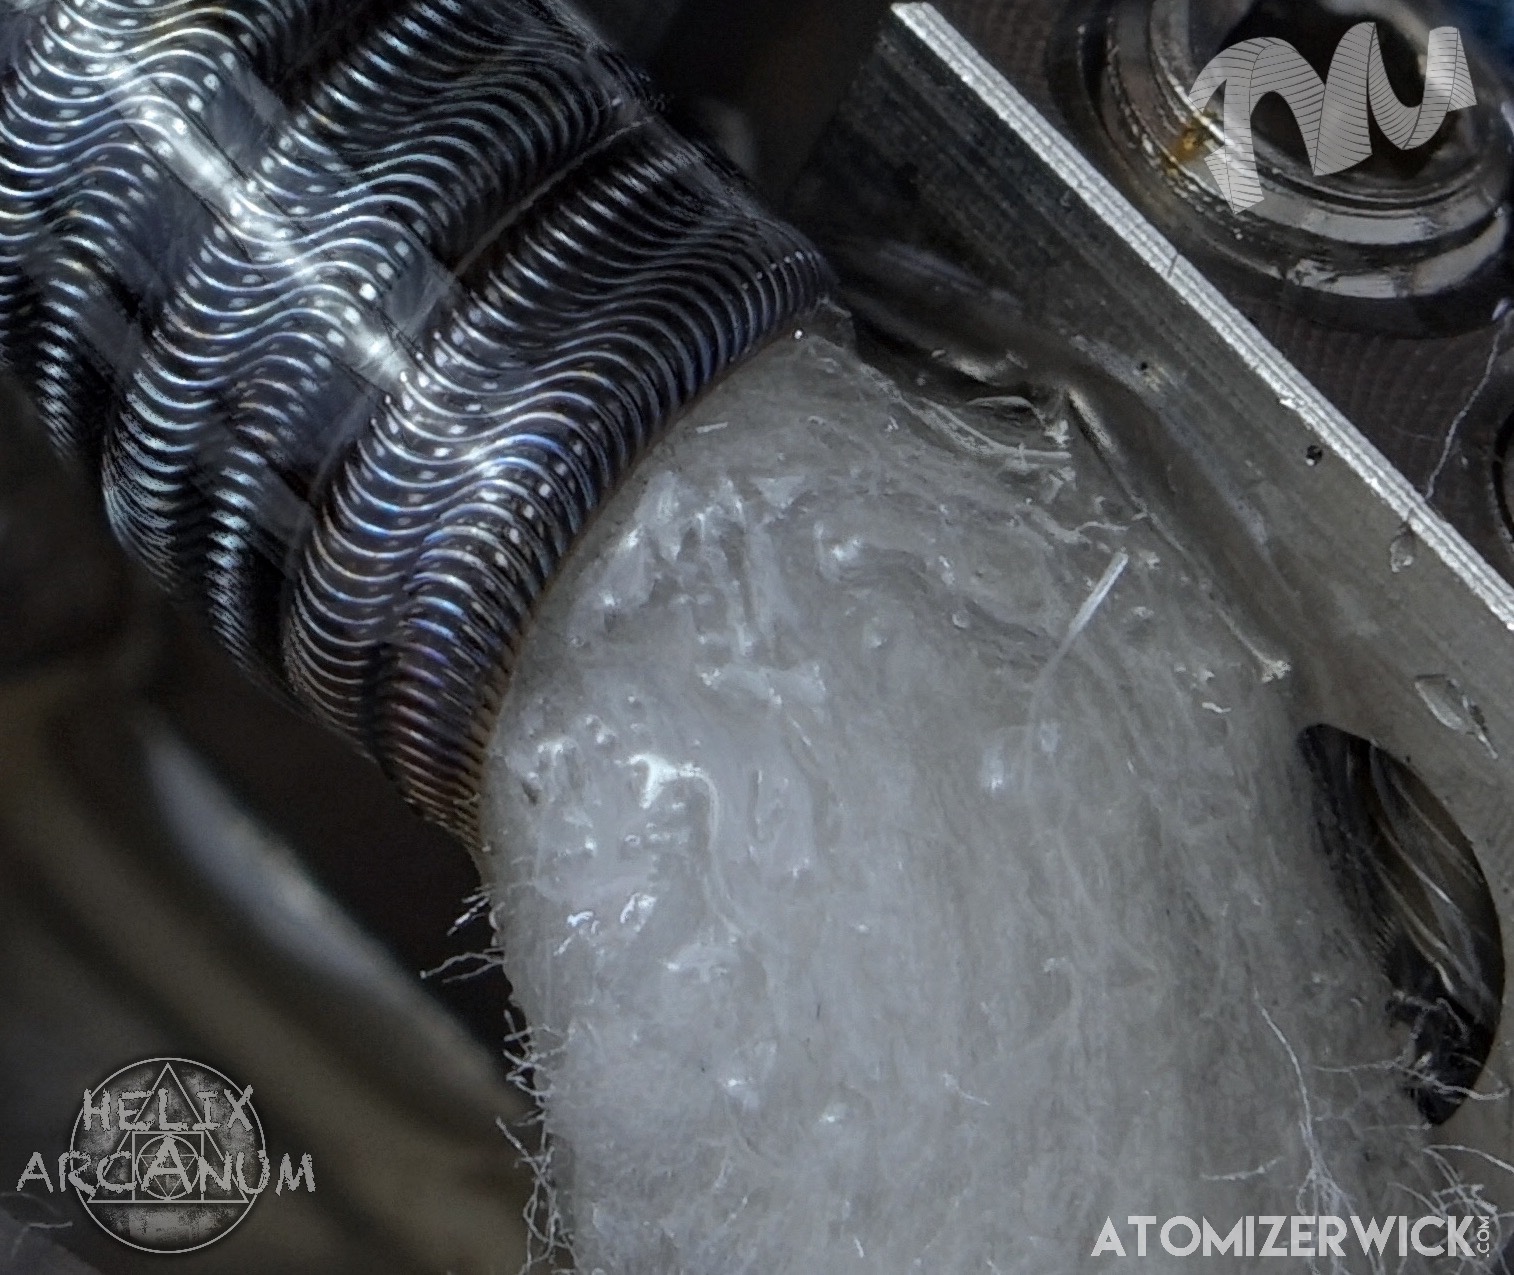
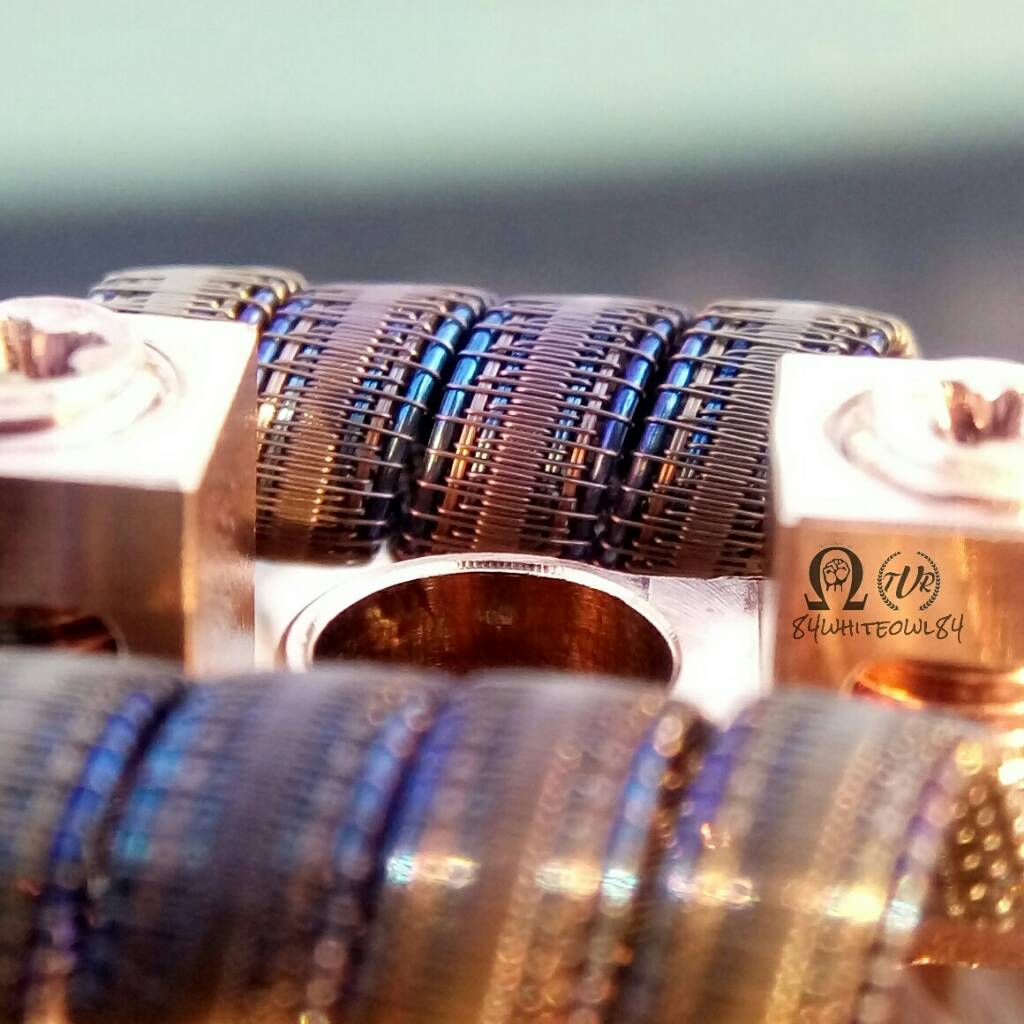
Here's some Quad~core Aliens in the TM24.
•4x28g//38g Atomizerwick N80•
Love the vape off these quad~cores, a tad warmer than traditional aliens, along with a touch better flavor i think. Not a much different than building regular aliens, i used 24g for my de~core.
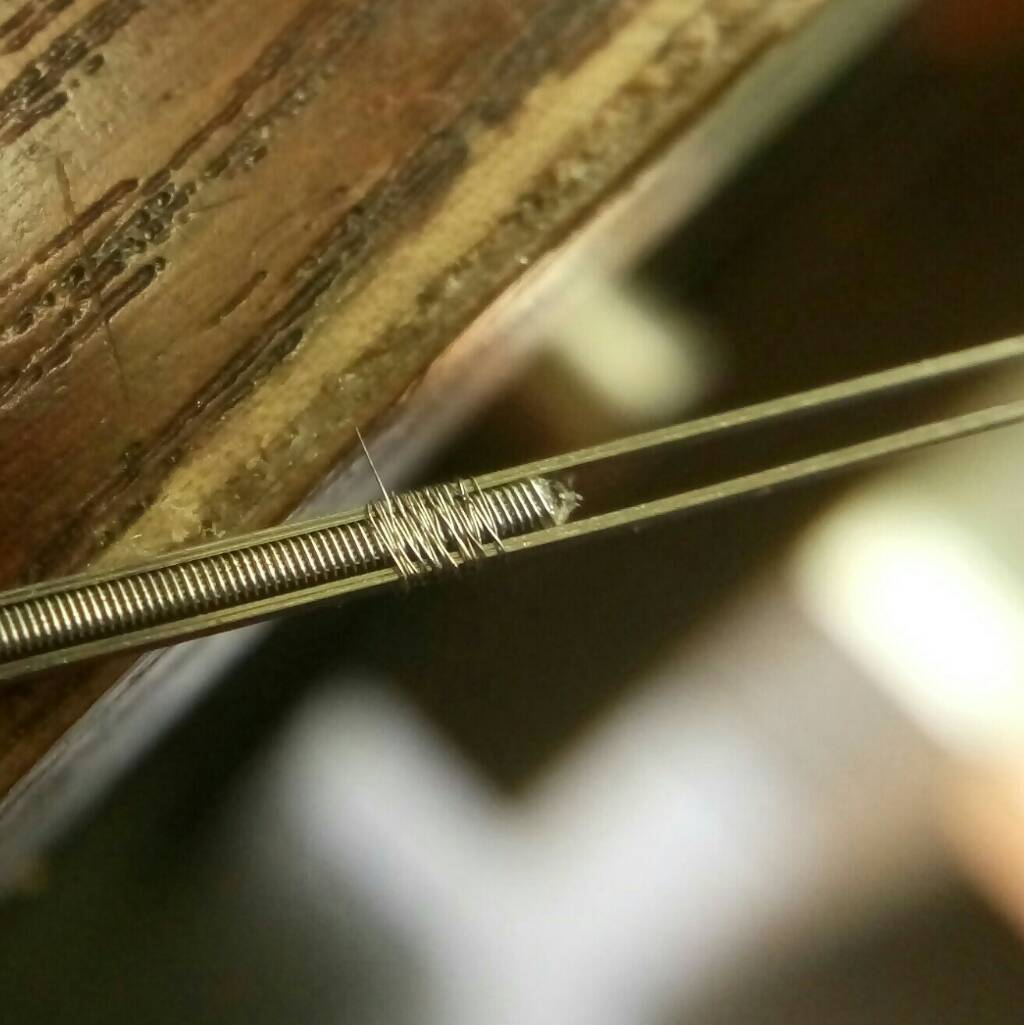
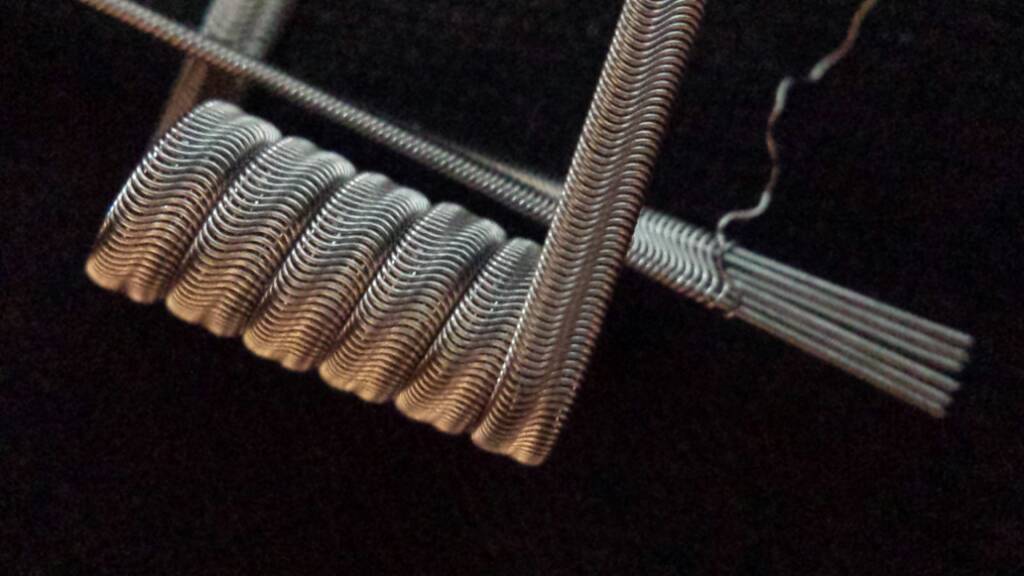
For those curious about my construction techniques, using a candle to warm it up, i hold the cores flat and put a dab of hot glue on each end. I put enough so i can crank down the drill chuck without moving the cores, and i leave about an inch of cores sticking out on the far end (behind the glue) to fix them to my Spin LT.
Sent from my iPhone using Tapatalk
Sent from my SAMSUNG-SGH-I337 using Tapatalk
")


 Hopefully my SS will be here soon.