Resnik
Member For 4 Years
Member For 3 Years
Member For 2 Years
Member For 1 Year
Member For 5 Years
I really like this atomizer, but it does have a bit of a learning curve and it's not for new builders. To start it is both an RTA and a RDA. It comes with both a tank section and a dripper cap section. I am sorry if a few of my images were blurry. My camera was fighting me through this whole review.
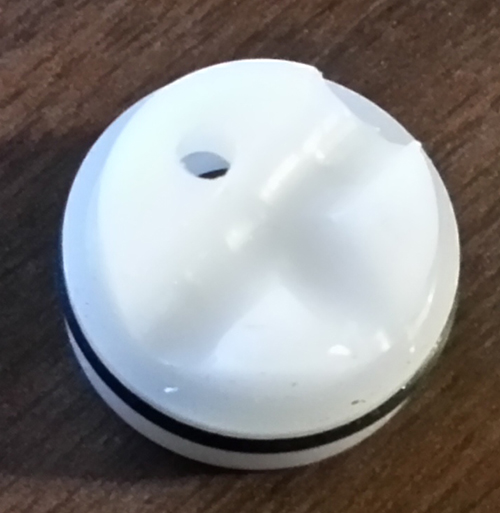
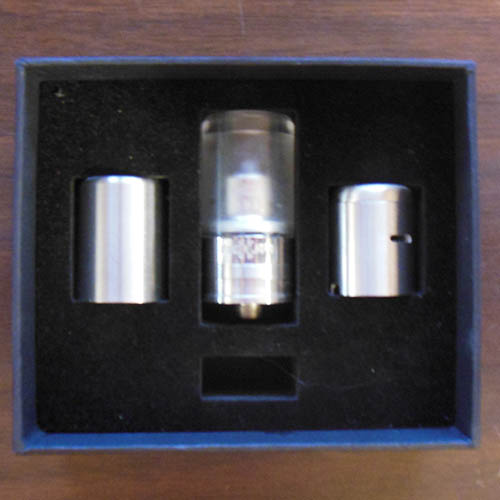
This is the package as I received it from AngelCigs.
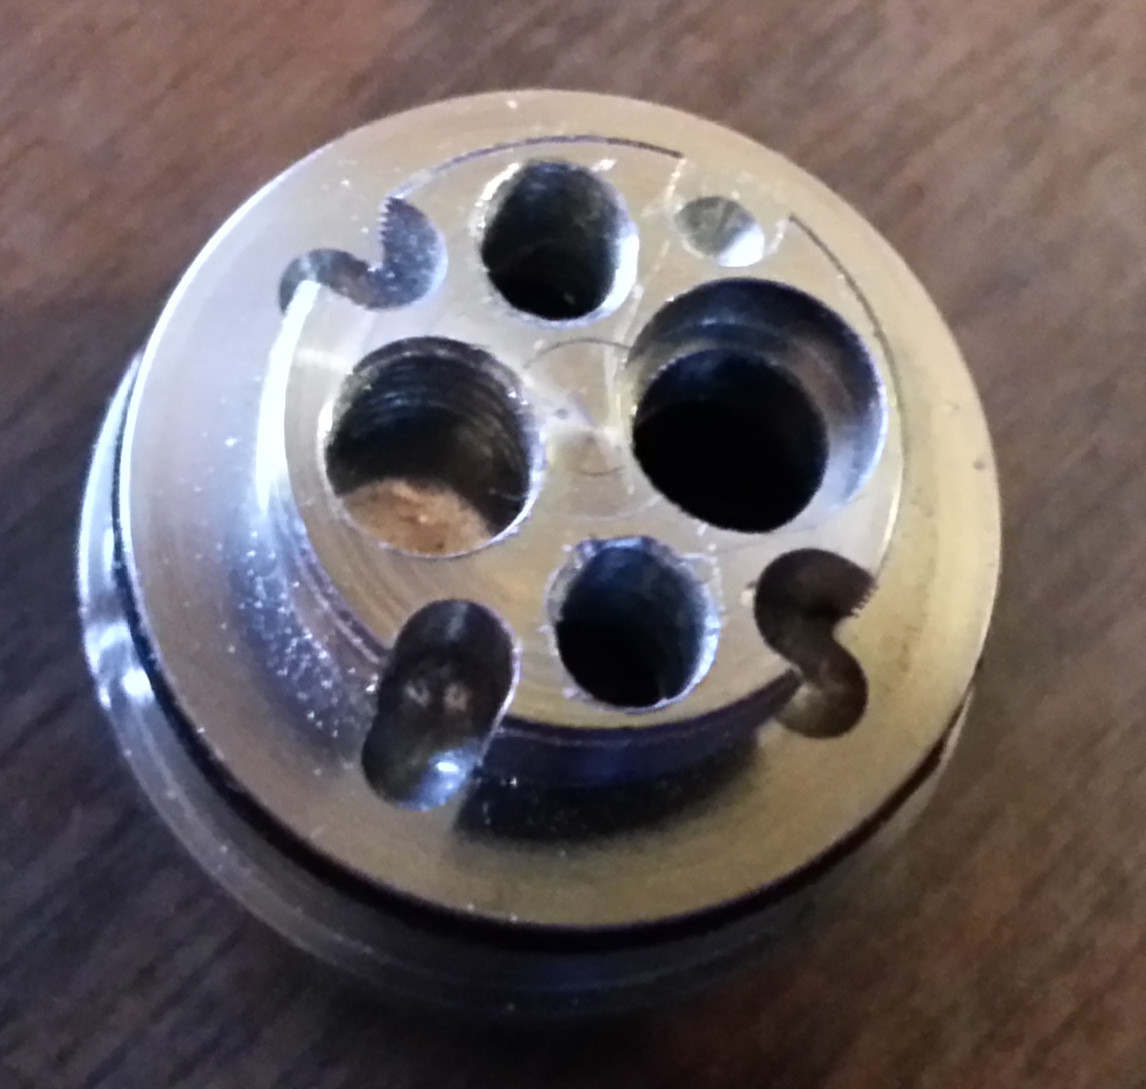
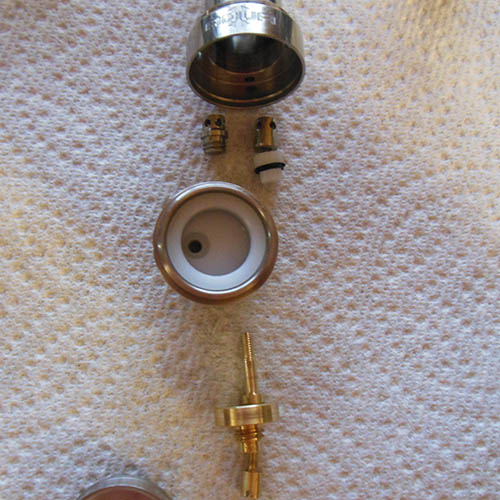
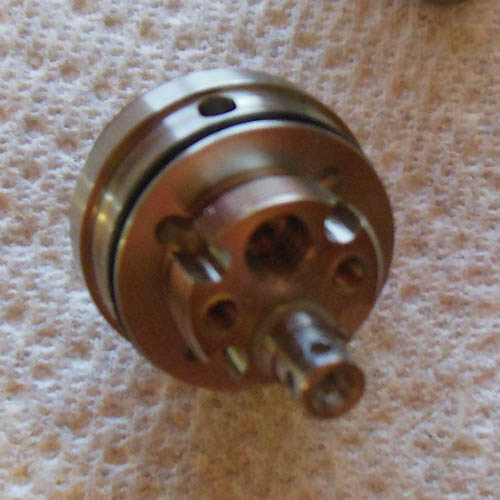
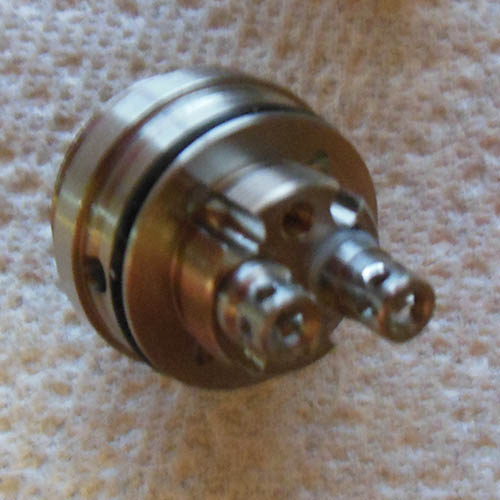
First thing I noticed when I tore down the atomizer was the odd holes in the positive and negative post. Then as I always do it got completely tore down and went strait to a bath of alcohol and water.
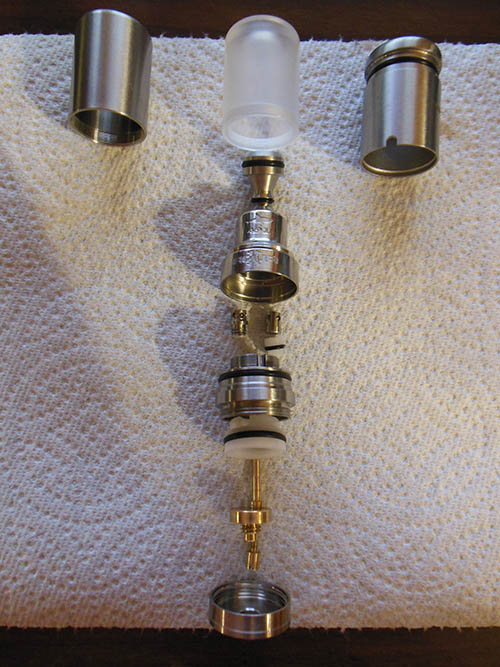
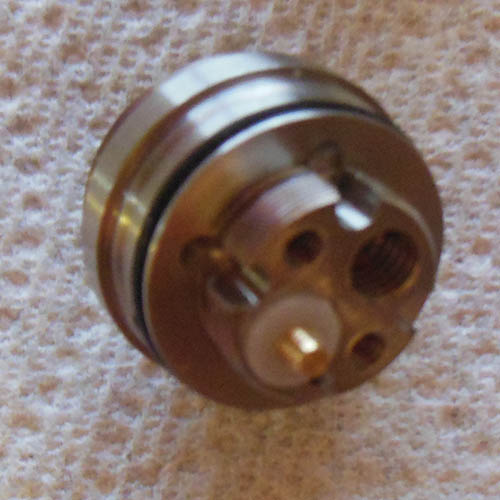
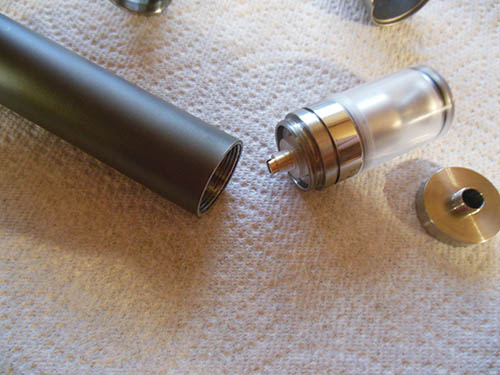
Aqua V2 broken down into it's parts. In this picture you can see the sheer amount of parts this atomizer has. Starting at the top you see the two bell caps and the dripper cap section. I like how it came with a full transparent bell cap for a tank build. Then down from there you see the chimney top piece (also where your drip tip fits) and the connecting lower chimney section. Further down you see the positive and negative post. under the positive post there is the insulator. Then under the post and insulator you see the main building deck. From the deck you see the white delrin insulator/air channel piece. This piece also has an O-ring to seal the deck completely off from any juice leaking down past the post. Then you see the positive post and it's adjustable 510 pin. Under there you see the bottom of the deck with the negative 510 threads.
Assembling the atomizer and deck.
To start I put the delrin insulator and air hole channel section into the main building deck.
Then inserted the positive post and 510 positive pin into the delrin section under the deck. Also over these two goes an insulator I some how did not have in the break down picture.
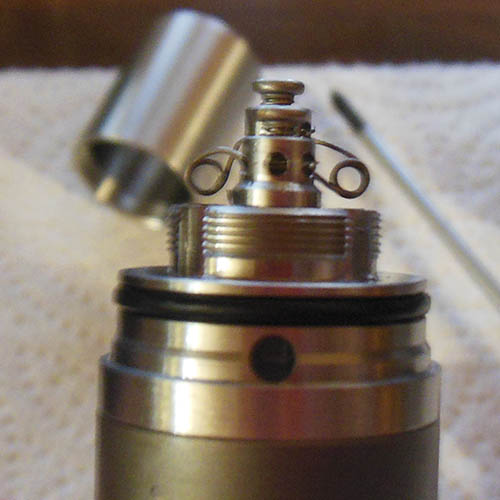
Now that the under side of the deck is assembled I move to the top of the build deck. Here you see the positive post sticking through that I had inserted from the other side.
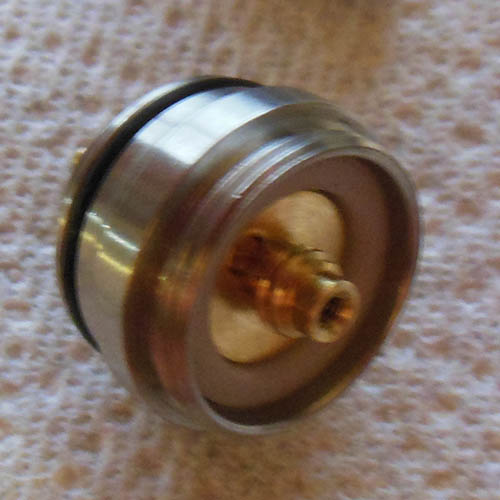
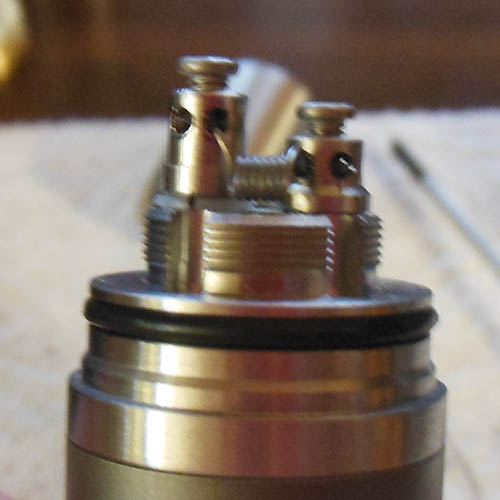
Over this threaded positive post goes another insulator and then the main positive post itself. After those two are installed you screw in your negative post.
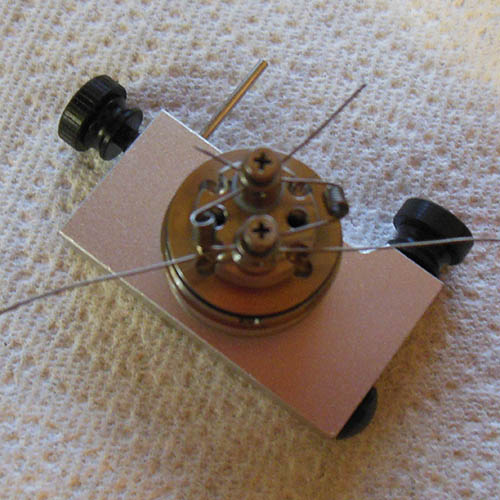
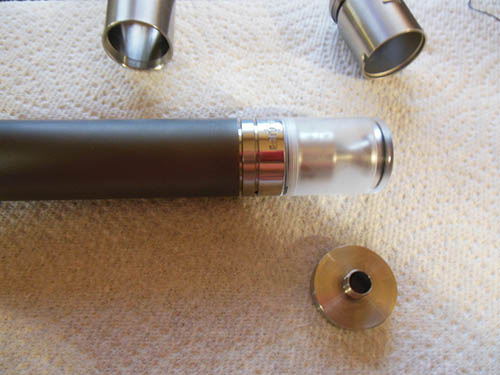
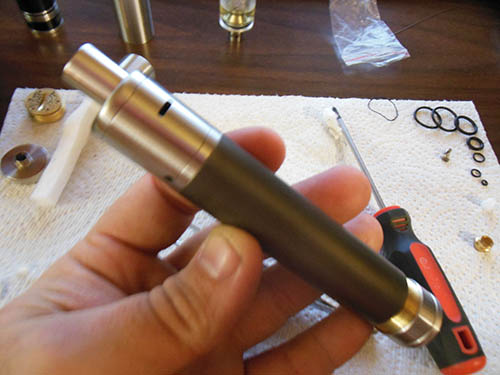
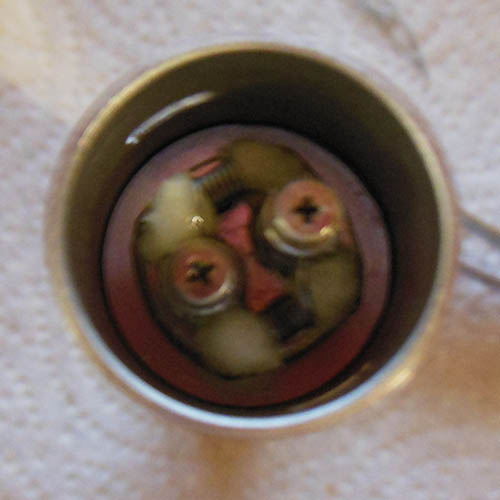
Now for a quick build. Here I used two 26 gauge, 7 wrap, 1.5mm micro coils. Here I also put the bottom section on the Aqua V2 so I could put it on my jig for building.
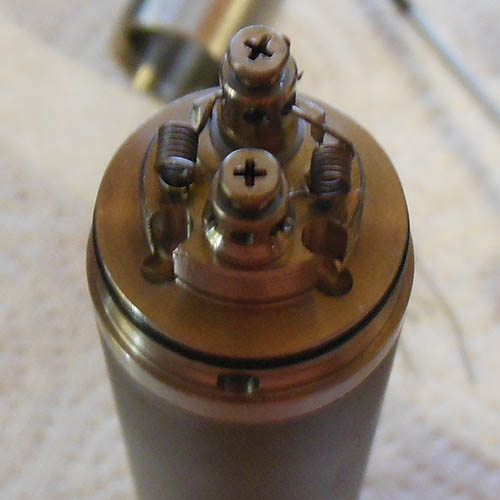
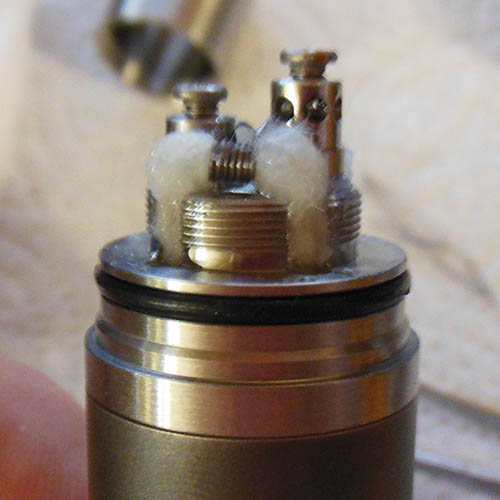
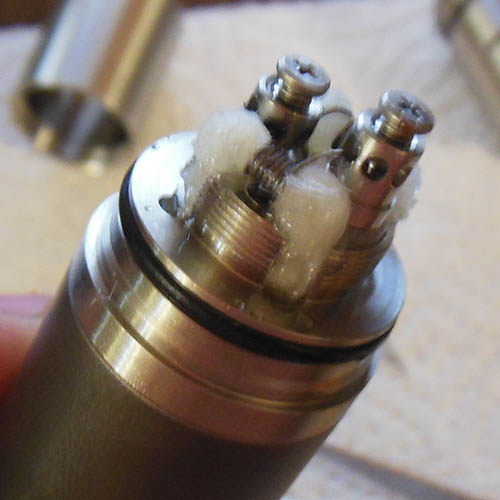
Now to wick it. This took me a few times at first. My first attempt I set it up as I would a Orchid, but soon found that I have to put the tails of the cotton down into the channels or it would leak out the air holes or just not wick very well at all. After some trial and error I found that placing the cotton just above the bottom of the channel worked perfect and wicked well. It also made it much easier to keep the tails in the channels with a bit of juice on them.

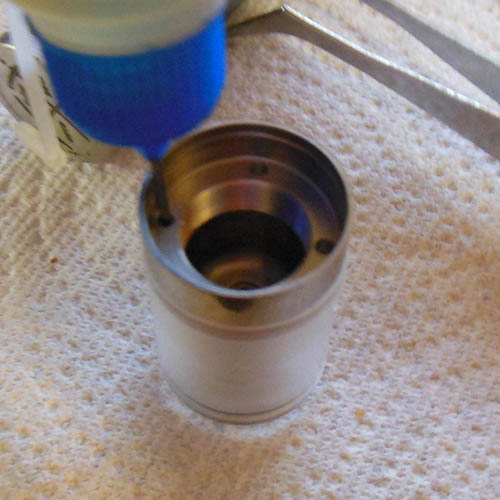
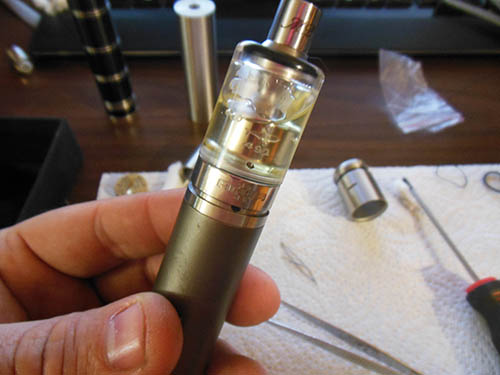
Then I flipped the bell cap over and filled the assembled tank.
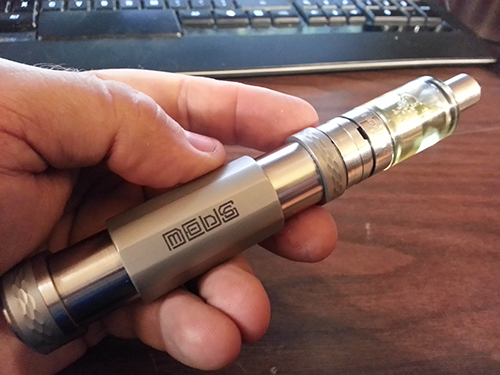
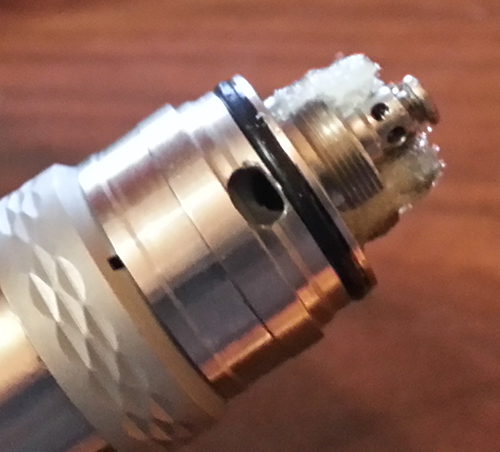
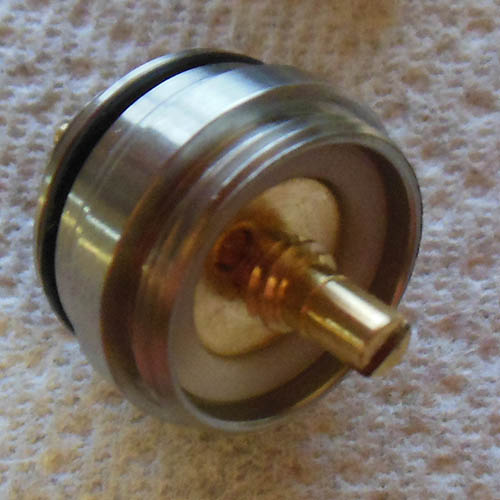
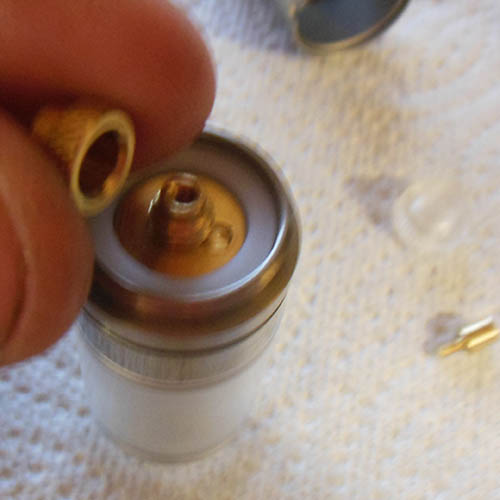
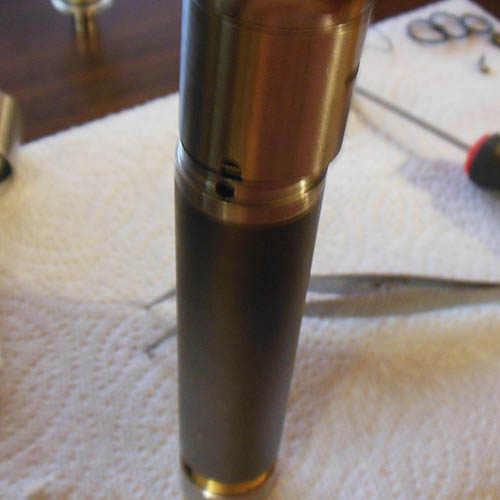
Then since I knew the Aqua V2 could be set up as a hybrid all on it's own I went to install it on one of my mods with same size threads. This is where I ran into a slight problem. Yes it will work in hybrid mode, but there is an added piece for this connection that should be able to be used. With this piece you can take off the insulator and the 510 pin and thread it onto the base of the main positive shaft. When I went to do this I found that even though the parts bag came with the added piece it was not threaded and there for was useless and could not be used. You can see in the picture that there are threads on the main positive, but the threads on the adapter are missing. In the end it will work with out this, but using it does give you a broader contact for connecting to your battery.
This is the package as I received it from AngelCigs.
First thing I noticed when I tore down the atomizer was the odd holes in the positive and negative post. Then as I always do it got completely tore down and went strait to a bath of alcohol and water.
Aqua V2 broken down into it's parts. In this picture you can see the sheer amount of parts this atomizer has. Starting at the top you see the two bell caps and the dripper cap section. I like how it came with a full transparent bell cap for a tank build. Then down from there you see the chimney top piece (also where your drip tip fits) and the connecting lower chimney section. Further down you see the positive and negative post. under the positive post there is the insulator. Then under the post and insulator you see the main building deck. From the deck you see the white delrin insulator/air channel piece. This piece also has an O-ring to seal the deck completely off from any juice leaking down past the post. Then you see the positive post and it's adjustable 510 pin. Under there you see the bottom of the deck with the negative 510 threads.
Assembling the atomizer and deck.
To start I put the delrin insulator and air hole channel section into the main building deck.
Then inserted the positive post and 510 positive pin into the delrin section under the deck. Also over these two goes an insulator I some how did not have in the break down picture.
Now that the under side of the deck is assembled I move to the top of the build deck. Here you see the positive post sticking through that I had inserted from the other side.
Over this threaded positive post goes another insulator and then the main positive post itself. After those two are installed you screw in your negative post.
Now for a quick build. Here I used two 26 gauge, 7 wrap, 1.5mm micro coils. Here I also put the bottom section on the Aqua V2 so I could put it on my jig for building.
Now to wick it. This took me a few times at first. My first attempt I set it up as I would a Orchid, but soon found that I have to put the tails of the cotton down into the channels or it would leak out the air holes or just not wick very well at all. After some trial and error I found that placing the cotton just above the bottom of the channel worked perfect and wicked well. It also made it much easier to keep the tails in the channels with a bit of juice on them.
Then I flipped the bell cap over and filled the assembled tank.
Then since I knew the Aqua V2 could be set up as a hybrid all on it's own I went to install it on one of my mods with same size threads. This is where I ran into a slight problem. Yes it will work in hybrid mode, but there is an added piece for this connection that should be able to be used. With this piece you can take off the insulator and the 510 pin and thread it onto the base of the main positive shaft. When I went to do this I found that even though the parts bag came with the added piece it was not threaded and there for was useless and could not be used. You can see in the picture that there are threads on the main positive, but the threads on the adapter are missing. In the end it will work with out this, but using it does give you a broader contact for connecting to your battery.
Last edited:
")