INTRODUCTION
Hello everybody, welcome to Pizza Dave’s vape reviews. Today I will be going over everything you need to know about the Capstone RDA byVandy Vape. As always, I keep my reviews unbiased, but this was sent to me by Vandy Vape for review. The Capstone is the latest RDA from Vandy Vape and is a collaboration with them and reviewer Vape Happy. This rda features a unique single screw deck, unique top cap, and “waterfall” like squonking action. Let’s dive in, see how it works, and I will give you my final thoughts down at the bottom.

______________________________________________________________________________
______________________________________________________________________________
WHAT YOU GET
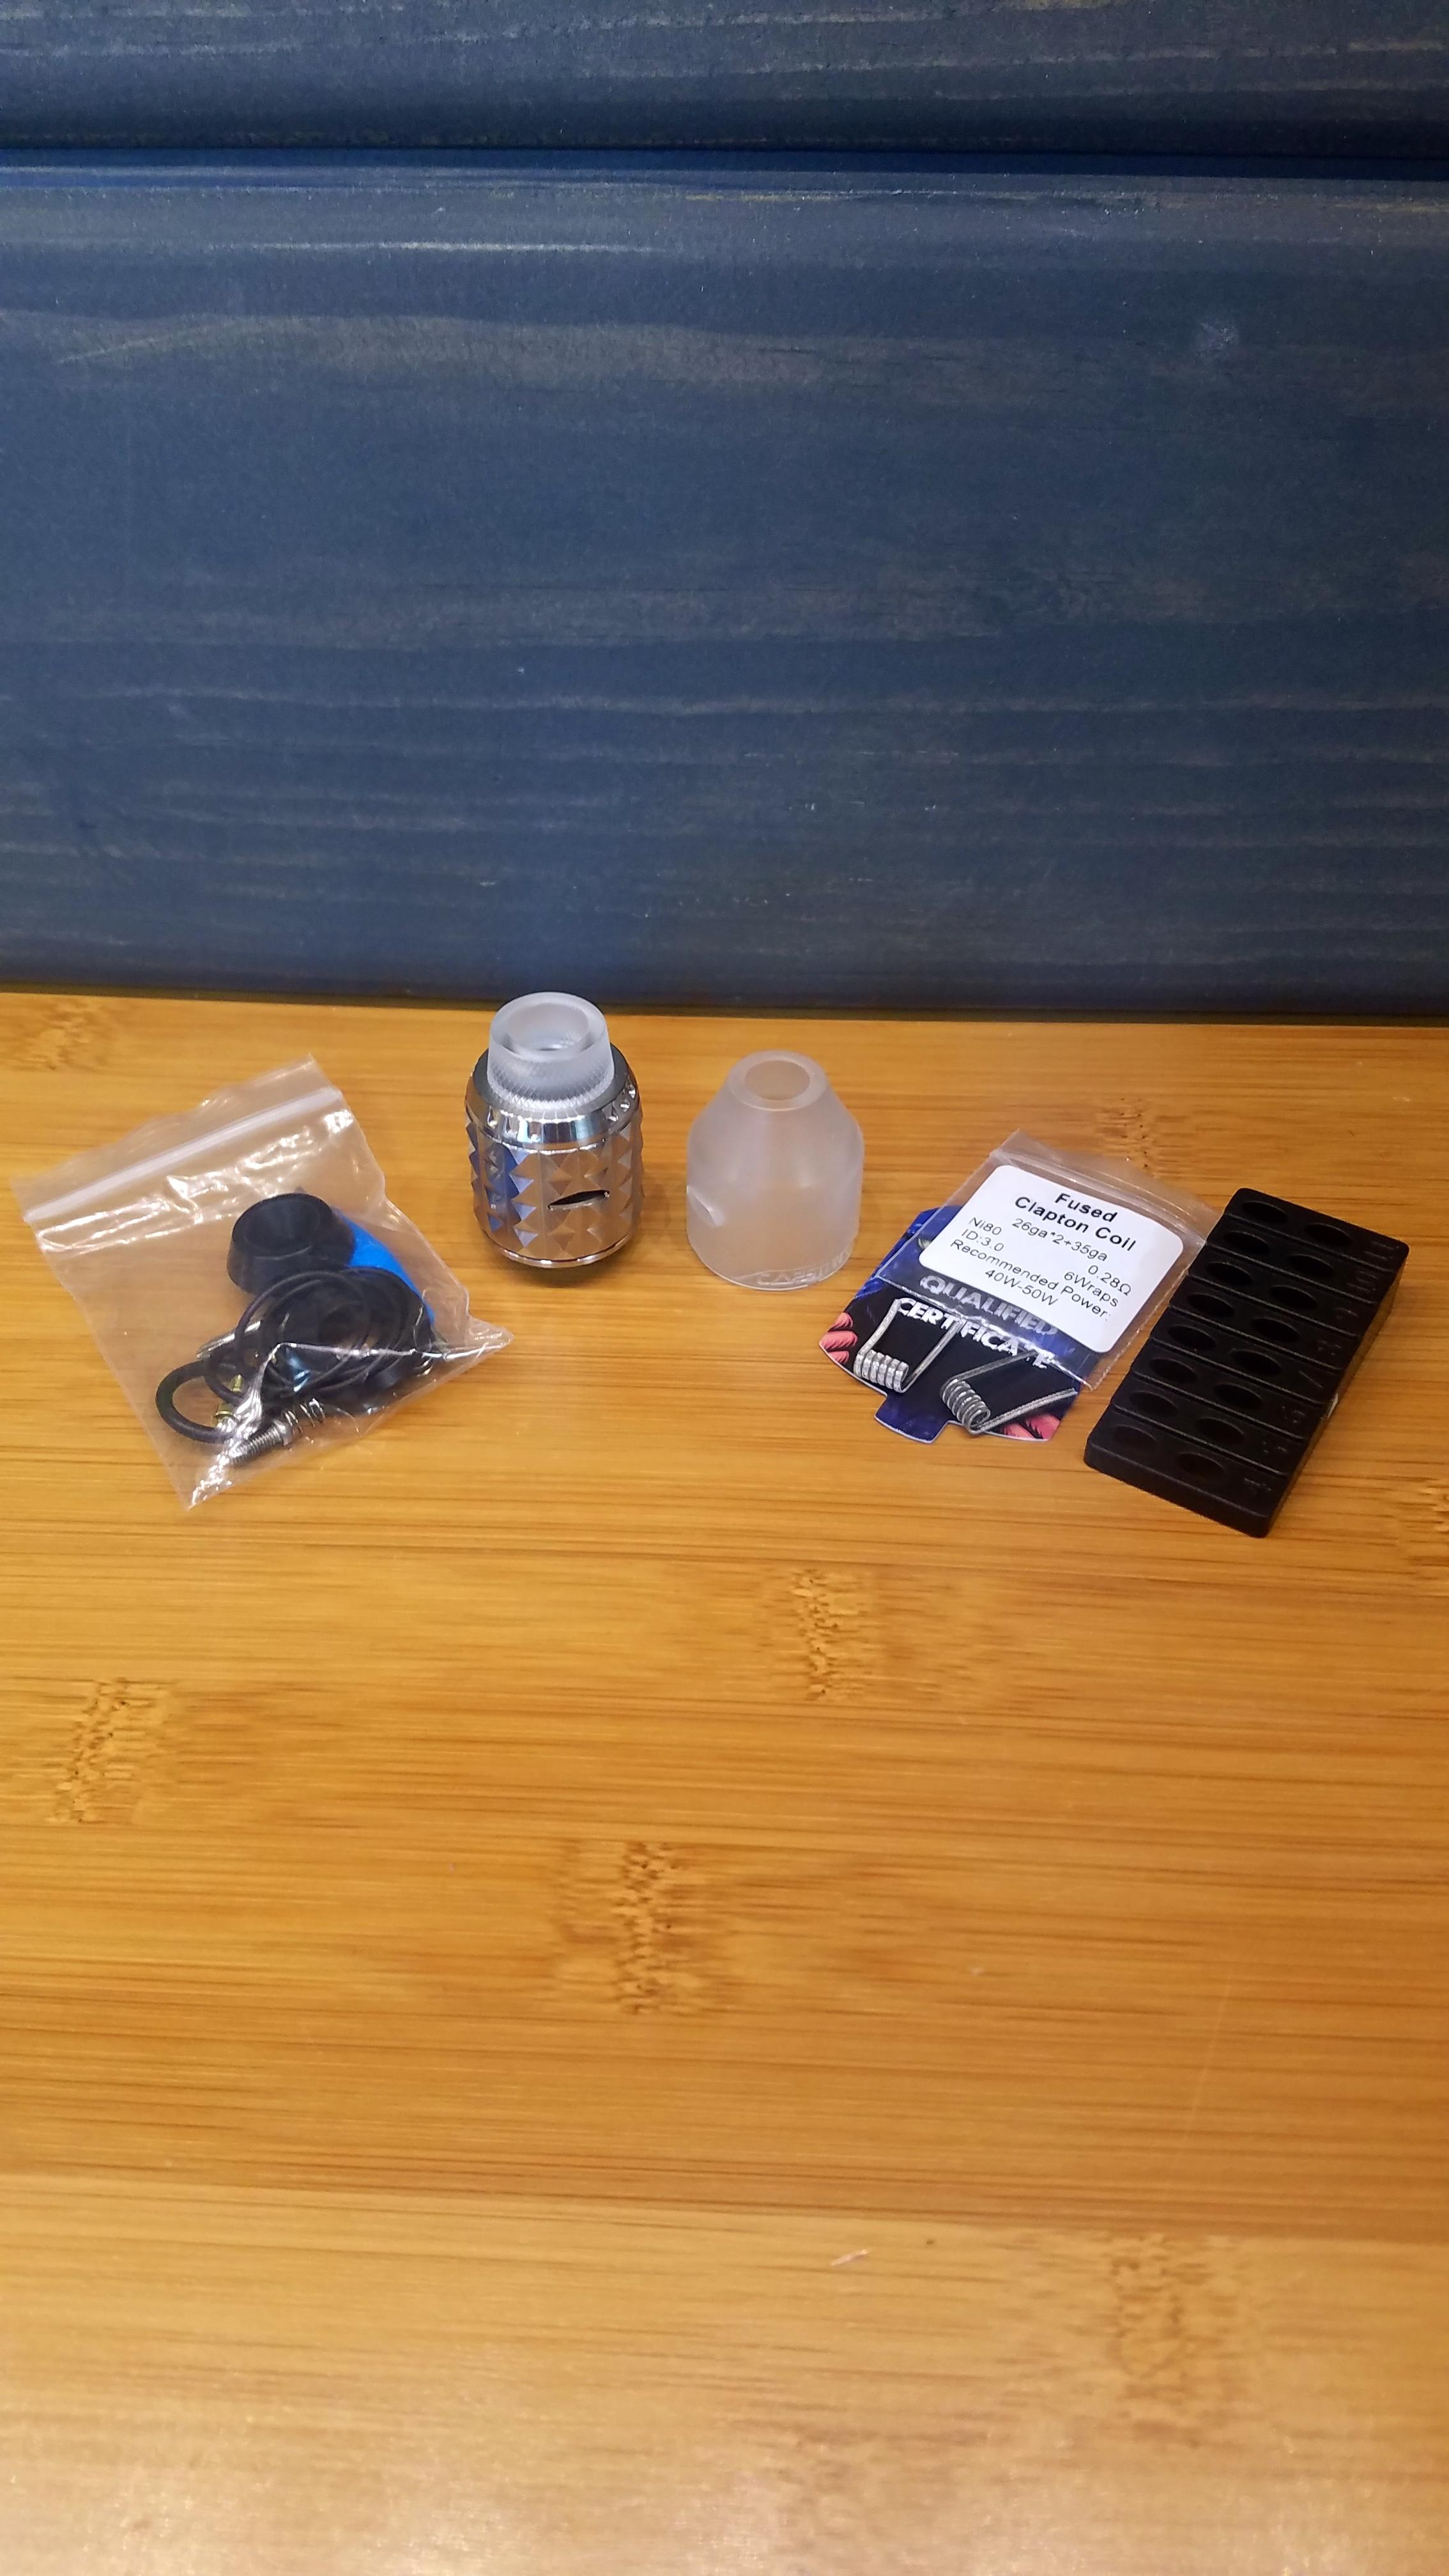
- 1 Capstone RDA
- 1 Frosted PC comp cap
- 1 Frosted 810 drip tip
- 1 510 Domed Delrin Drip tip
- 1 510 Drip Tip Adapter
- 1 Coil lead length tool
- 1 Spare parts bag
- 1 Instruction Manual
______________________________________________________________________________
FEATURES
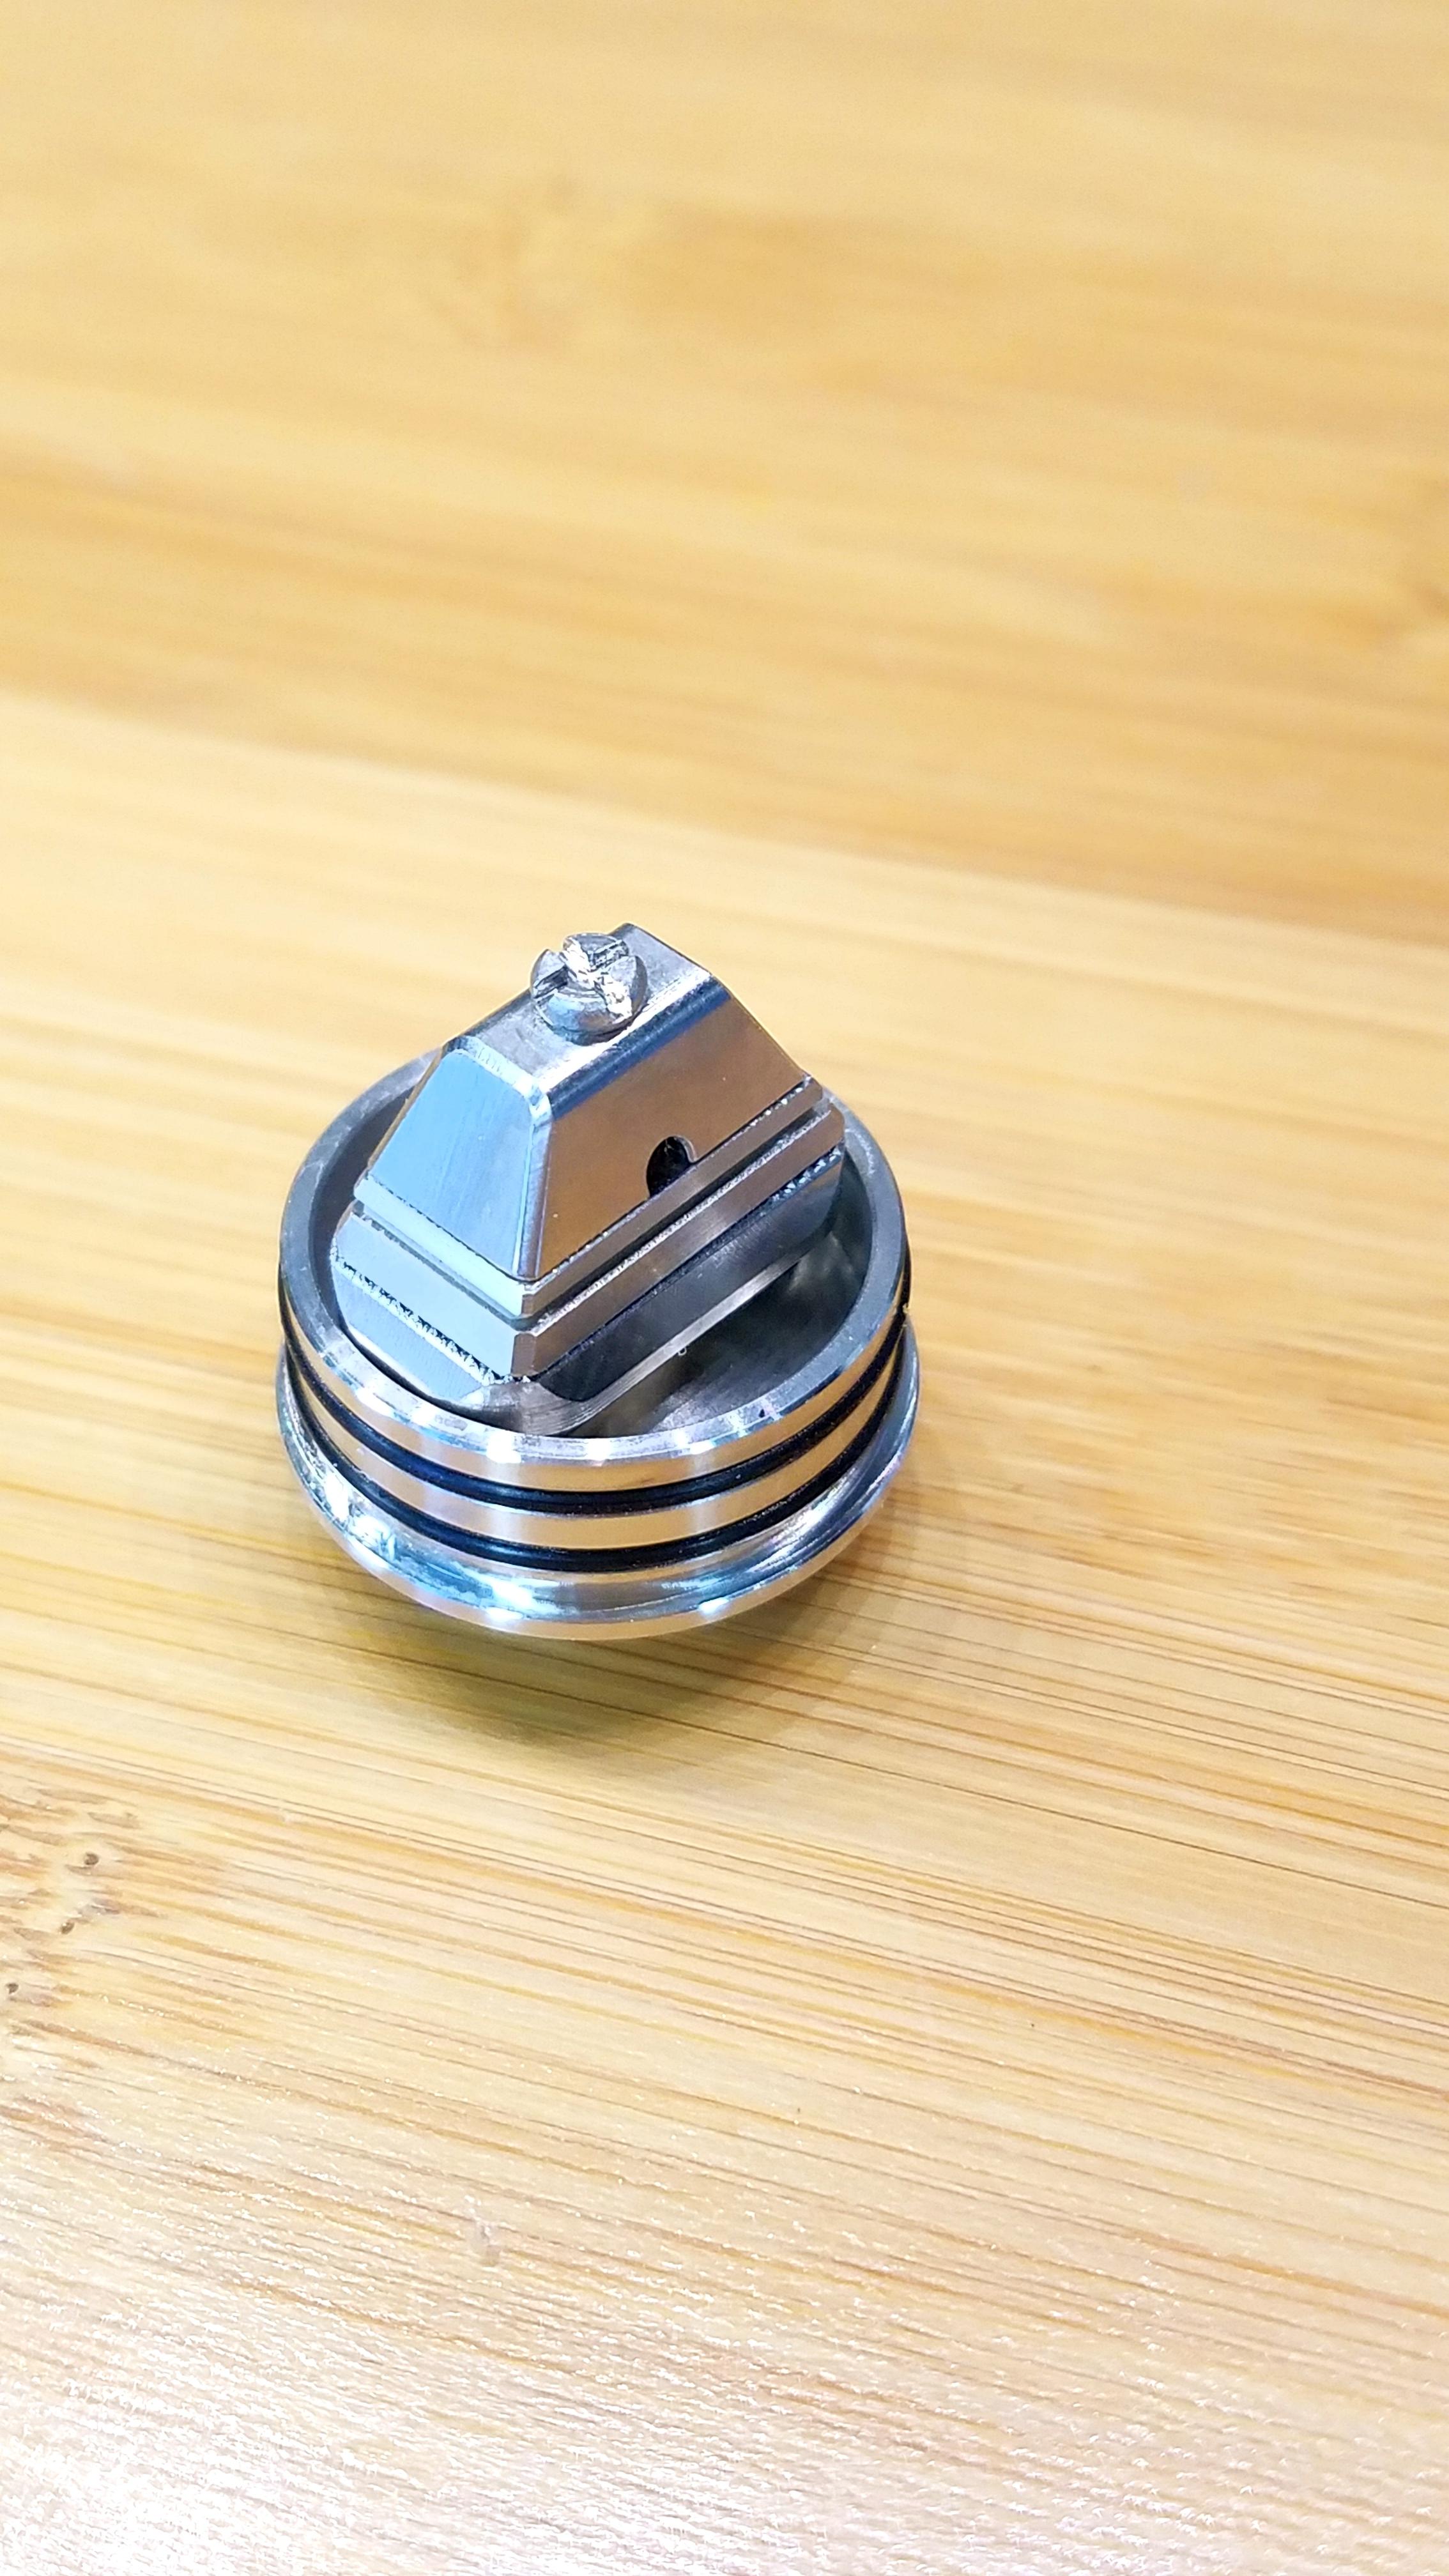
The Capstone is an RDA that stands out on the market for several reasons. The knarly top cap might be the first thing that jumps out, but the second and most important feature is a pyramid shaped, single screw, squonking deck. The deck features and internal squonk channel which runs liquid right over the top of the coils. This design treats the coils more like how a person would “paint” the coils with liquid rather than relying solely on wicking. Lastly, Vandy Vape went all in with spare parts. It comes with a coil length tool, two different top caps, two different drip tips, and plenty of spare parts to keep it running for a long time.
______________________________________________________________________________
BUILD DECK, WICKING, and SQUONKING
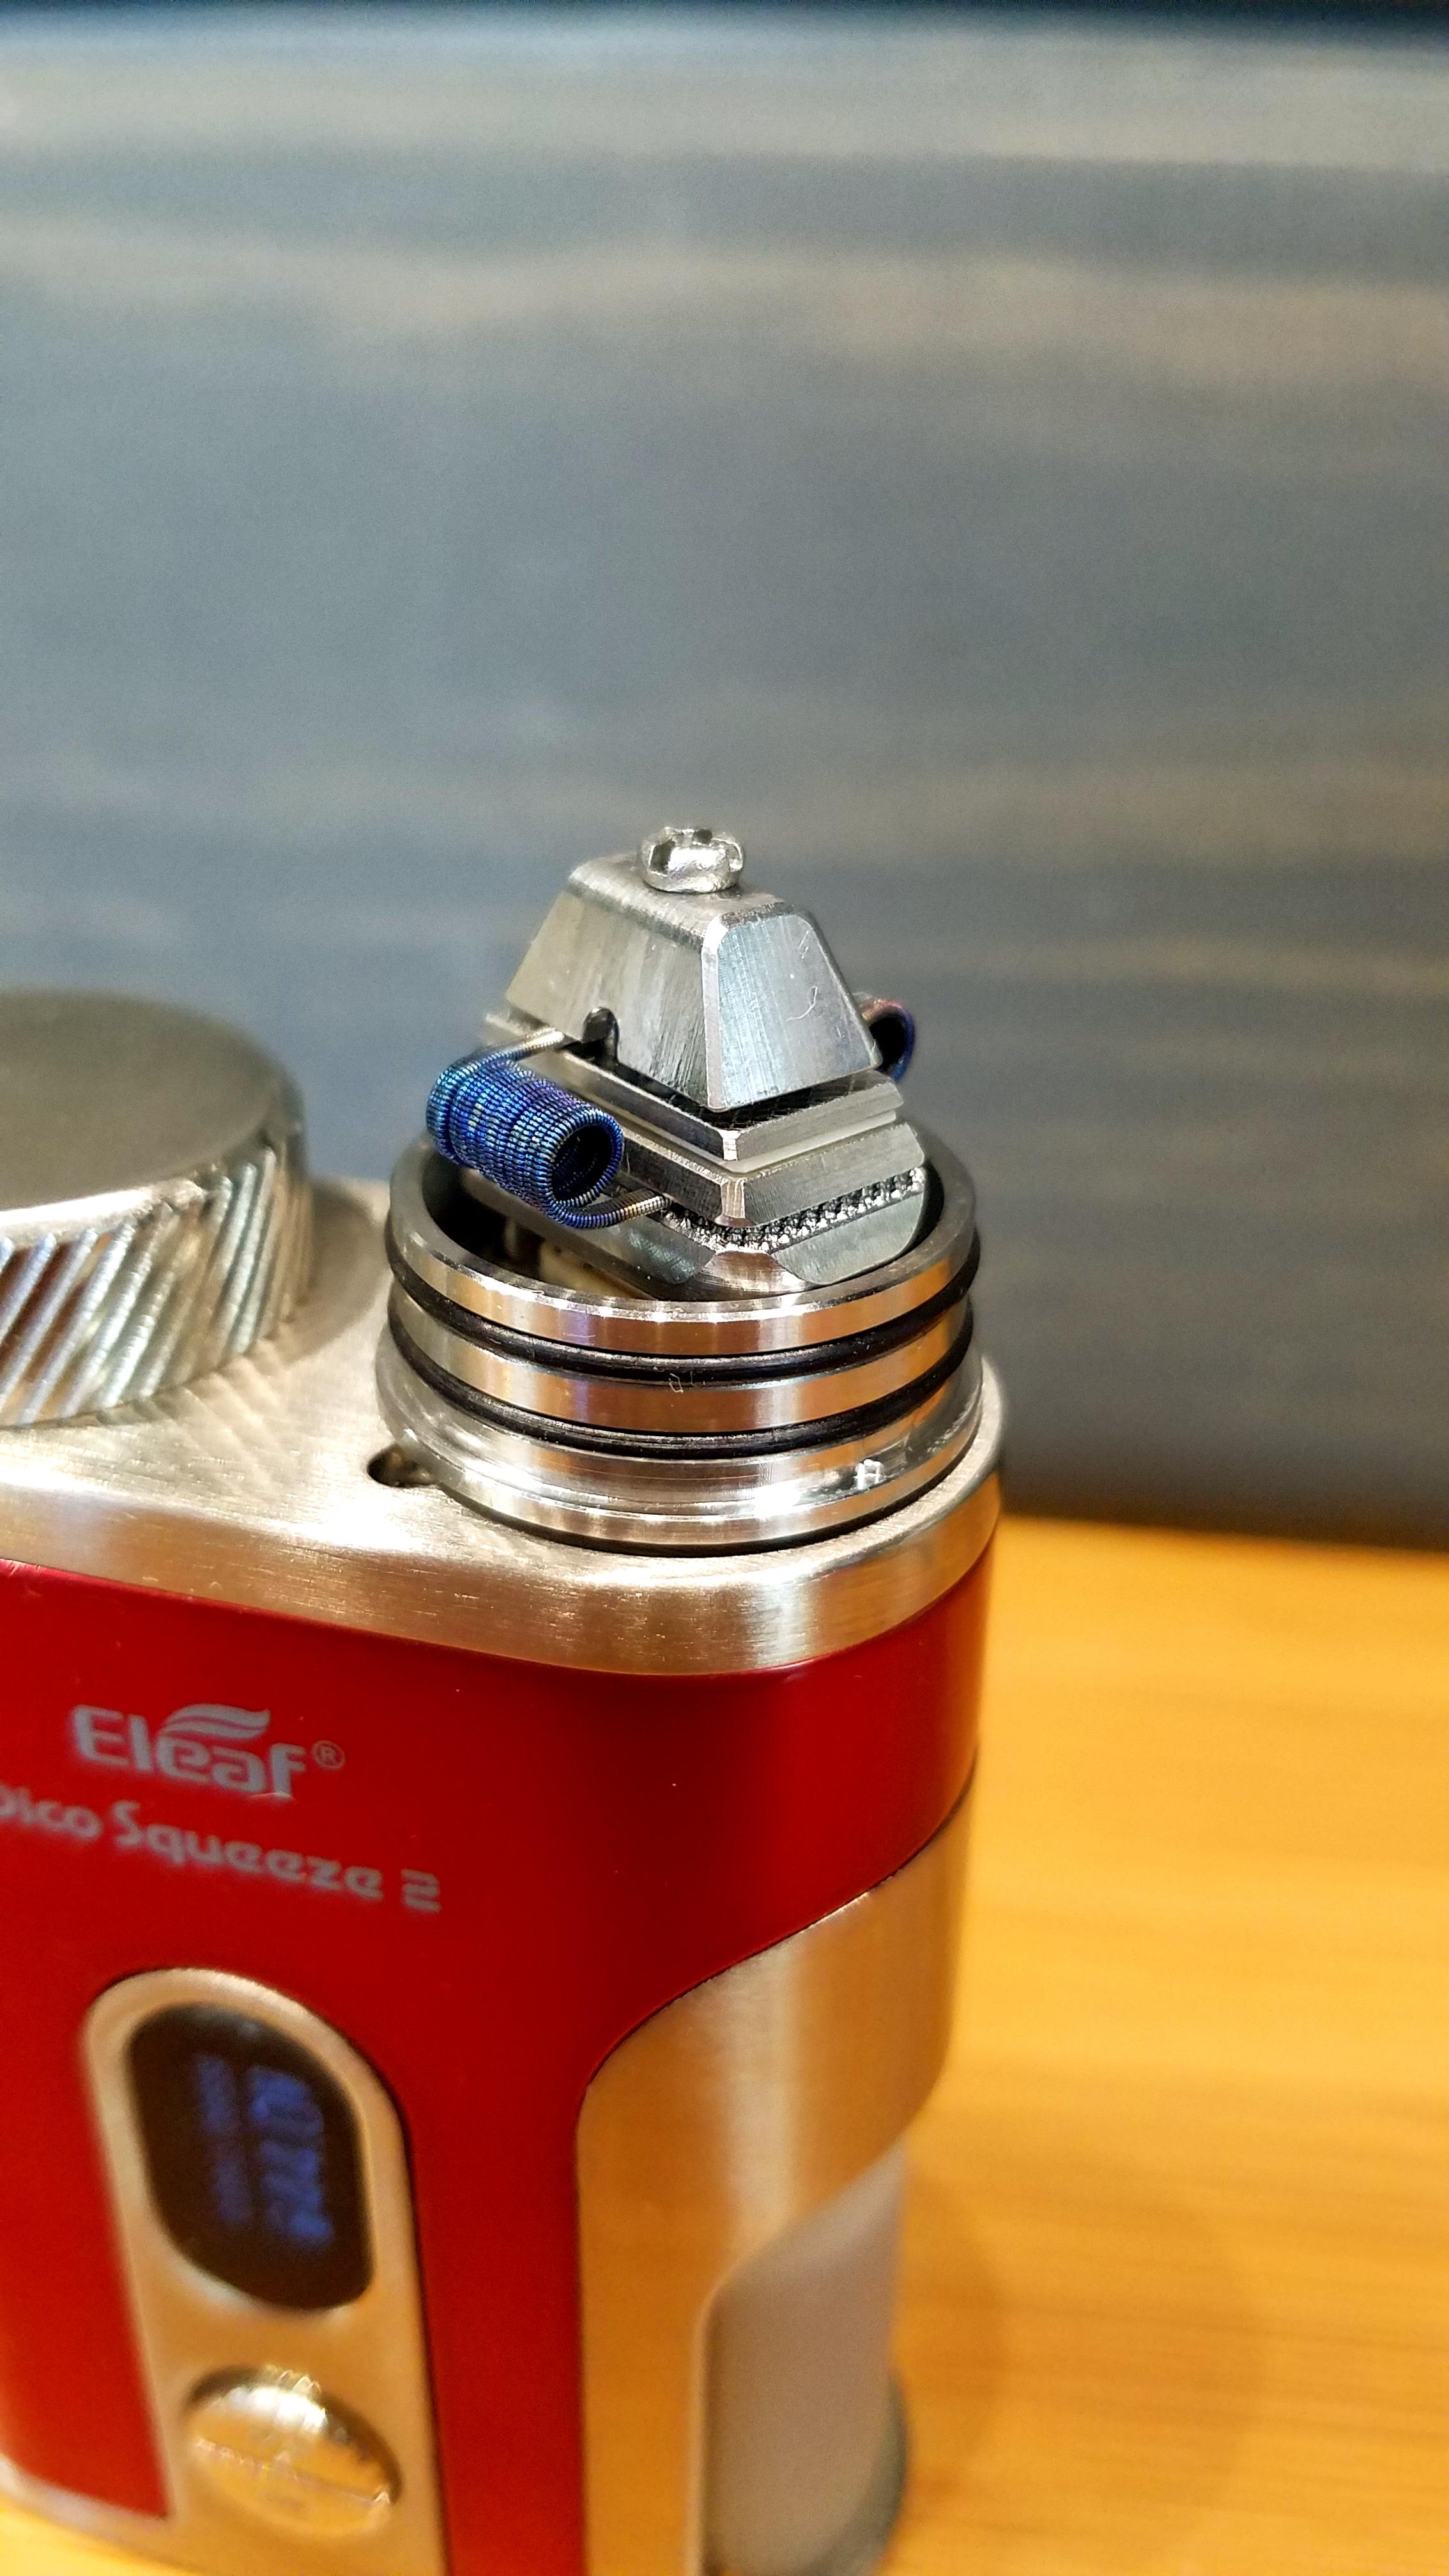
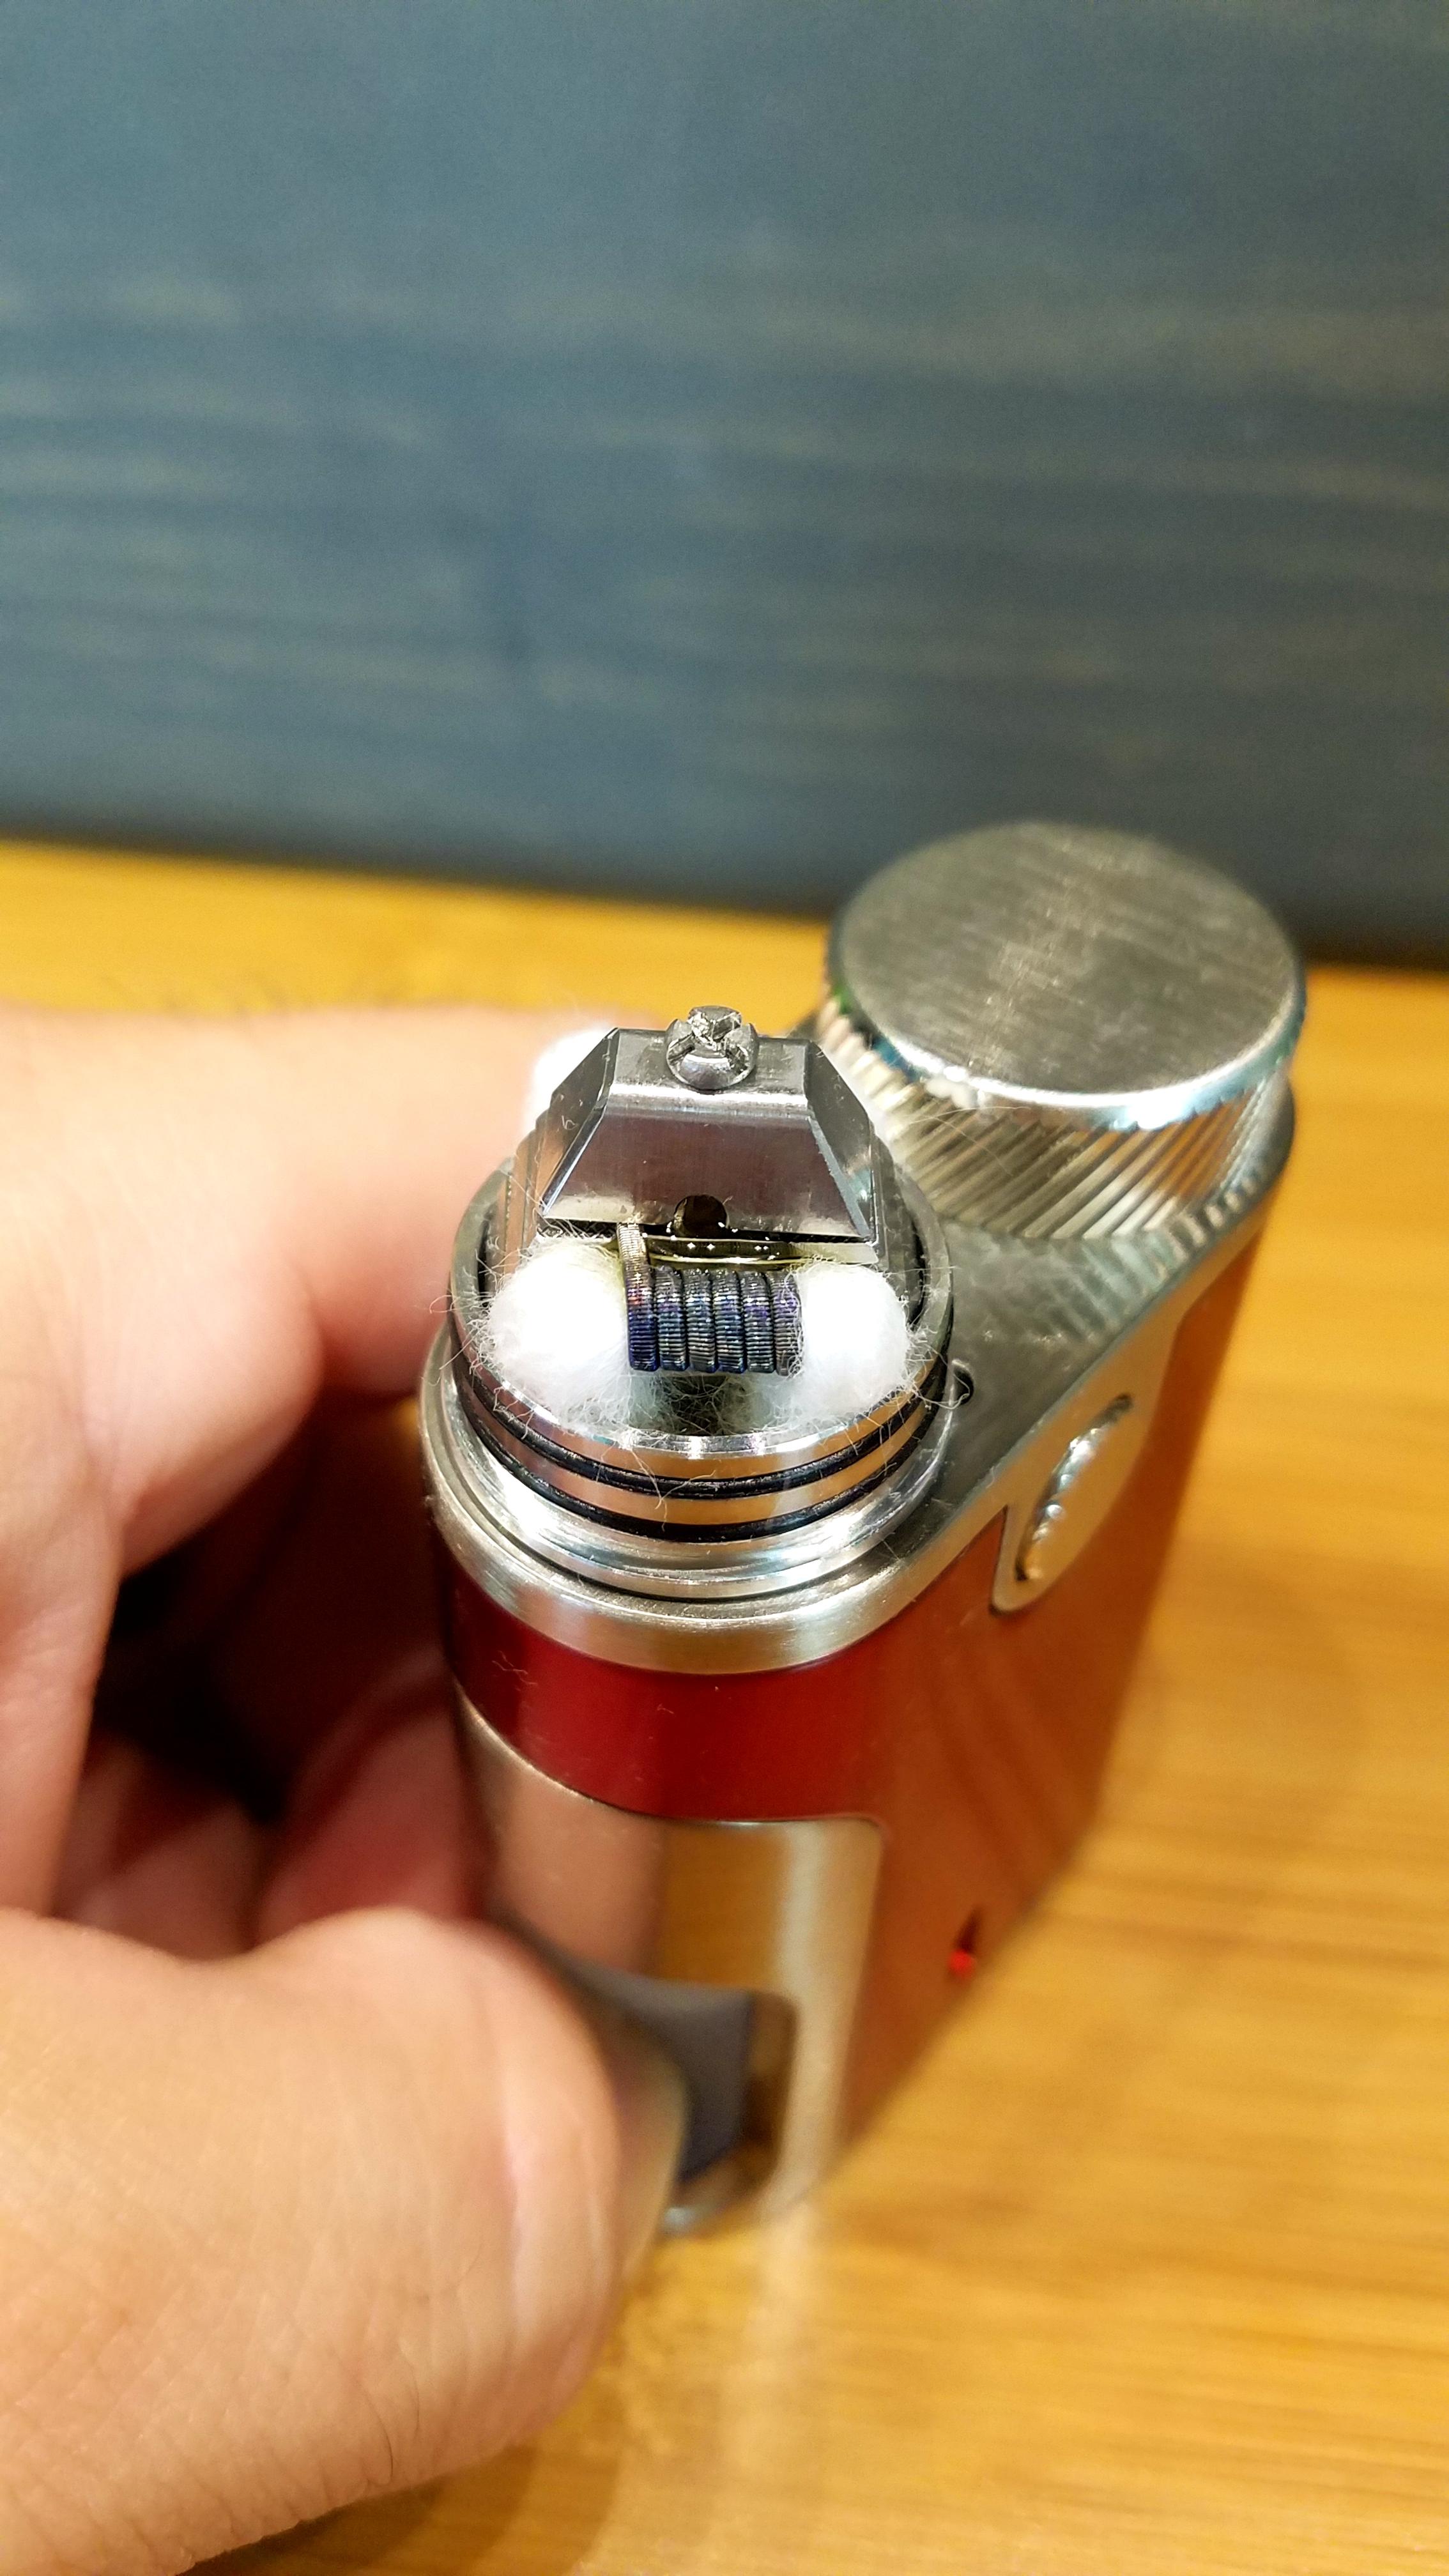
The build deck of the Capstone stands out over all other features. To install coils, the user simply loosens the single screw and the entire pyramid shape begins to open. The screw loosens up plenty and allows for lots of separation for coils to be inserted. They added knurling to each termination point which helps hold the coils in place and makes this one of the easiest single screw atties I have used. Many times, the coils move around and are hard to hold steady, but this deck holds them all the way through the tightening process. The only con that I found with the deck is that it takes up a lot of space and it limits how large the coils can be. I used 2.5mm ID coils for advanced builds and 3mm ID coils for round wire builds. It was nearly impossible to get 3mm advanced build installed with adequate room for air flow and keep them from shorting against the sides, but it is doable. Wicking this, like many rdas, is simple and is completed by snipping the cotton just long enough to touch the bottom of the juice well. The squonk action of this rda is different from many and features a “waterfall” of liquid that comes up the center post and right onto the coil. There is zero delay from the time it is squonked to the time the liquid saturates the cotton within the coil. The only drawback to this is that nothing gets sucked back in when the bottle is released. It can be over-squonked and pour out the sides, but it takes quite a bit of squonking to do this thanks to a deep juice well.
______________________________________________________________________________
BUILD DECK
______________________________________________________________________________
FUSED CLAPTON BUILD
______________________________________________________________________________
ALL WICKED UP
______________________________________________________________________________
SPACED SS ROUND WIRE BUILD

______________________________________________________________________________
SQUONK PIN WITH BOTTOM GASKET

______________________________________________________________________________
HOW IT VAPES
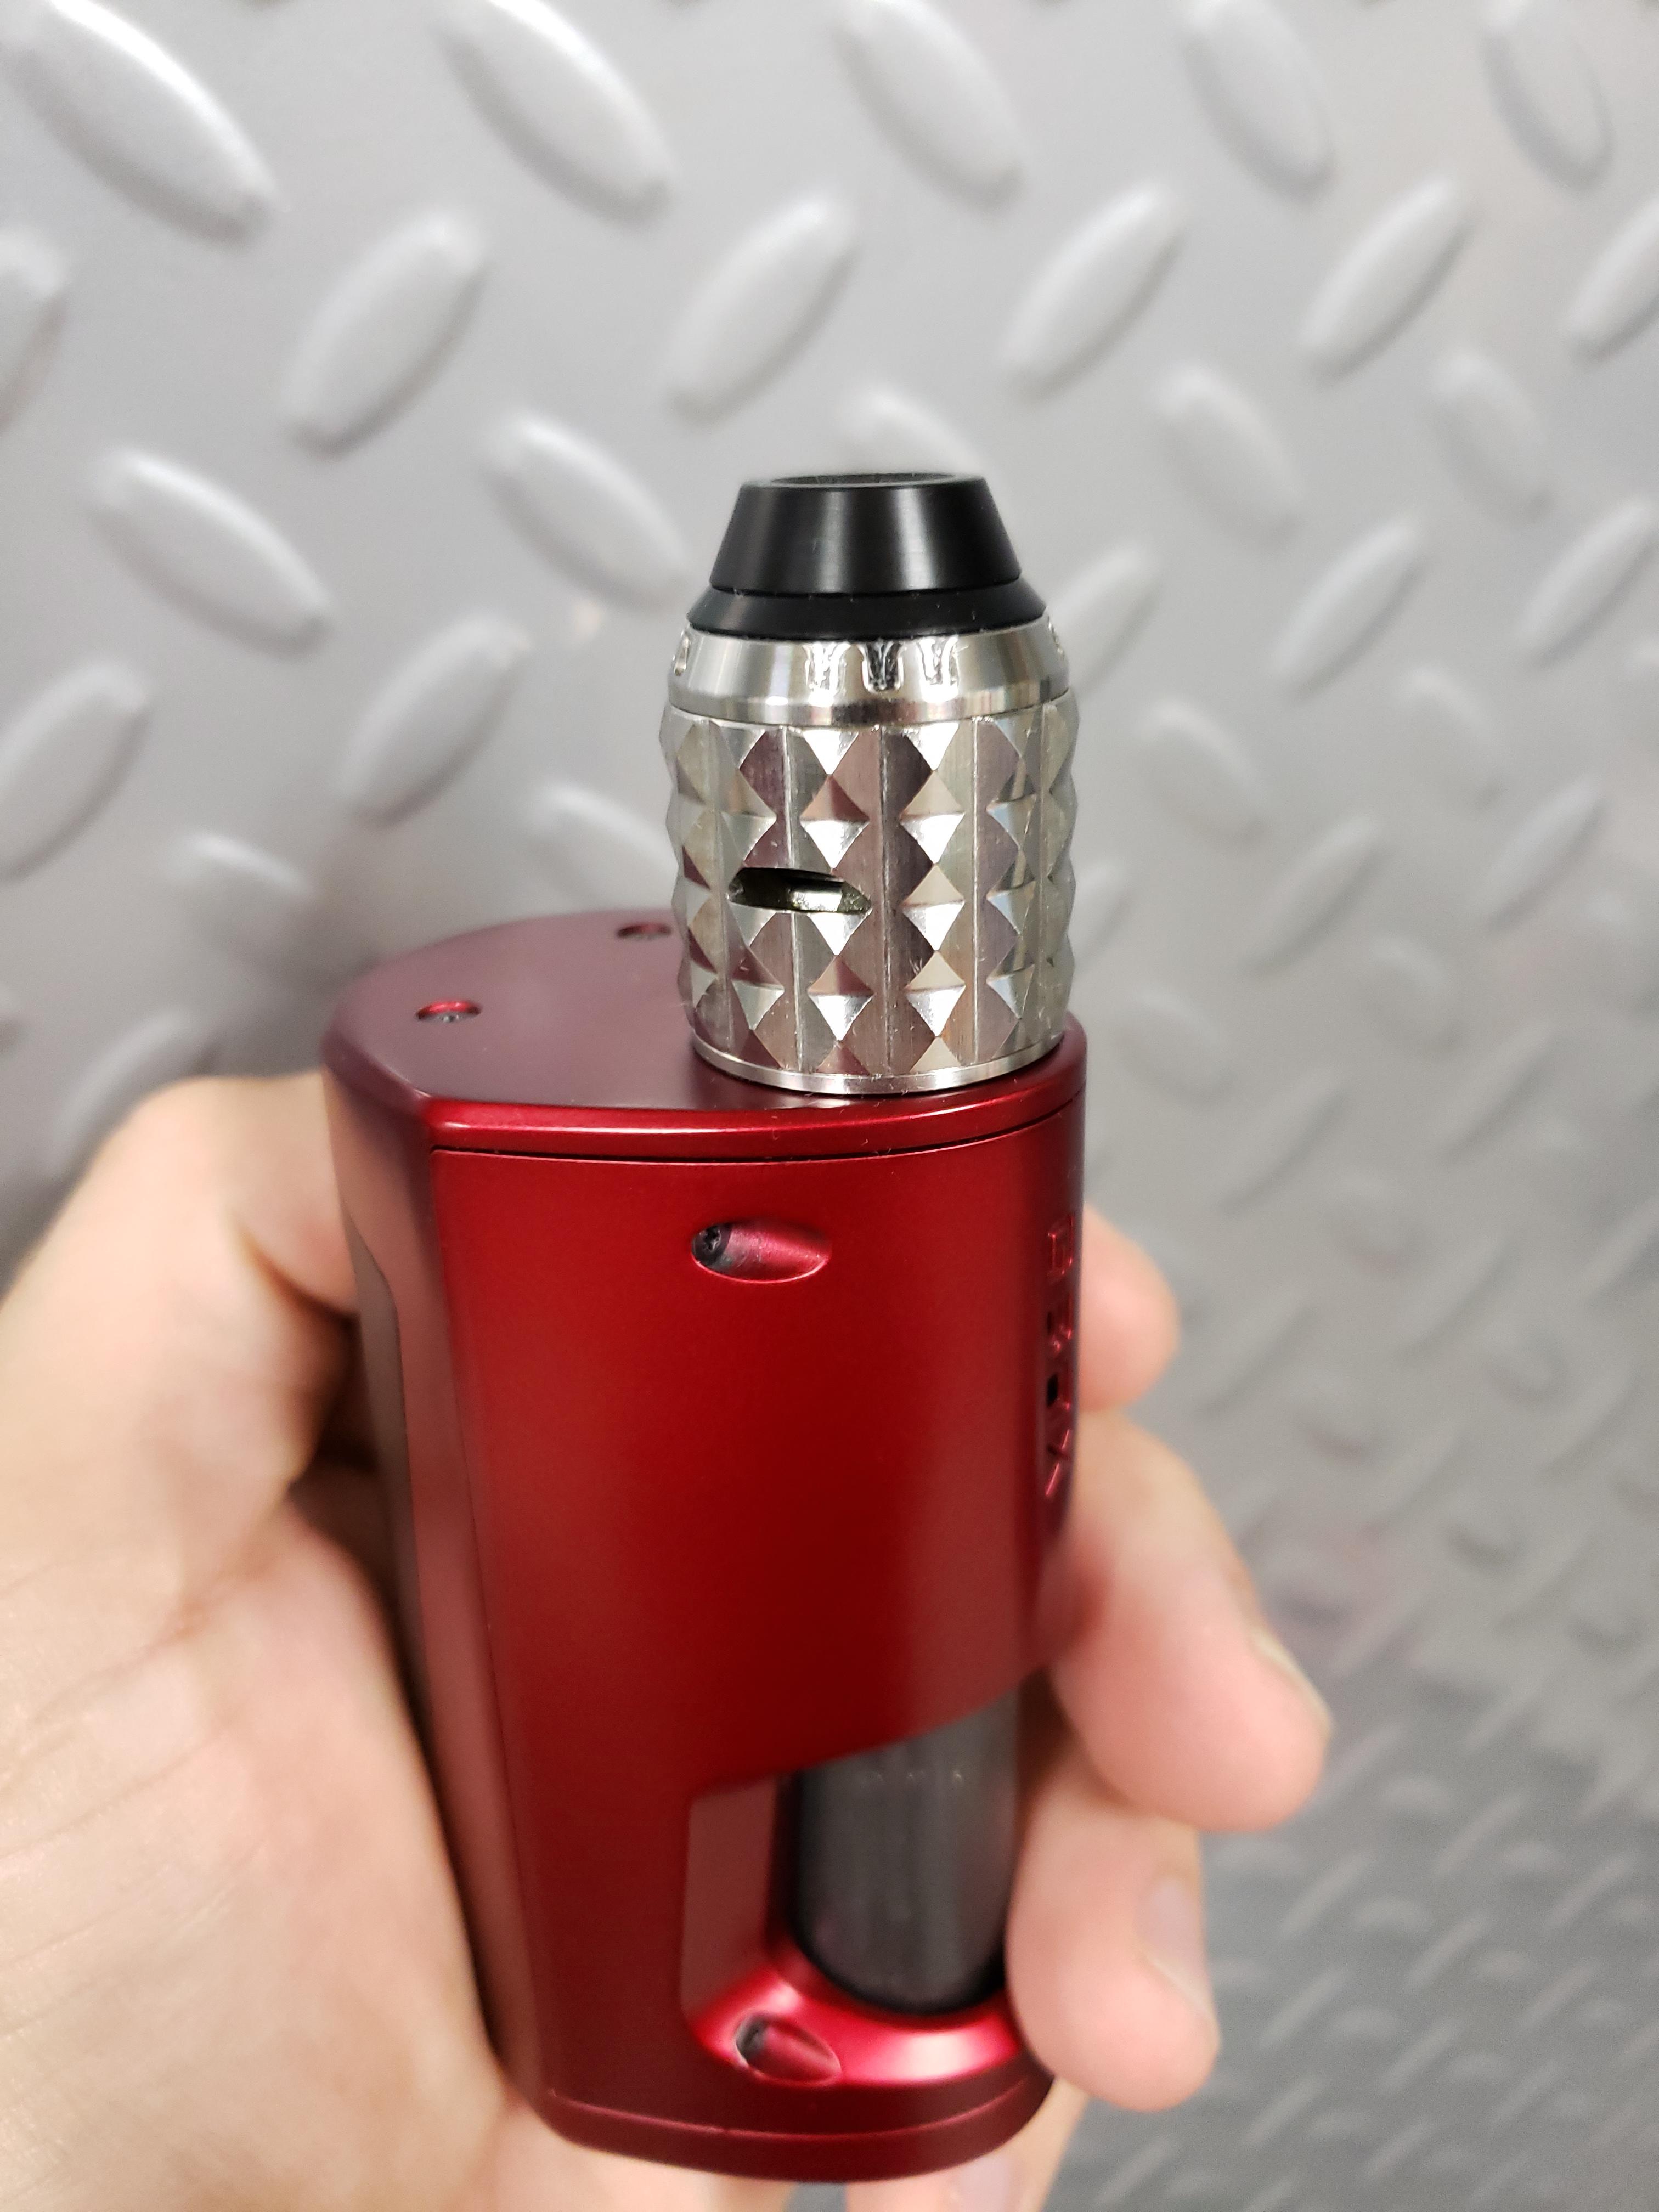
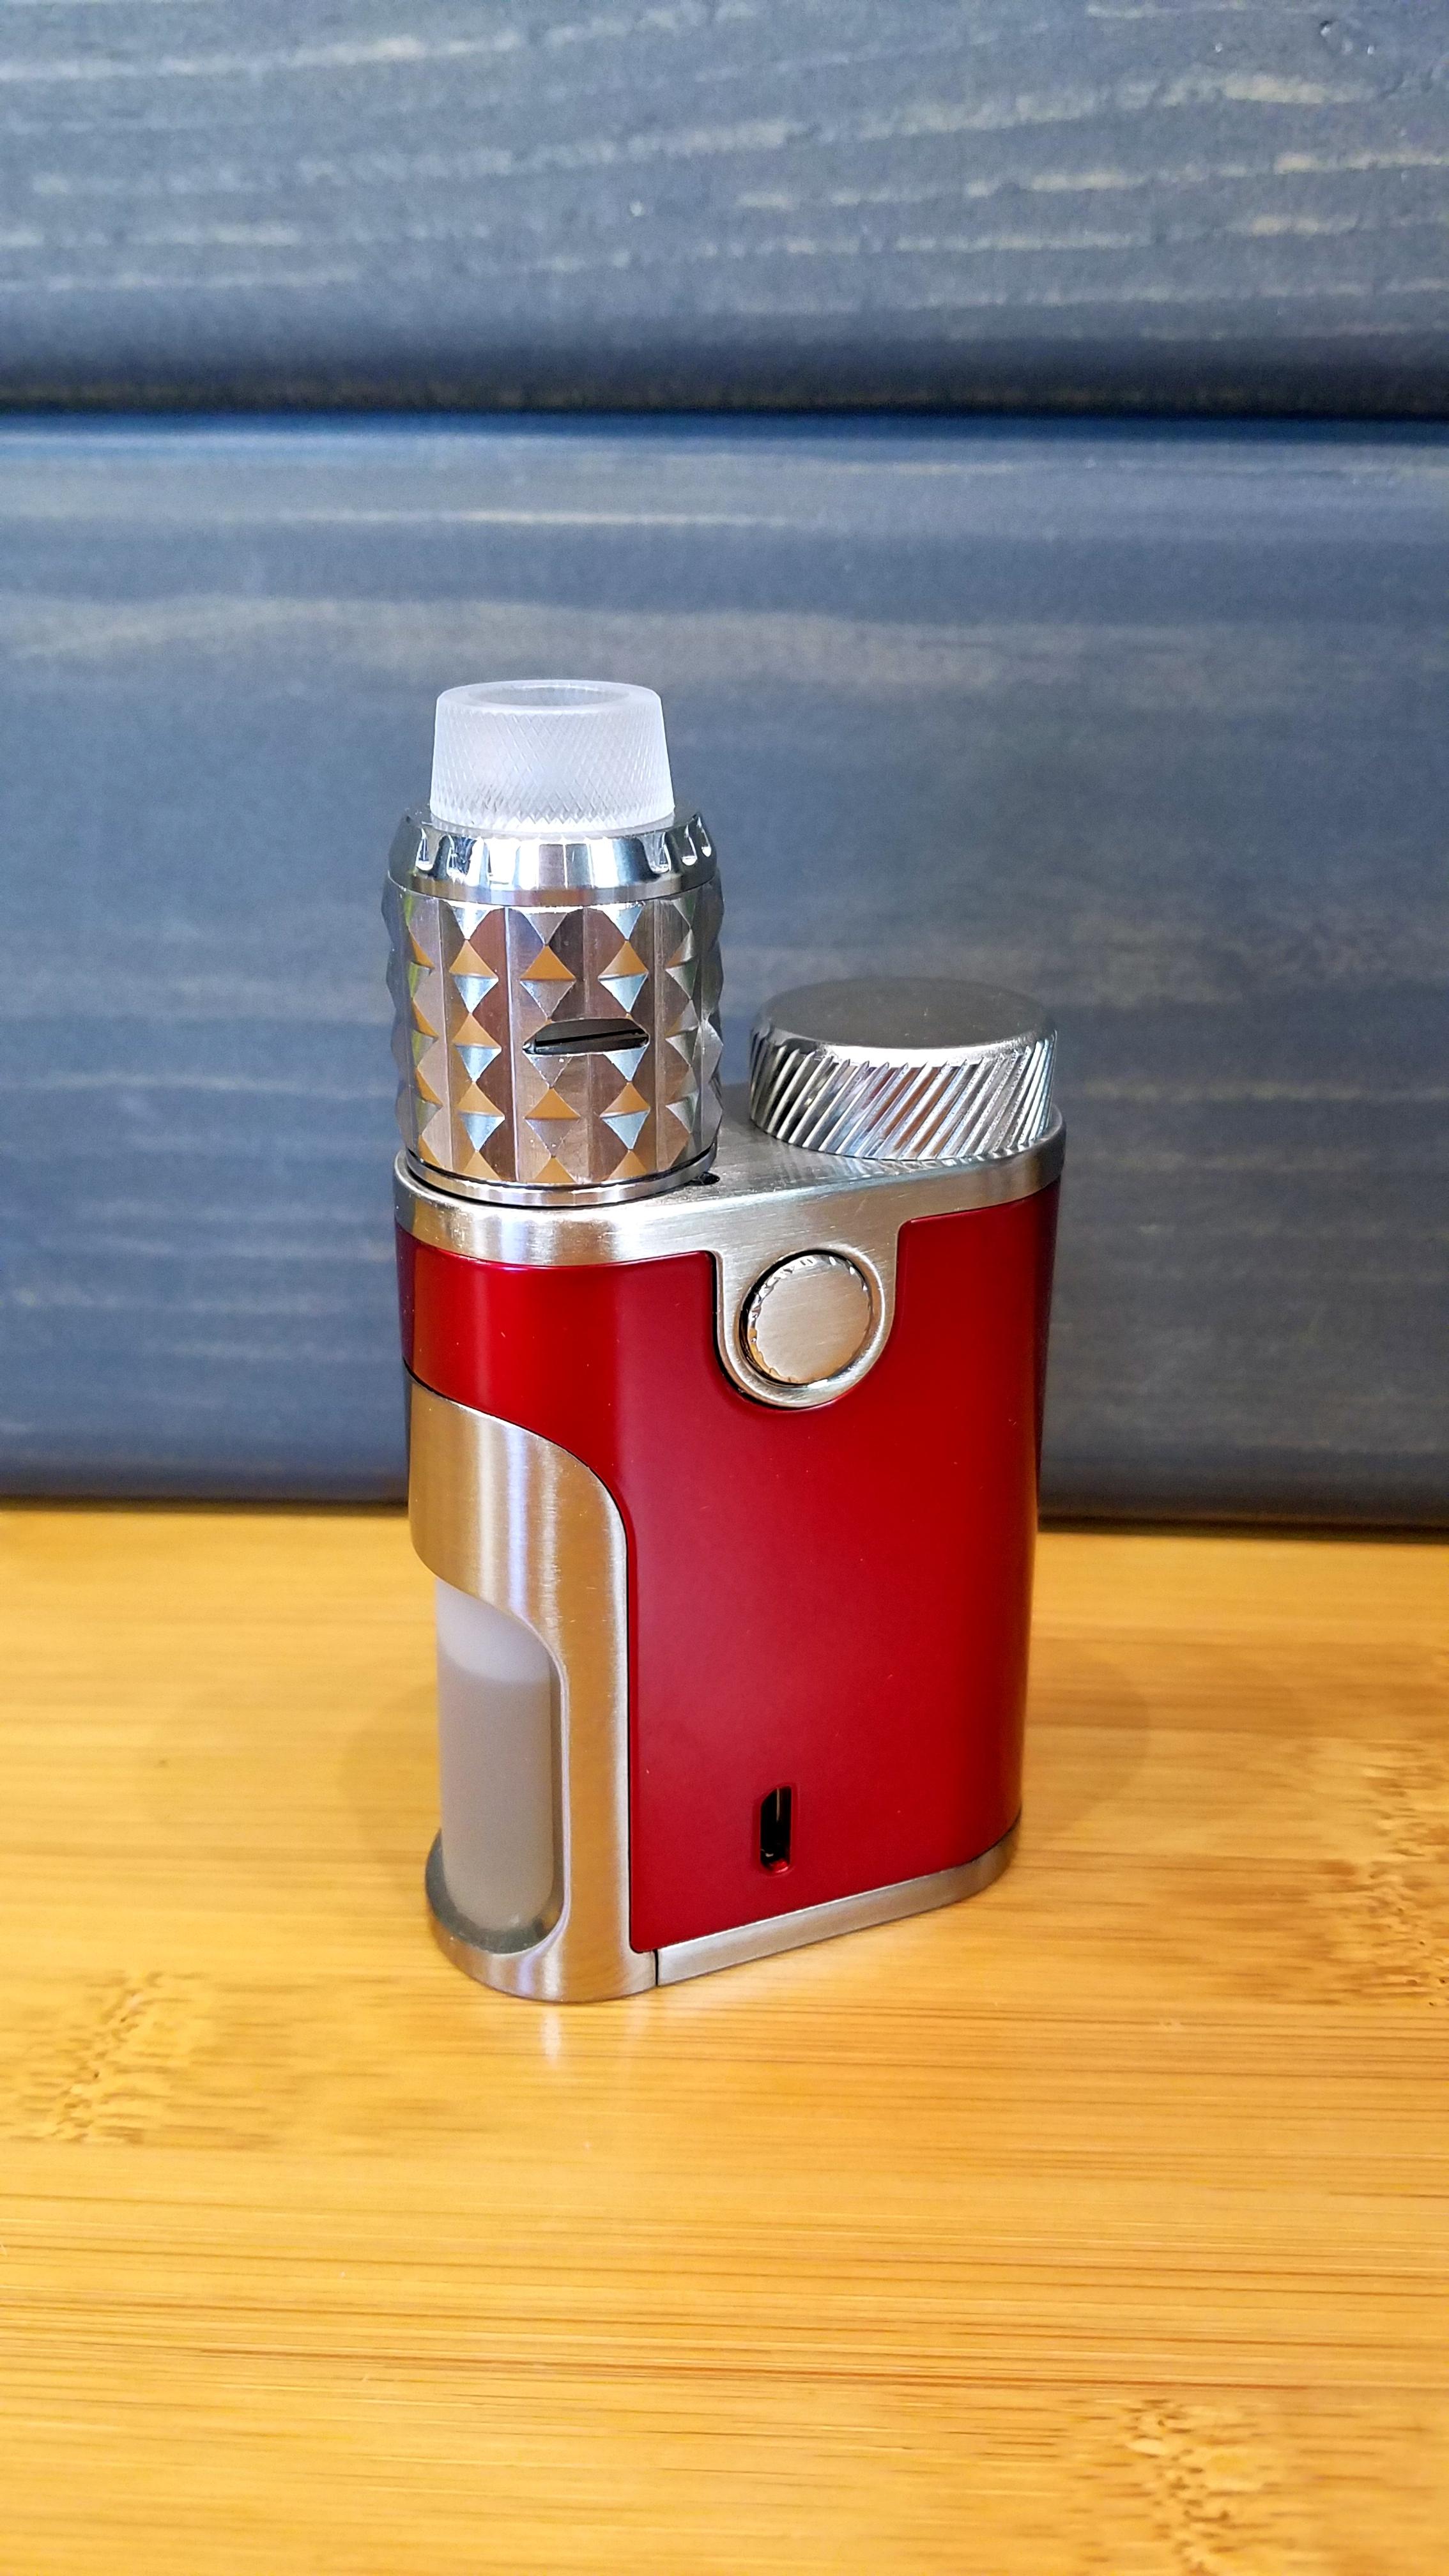
This RDA took me a few tries to perfect, and I tried a few different builds before settling on what worked best for me. My first build was using the fused Claptons that came with the rda. These coils were a little spitty at times and with the side air flow right next to the coils this equated to a shower of hot liquid out the sides more often than I like. This is common with side air flow rdas, but the small space for coils made it much more prominent on the Capstone. The second build I installed was a twisted core fused Clapton. This coil had a large outer wrap and spit liquid out the sides non-stop not matter what wicking materials I used. It hardly fit inside this deck even when shrunk down to a 2.5mm ID. The last build I tried was dual 26g SS316 in parallel and spaced the coils slightly. These were the easiest to position and provided the most space around the coils. I found that installing the coils so only half the coil can be seen through the air flow brought the flavor out the most and minimized any hot vapor coming out the sides. I typically used the stainless top cap with frosted 810 tip, but this has three options available and I tested each. The standard cap and 810 was my favorite, but the frosted cap provides about the same vape as far as flavor and vapor. The metal cap coupled with the 510 adapter and “domed” cap creates a warmer vape and tighter draw as expected. This was my least favorite top cap option of the three.
______________________________________________________________________________
MISC. PHOTOS
______________________________________________________________________________
STANDARD CAP WITH DOMED CAP
______________________________________________________________________________
STANDARD CAP W/ FROSTED TIP
Hello everybody, welcome to Pizza Dave’s vape reviews. Today I will be going over everything you need to know about the Capstone RDA byVandy Vape. As always, I keep my reviews unbiased, but this was sent to me by Vandy Vape for review. The Capstone is the latest RDA from Vandy Vape and is a collaboration with them and reviewer Vape Happy. This rda features a unique single screw deck, unique top cap, and “waterfall” like squonking action. Let’s dive in, see how it works, and I will give you my final thoughts down at the bottom.

______________________________________________________________________________
______________________________________________________________________________
WHAT YOU GET
- 1 Capstone RDA
- 1 Frosted PC comp cap
- 1 Frosted 810 drip tip
- 1 510 Domed Delrin Drip tip
- 1 510 Drip Tip Adapter
- 1 Coil lead length tool
- 1 Spare parts bag
- 1 Instruction Manual

______________________________________________________________________________
FEATURES
The Capstone is an RDA that stands out on the market for several reasons. The knarly top cap might be the first thing that jumps out, but the second and most important feature is a pyramid shaped, single screw, squonking deck. The deck features and internal squonk channel which runs liquid right over the top of the coils. This design treats the coils more like how a person would “paint” the coils with liquid rather than relying solely on wicking. Lastly, Vandy Vape went all in with spare parts. It comes with a coil length tool, two different top caps, two different drip tips, and plenty of spare parts to keep it running for a long time.
______________________________________________________________________________
BUILD DECK, WICKING, and SQUONKING
The build deck of the Capstone stands out over all other features. To install coils, the user simply loosens the single screw and the entire pyramid shape begins to open. The screw loosens up plenty and allows for lots of separation for coils to be inserted. They added knurling to each termination point which helps hold the coils in place and makes this one of the easiest single screw atties I have used. Many times, the coils move around and are hard to hold steady, but this deck holds them all the way through the tightening process. The only con that I found with the deck is that it takes up a lot of space and it limits how large the coils can be. I used 2.5mm ID coils for advanced builds and 3mm ID coils for round wire builds. It was nearly impossible to get 3mm advanced build installed with adequate room for air flow and keep them from shorting against the sides, but it is doable. Wicking this, like many rdas, is simple and is completed by snipping the cotton just long enough to touch the bottom of the juice well. The squonk action of this rda is different from many and features a “waterfall” of liquid that comes up the center post and right onto the coil. There is zero delay from the time it is squonked to the time the liquid saturates the cotton within the coil. The only drawback to this is that nothing gets sucked back in when the bottle is released. It can be over-squonked and pour out the sides, but it takes quite a bit of squonking to do this thanks to a deep juice well.
______________________________________________________________________________
BUILD DECK

______________________________________________________________________________
FUSED CLAPTON BUILD

______________________________________________________________________________
ALL WICKED UP

______________________________________________________________________________
SPACED SS ROUND WIRE BUILD

______________________________________________________________________________
SQUONK PIN WITH BOTTOM GASKET

______________________________________________________________________________
HOW IT VAPES
This RDA took me a few tries to perfect, and I tried a few different builds before settling on what worked best for me. My first build was using the fused Claptons that came with the rda. These coils were a little spitty at times and with the side air flow right next to the coils this equated to a shower of hot liquid out the sides more often than I like. This is common with side air flow rdas, but the small space for coils made it much more prominent on the Capstone. The second build I installed was a twisted core fused Clapton. This coil had a large outer wrap and spit liquid out the sides non-stop not matter what wicking materials I used. It hardly fit inside this deck even when shrunk down to a 2.5mm ID. The last build I tried was dual 26g SS316 in parallel and spaced the coils slightly. These were the easiest to position and provided the most space around the coils. I found that installing the coils so only half the coil can be seen through the air flow brought the flavor out the most and minimized any hot vapor coming out the sides. I typically used the stainless top cap with frosted 810 tip, but this has three options available and I tested each. The standard cap and 810 was my favorite, but the frosted cap provides about the same vape as far as flavor and vapor. The metal cap coupled with the 510 adapter and “domed” cap creates a warmer vape and tighter draw as expected. This was my least favorite top cap option of the three.
______________________________________________________________________________
MISC. PHOTOS
______________________________________________________________________________
STANDARD CAP WITH DOMED CAP

______________________________________________________________________________
STANDARD CAP W/ FROSTED TIP

Last edited:
