Pauly Meatballs
Member For 4 Years
Member For 3 Years
Member For 2 Years
Member For 1 Year
Member For 5 Years
Hi guys, just a quick follow up to my last vid:
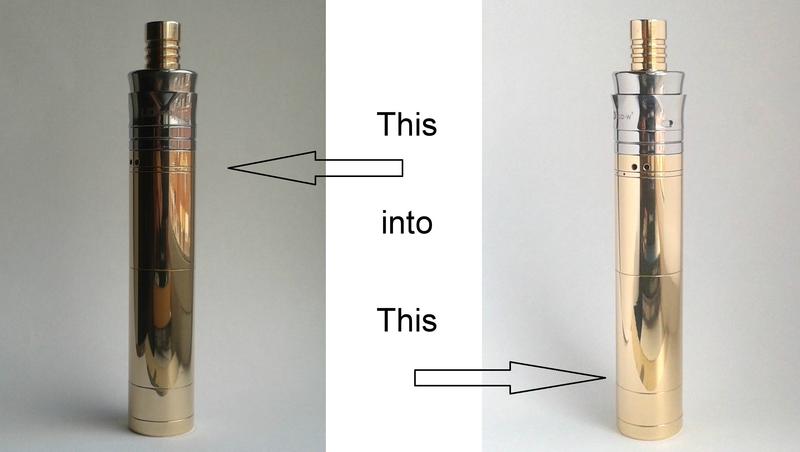
Today we'll be looking at lighting and I'll share my favourite way to light a vape-pic.
It's a quick and easy way to turn...
-------------------------------------------------------------------------
In the last vid we saw what kind of pics can be taken with an old camera phone.
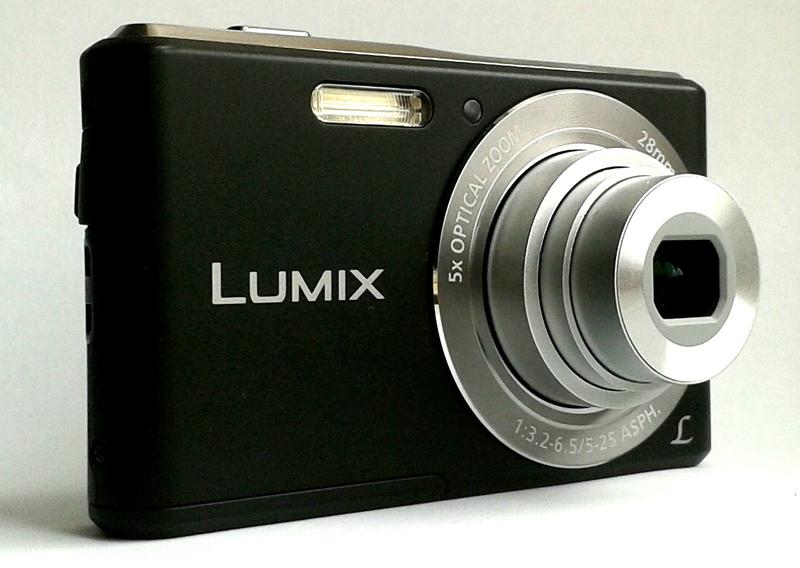
The pics in this thread (from this point on) were taken with my regular camera,
the panasonic DMC-F5 ultra compact (pictured above). This cost me £40 from tescos.
OK, you've set up your shot with an infinity sweep (for details see vid above)
but how to light it?
How about in a room with normal household lights?
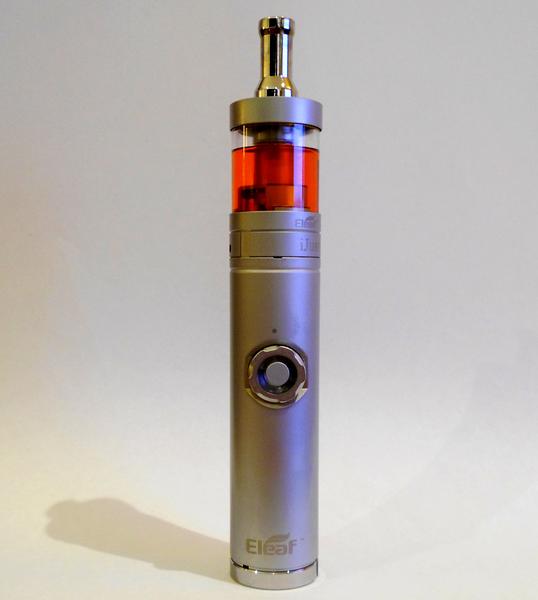
Not great eh? The detail is there we've got some nasty big shadows and the piece just looks a bit lifeless.
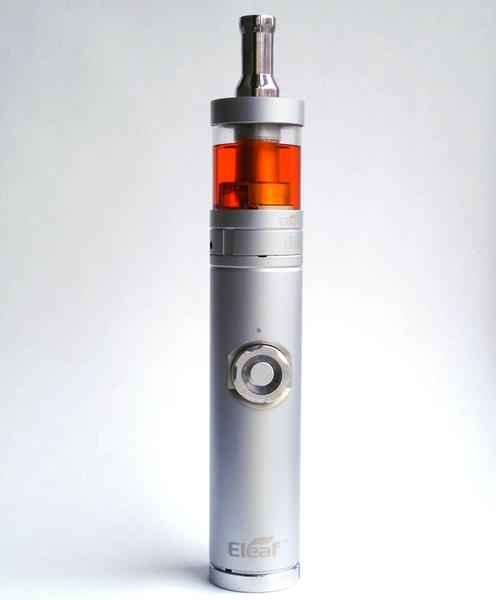
How about with natural light dead on? (with the light directly hitting the front of your shot)

Not great either, the shadows are gone but the piece looks totally flat.
If the sun were brighter the flat washed-out effect would be more pronounced but the weather refuses to co-operate with my tutorial!
OK, so how about on a windowsill with the sunlight coming from one side only?
Better, the shot looks more interesting but the left hand side of the piece is in shadow.
To remedy this we'll employ my favourite piece of photography hardware, the piece of A4 white paper!
Just hold it up to the left of the shot and reflect the sunlight back onto the piece:
That'll do nicely. There we have a perfectly acceptable vape-pic taken with an inexpensive compact camera using
a windowsill and a few pieces of A4 paper. Simples.
While we're talking about light let's look at a couple of old pics to see how much light is too much.
The following pic was taken using the technique above on a very sunny day:
I rather like this pic but technically it's not great, it's too bright and we've lost detail.
A quick and easy way to remedy this is to employ....you guessed it! Another piece of plain white paper!
Just tape a piece to the window where the light is coming from and you'll diffuse that harsh sunlight, spreading
the light nicely over your shot:
Thanks for reading everyone!
Guys, that's me done, I've emptied my very small bag of tricks. If anyone else has more tips or tricks to share with us
(preferably not too technical) to improve our vape-pics I for one would love to hear them!
Have a great day,
Paul
P.S.
Want an even quicker and easier way to light a pic? Why not just take it outside?
Today we'll be looking at lighting and I'll share my favourite way to light a vape-pic.
It's a quick and easy way to turn...
-------------------------------------------------------------------------
In the last vid we saw what kind of pics can be taken with an old camera phone.
The pics in this thread (from this point on) were taken with my regular camera,
the panasonic DMC-F5 ultra compact (pictured above). This cost me £40 from tescos.
OK, you've set up your shot with an infinity sweep (for details see vid above)
but how to light it?
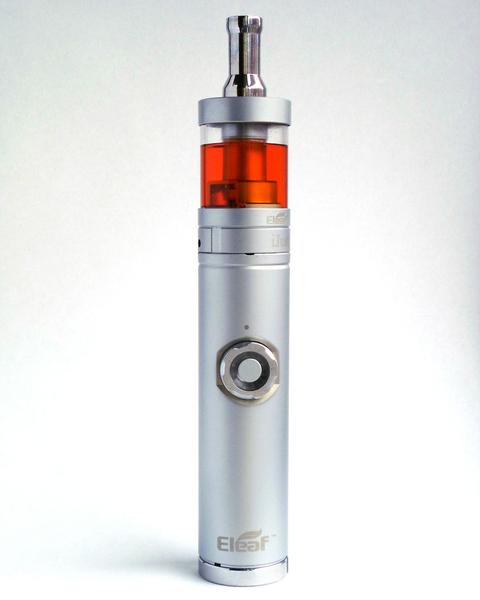
How about in a room with normal household lights?
Not great eh? The detail is there we've got some nasty big shadows and the piece just looks a bit lifeless.
How about with natural light dead on? (with the light directly hitting the front of your shot)
Not great either, the shadows are gone but the piece looks totally flat.
If the sun were brighter the flat washed-out effect would be more pronounced but the weather refuses to co-operate with my tutorial!
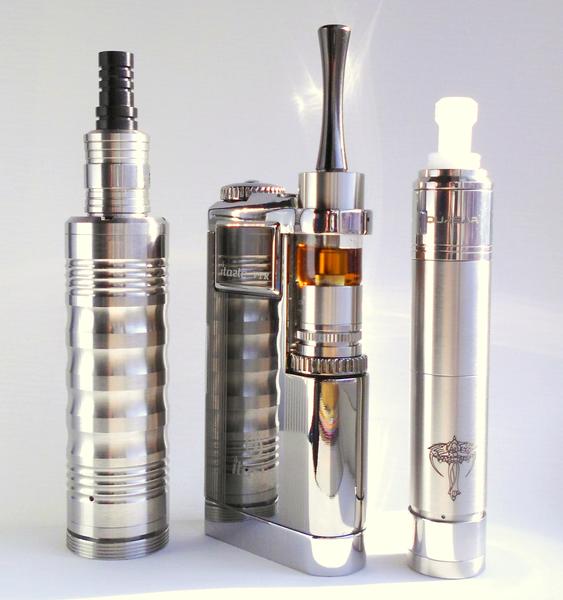
OK, so how about on a windowsill with the sunlight coming from one side only?
Better, the shot looks more interesting but the left hand side of the piece is in shadow.
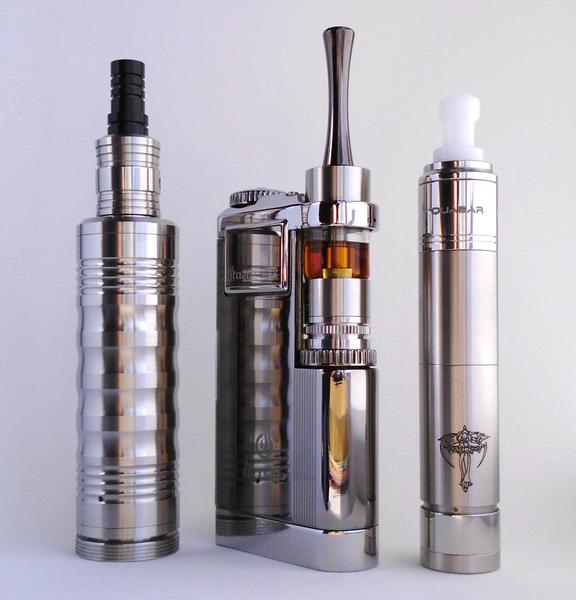
To remedy this we'll employ my favourite piece of photography hardware, the piece of A4 white paper!
Just hold it up to the left of the shot and reflect the sunlight back onto the piece:
That'll do nicely. There we have a perfectly acceptable vape-pic taken with an inexpensive compact camera using
a windowsill and a few pieces of A4 paper. Simples.
While we're talking about light let's look at a couple of old pics to see how much light is too much.
The following pic was taken using the technique above on a very sunny day:
I rather like this pic but technically it's not great, it's too bright and we've lost detail.
A quick and easy way to remedy this is to employ....you guessed it! Another piece of plain white paper!
Just tape a piece to the window where the light is coming from and you'll diffuse that harsh sunlight, spreading
the light nicely over your shot:
Thanks for reading everyone!
Guys, that's me done, I've emptied my very small bag of tricks. If anyone else has more tips or tricks to share with us
(preferably not too technical) to improve our vape-pics I for one would love to hear them!
Have a great day,
Paul
P.S.
Want an even quicker and easier way to light a pic? Why not just take it outside?


