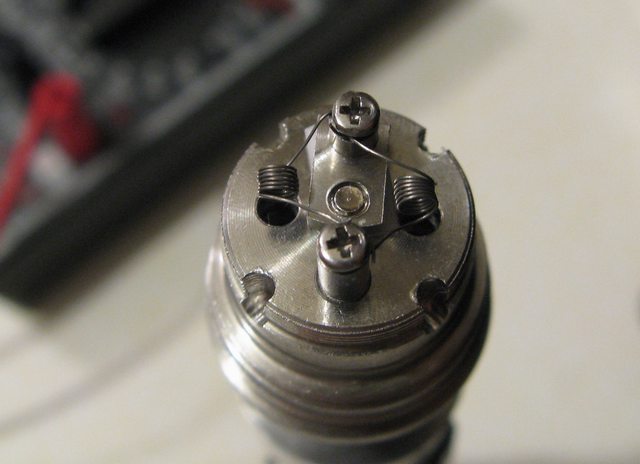
Thanks for your like Caff. Nice set. Love duals. A bit hard to master in getting the balance. It's about symmetry. Disparity in resistance gets you an uneven vape and often spoils the build. But I gotta tell ya it couldn't be easier with the tensioned m.c.'s I'm talkin' about. There is just enough precision in the human hand to tell exactly when adhesion happens. Then the coil behaves like a screen door spring. It wants to be a microcoil. Unlike a coil that was
forced into its shape by external energy, it had the energy and shape imparted to it
internally. Net result it's about as uniform as it could be (so long as you don't trash it too much setting it). When you pulse it that's when the magic happens. The alumina oxide layers which insulate this continuous short occur coherently forcing a fusion of the layers turn-to-turn. Except for imperfections in the wire it's as perfectly tight as it can get. What's that mean for resistance? Well for one, predictable. And that reproducible outcome means you'll get a lot of sets that fire microcoil the first time and together. Those are the kind of odds I like.
Tap me on the shoulder anytime if you give it a try and need a shout out.
Good luck.
")
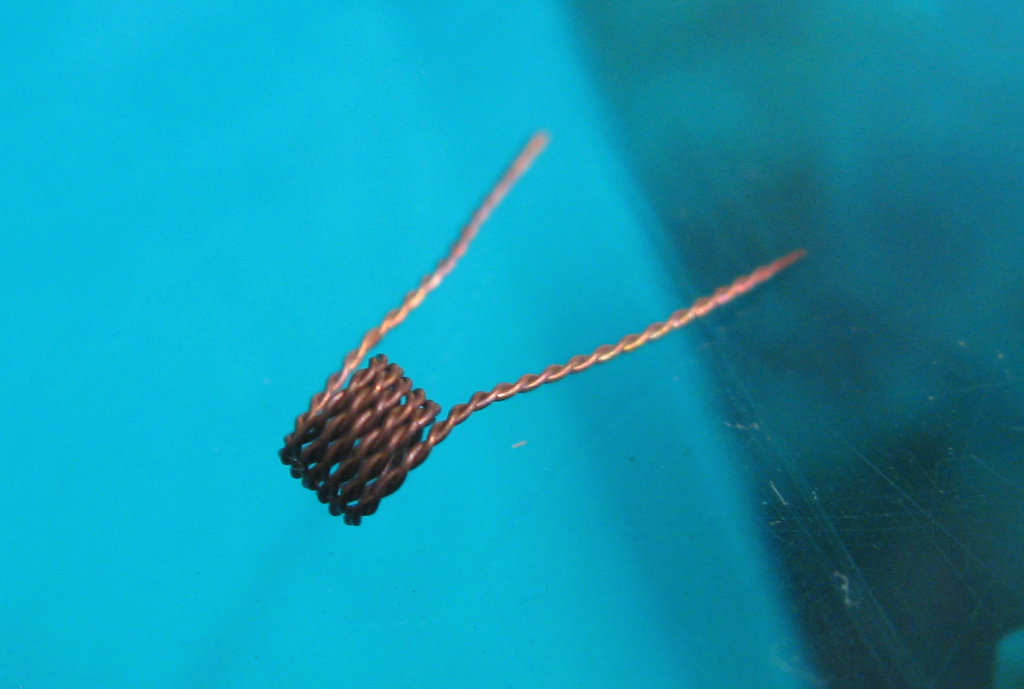
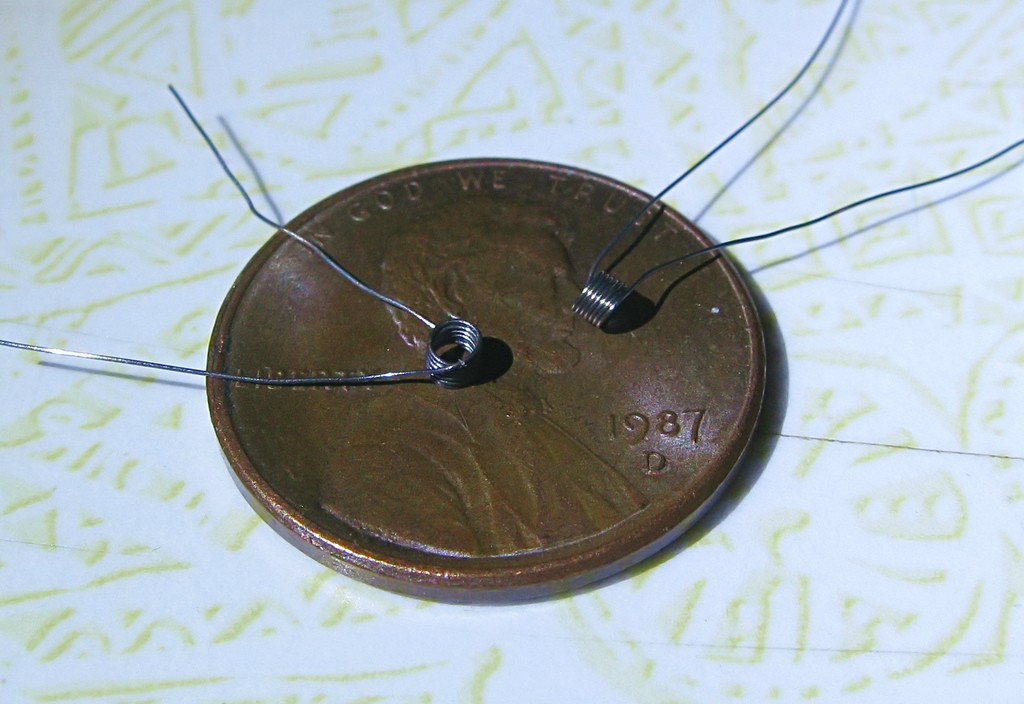
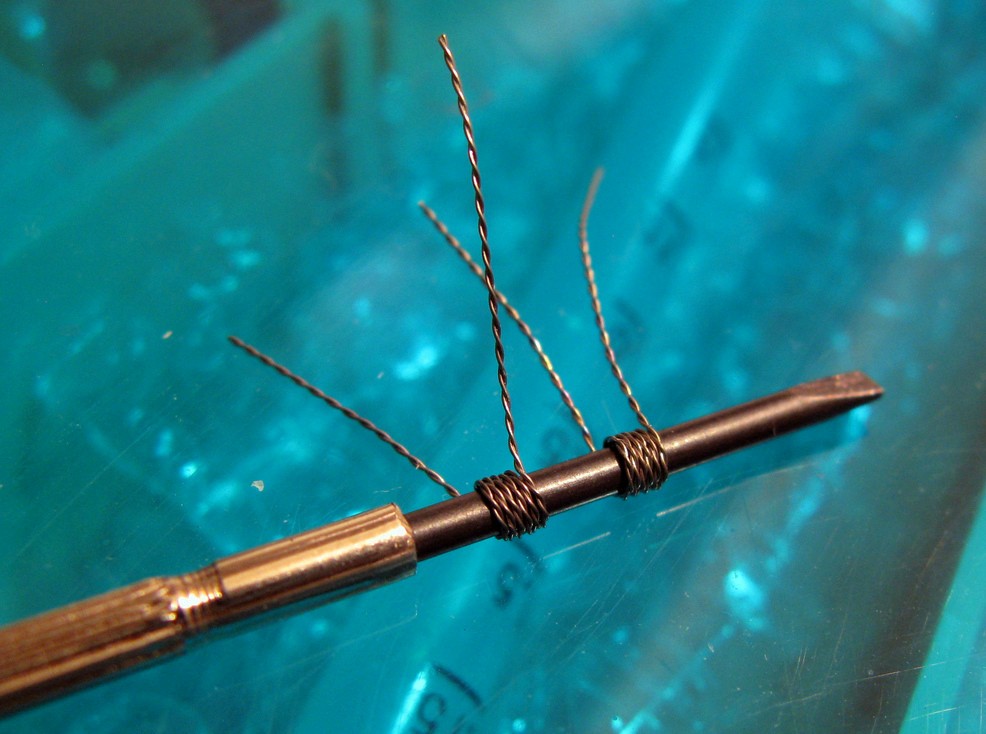
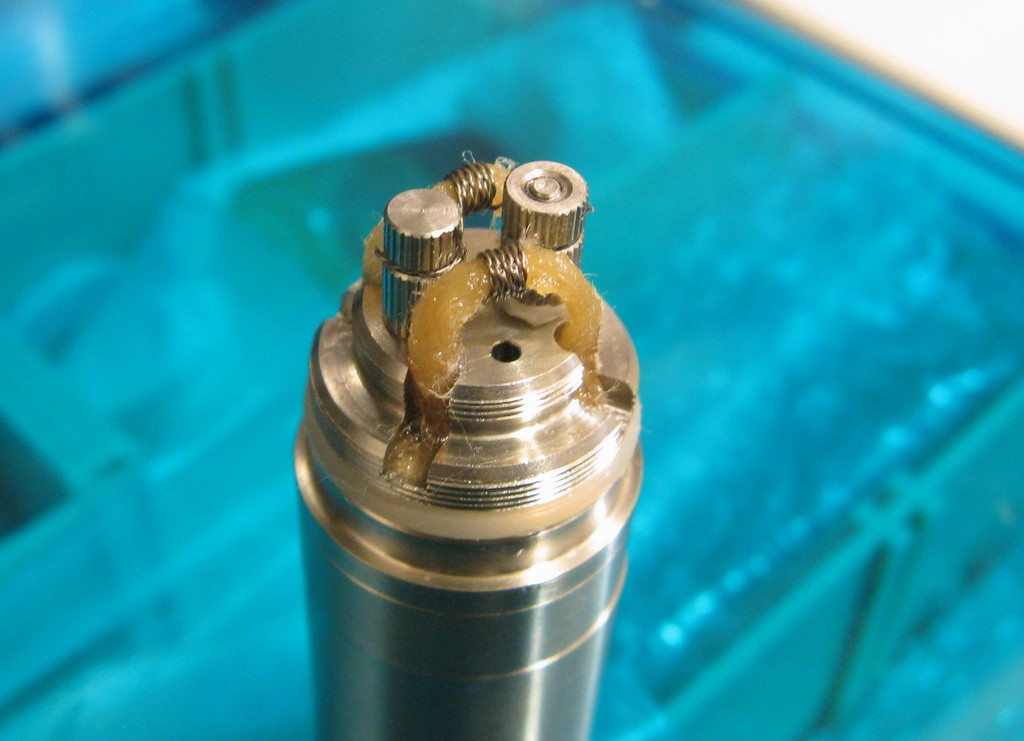
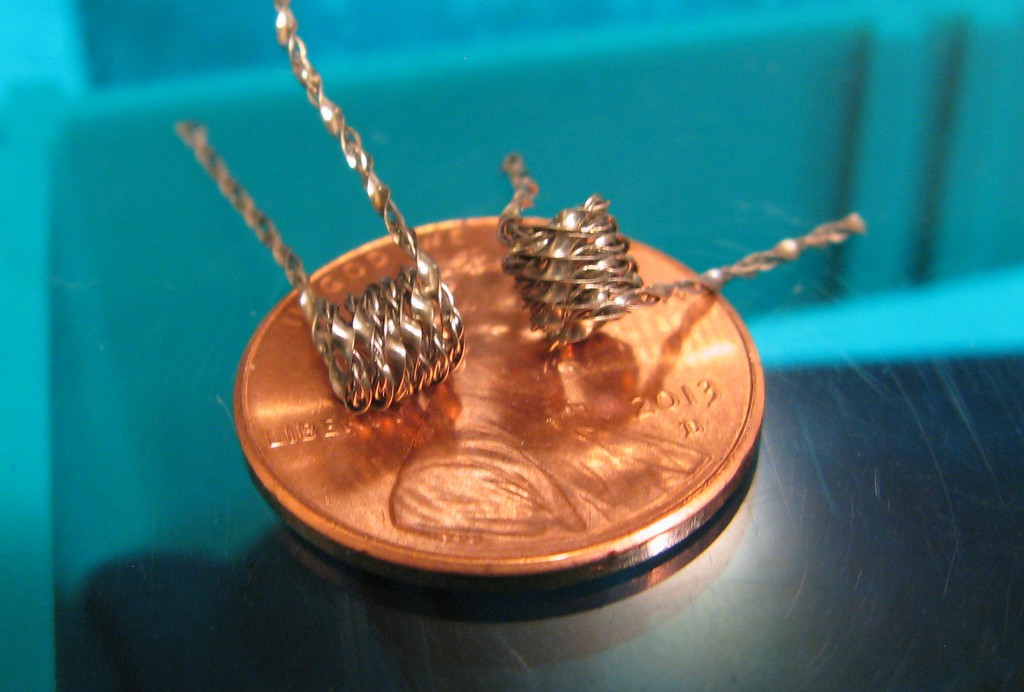
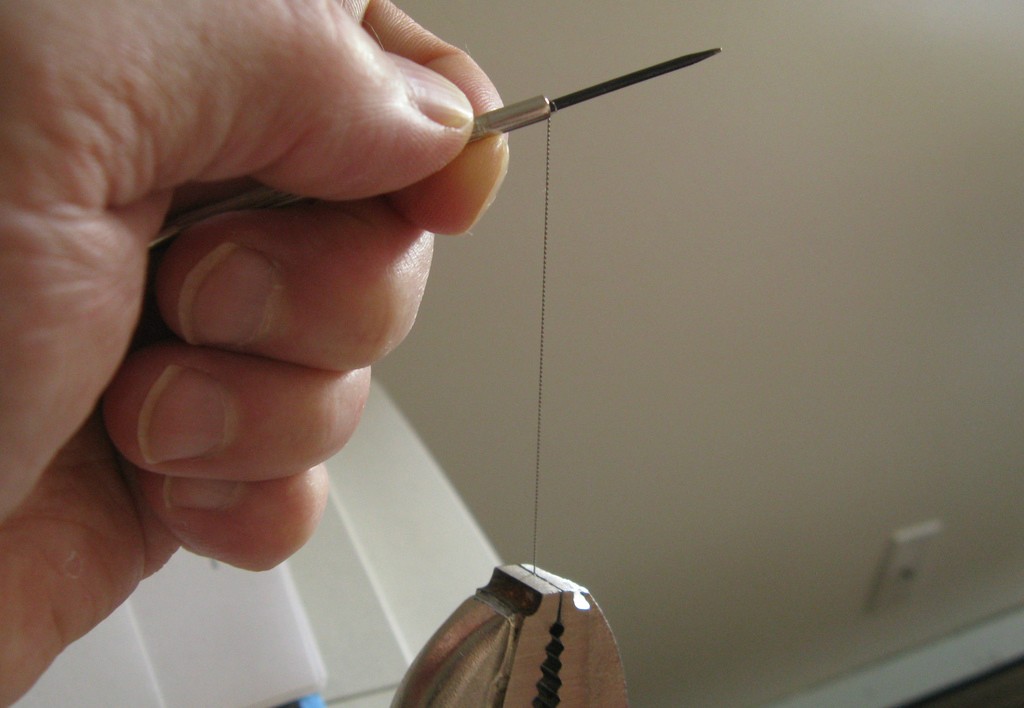
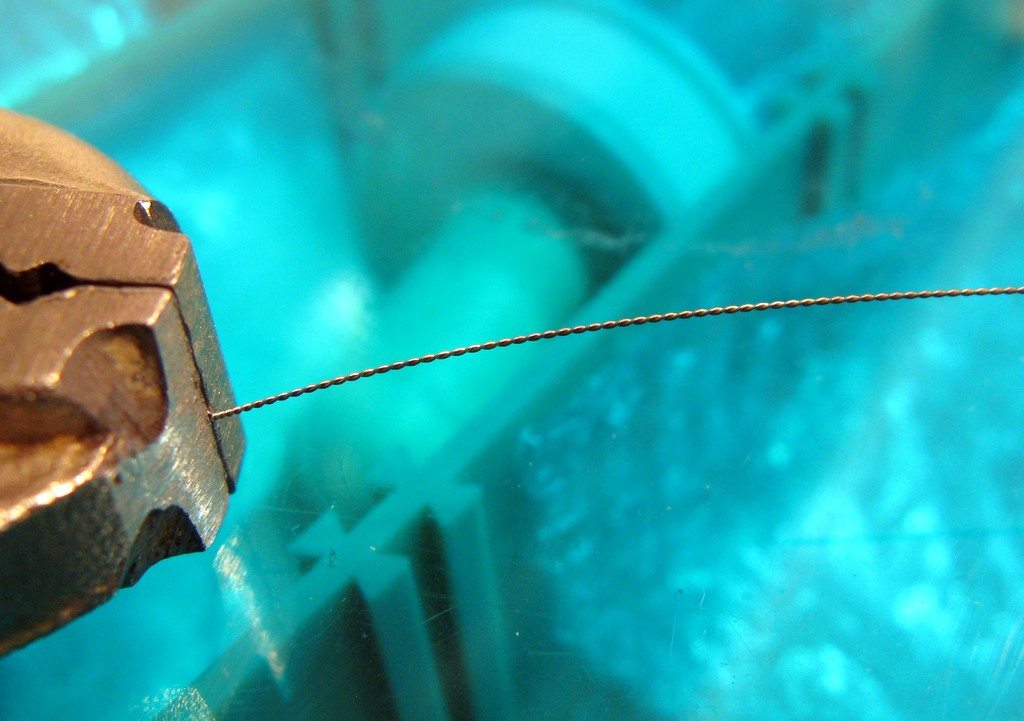
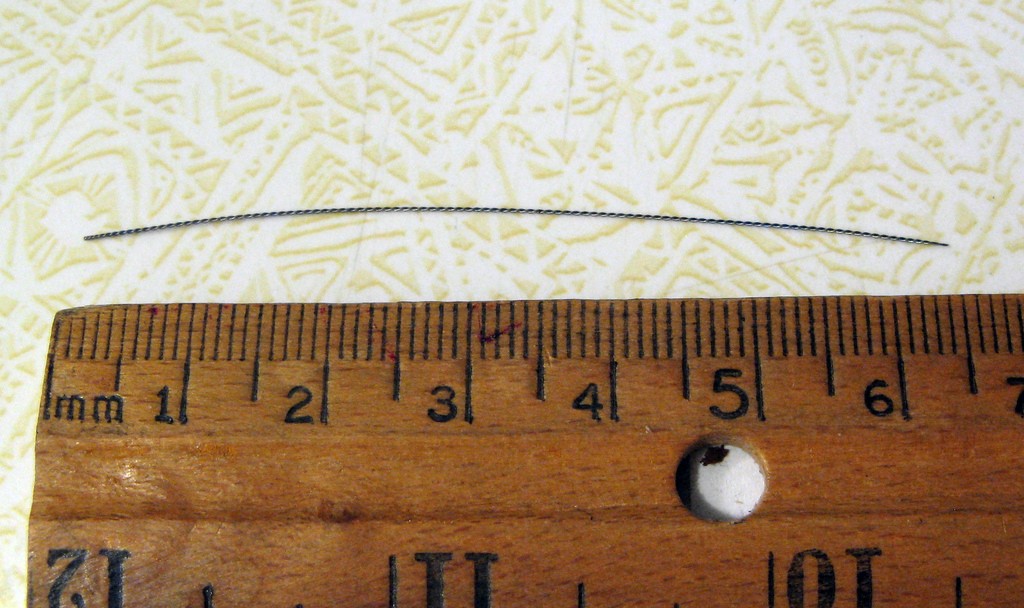
p.s. Speaking of hot legs…here's a pair of twisted-leg parallels I did this evening. Twisting stabilizes the parallels which are fidgety to begin with and helps deter shorting. Makes for an easier install. You'll have to wait for surprise on performance when you tension a wind and try this…
View attachment 4234