Become a Patron!
You are using an out of date browser. It may not display this or other websites correctly.
You should upgrade or use an alternative browser.
You should upgrade or use an alternative browser.
Share your CoilPorn / Specialty Coil Builds / Advanced Building Techniques
- Thread starter BUDKISS
- Start date
Update guys
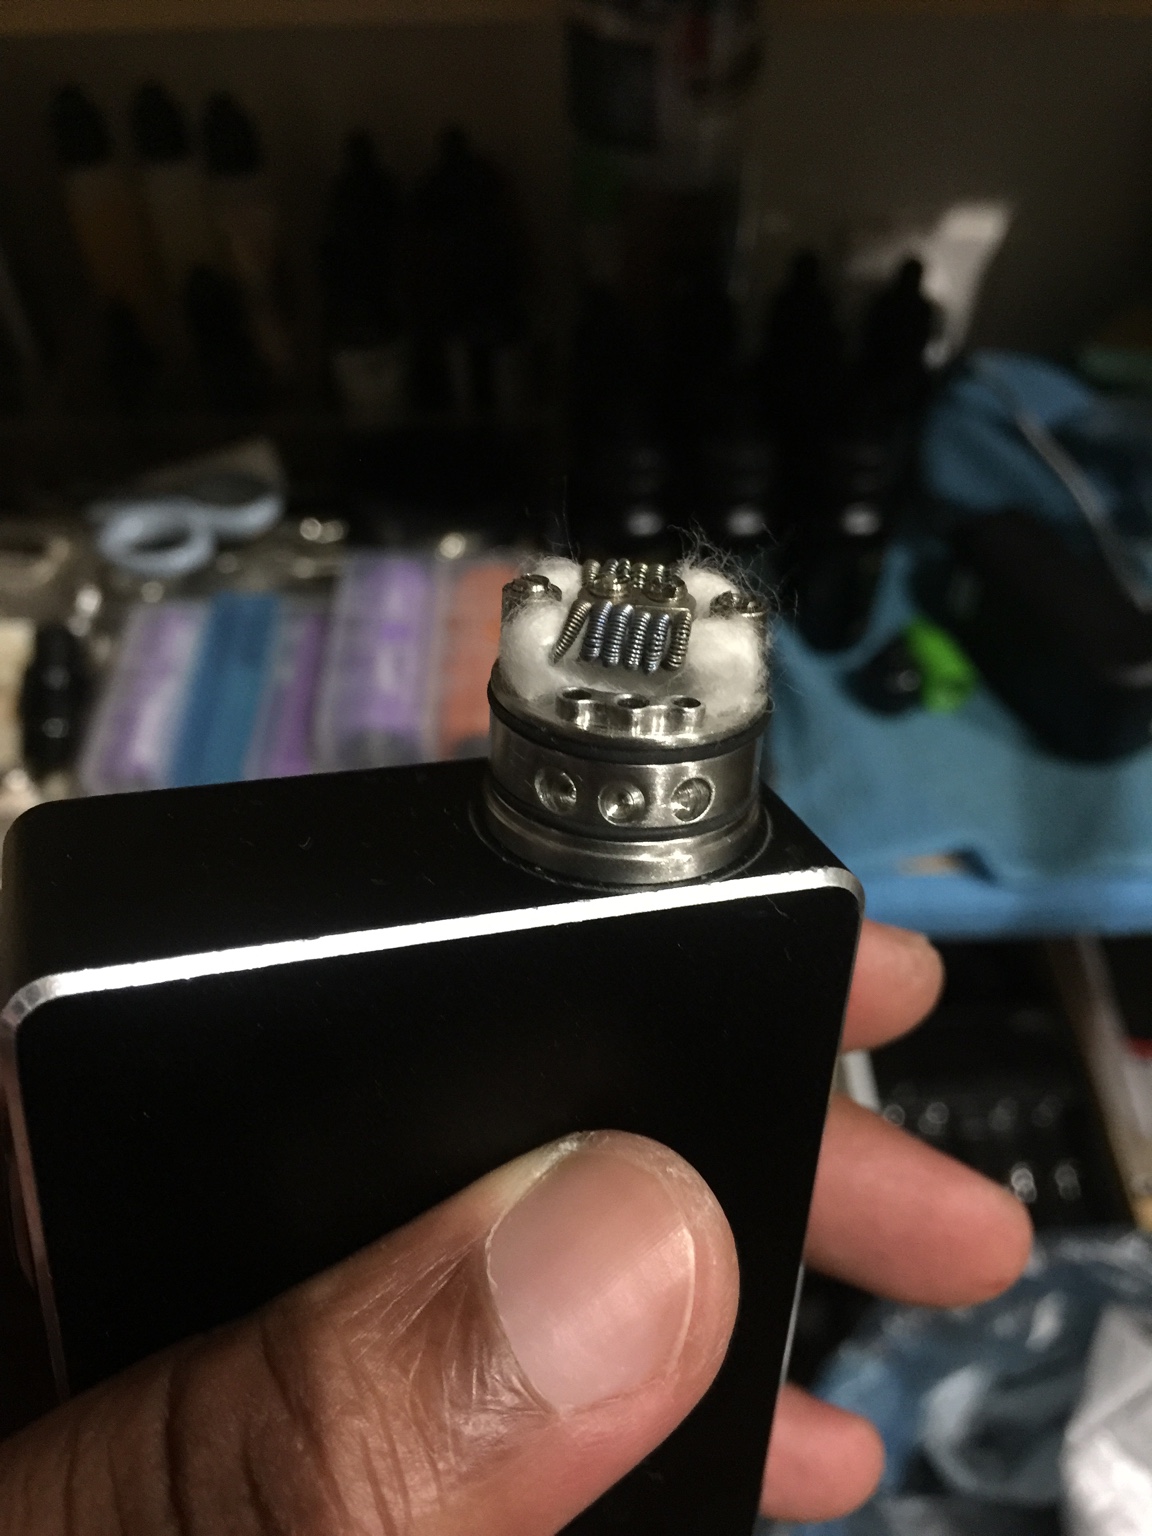
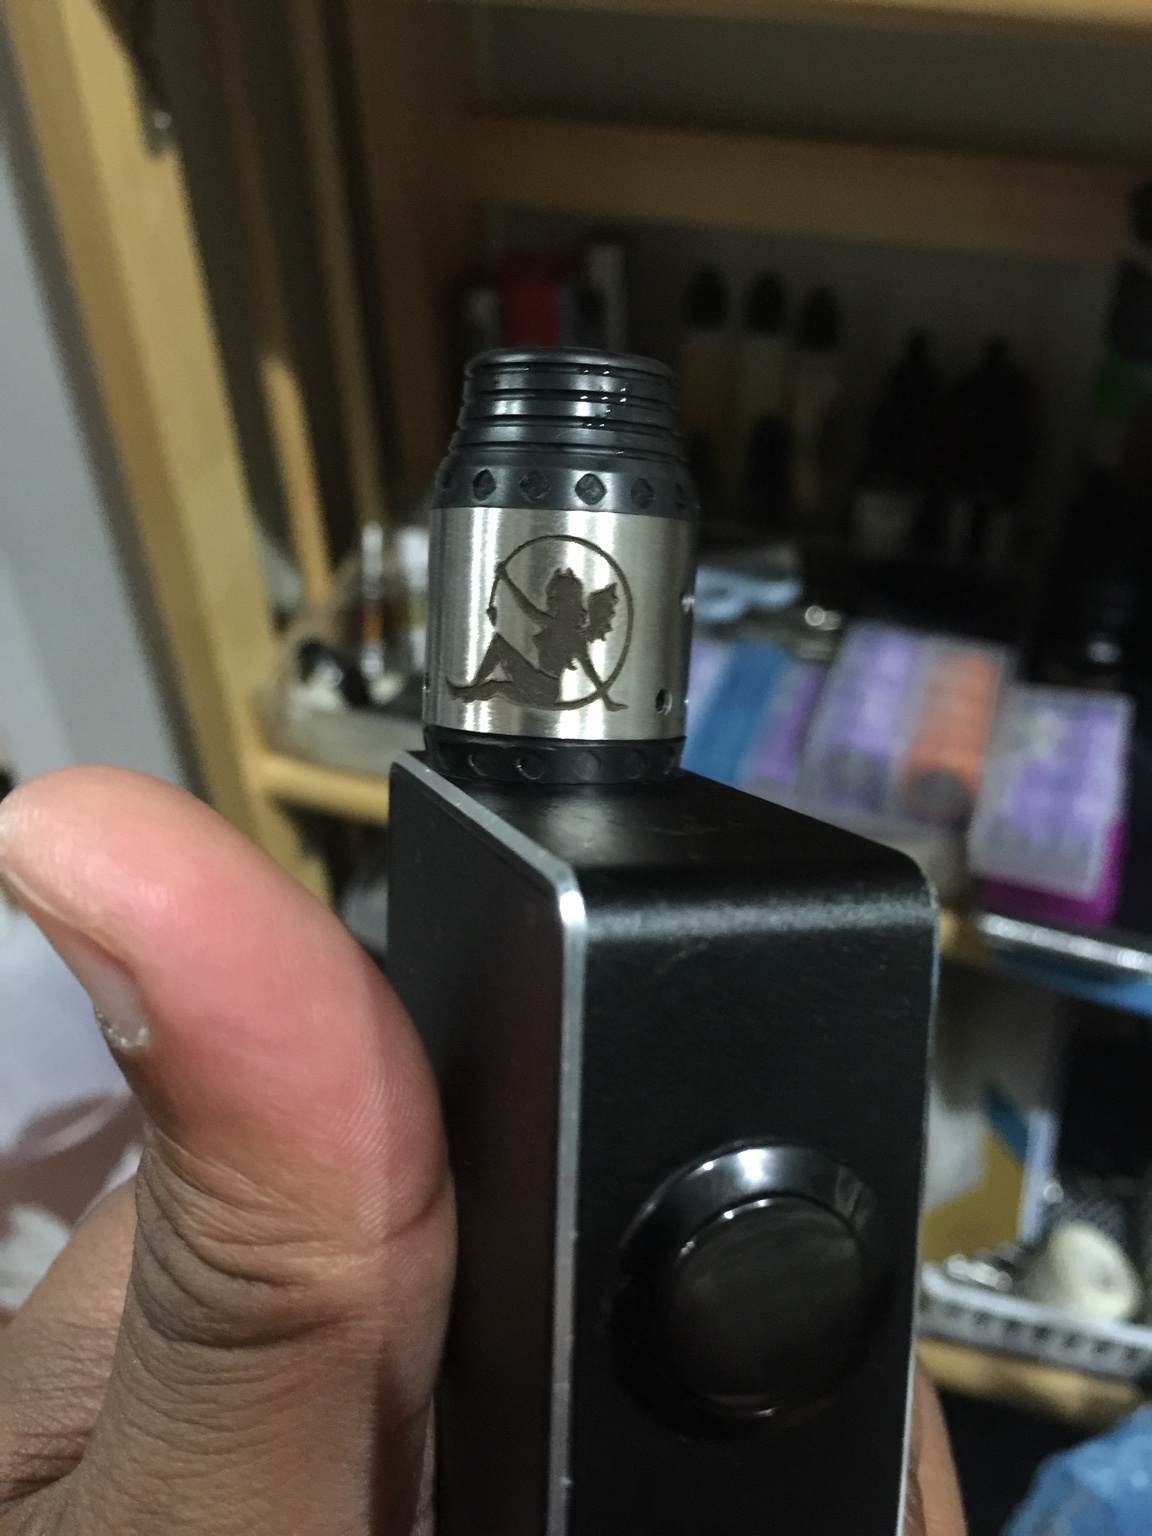
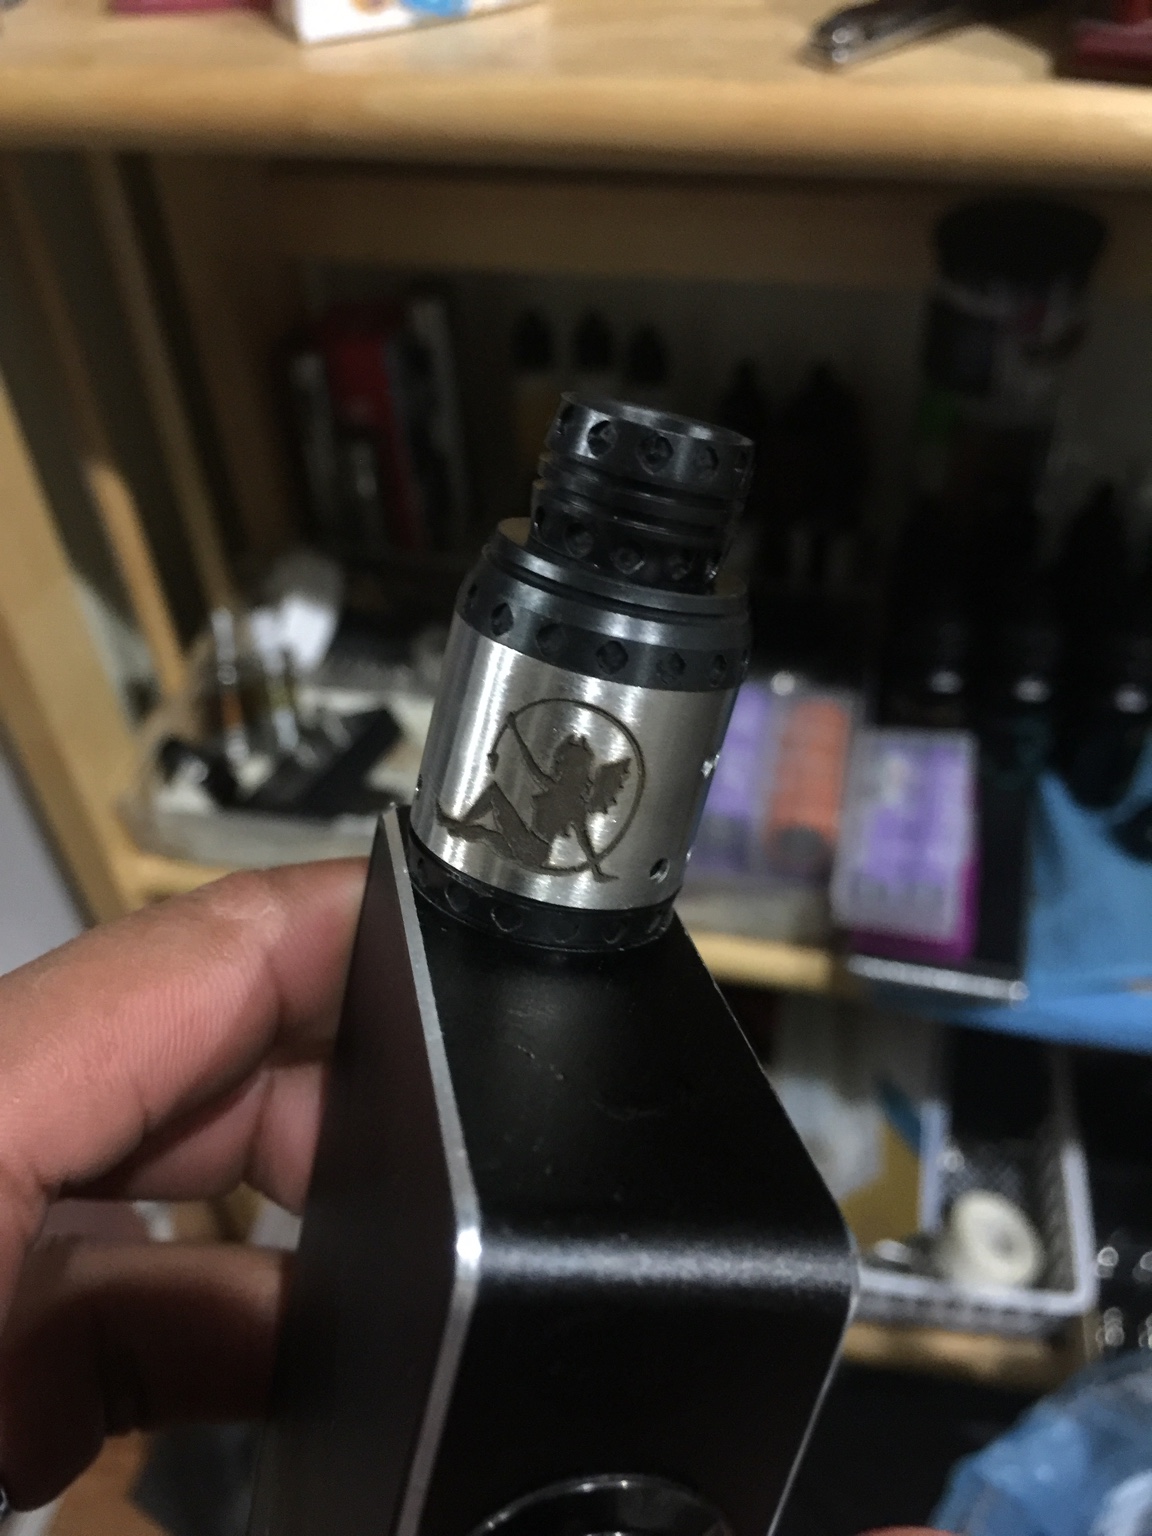
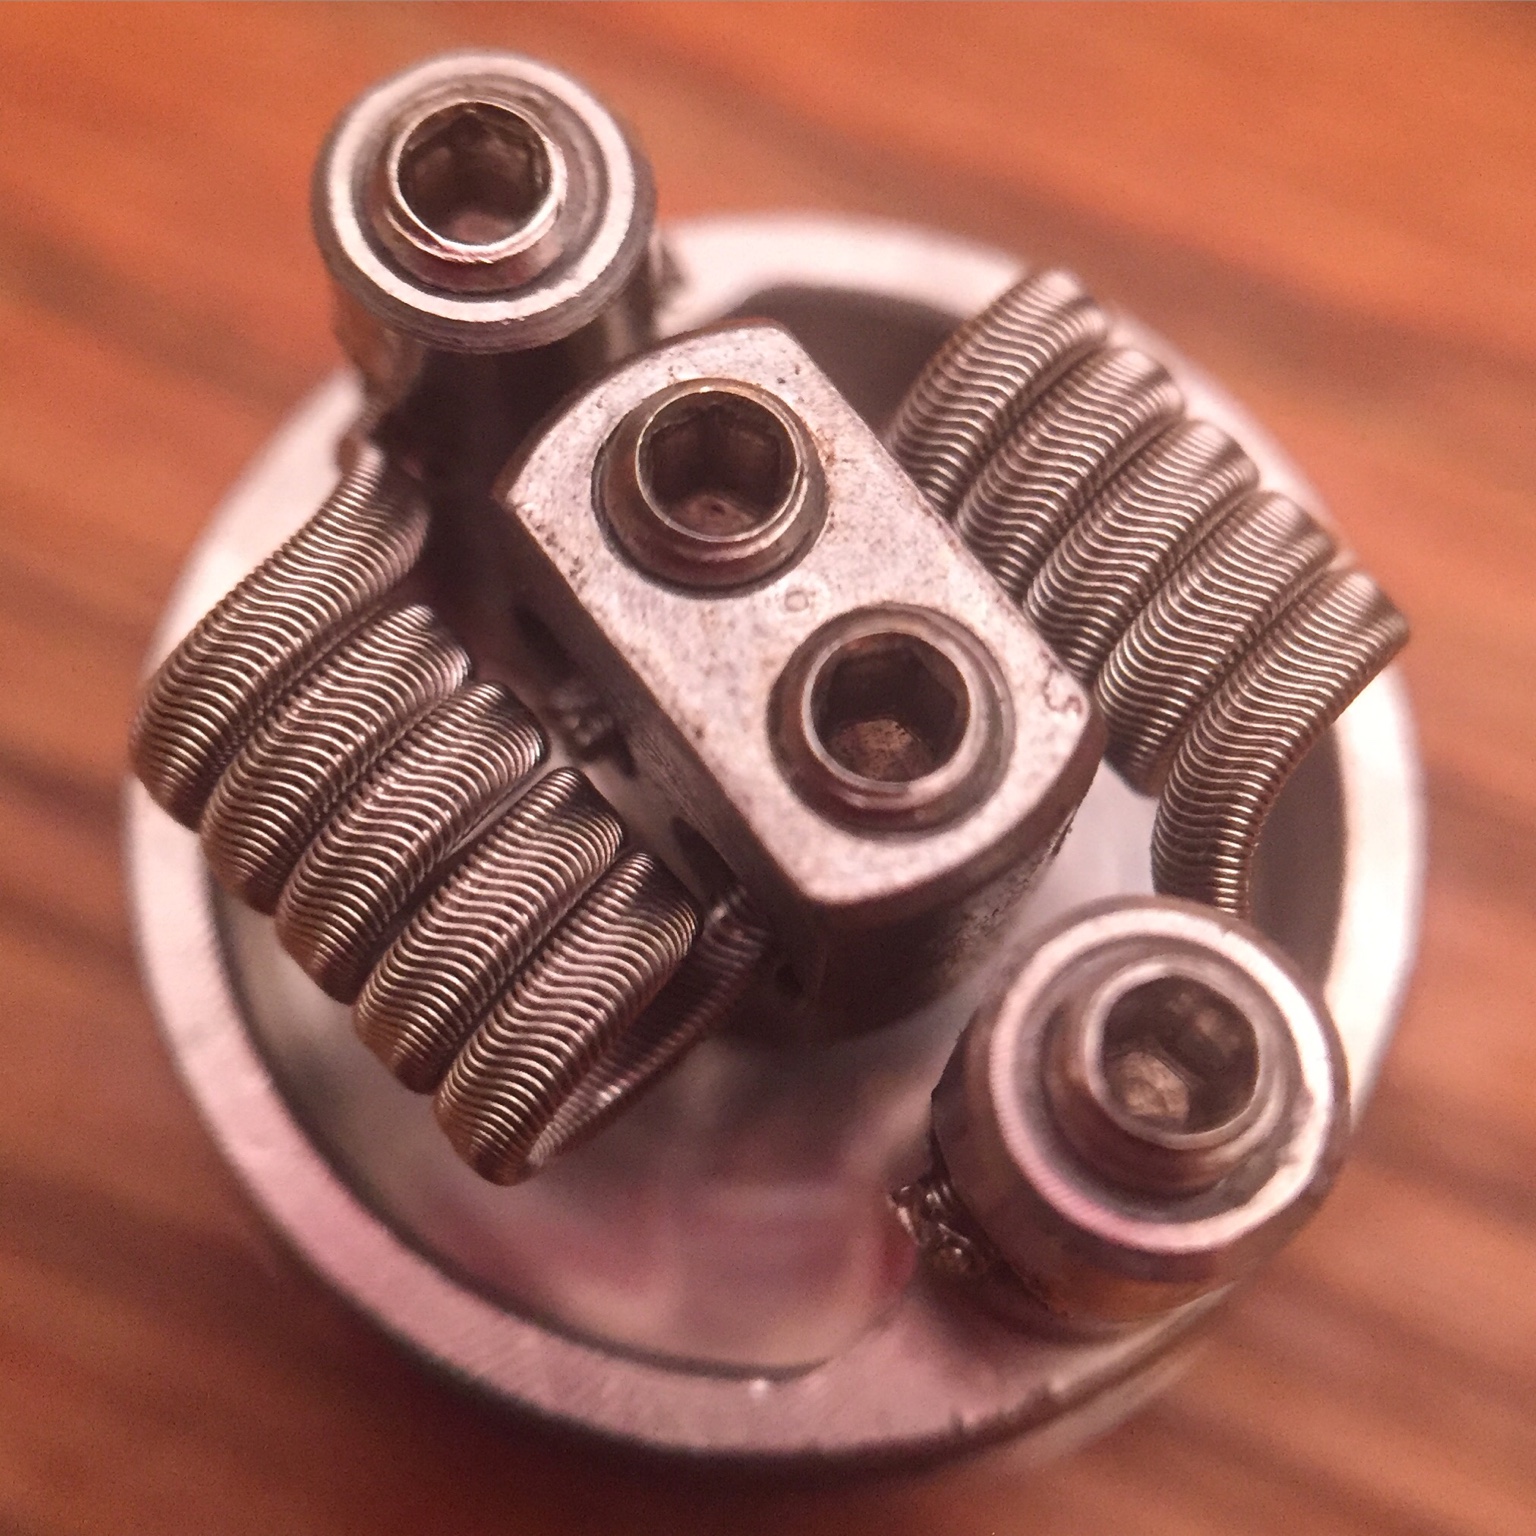
Finally got my authentic SUCCUBUS rda by eldiablo Philippines
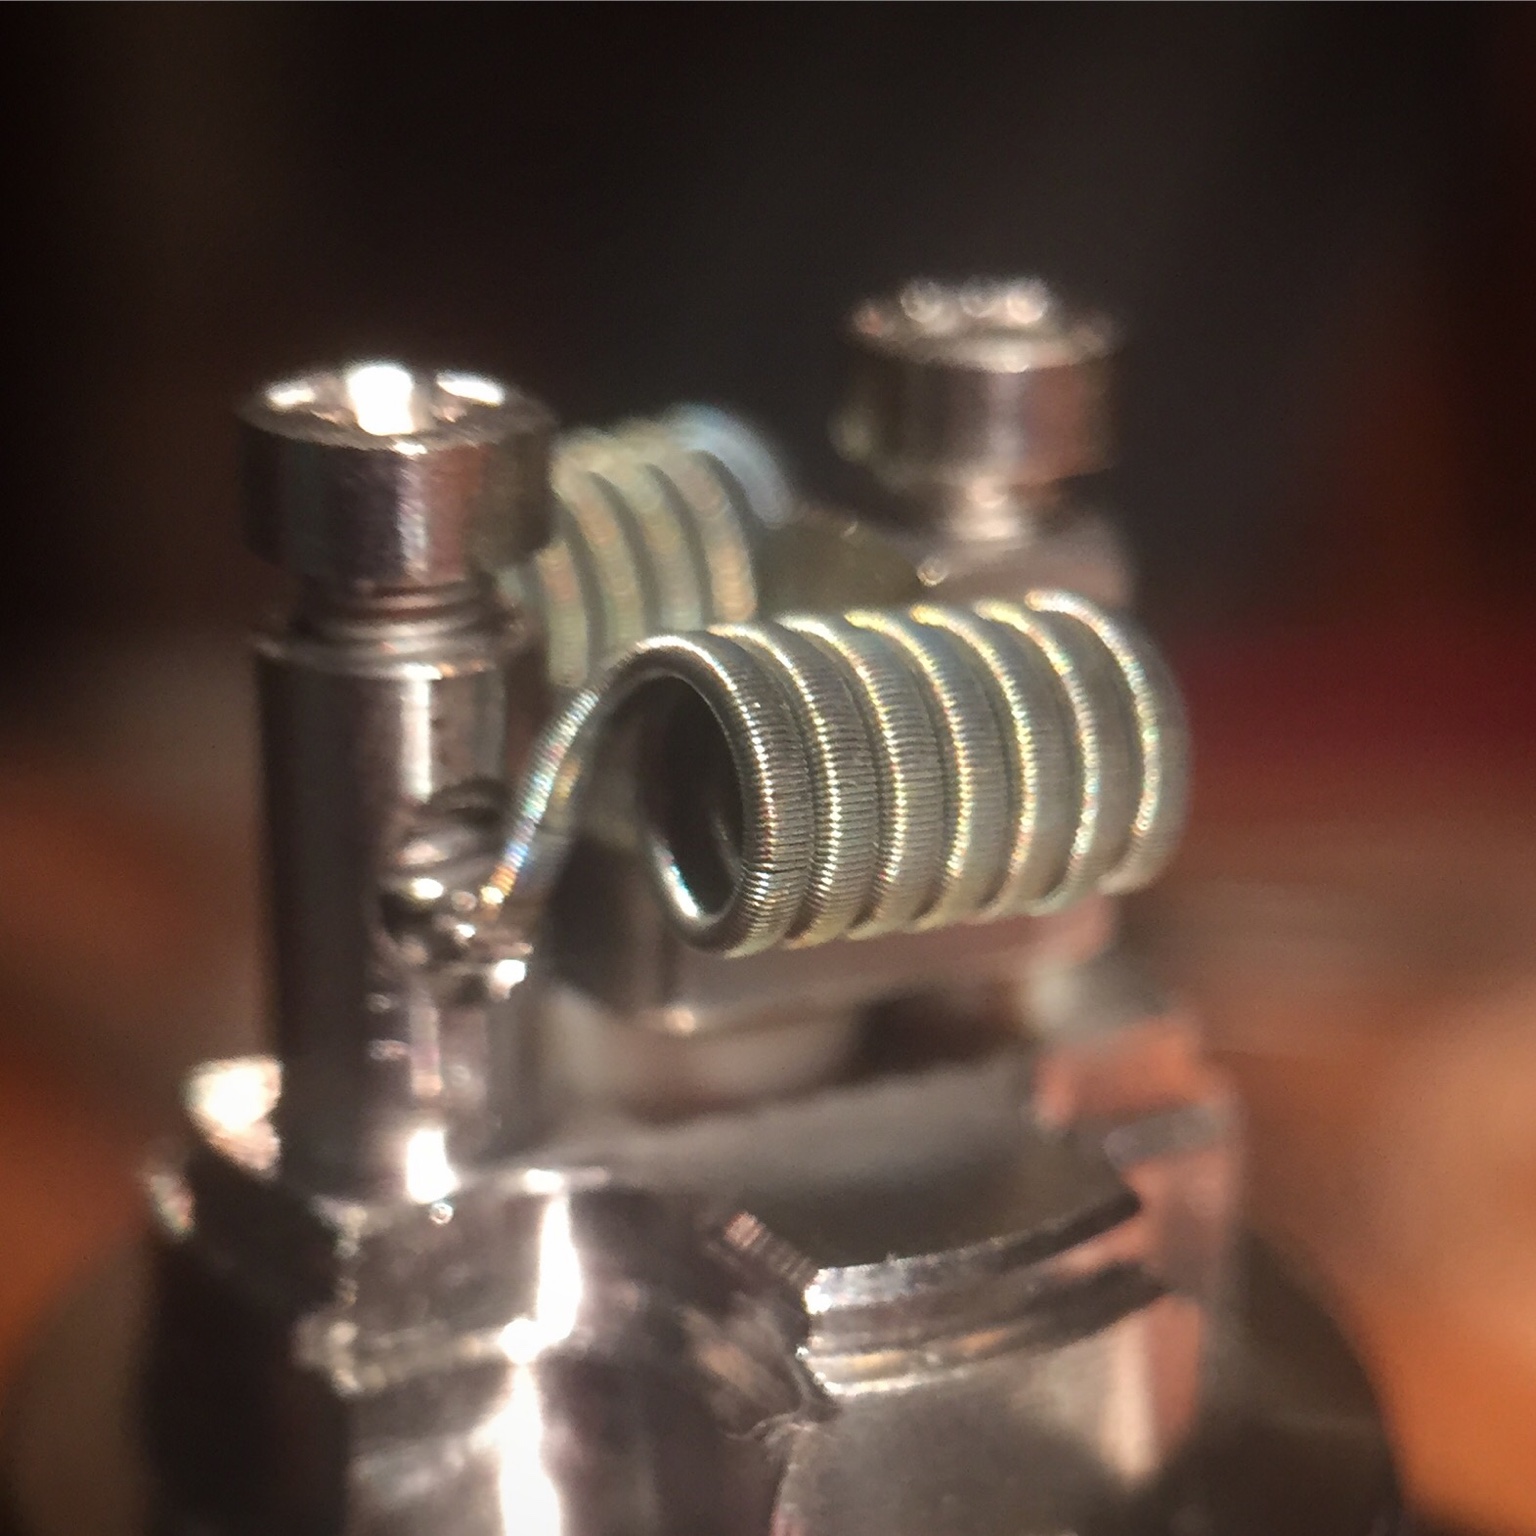
I got a dual fused Clapton 26 g NICHOLE 80 and a 32g nichrome 80 5/6 wraps 2mm diameter
Not the best fused Clapton ,but not bad for me came out to .180hms here's some pics
VAPE ON


Finally got my authentic SUCCUBUS rda by eldiablo Philippines
I got a dual fused Clapton 26 g NICHOLE 80 and a 32g nichrome 80 5/6 wraps 2mm diameter
Not the best fused Clapton ,but not bad for me came out to .180hms here's some pics
VAPE ON


VapeRN
Bronze Contributor
Member For 4 Years
Member For 3 Years
Member For 2 Years
Member For 1 Year
This is kinda amateur hour compared to some of you guys, but I got some swivels finally and threw up some dual fused Claptons for the first time last night. Wow do swivels make it easier. This is 24g NI80 wrapped with 32g KA1. Came to .15 on my ohm reader and the Sigelei reads it at .11 (eek). It hits though!! Like a beast. First time vaping on fused Claptons and I'm probably never going back. This build was a bit chunky but it did actually fit without touching the cap of my velocity.

Sent from my iPhone using Tapatalk
Sent from my iPhone using Tapatalk
TF Vaping
Bronze Contributor
Member For 4 Years
Member For 3 Years
Member For 2 Years
Member For 1 Year
Pushing the boundaries on the amateur hour, also on that velocity, kick ass build man, I'm running a single coil identical to that 24/32 on my pheno and I love it. I bet that one is amazingThis is kinda amateur hour compared to some of you guys, but I got some swivels finally and threw up some dual fused Claptons for the first time last night. Wow do swivels make it easier. This is 24g NI80 wrapped with 32g KA1. Came to .15 on my ohm reader and the Sigelei reads it at .11 (eek). It hits though!! Like a beast. First time vaping on fused Claptons and I'm probably never going back. This build was a bit chunky but it did actually fit without touching the cap of my velocity.
View attachment 32352
Sent from my iPhone using Tapatalk
Sent from my Nexus 6 using Tapatalk
Just wondering what you use a swivel for on these?This is kinda amateur hour compared to some of you guys, but I got some swivels finally and threw up some dual fused Claptons for the first time last night. Wow do swivels make it easier. This is 24g NI80 wrapped with 32g KA1. Came to .15 on my ohm reader and the Sigelei reads it at .11 (eek). It hits though!! Like a beast. First time vaping on fused Claptons and I'm probably never going back. This build was a bit chunky but it did actually fit without touching the cap of my velocity.
View attachment 32352
Sent from my iPhone using Tapatalk
Sent from my SM-N915V using Tapatalk
Swivels anchor the end of the wire that isn't in the chuck of the drill. Makes any sort of clapton wrapping much much easier by having tension on the wire you are spinning in the drill.Just wondering what you use a swivel for on these?
Sent from my SM-N915V using Tapatalk
Sent from my iPhone using Tapatalk
Damn dude that will take some time to heat up , but very niceThis is kinda amateur hour compared to some of you guys, but I got some swivels finally and threw up some dual fused Claptons for the first time last night. Wow do swivels make it easier. This is 24g NI80 wrapped with 32g KA1. Came to .15 on my ohm reader and the Sigelei reads it at .11 (eek). It hits though!! Like a beast. First time vaping on fused Claptons and I'm probably never going back. This build was a bit chunky but it did actually fit without touching the cap of my velocity.
View attachment 32352
Sent from my iPhone using Tapatalk
VAPE ON
VapeRN
Bronze Contributor
Member For 4 Years
Member For 3 Years
Member For 2 Years
Member For 1 Year
Yeah, probably should have gone with 26g cores, but it's still a rich, flavorful vape when it warms up.Damn dude that will take some time to heat up , but very nice
VAPE ON
Sent from my iPhone using Tapatalk
I agree with the flavor, Once u go Clapton there's no going back only forward!Yeah, probably should have gone with 26g cores, but it's still a rich, flavorful vape when it warms up.
Sent from my iPhone using Tapatalk
VAPE ON
That's a big build for that atty. What kind of camera are you using it looks amazing?Staged alien: 3x28K/36N staged with 24g N80, 2.5mm ID, 0.17Ω

Sent from my XT1095 using Tapatalk
CrazyChef
Custom Hand Crafted Coils - PureCoils.com
VU Vendor
VU Donator
Platinum Contributor
Member For 4 Years
ECF Refugee
Sharp Aquos Phone. Sometimes I get lucky and I get a good pic.
I think it's just the angle. It fits very well with room to spare.That's a big build for that atty.
BreeZyCloudZ
Bronze Contributor
Member For 4 Years
Member For 3 Years
Member For 2 Years
Member For 1 Year
Havent posted a build in awhile, so im gonna post a couple


Thanks so much. Not long, now that I'm used to building them. About 15mins start to finish I think.Those aliens are perfect! How long did it take you to make them?
Sent from my iPhone using Tapatalk
BreeZyCloudZ
Bronze Contributor
Member For 4 Years
Member For 3 Years
Member For 2 Years
Member For 1 Year
I hate that one wire is crooked, but still a pretty sick lookin build, Staple Helix•2x26GN80•.5N80•40GN80• .06 Ohms

The trick with the helix is to go slow while wrapping the first helix to bind everything together. Make sure that the exact same number of twists of the framed wires are between your helix wire. For me I find that to be 4-6 twists, but it will change depending how much you twist your frames. More of a twist is going to require more helix wires. Once everything is bound and evenly spaced it's really easy to go and run the next helix parallel to the first one the whole way along, repeating till all the spaces are filled up. Ending up like thisI hate that one wire is crooked, but still a pretty sick lookin build, Staple Helix•2x26GN80•.5N80•40GN80• .06 Ohms
View attachment 32687
Sent from my iPhone using Tapatalk
Your wire is very clean and I applaud your builds, is it easier using real ribbon wire? I didnt have any so I flattened out some 24g and used 5 for the core....Its definitely a time consuming and callous building coilThe trick with the helix is to go slow while wrapping the first helix to bind everything together. Make sure that the exact same number of twists of the framed wires are between your helix wire. For me I find that to be 4-6 twists, but it will change depending how much you twist your frames. More of a twist is going to require more helix wires. Once everything is bound and evenly spaced it's really easy to go and run the next helix parallel to the first one the whole way along, repeating till all the spaces are filled up. Ending up like this
Sent from my iPhone using Tapatalk
")

Thanks for the compliment, it has only come from practice. My first builds were definitely not what they are now. I have never flattened wire, but I'd say that using ribbon is easier than flattening just from the time alone. The kidney puncher ribbon I use has an advantage over other ribbon too, in that it comes off the spool straight and flat so you don't need to straighten it.Your wire is very clean and I applaud your builds, is it easier using real ribbon wire? I didnt have any so I flattened out some 24g and used 5 for the core....Its definitely a time consuming and callous building coil
View attachment 32705
Sent from my iPhone using Tapatalk
BreeZyCloudZ
Bronze Contributor
Member For 4 Years
Member For 3 Years
Member For 2 Years
Member For 1 Year
Ohh ok, i gotcha, do you hand wrap or drill wrap the outside? First one i hand wrapped, that one i drilled. Im trying to get those down and do different variations as you dont see many of them.The trick with the helix is to go slow while wrapping the first helix to bind everything together. Make sure that the exact same number of twists of the framed wires are between your helix wire. For me I find that to be 4-6 twists, but it will change depending how much you twist your frames. More of a twist is going to require more helix wires. Once everything is bound and evenly spaced it's really easy to go and run the next helix parallel to the first one the whole way along, repeating till all the spaces are filled up. Ending up like this
Sent from my iPhone using Tapatalk
BreeZyCloudZ
Bronze Contributor
Member For 4 Years
Member For 3 Years
Member For 2 Years
Member For 1 Year
Alien i did real quick

Initially I was doing the helix all by hand, but now with a good set of swivels I've been using the drill. With that being said I only use the drill to pulse the trigger to turn the wire 180 degrees at a time; I just like the tension on the wire that the drill and swivels provide. With this method you are still going VERY slow to ensure everything stays lined up and tightly bound, while counting each space for the helix. If you mess up even by one, the remainder of the helix wraps won't line up properly.Ohh ok, i gotcha, do you hand wrap or drill wrap the outside? First one i hand wrapped, that one i drilled. Im trying to get those down and do different variations as you dont see many of them.
Sent from my iPhone using Tapatalk
BreeZyCloudZ
Bronze Contributor
Member For 4 Years
Member For 3 Years
Member For 2 Years
Member For 1 Year
Yea i know what you mean, i do have to ask you one thing, and this is for any build involving ribbon, while wrapping, how do you keep it all lined up neatly? Mine always wants to move, or squeeze up and out between the outside wires, this is always the most frustrating part for me. I can have it nice and neat as can be, then i start wrapping, and it wants to pop out. I use the swivel method as wellInitially I was doing the helix all by hand, but now with a good set of swivels I've been using the drill. With that being said I only use the drill to pulse the trigger to turn the wire 180 degrees at a time; I just like the tension on the wire that the drill and swivels provide. With this method you are still going VERY slow to ensure everything stays lined up and tightly bound, while counting each space for the helix. If you mess up even by one, the remainder of the helix wraps won't line up properly.
Sent from my iPhone using Tapatalk
I dont know how you guys do it with 40g and higher for anything more then claptons...Scarecrowjenkins with 40g Alien Wire blows my mind...cant barely see the fucking wire when using it and its frustrating to use. I did manage to make a nice length of 22g Fused with 40g this morning though...previous attempts all ended with bad looking results, this time was different, I give props to all who use 40g and higher wires!

Last edited:
I use some 36g wrapped around multiple times to bind the ribbon together near one end. I will do that twice close to each other and then slide one set of wraps to the other end. This keeps the ribbon tight and lined up properly. From there I use green painters tape to bind the twisted frame wires to the ribbon. I typically use 4 or 5 pieces along the length of the strand. As you get close to the tape with the helix wire you can either slide the tape along the wire or just remove that piece.Yea i know what you mean, i do have to ask you one thing, and this is for any build involving ribbon, while wrapping, how do you keep it all lined up neatly? Mine always wants to move, or squeeze up and out between the outside wires, this is always the most frustrating part for me. I can have it nice and neat as can be, then i start wrapping, and it wants to pop out. I use the swivel method as well
Edit: I forgot to mention I only use the tape for the stapled helix wire because it has the twist in the frame. For a framed staple build I just bind the grouping together with wire and slide it when my clapton wire starts to get close.
I hope this makes sense. If not I can post some photos of my process to make things a bit clearer.
Sent from my iPhone using Tapatalk
Last edited:
BreeZyCloudZ
Bronze Contributor
Member For 4 Years
Member For 3 Years
Member For 2 Years
Member For 1 Year
I appreciate it and i understand, up to you if youd like to for anybody else, always nice to get some tips from people whove been doin it a little longer, ive been building for about a month, and trying to chuck along, starting staggered's tonightI use some 36g wrapped around multiple times to bind the ribbon together near one end. I will do that twice close to each other and then slide one set of wraps to the other end. This keeps the ribbon tight and lined up properly. From there I use green painters tape to bind the twisted frame wires to the ribbon. I typically use 4 or 5 pieces along the length of the strand. As you get close to the tape with the helix wire you can either slide the tape along the wire or just remove that piece.
I hope this makes sense. If not I can post some photos of my process to make things a bit clearer.
Sent from my iPhone using Tapatalk
No problem man, good luck with the SFC's. I'm still not a fan of doing them, they are a serious pain for me to make them clean and tight with anything higher than 32g.I appreciate it and i understand, up to you if youd like to for anybody else, always nice to get some tips from people whove been doin it a little longer, ive been building for about a month, and trying to chuck along, starting staggered's tonight
Sent from my iPhone using Tapatalk
BreeZyCloudZ
Bronze Contributor
Member For 4 Years
Member For 3 Years
Member For 2 Years
Member For 1 Year
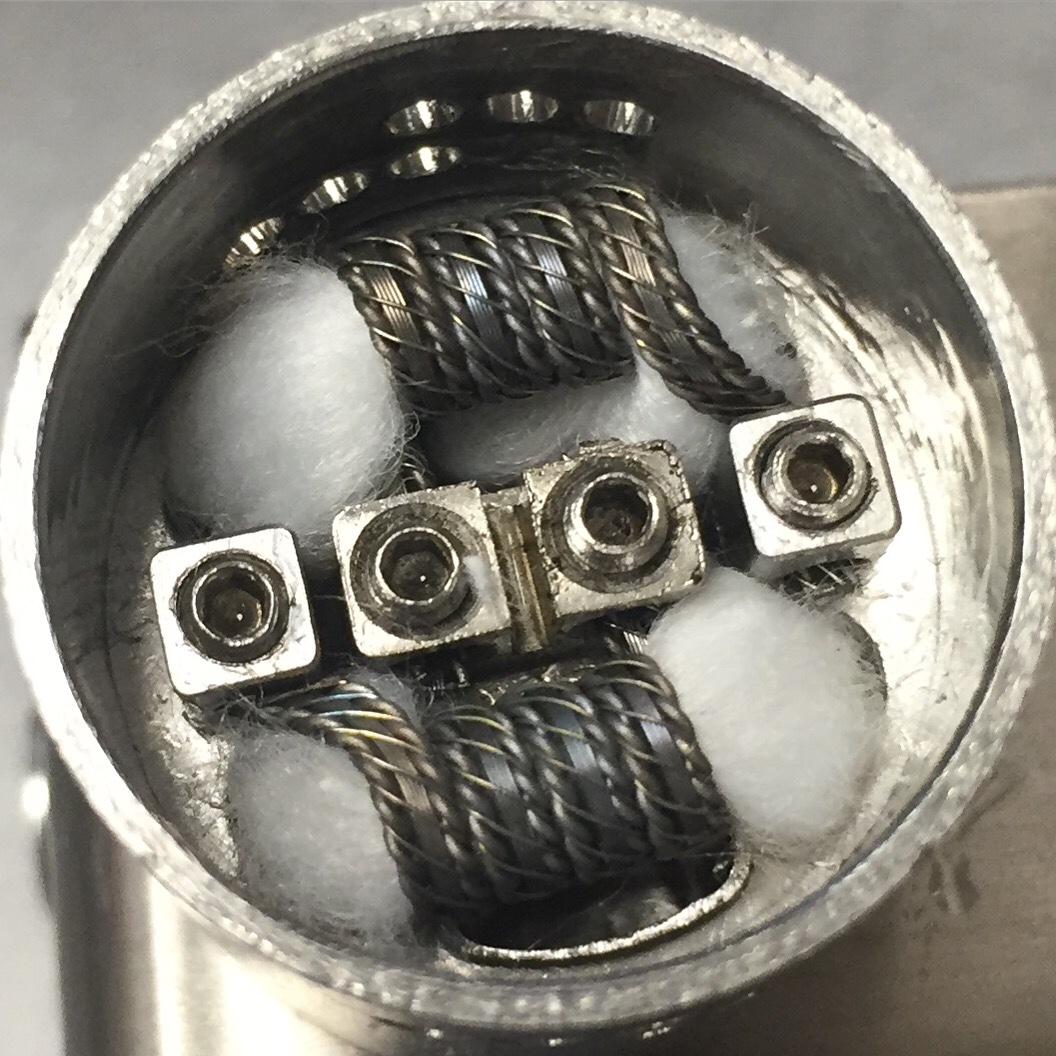
Its not super clean but this is my first Staggered Fused and I put it on the RBA of the Smok TFV4. Its 2x26gN80/40gN80 so it was a pain in the assss with the 40


CrazyChef
Custom Hand Crafted Coils - PureCoils.com
VU Vendor
VU Donator
Platinum Contributor
Member For 4 Years
ECF Refugee
I dunno, Dude - it looks pretty damn good from here!Its not super clean but this is my first Staggered Fused
just thought I'd put this here, it's a shitty video but it helped me out so much when I started doing staggered fused. Saves a ton of wire too!
Sent from my SM-N915V using Tapatalk
Job dude, it's not easy to put this on vid you know,,, FIRE UP
just thought I'd put this here, it's a shitty video but it helped me out so much when I started doing staggered fused. Saves a ton of wire too!
Sent from my SM-N915V using Tapatalk
VAPE ON
Oh, not my vid... Just one I found that helped... Just thought the quality wasn't great lol
Sent from my SM-N915V using Tapatalk
Sent from my SM-N915V using Tapatalk
Just hold it tight or it will have too much space in between
Sent from my SM-N915V using Tapatalk
Sent from my SM-N915V using Tapatalk
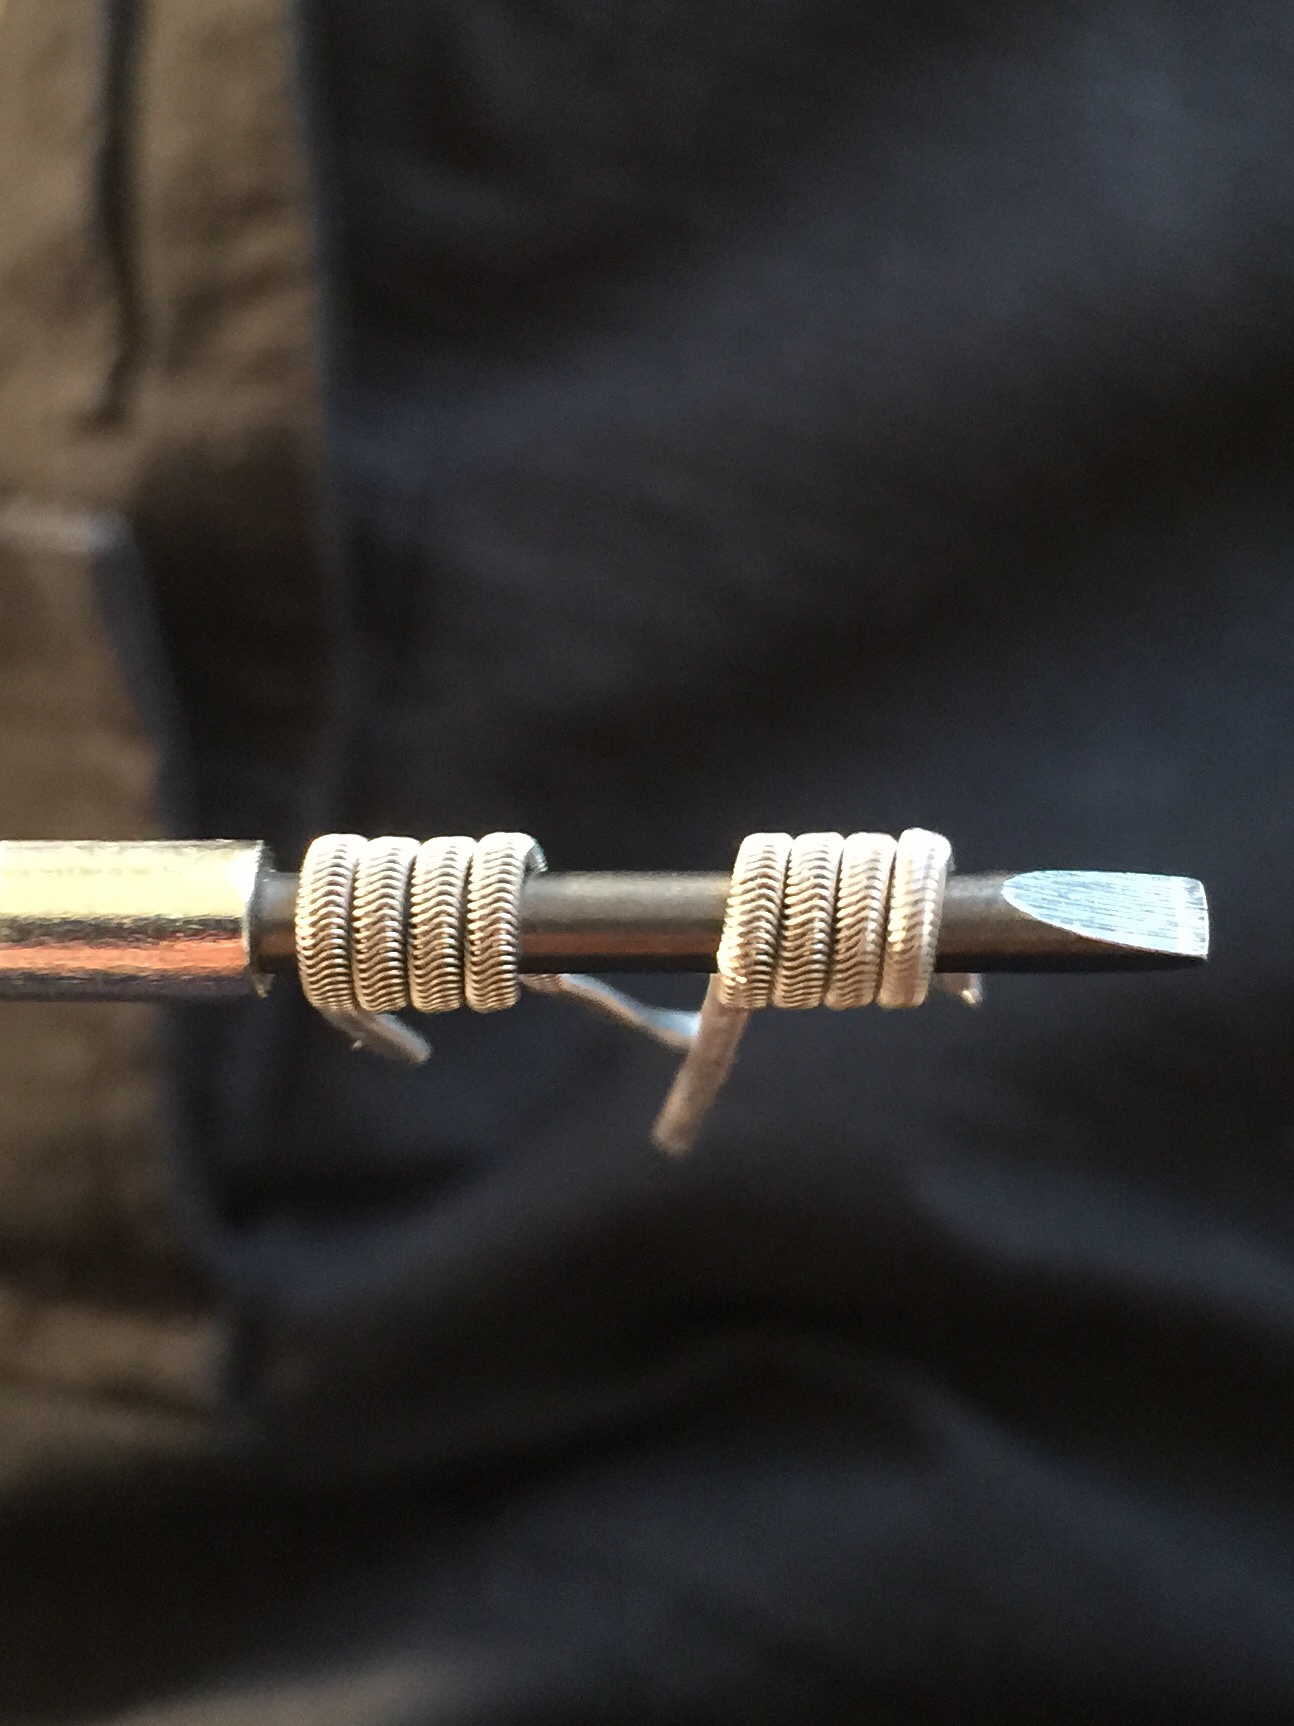
Wire Lengths of Today
Top to Bottom Wires are:
2 x 24g Twisted Then Claptoned with 34g and Helixed with 32g
2 x 24g/28g/32g Staggered Clapton
2 x 26g/32g Slightly Flattened Fused Clapton
2 x 24g/34g Fused Clapton
2 x 24g/Flattened 24g Clapton Then Flattened Afterwards
2 x 24g Twisted, Helixed with 32g and Flattened


Boneyard Coil (My Version) and Slightly Flattened Fused Clapton:

Top to Bottom Wires are:
2 x 24g Twisted Then Claptoned with 34g and Helixed with 32g
2 x 24g/28g/32g Staggered Clapton
2 x 26g/32g Slightly Flattened Fused Clapton
2 x 24g/34g Fused Clapton
2 x 24g/Flattened 24g Clapton Then Flattened Afterwards
2 x 24g Twisted, Helixed with 32g and Flattened
Boneyard Coil (My Version) and Slightly Flattened Fused Clapton:
Last edited:
BreeZyCloudZ
Bronze Contributor
Member For 4 Years
Member For 3 Years
Member For 2 Years
Member For 1 Year
Thanks man! I wasnt too sure about it, im gonna keep messing with them to get it downI dunno, Dude - it looks pretty damn good from here!
BreeZyCloudZ
Bronze Contributor
Member For 4 Years
Member For 3 Years
Member For 2 Years
Member For 1 Year
That vid is a pretty good idea, you guys are gonna think its crazy, but i actually did that Staggered freehand. I just eyed what would be the right spacing. Might try that vid idea tho


montijo505
Bronze Contributor
Member For 4 Years
Member For 3 Years
Member For 2 Years
Member For 1 Year
Member For 5 Years
How do you keep the ribbon stacked? This is literally the one coil I have not been able to make successfully yet, ribbon always twists up or messes up somehow, also what brand ribbon are you using and how do you straighten it? Sorry for the onslaught of questions lol.36over26 and i think it was .5 ribbon.
View attachment 33236
Sent from my iPhone using Tapatalk
montijo505
Bronze Contributor
Member For 4 Years
Member For 3 Years
Member For 2 Years
Member For 1 Year
Member For 5 Years
Gauges? Looks good, spacing on the alien is perfect!Nothing too fancy, I'm just really happy with the way this turned out.


Sent from my iPhone using Tapatalk
CrazyChef
Custom Hand Crafted Coils - PureCoils.com
VU Vendor
VU Donator
Platinum Contributor
Member For 4 Years
ECF Refugee
I'm still having problems stacking it too. But to straighten, pull out a length (leave it on the spool) and grab the loose end with pliers and pull tightly. You can actually feel it stretch a bit as it straightens.How do you keep the ribbon stacked? This is literally the one coil I have not been able to make successfully yet, ribbon always twists up or messes up somehow, also what brand ribbon are you using and how do you straighten it? Sorry for the onslaught of questions lol.
Last edited:
CrazyChef
Custom Hand Crafted Coils - PureCoils.com
VU Vendor
VU Donator
Platinum Contributor
Member For 4 Years
ECF Refugee
Thanks!Gauges? Looks good, spacing on the alien is perfect!
They're a bitch at first. I was just practicing with the one I just posted. It's too big to fit in any of my atties. 22K core w/ 30k wrap.
montijo505
Bronze Contributor
Member For 4 Years
Member For 3 Years
Member For 2 Years
Member For 1 Year
Member For 5 Years
Yeah alien portion looked like a thicker gauge than usual that's why I asked. My alien game is strong! But it took FOREVER to get that way lol. Here's one I made a while back, haven't really had time to build anything fancy lately.Thanks!
They're a bitch at first. I was just practicing with the one I just posted. It's too big to fit in any of my atties. 22K core w/ 30k wrap.
Sent from my iPhone using Tapatalk