INTRODUCTION
_____________________________________________________________________________________
_____________________________________________________________________________________
Hello everyone, Pizza Dave here, and today I am delivering a review of the Lost Vape Paranormal 250C. This device was sent to me by Sourcemore for review. The Paranormal is one of the latest devices to hit the market from Lost Vape and features Evolv’s latest chipset, the DNA250C. It is a dual 18650 device which has a maximum wattage of 200w, but since it has a DNA chipset within, it has many more options when it comes to output. I will dive into the operation of this device, how I vapes, and I will give you my final thoughts down at the bottom.
_____________________________________________________________________________________
_____________________________________________________________________________________
WHAT YOU GET
STOCK SHOT 1
STOCK SHOT 2
PACKAGING
OUT OF BOX
_____________________________________________________________________________________
_____________________________________________________________________________________
MOD OVERVIEW
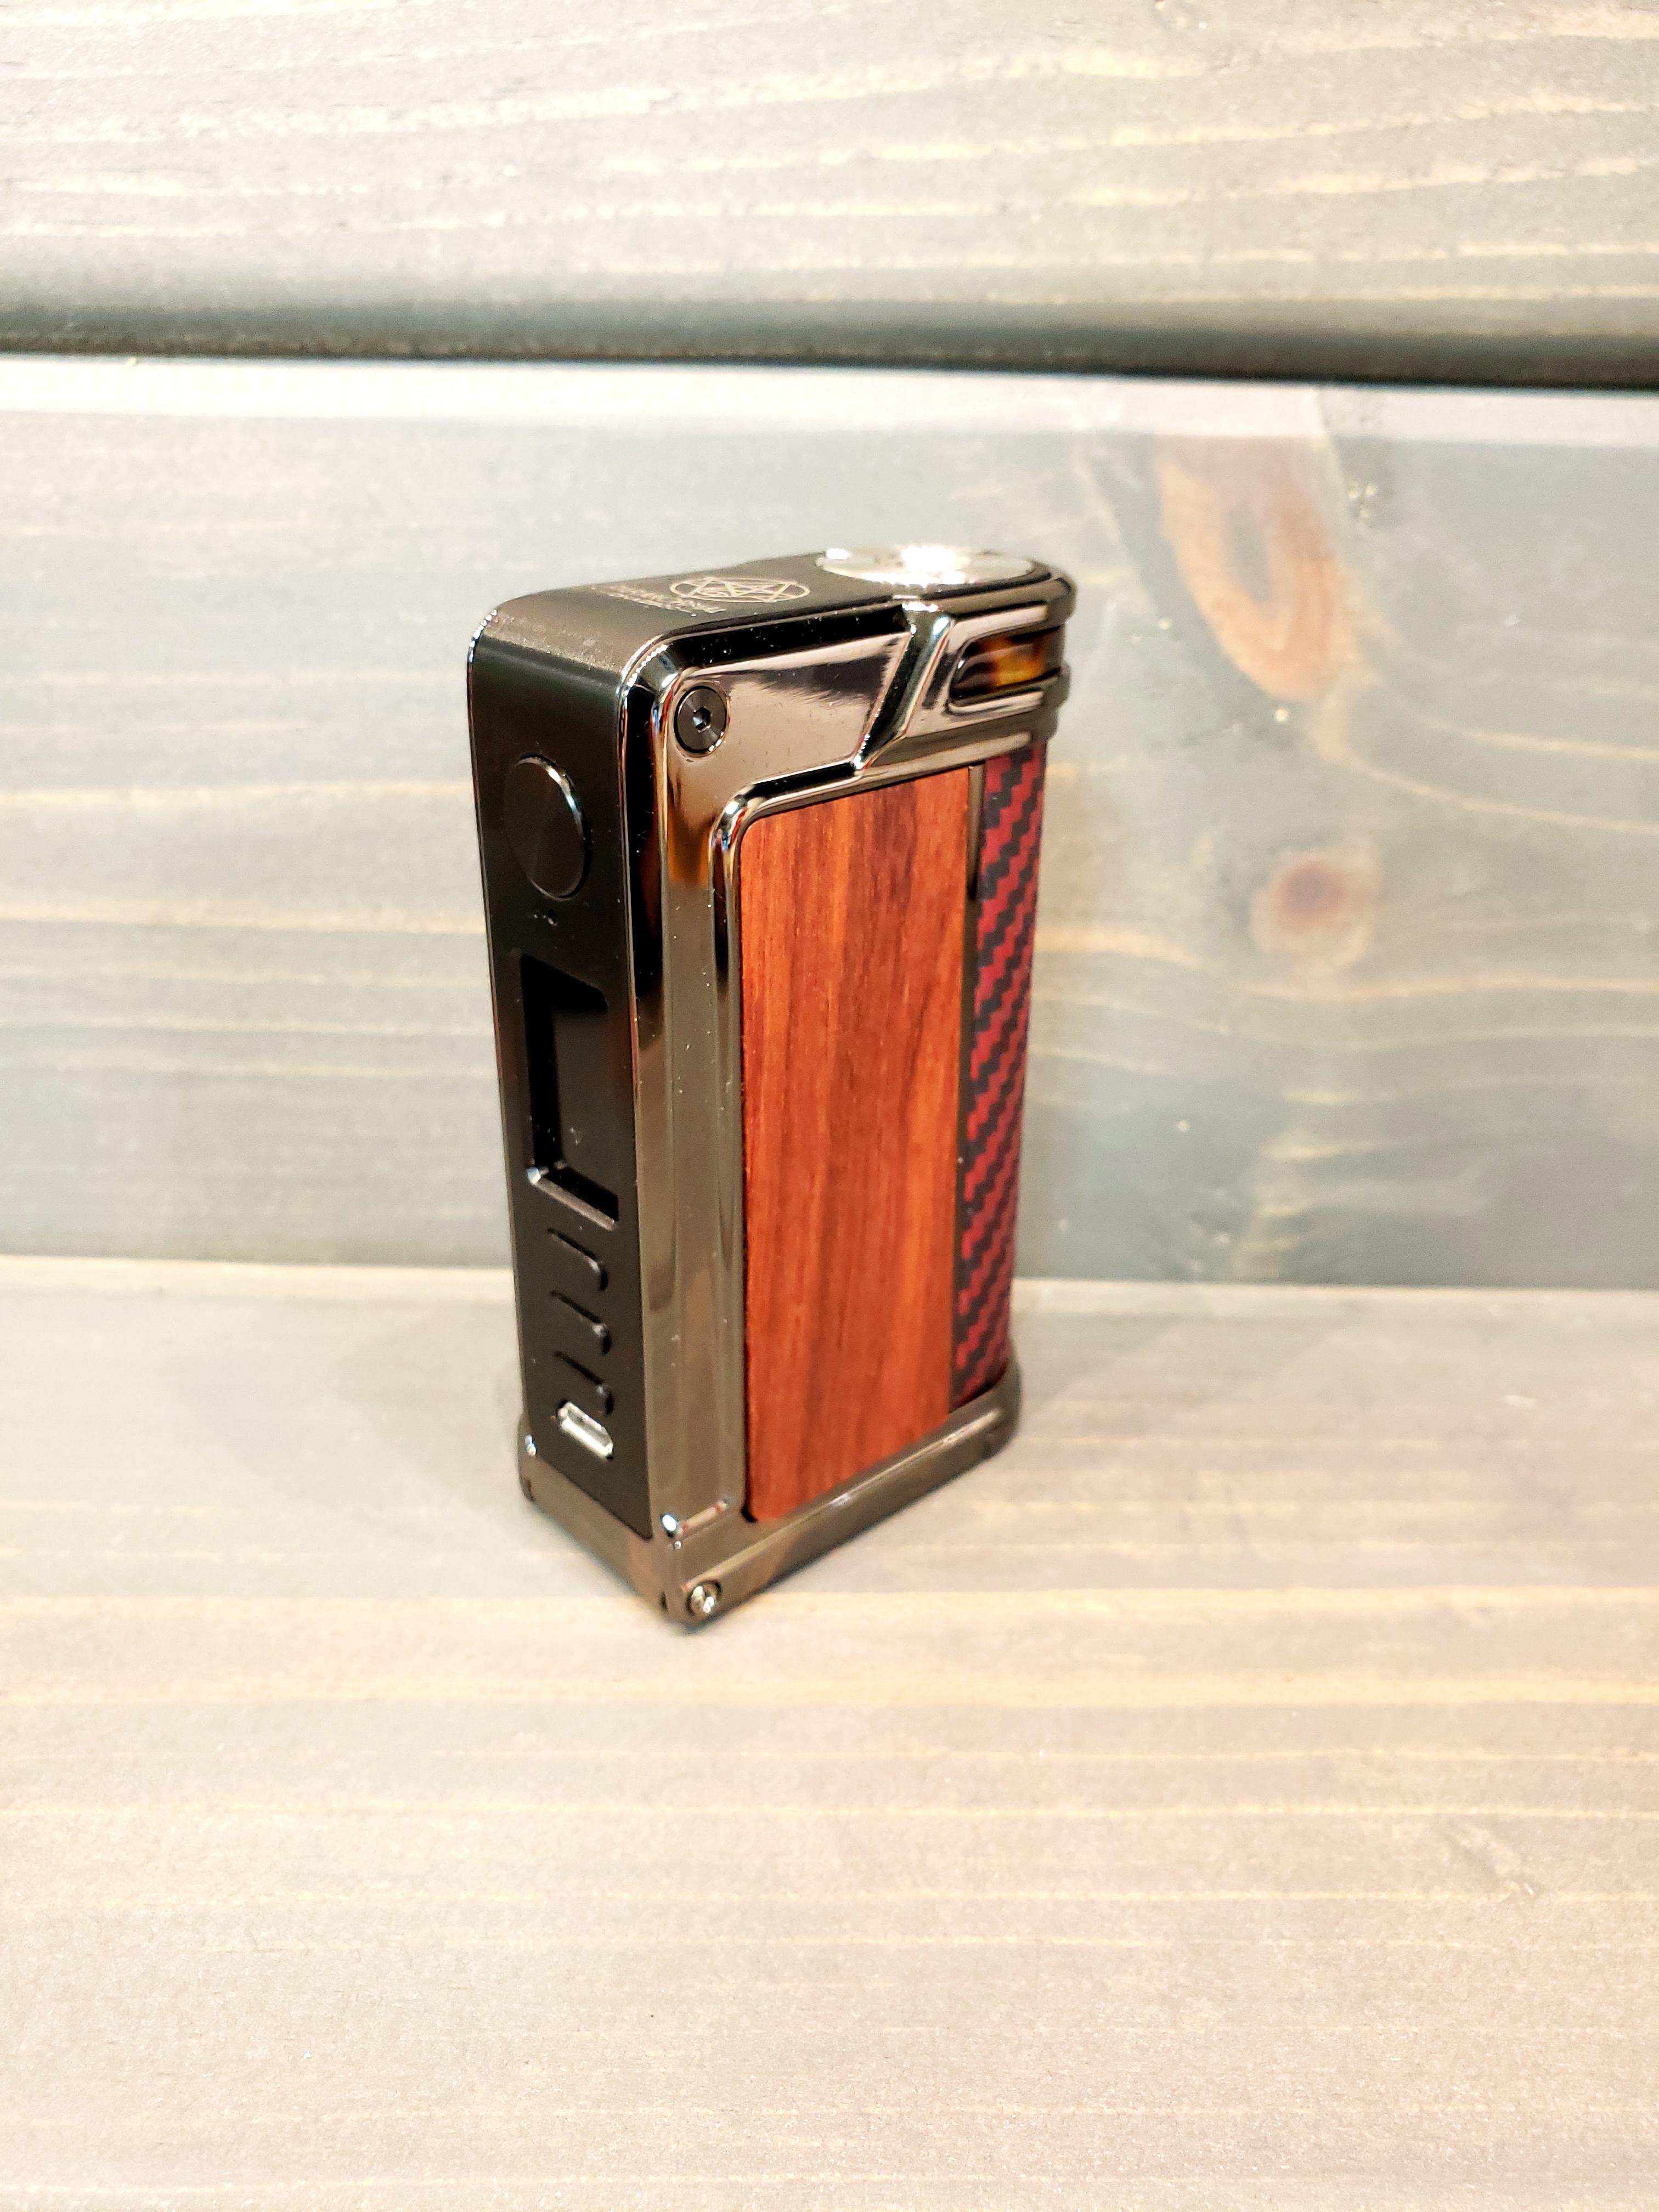
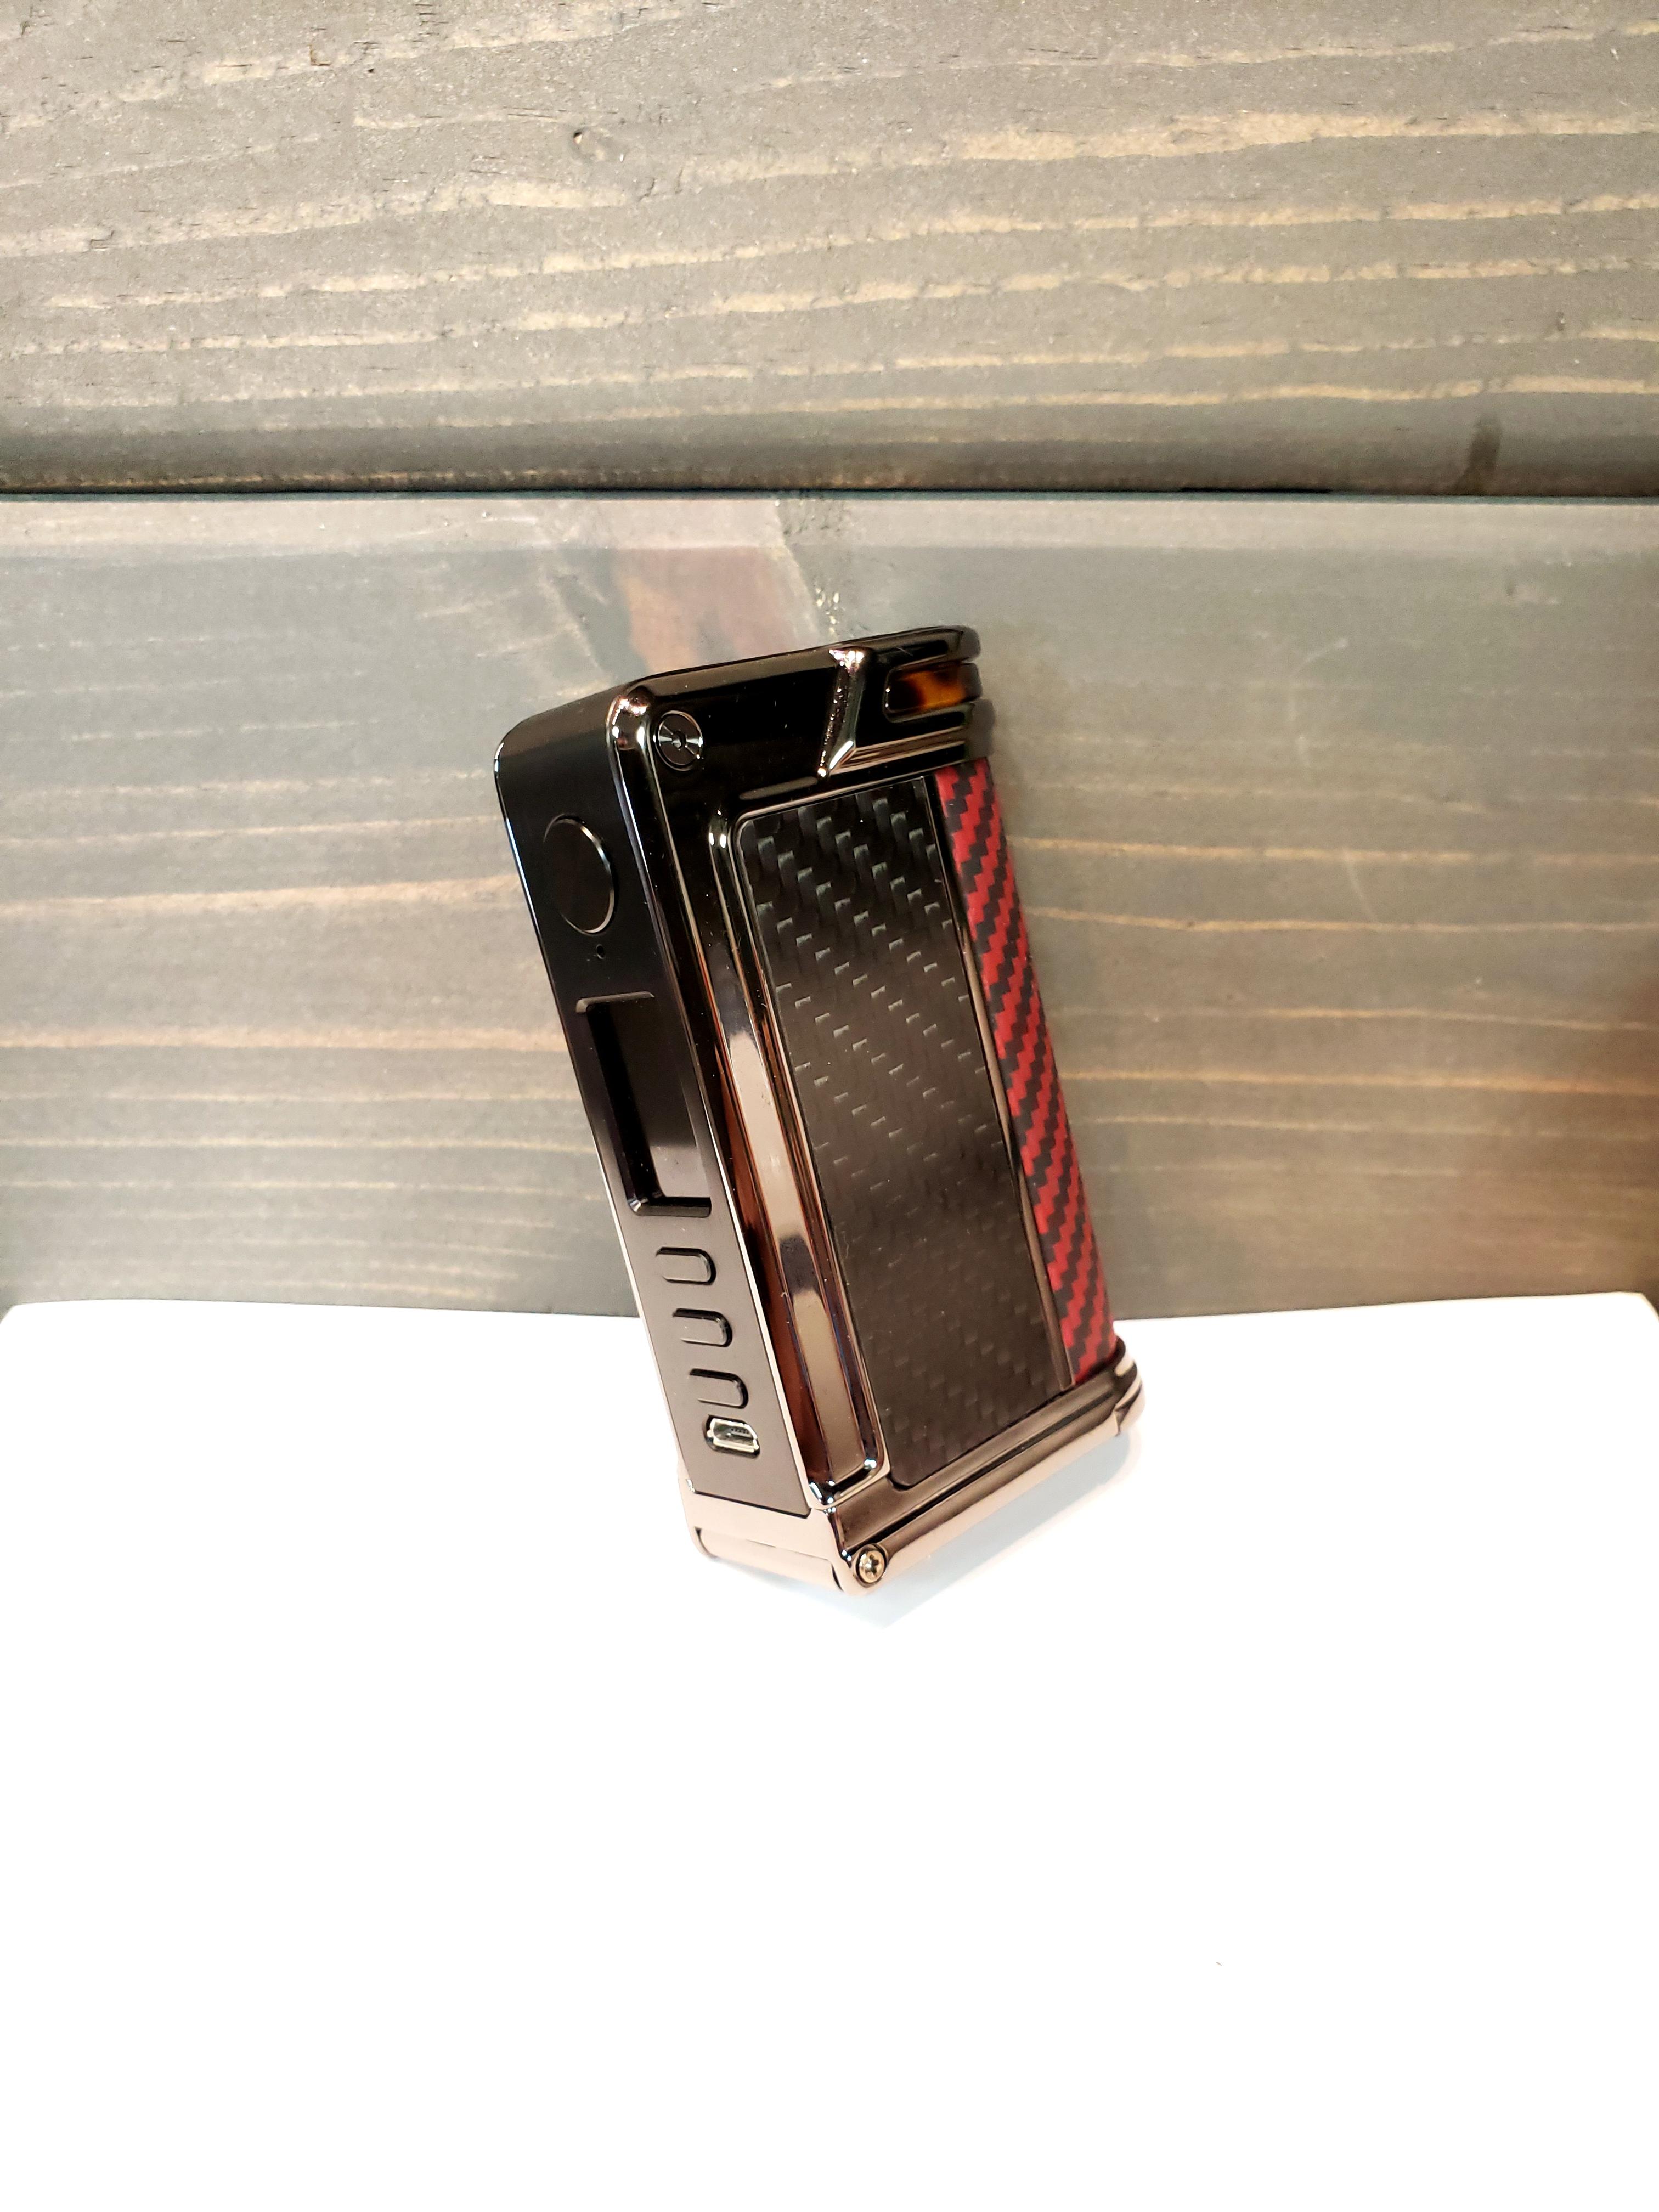
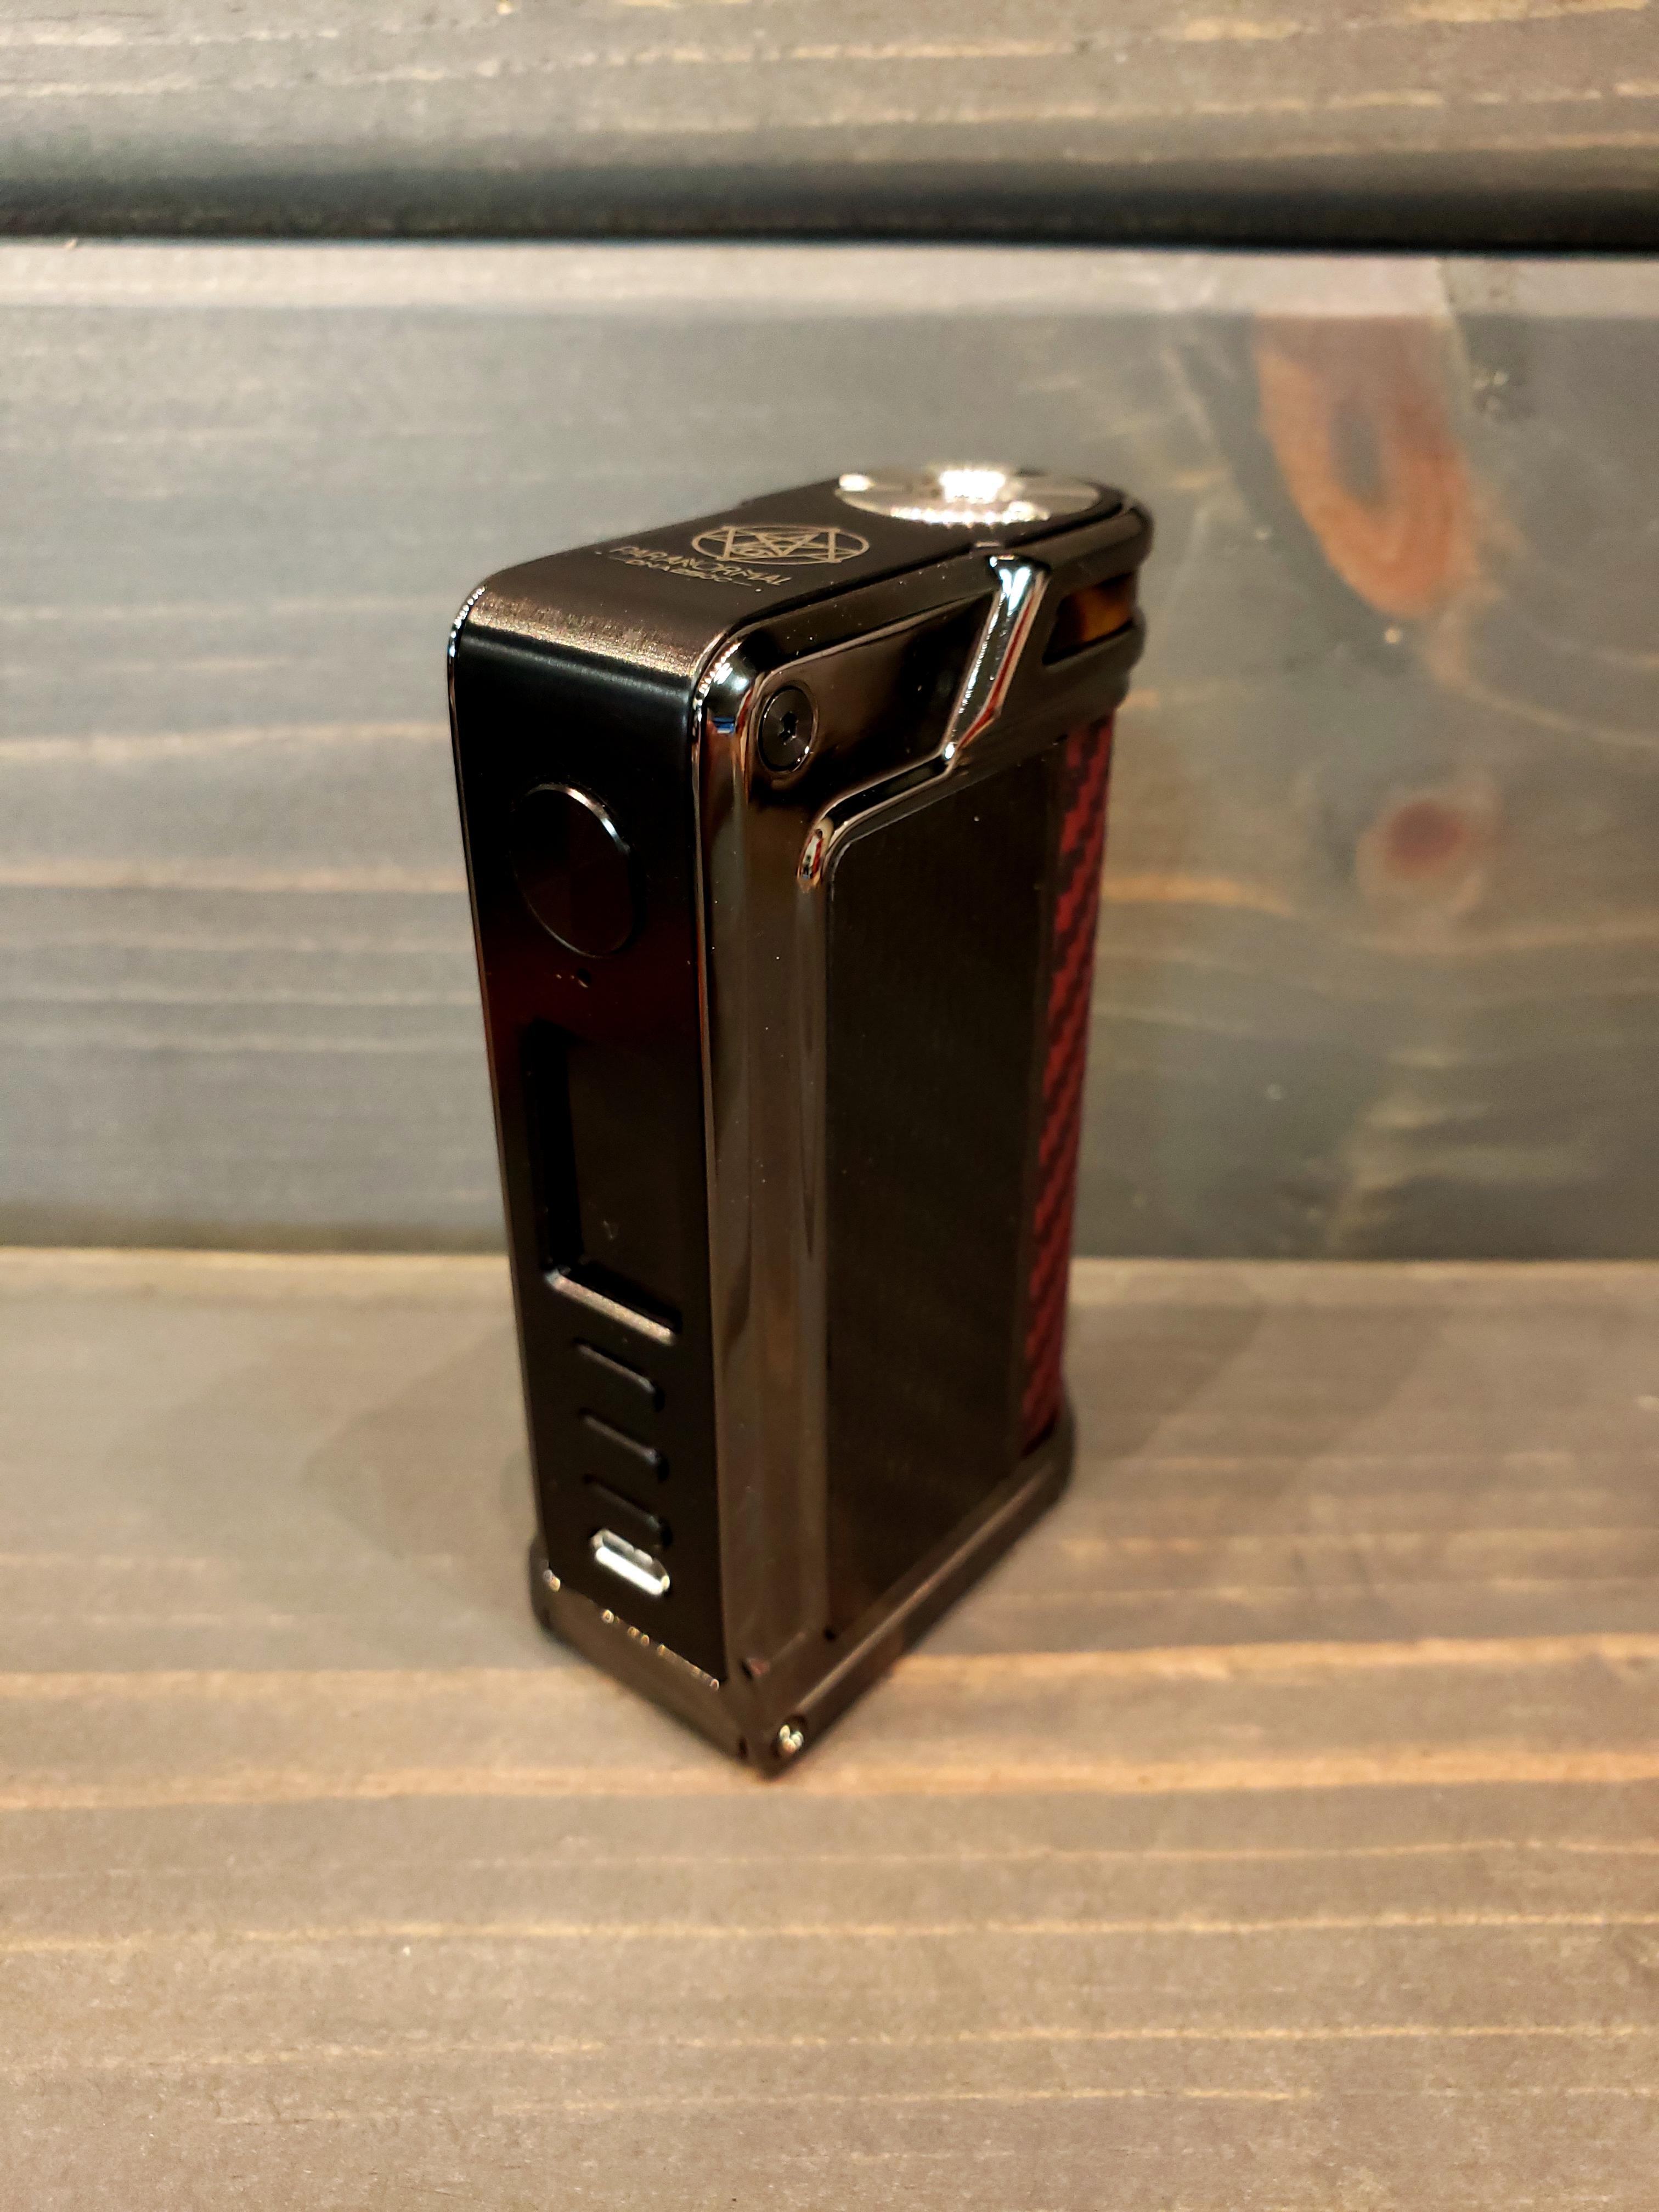
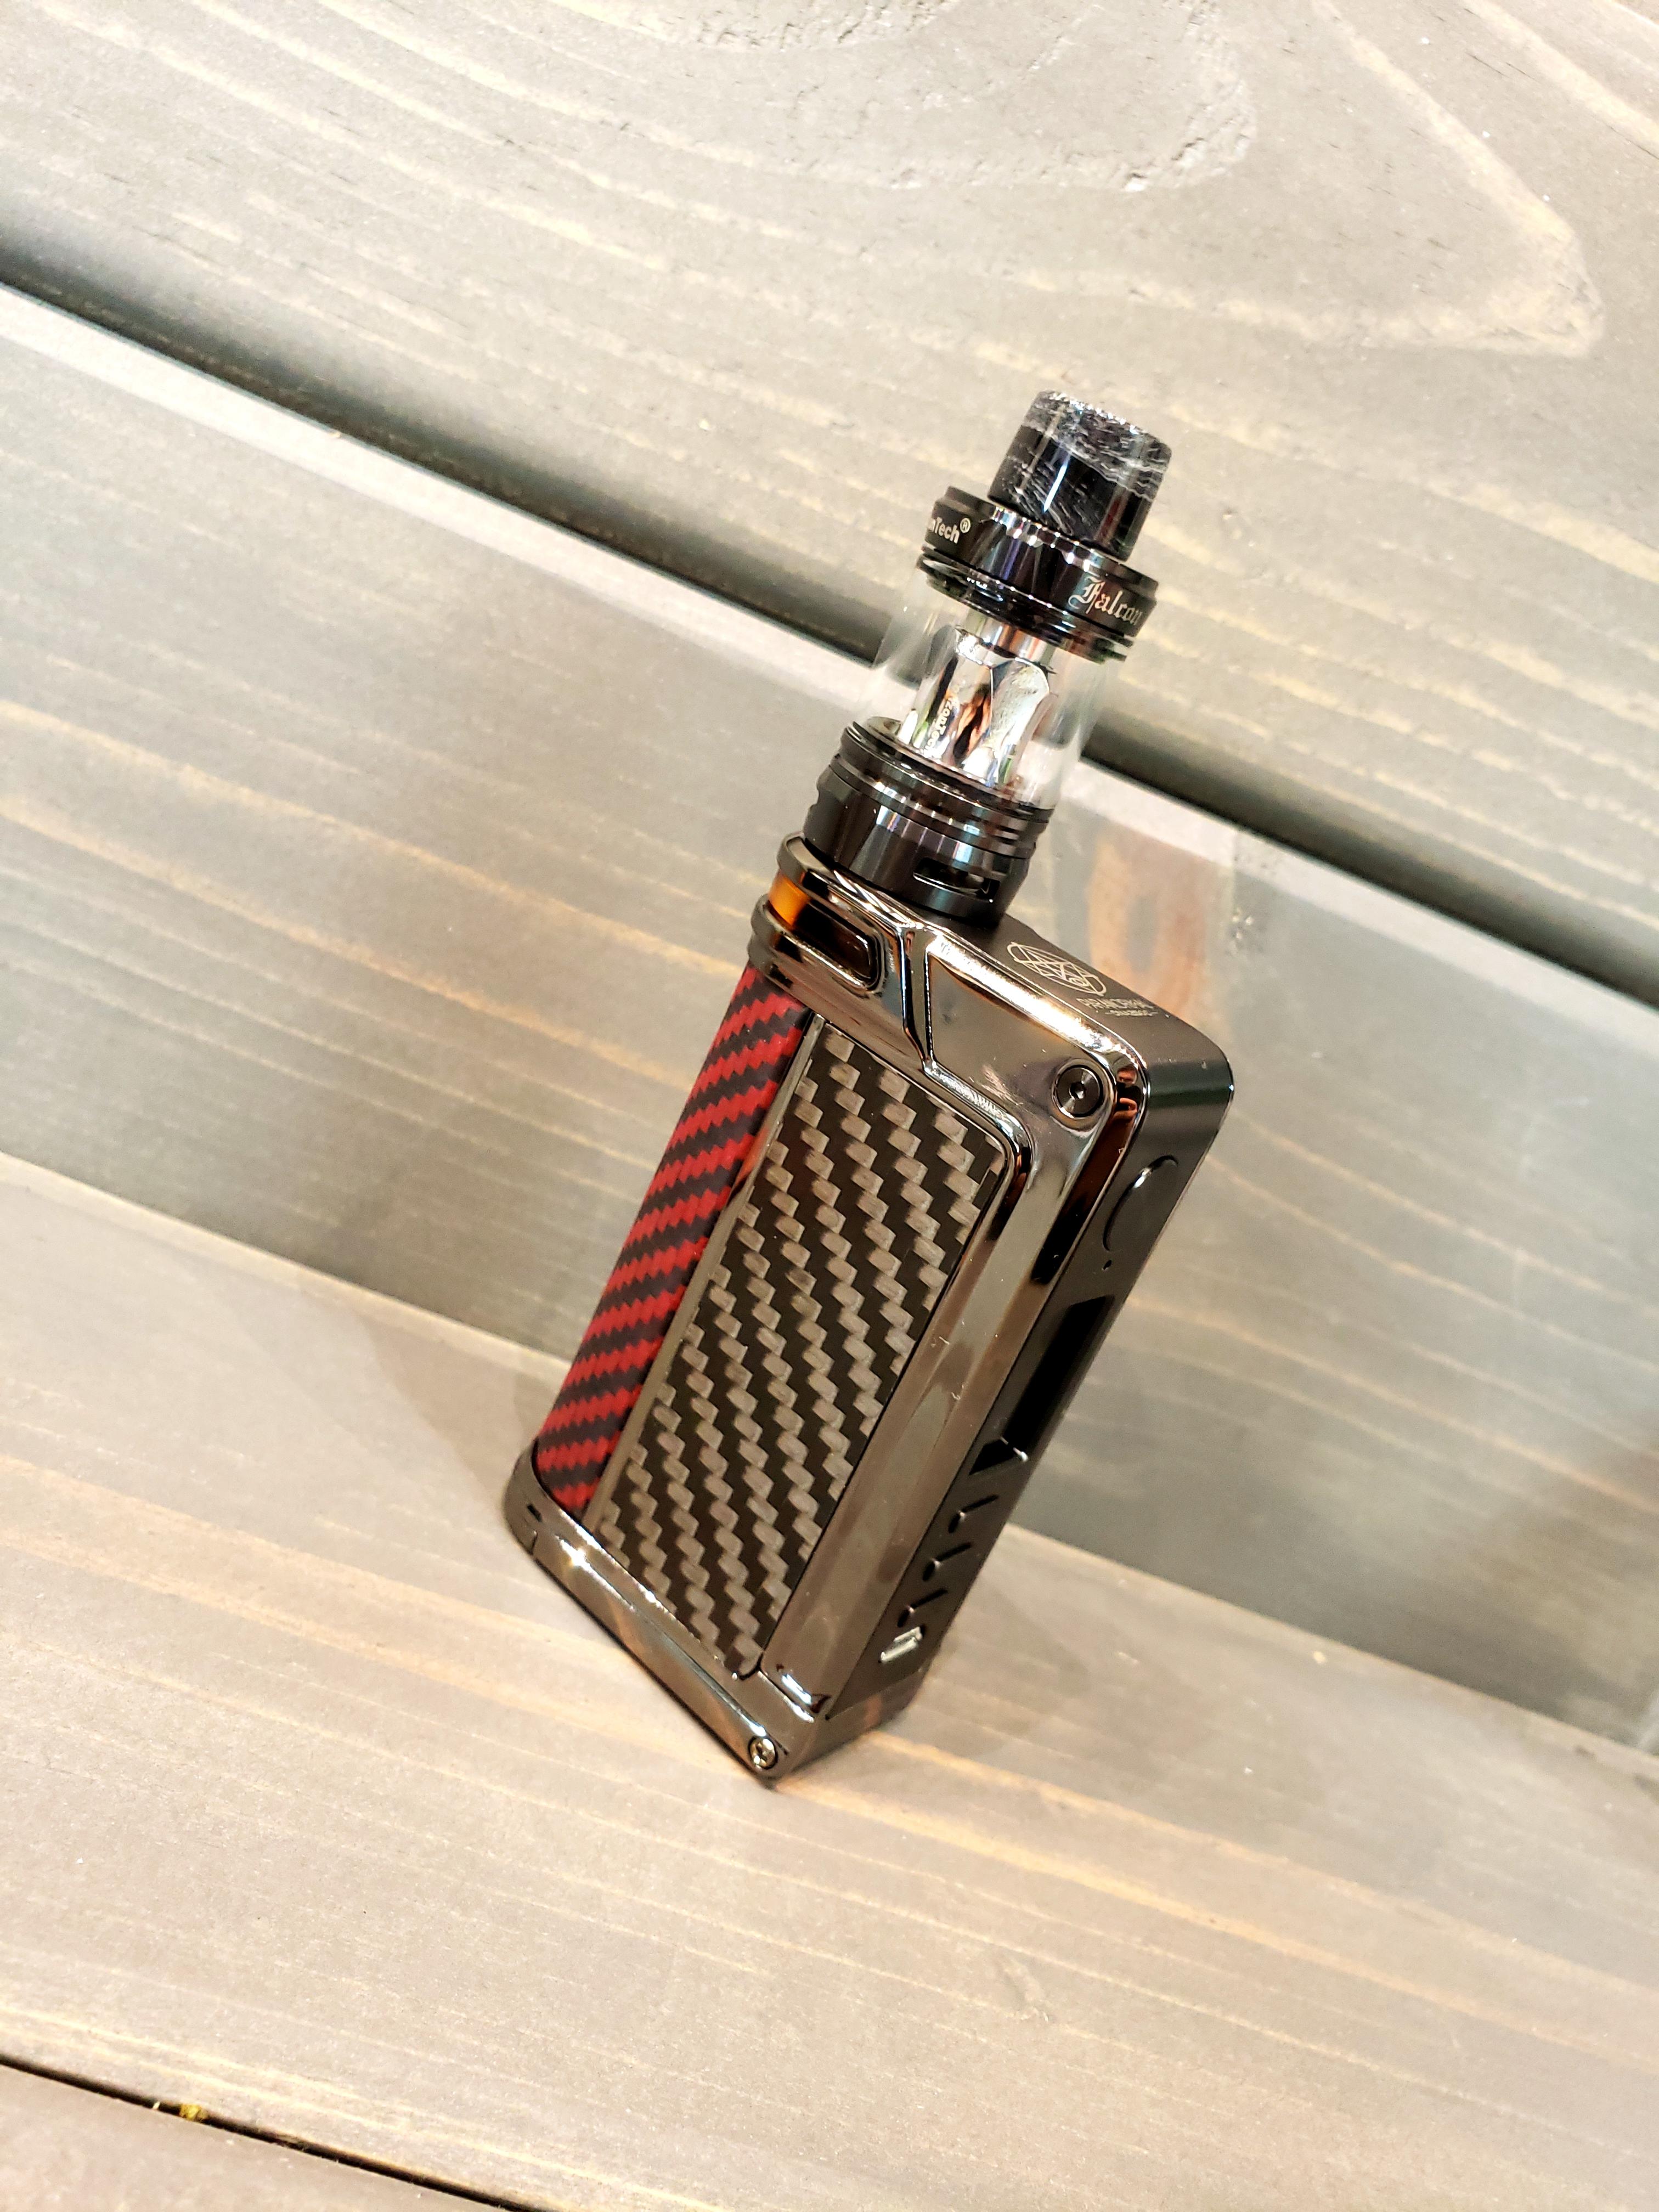
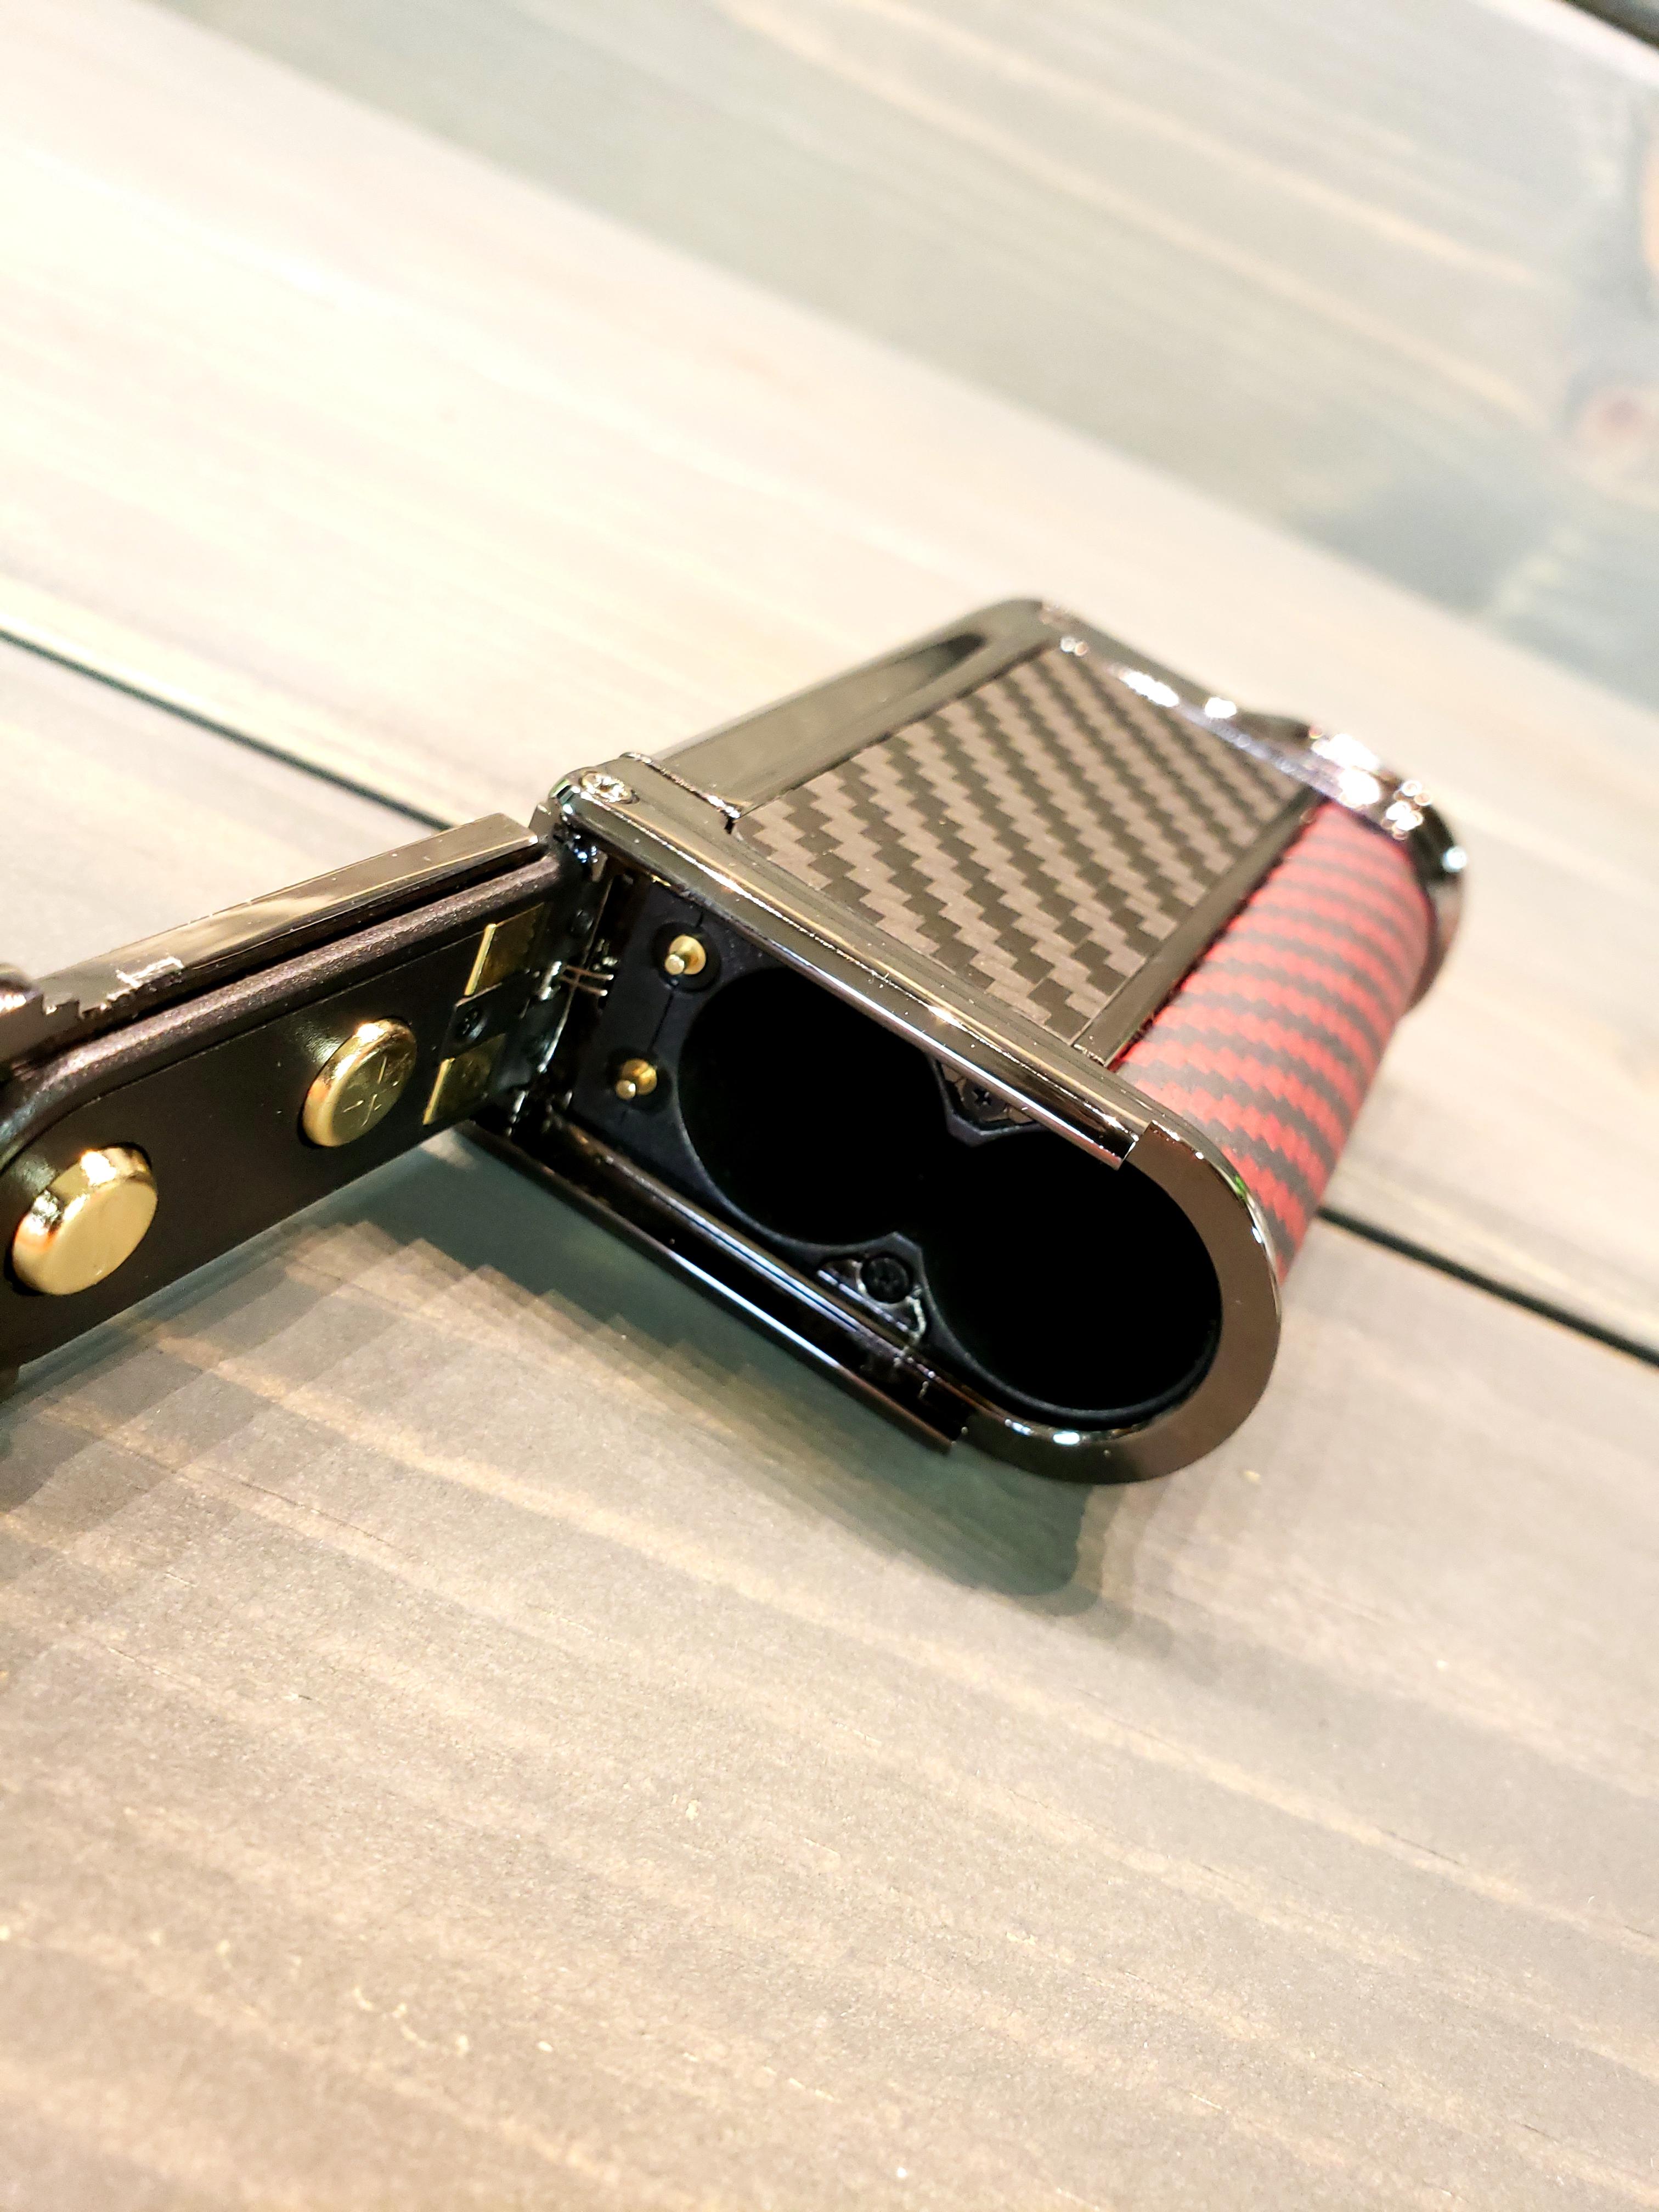
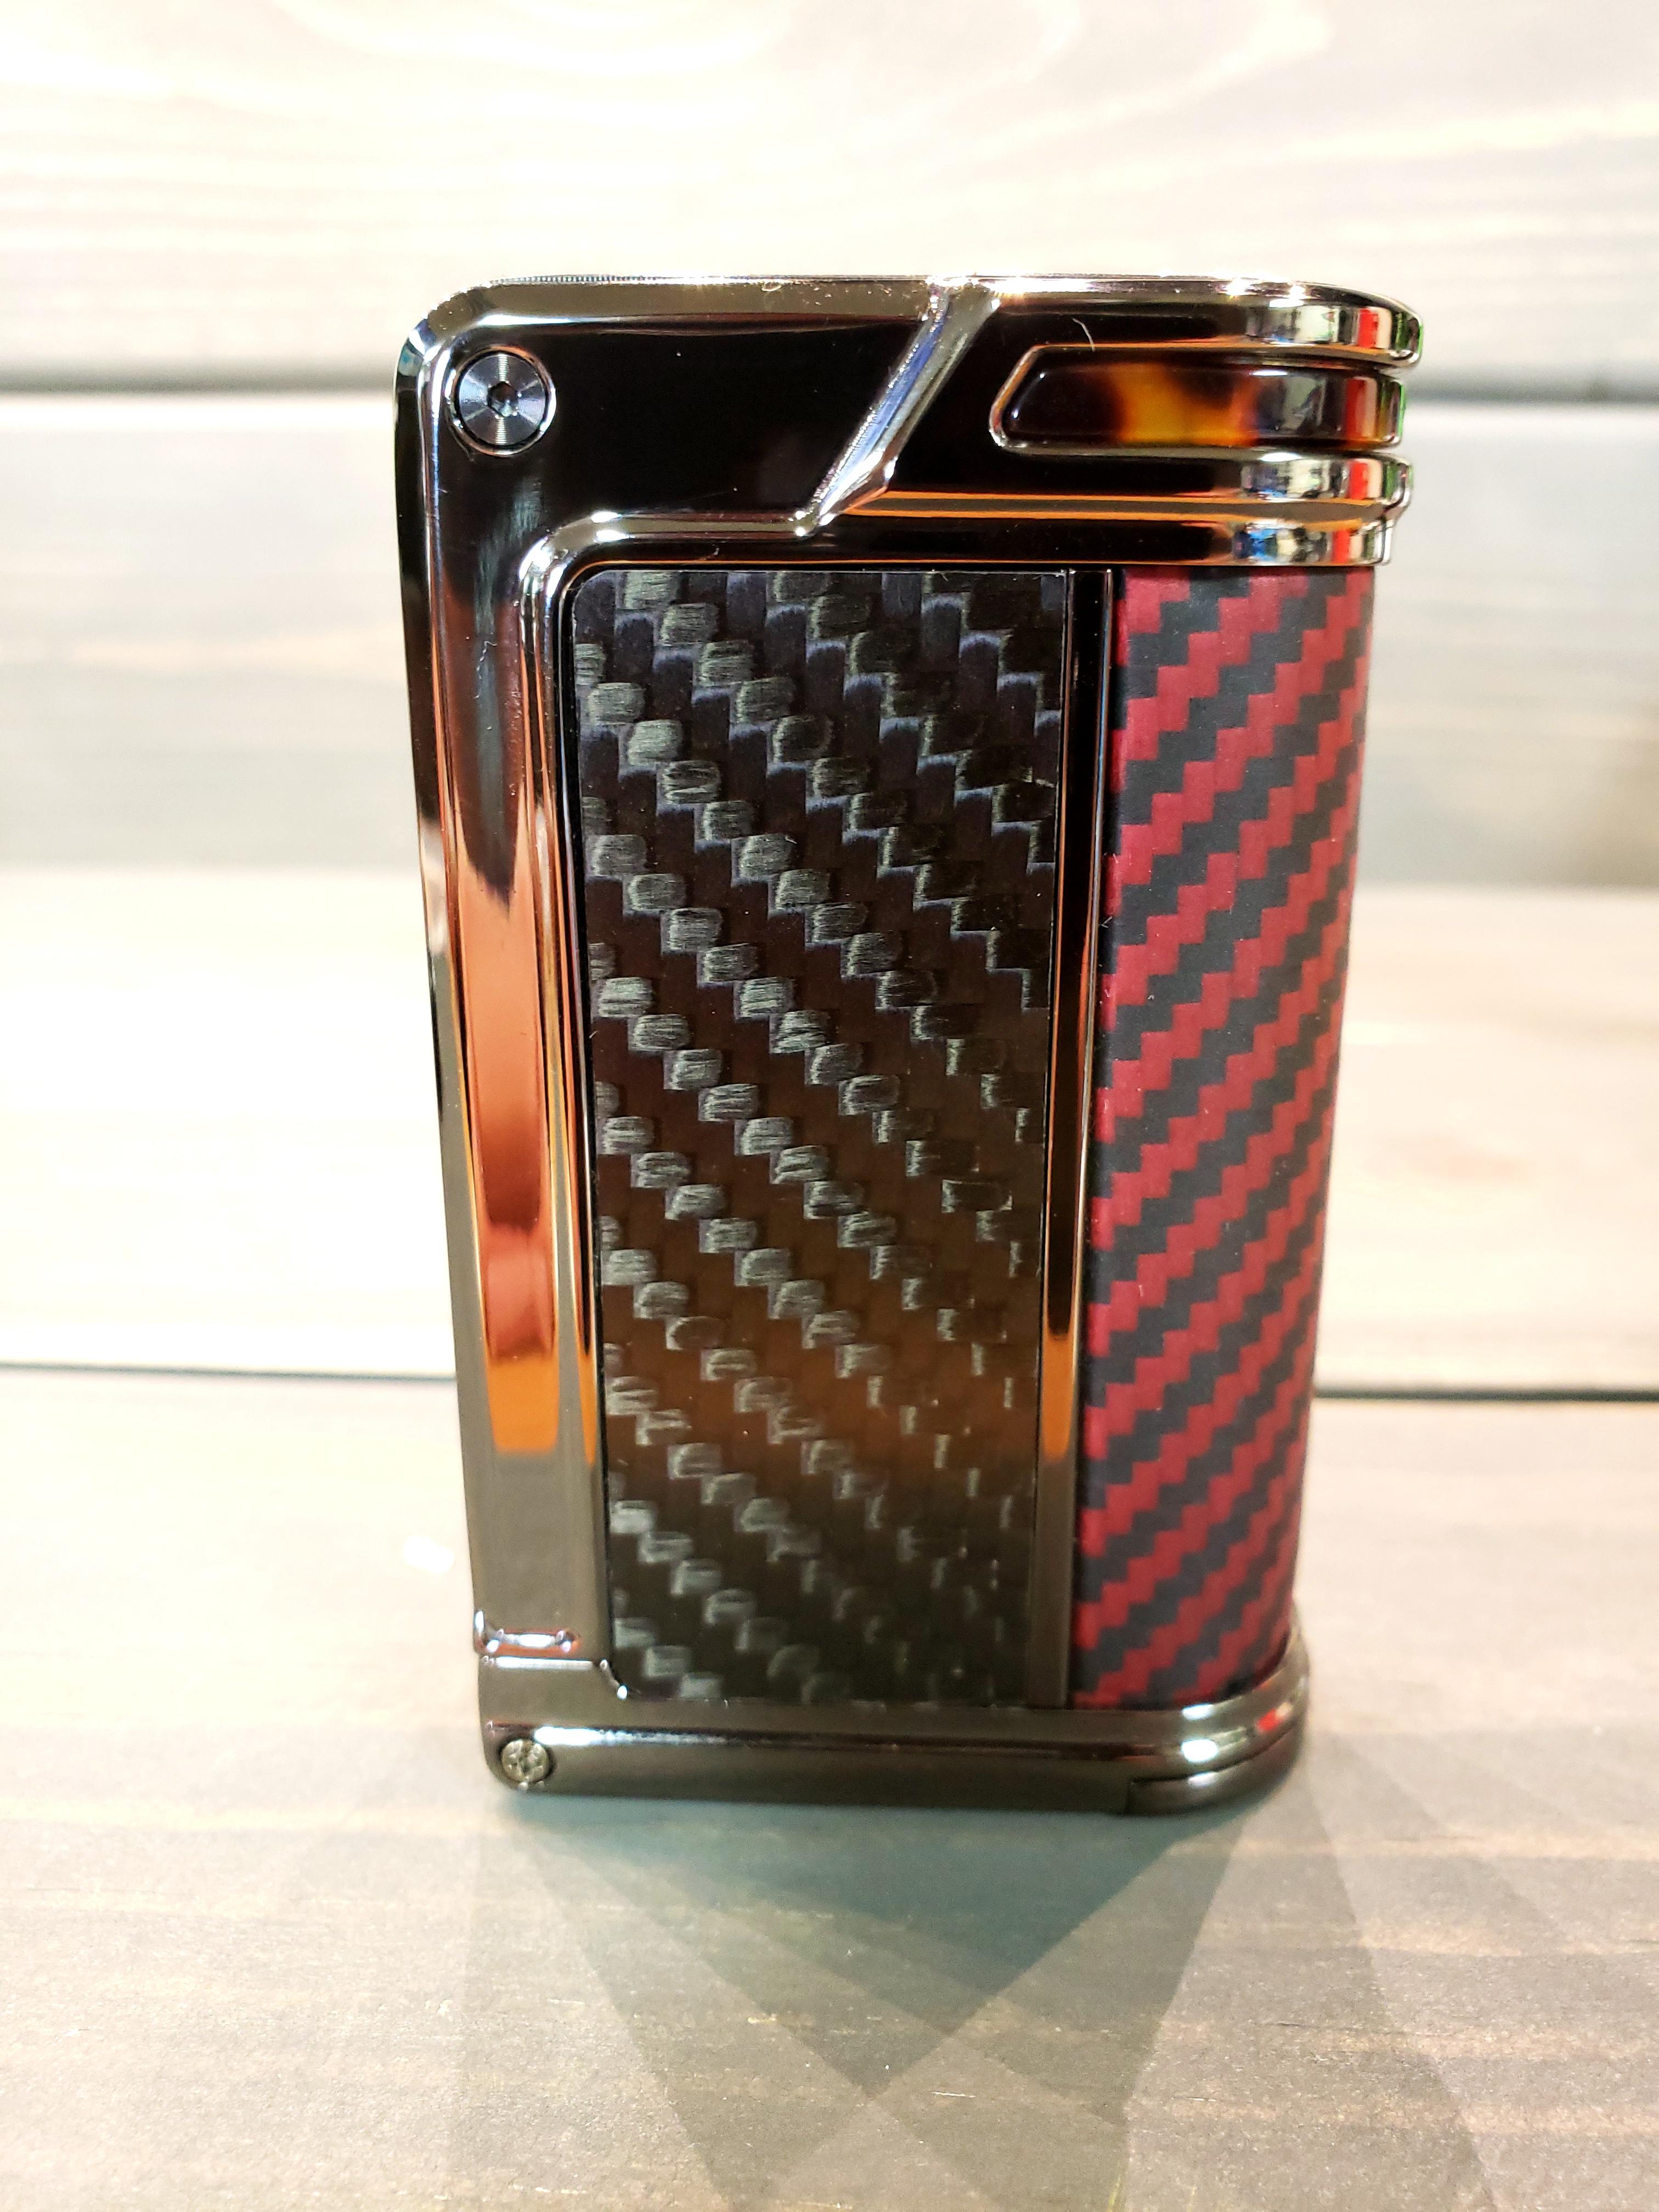
I won’t sugar coat it, I was very excited to finally get my hands on one of these. I have had my hands on a few DNA C models, but the styling of this device has always appealed to me. Lost Vape has been known to incorporate fine materials on the outside of their devices which makes them stand out, and the Paranormal is no exception. My model is the Black Carbon/Red Kevlar on the Gunmetal frame and there are several different color options out there. Right out of the gate, Lost Vape puts on a presentation. The packaging is the nicest I have seen and is more like a box housing a piece of fine jewelry instead of a vaping device. Overall, the device feels solid in every way. Everything from the weight, the finish, misc. materials, and even the battery compartment (hinging battery door) are well thought out and made to be robust. From top to bottom, it doesn’t appear to be just an average dual 18650 device. It is highly photogenic, and first impressions give off a great vibe, but let’s see what happens when we dig deeper.
_____________________________________________________________________________________
OPERATION
Pop the batteries in, hit the fire button, and here we go. 5 clicks of the fire button unlocks the device, and the screen changes state to reveal a very basic layout. The top row represents the mode or material of the coil, the second row is for the temperature or wattage settings, and the bottom row is reserved for mod settings. I could go on and on and on about the settings of this device, but there is so much that I would probably miss something. These devices display a ton of information, and the majority you don’t really need to dive right into. Out of the box it is a highly useable device, but couple this with a PC and you will find that you can tweak just about every aspect of this mod. When the time comes for you do dive in and start playing around, I strongly suggest viewing some tutorial videos on how to properly use Escribe, and definitely hit up the Evolv forum which has a plethora of misc. information on this chipset. That being said, I do wanna cover some of the basics of the device and how it will function with the factory settings.
------------------------------------------------------------------------------------------------------------------------------------------
All the scrolling of this device is done via three face buttons. The top button moves up, the middle is like an enter key, and the bottom moves the curser down. The top bar of the display is for modes and are changed by highlighting it, pressing the middle button, and scrolling through with the up and down buttons. Factory settings are Kanthal Power, SS 430 TC, SS 316 TC, Titanium TC, Nickel 200 TC, Watt boost (like a high preheat power mode), Watts, and Replay. Out of the box, many of these are somewhat self-explanatory and have become a bit of an industry standard. To summarize, power mode is accurate, and it performs great on this. Many will stick to power mode, but DNA devices are known to really shine in temp control, and temp control on this device doesn’t skip a beat. Lastly, we have the very interesting and new, Replay Mode.
------------------------------------------------------------------------------------------------------------------------------------------
REPLAY MODE
I think that replay mode deserves its own section away from regular operation as it is in many ways ground-breaking. If you are an avid reader of my reviews, then you know that I don’t commonly use temperature control. I dabble with it a little, but just never got into it. Temp control has its faults, but those who love it really love it. However, it can contain lots of tweaking and fiddling around, and it takes some trial and error before one can really understand everything about it. With Replay Mode, Evolv has simplified the idea of temp control, and made it a much simpler process. No, this isn’t temp control per say, but it basically acts like a dumbed down version of it. To use replay mode, one must have a temperature control wire material (SS, Ti, Ni200). As you operate in replay mode, it will pop up as “recording”. Once you think you have it to the point that it is just right, then hit “save puff” in the middle of the screen. From there on out, it will attempt to recreate that perfect puff again and again. It corrects for a warming coil, reduction in liquid, etc. to provide a consistent vape every time. As a bonus, this also helps to prevent dry hits. When liquid starts to dry up in the cotton, the characteristics of the coil change, and the mod adjusts for this and applies less voltage to the coil. If you keep attempting to vape, it will keep on dropping the voltage until essentially nothing is happening. This is a common “side effect” that temp control users love, but I was surprised to see this happen in replay as well. I started off using this mod as a wattage device only, but once I discovered replay, there was no going back. The consistency of the vape makes it one of the most pleasant vaping experiences that I have had, and it is a shame that this type of temp control has not come out sooner.
__________________________________________________________________________________________________________________________________________________________________________
PHOTO GALLERY
PARANORMAL GALLERY

_____________________________________________________________________________________
_____________________________________________________________________________________
CONTINUED BELOW.....................
_____________________________________________________________________________________
_____________________________________________________________________________________
Hello everyone, Pizza Dave here, and today I am delivering a review of the Lost Vape Paranormal 250C. This device was sent to me by Sourcemore for review. The Paranormal is one of the latest devices to hit the market from Lost Vape and features Evolv’s latest chipset, the DNA250C. It is a dual 18650 device which has a maximum wattage of 200w, but since it has a DNA chipset within, it has many more options when it comes to output. I will dive into the operation of this device, how I vapes, and I will give you my final thoughts down at the bottom.
_____________________________________________________________________________________
_____________________________________________________________________________________
WHAT YOU GET
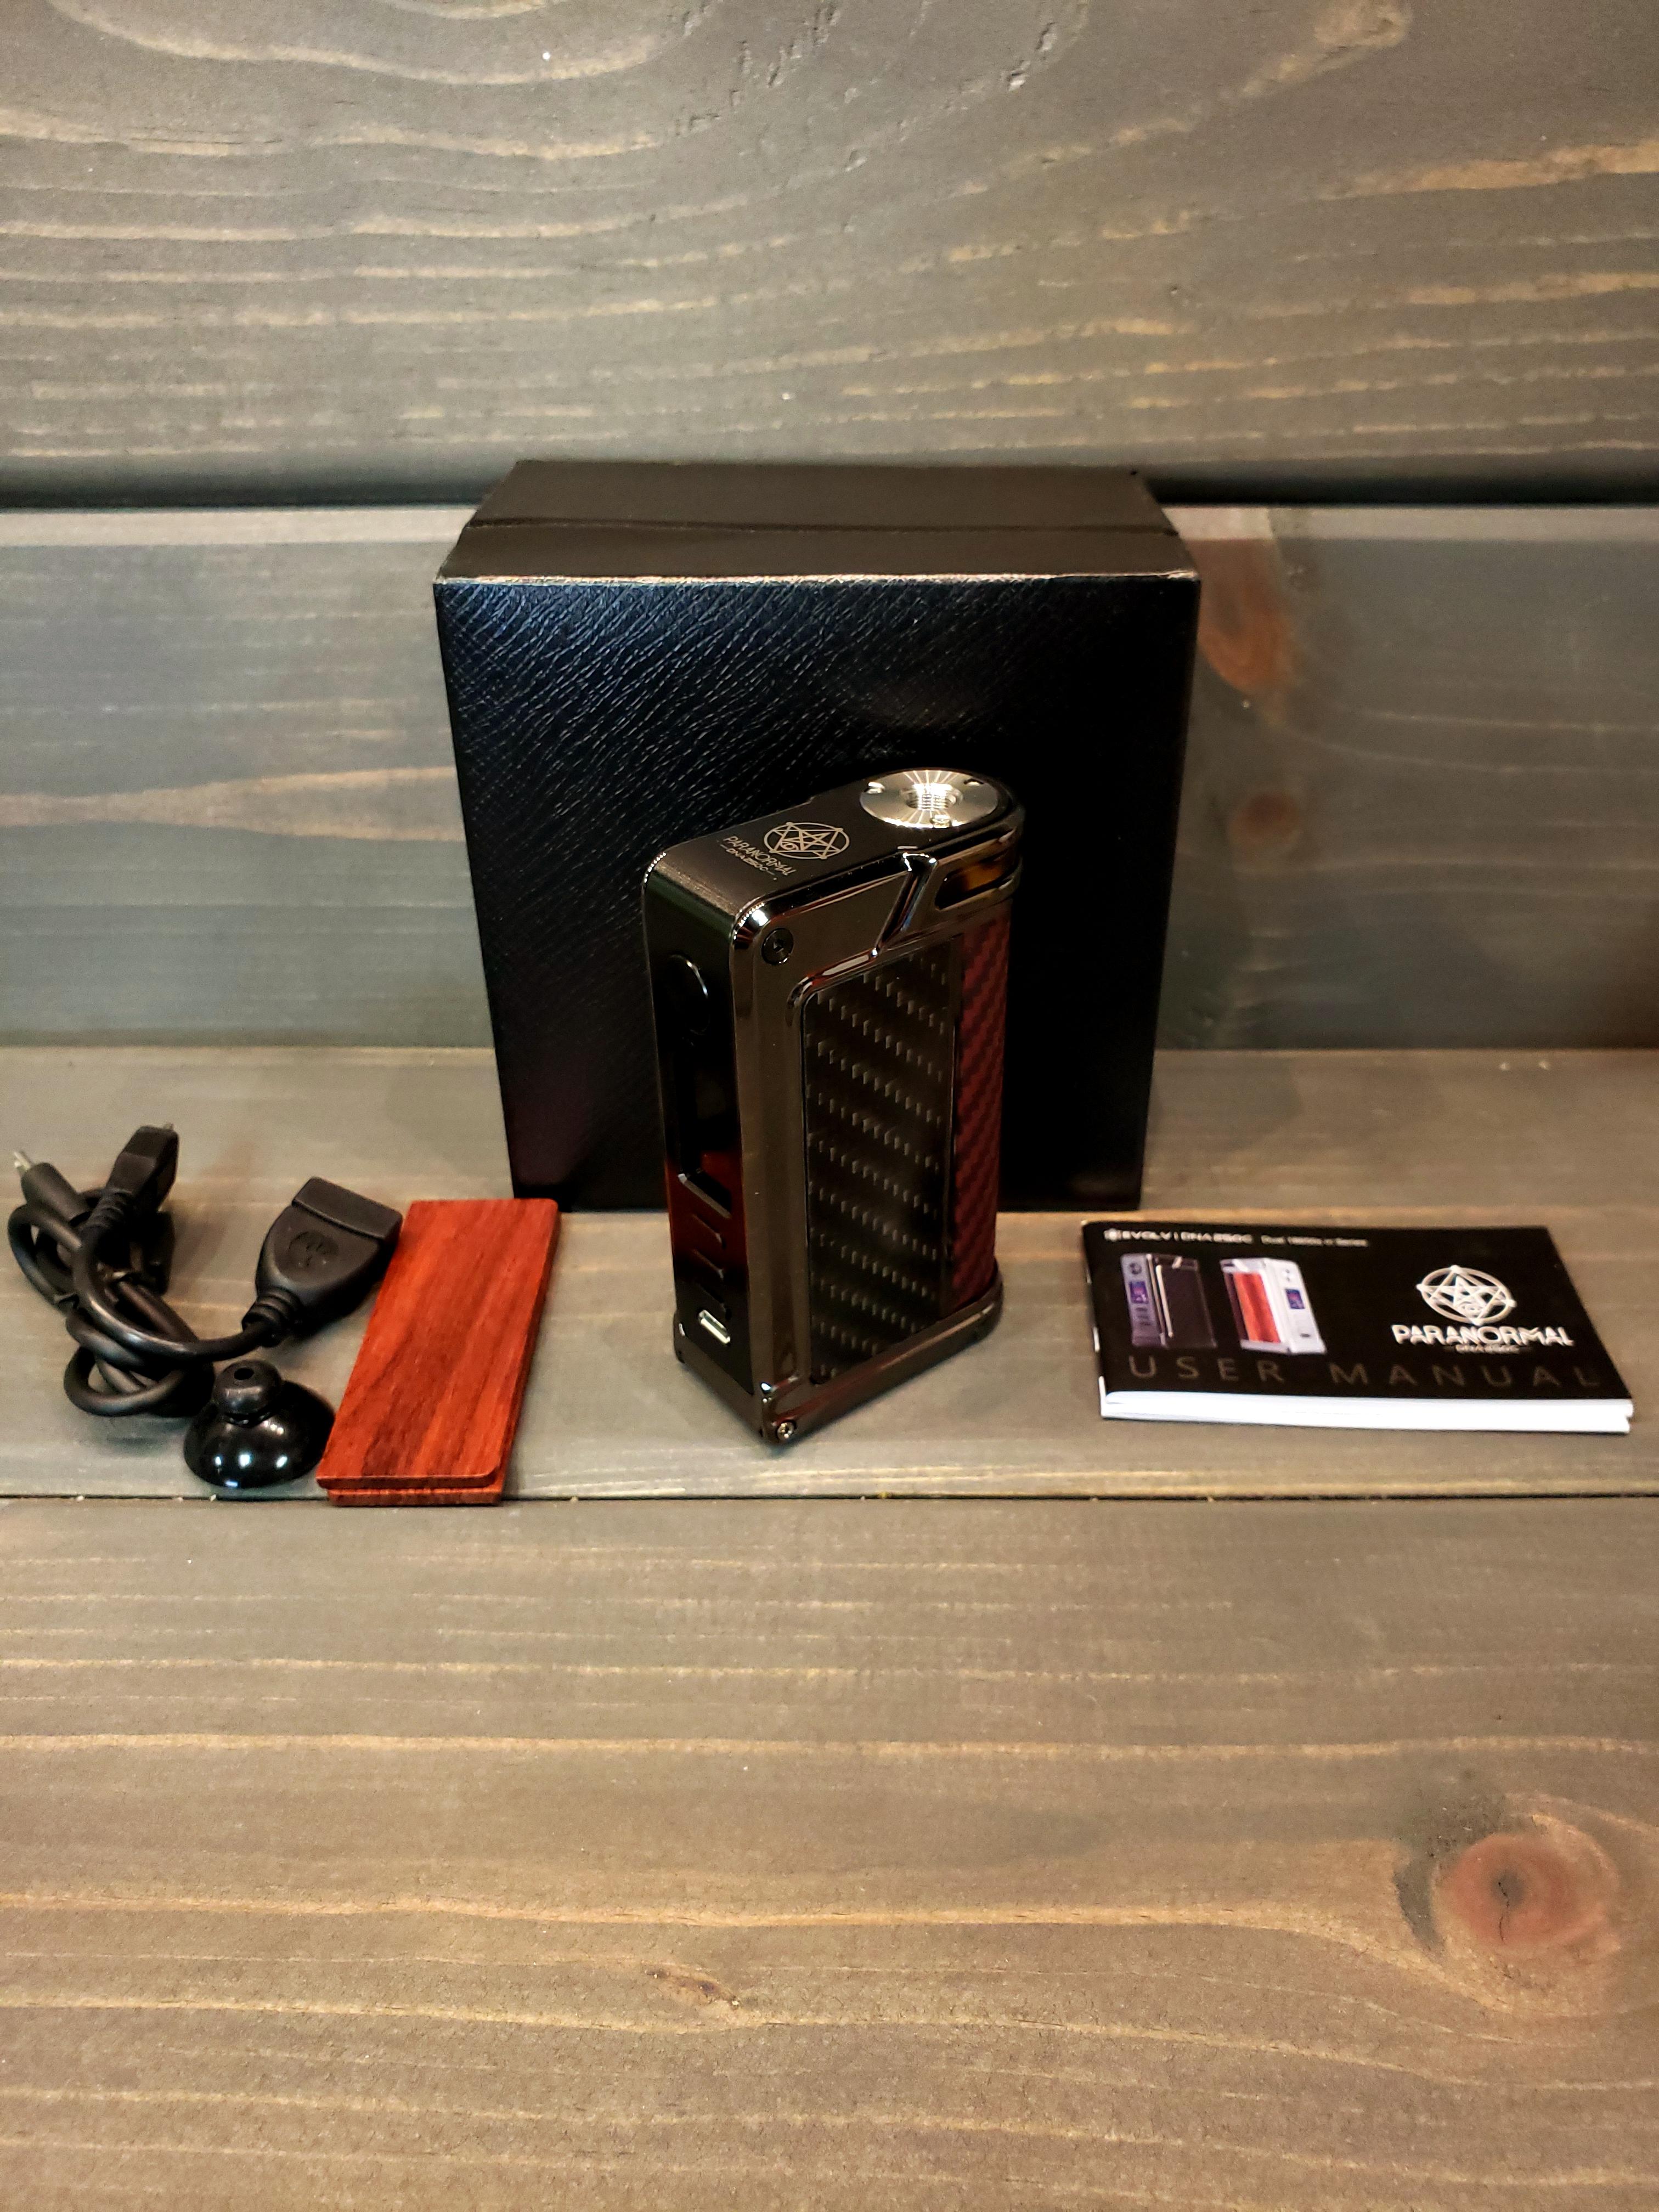
- 1 Lost Vape Paranormal 250C mod
- 1 Male to Female USB cable (for using as a power bank)
- 1 USB charging/upgrade cable
- 1 Suction Cup (for removing doors)
- 1 User Manual
- 1 Replay Manual
- Some include extra panels, mine came with Carbon Fiber pre-installed and came with wood panels in the box
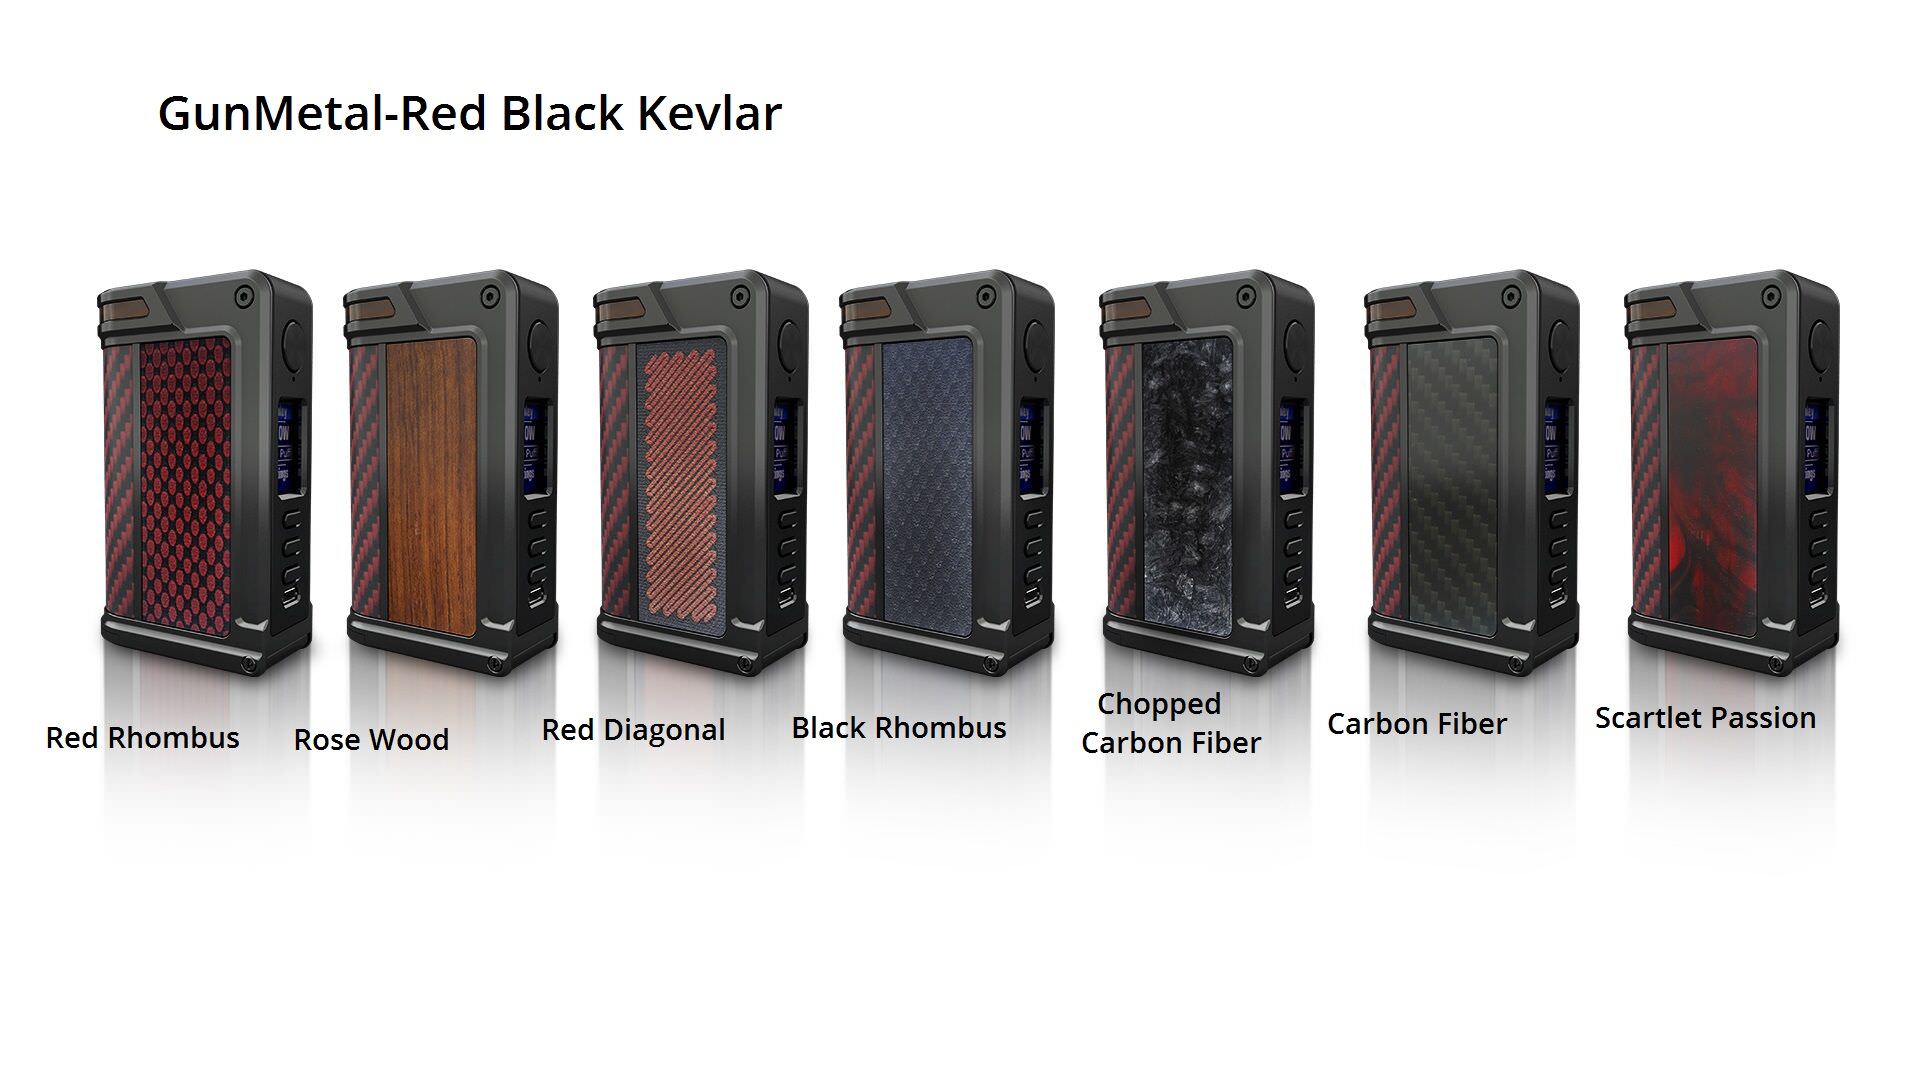
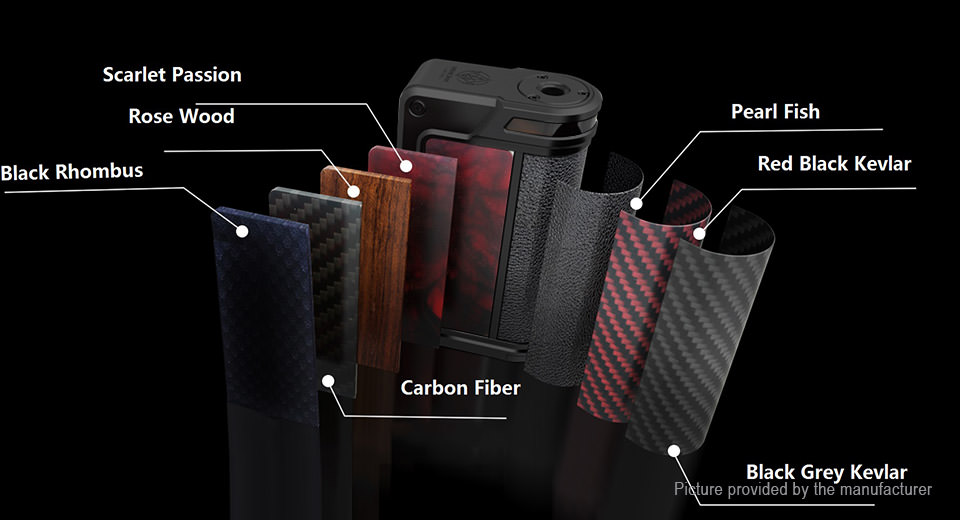
- Available in a polished gunmetal and silver frame. Many different color options from there on after. Below is a photo of the many options you can buy.
STOCK SHOT 1
STOCK SHOT 2
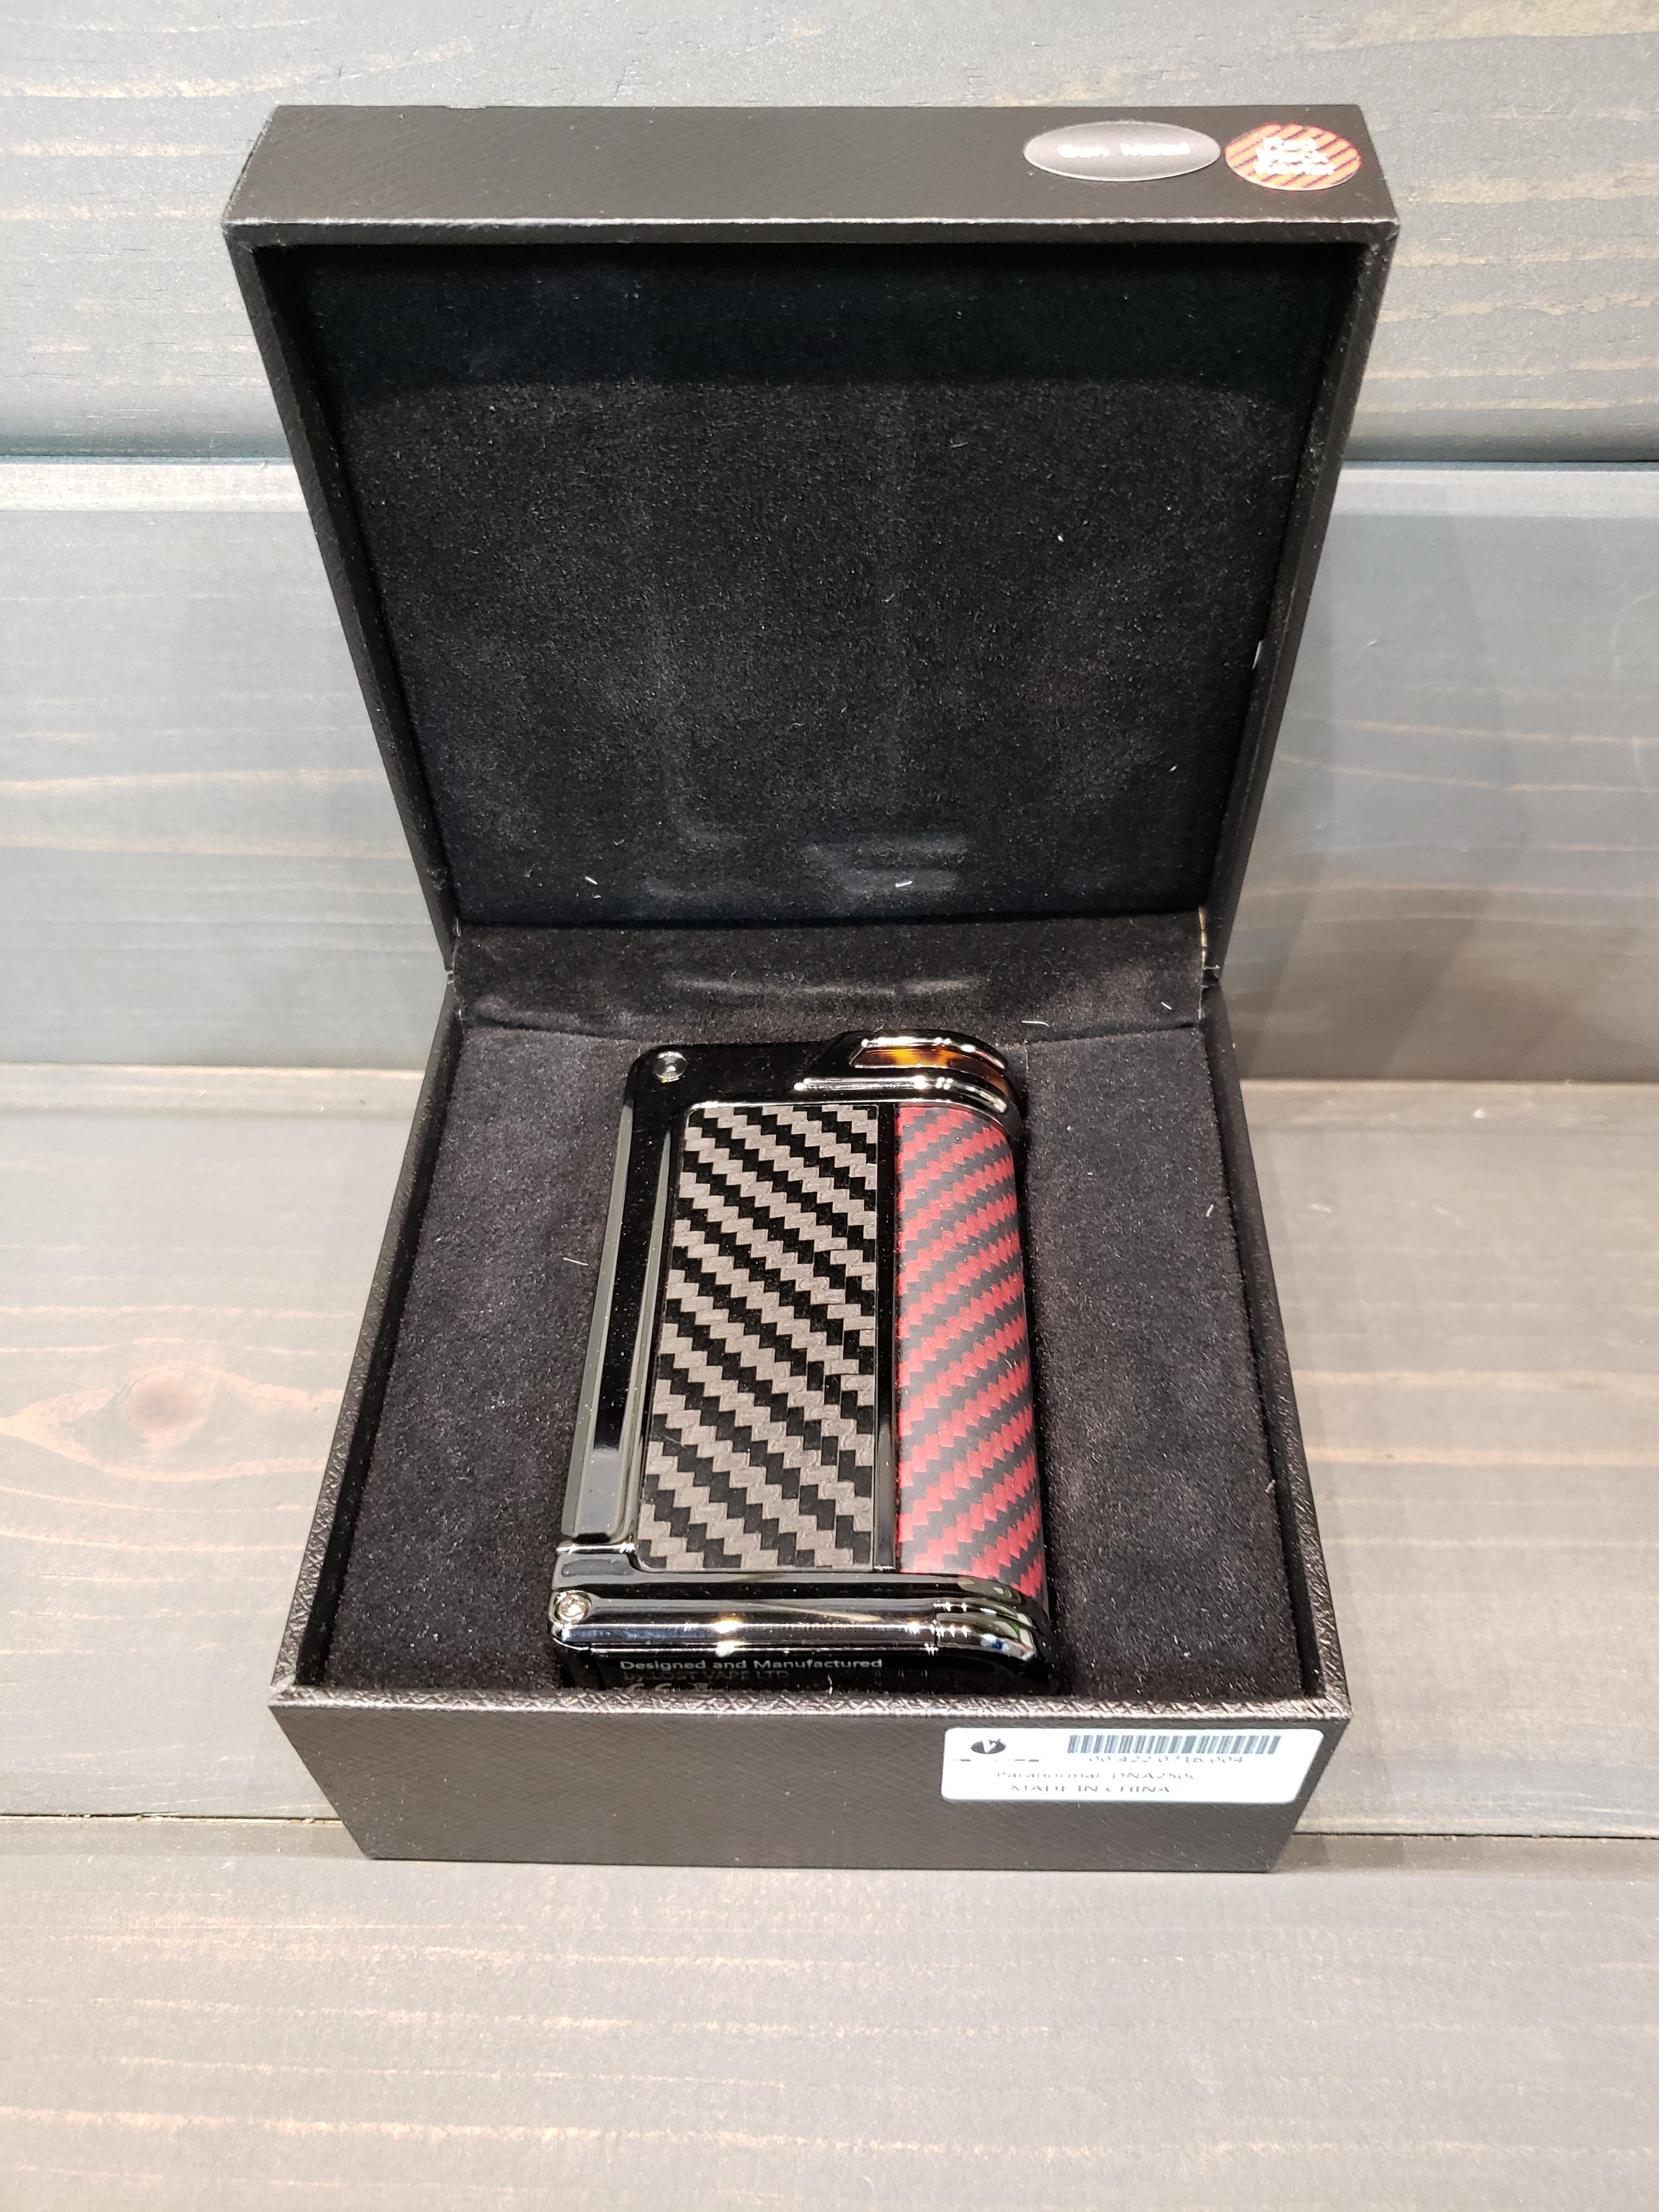
PACKAGING
OUT OF BOX
_____________________________________________________________________________________
_____________________________________________________________________________________
MOD OVERVIEW
I won’t sugar coat it, I was very excited to finally get my hands on one of these. I have had my hands on a few DNA C models, but the styling of this device has always appealed to me. Lost Vape has been known to incorporate fine materials on the outside of their devices which makes them stand out, and the Paranormal is no exception. My model is the Black Carbon/Red Kevlar on the Gunmetal frame and there are several different color options out there. Right out of the gate, Lost Vape puts on a presentation. The packaging is the nicest I have seen and is more like a box housing a piece of fine jewelry instead of a vaping device. Overall, the device feels solid in every way. Everything from the weight, the finish, misc. materials, and even the battery compartment (hinging battery door) are well thought out and made to be robust. From top to bottom, it doesn’t appear to be just an average dual 18650 device. It is highly photogenic, and first impressions give off a great vibe, but let’s see what happens when we dig deeper.
_____________________________________________________________________________________
OPERATION
Pop the batteries in, hit the fire button, and here we go. 5 clicks of the fire button unlocks the device, and the screen changes state to reveal a very basic layout. The top row represents the mode or material of the coil, the second row is for the temperature or wattage settings, and the bottom row is reserved for mod settings. I could go on and on and on about the settings of this device, but there is so much that I would probably miss something. These devices display a ton of information, and the majority you don’t really need to dive right into. Out of the box it is a highly useable device, but couple this with a PC and you will find that you can tweak just about every aspect of this mod. When the time comes for you do dive in and start playing around, I strongly suggest viewing some tutorial videos on how to properly use Escribe, and definitely hit up the Evolv forum which has a plethora of misc. information on this chipset. That being said, I do wanna cover some of the basics of the device and how it will function with the factory settings.
------------------------------------------------------------------------------------------------------------------------------------------
All the scrolling of this device is done via three face buttons. The top button moves up, the middle is like an enter key, and the bottom moves the curser down. The top bar of the display is for modes and are changed by highlighting it, pressing the middle button, and scrolling through with the up and down buttons. Factory settings are Kanthal Power, SS 430 TC, SS 316 TC, Titanium TC, Nickel 200 TC, Watt boost (like a high preheat power mode), Watts, and Replay. Out of the box, many of these are somewhat self-explanatory and have become a bit of an industry standard. To summarize, power mode is accurate, and it performs great on this. Many will stick to power mode, but DNA devices are known to really shine in temp control, and temp control on this device doesn’t skip a beat. Lastly, we have the very interesting and new, Replay Mode.
------------------------------------------------------------------------------------------------------------------------------------------
REPLAY MODE
I think that replay mode deserves its own section away from regular operation as it is in many ways ground-breaking. If you are an avid reader of my reviews, then you know that I don’t commonly use temperature control. I dabble with it a little, but just never got into it. Temp control has its faults, but those who love it really love it. However, it can contain lots of tweaking and fiddling around, and it takes some trial and error before one can really understand everything about it. With Replay Mode, Evolv has simplified the idea of temp control, and made it a much simpler process. No, this isn’t temp control per say, but it basically acts like a dumbed down version of it. To use replay mode, one must have a temperature control wire material (SS, Ti, Ni200). As you operate in replay mode, it will pop up as “recording”. Once you think you have it to the point that it is just right, then hit “save puff” in the middle of the screen. From there on out, it will attempt to recreate that perfect puff again and again. It corrects for a warming coil, reduction in liquid, etc. to provide a consistent vape every time. As a bonus, this also helps to prevent dry hits. When liquid starts to dry up in the cotton, the characteristics of the coil change, and the mod adjusts for this and applies less voltage to the coil. If you keep attempting to vape, it will keep on dropping the voltage until essentially nothing is happening. This is a common “side effect” that temp control users love, but I was surprised to see this happen in replay as well. I started off using this mod as a wattage device only, but once I discovered replay, there was no going back. The consistency of the vape makes it one of the most pleasant vaping experiences that I have had, and it is a shame that this type of temp control has not come out sooner.
__________________________________________________________________________________________________________________________________________________________________________
PHOTO GALLERY
PARANORMAL GALLERY
_____________________________________________________________________________________
_____________________________________________________________________________________
CONTINUED BELOW.....................