INTRODUCTION
Hello everyone and thanks for stopping by to read another one of my reviews. Today I am delivering a TWO 4 ONE SPECIAL!!! That’s right, you are going to get to see some new goodies from Vaperz Cloud in the form of the Temple 25 and 28mm RDAs. Way back in 2016, the Temple RDA was one of Vaperzcloud’s crown jewels. Today, they are back with an updated version, combining several RDAs into one, but I will get to that combo more in the first impressions section. Let’s act like Indiana Jones and get right into the Temple eh? (really dated myself there)
DISCLAIMER: This was sent to me by Vaperz Cloud for review.
_____________________________________________________________________________________
WHAT YOU GET -
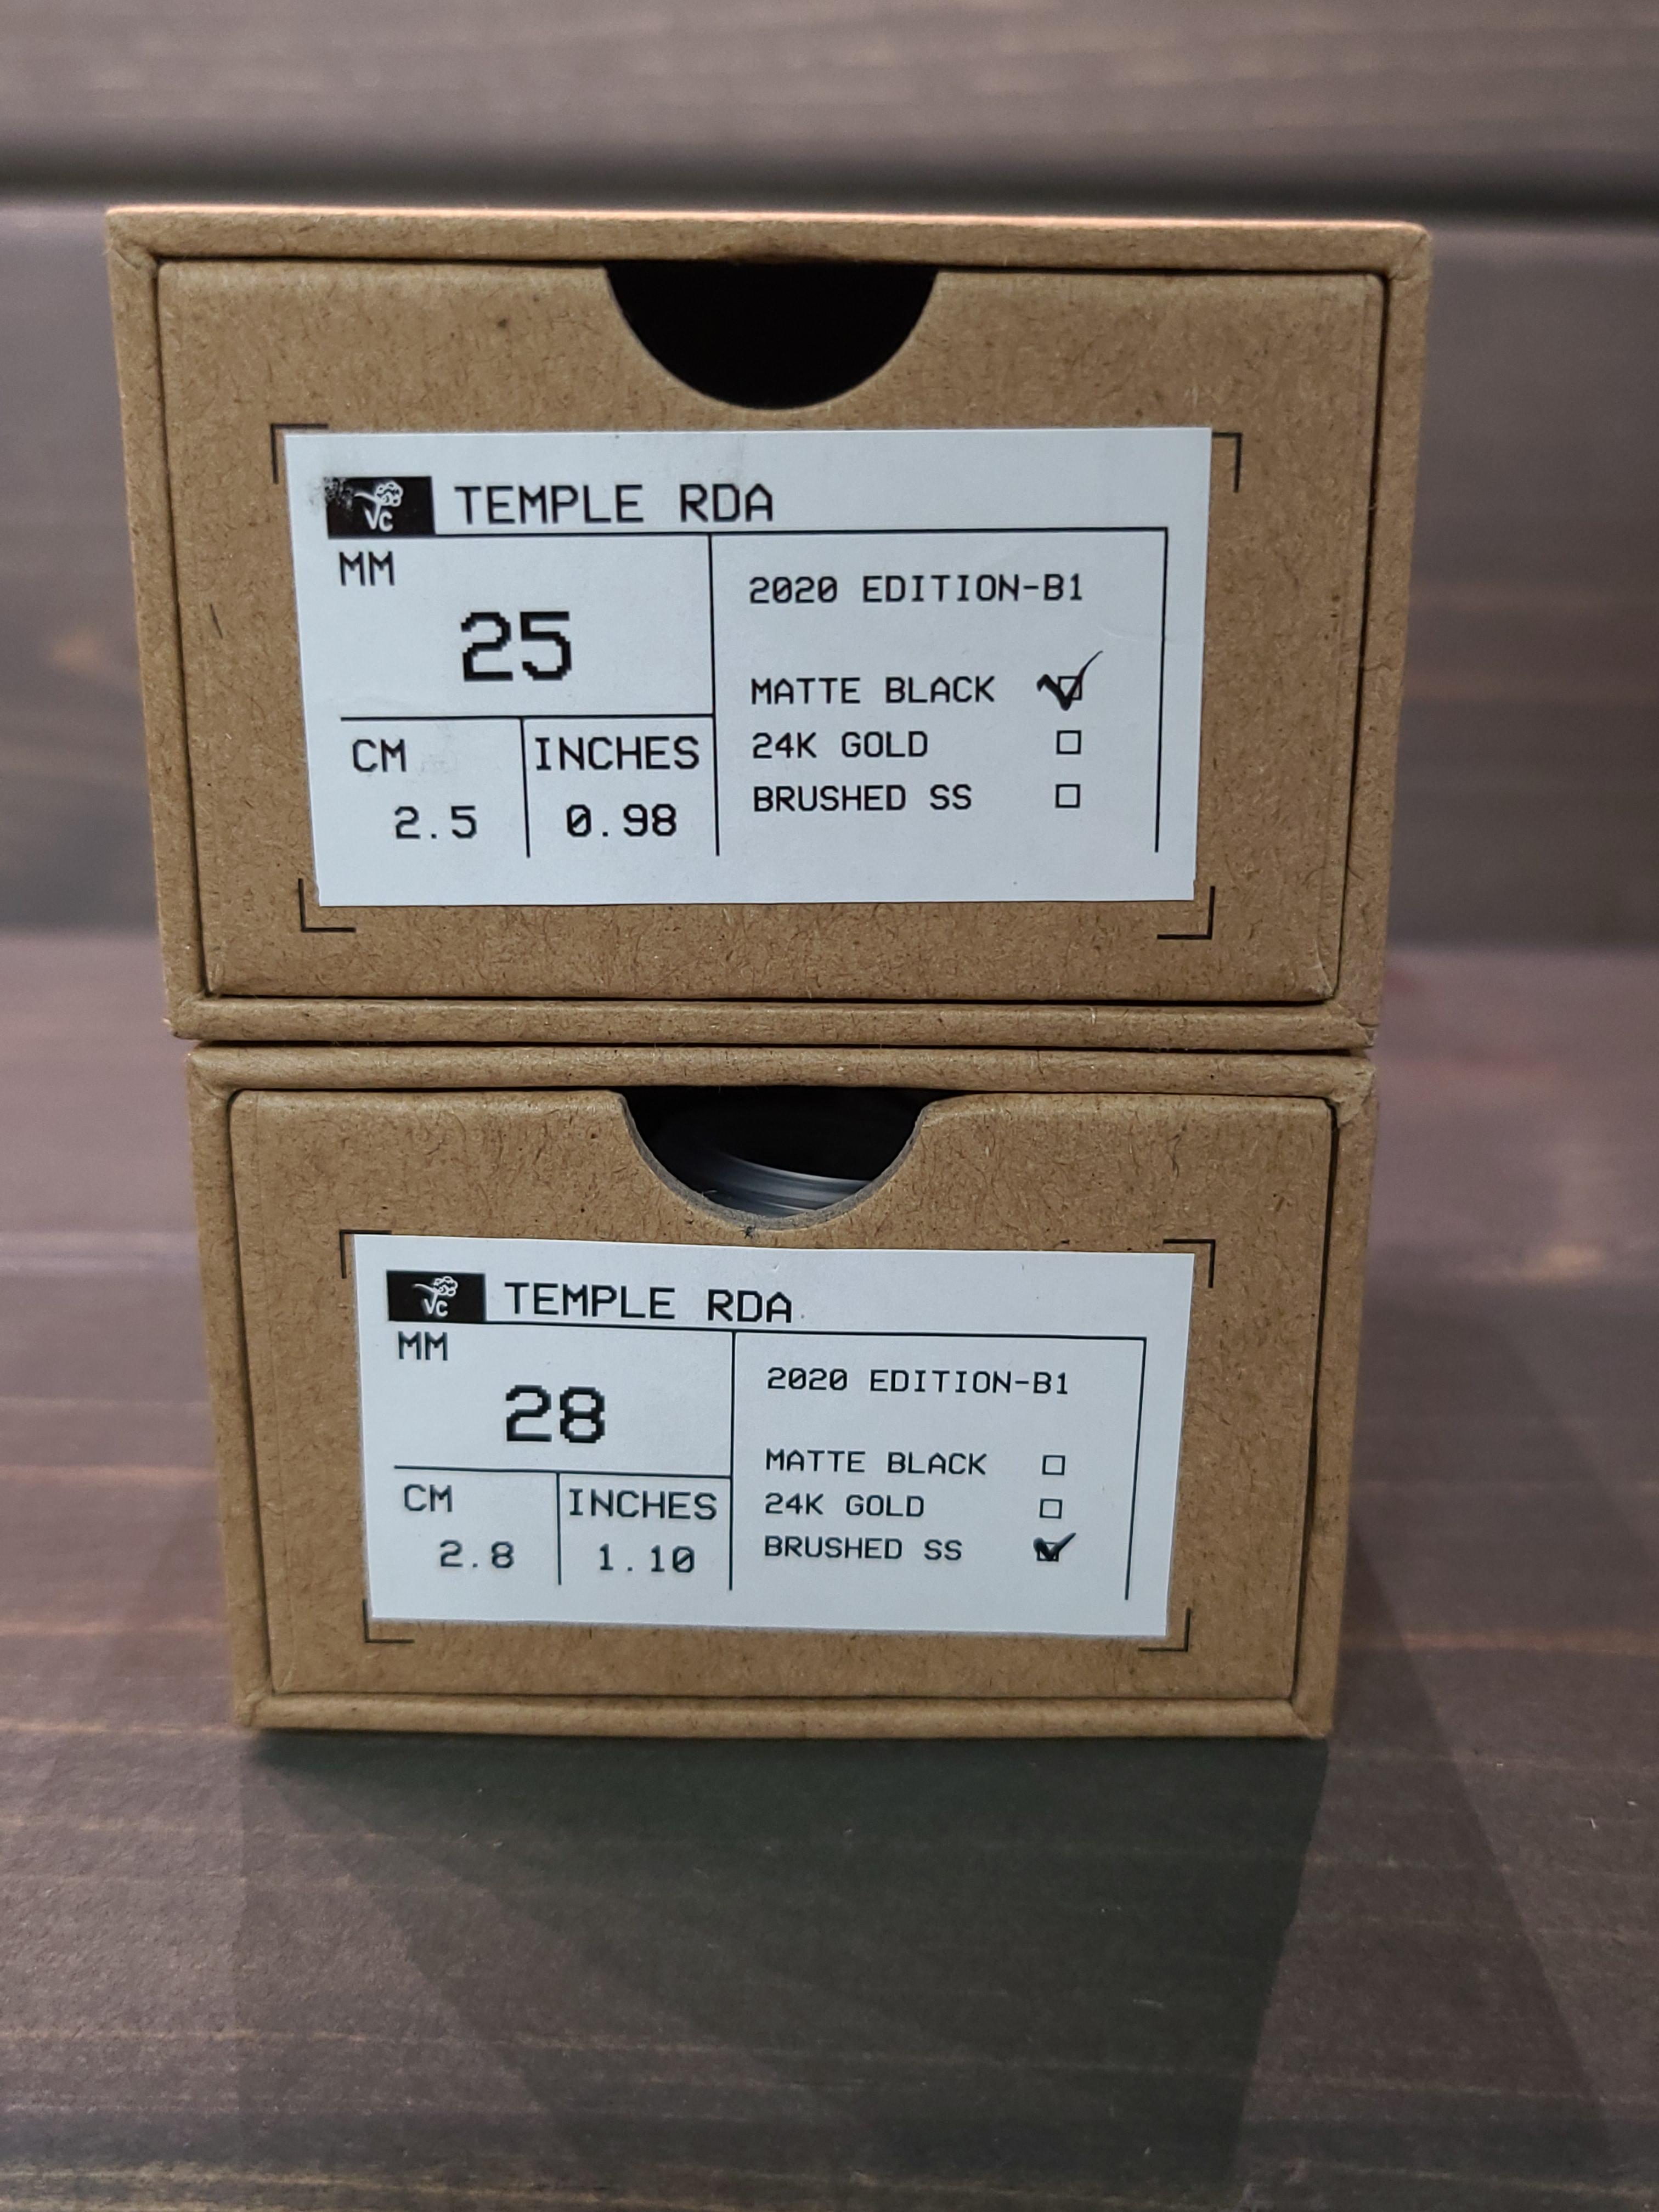
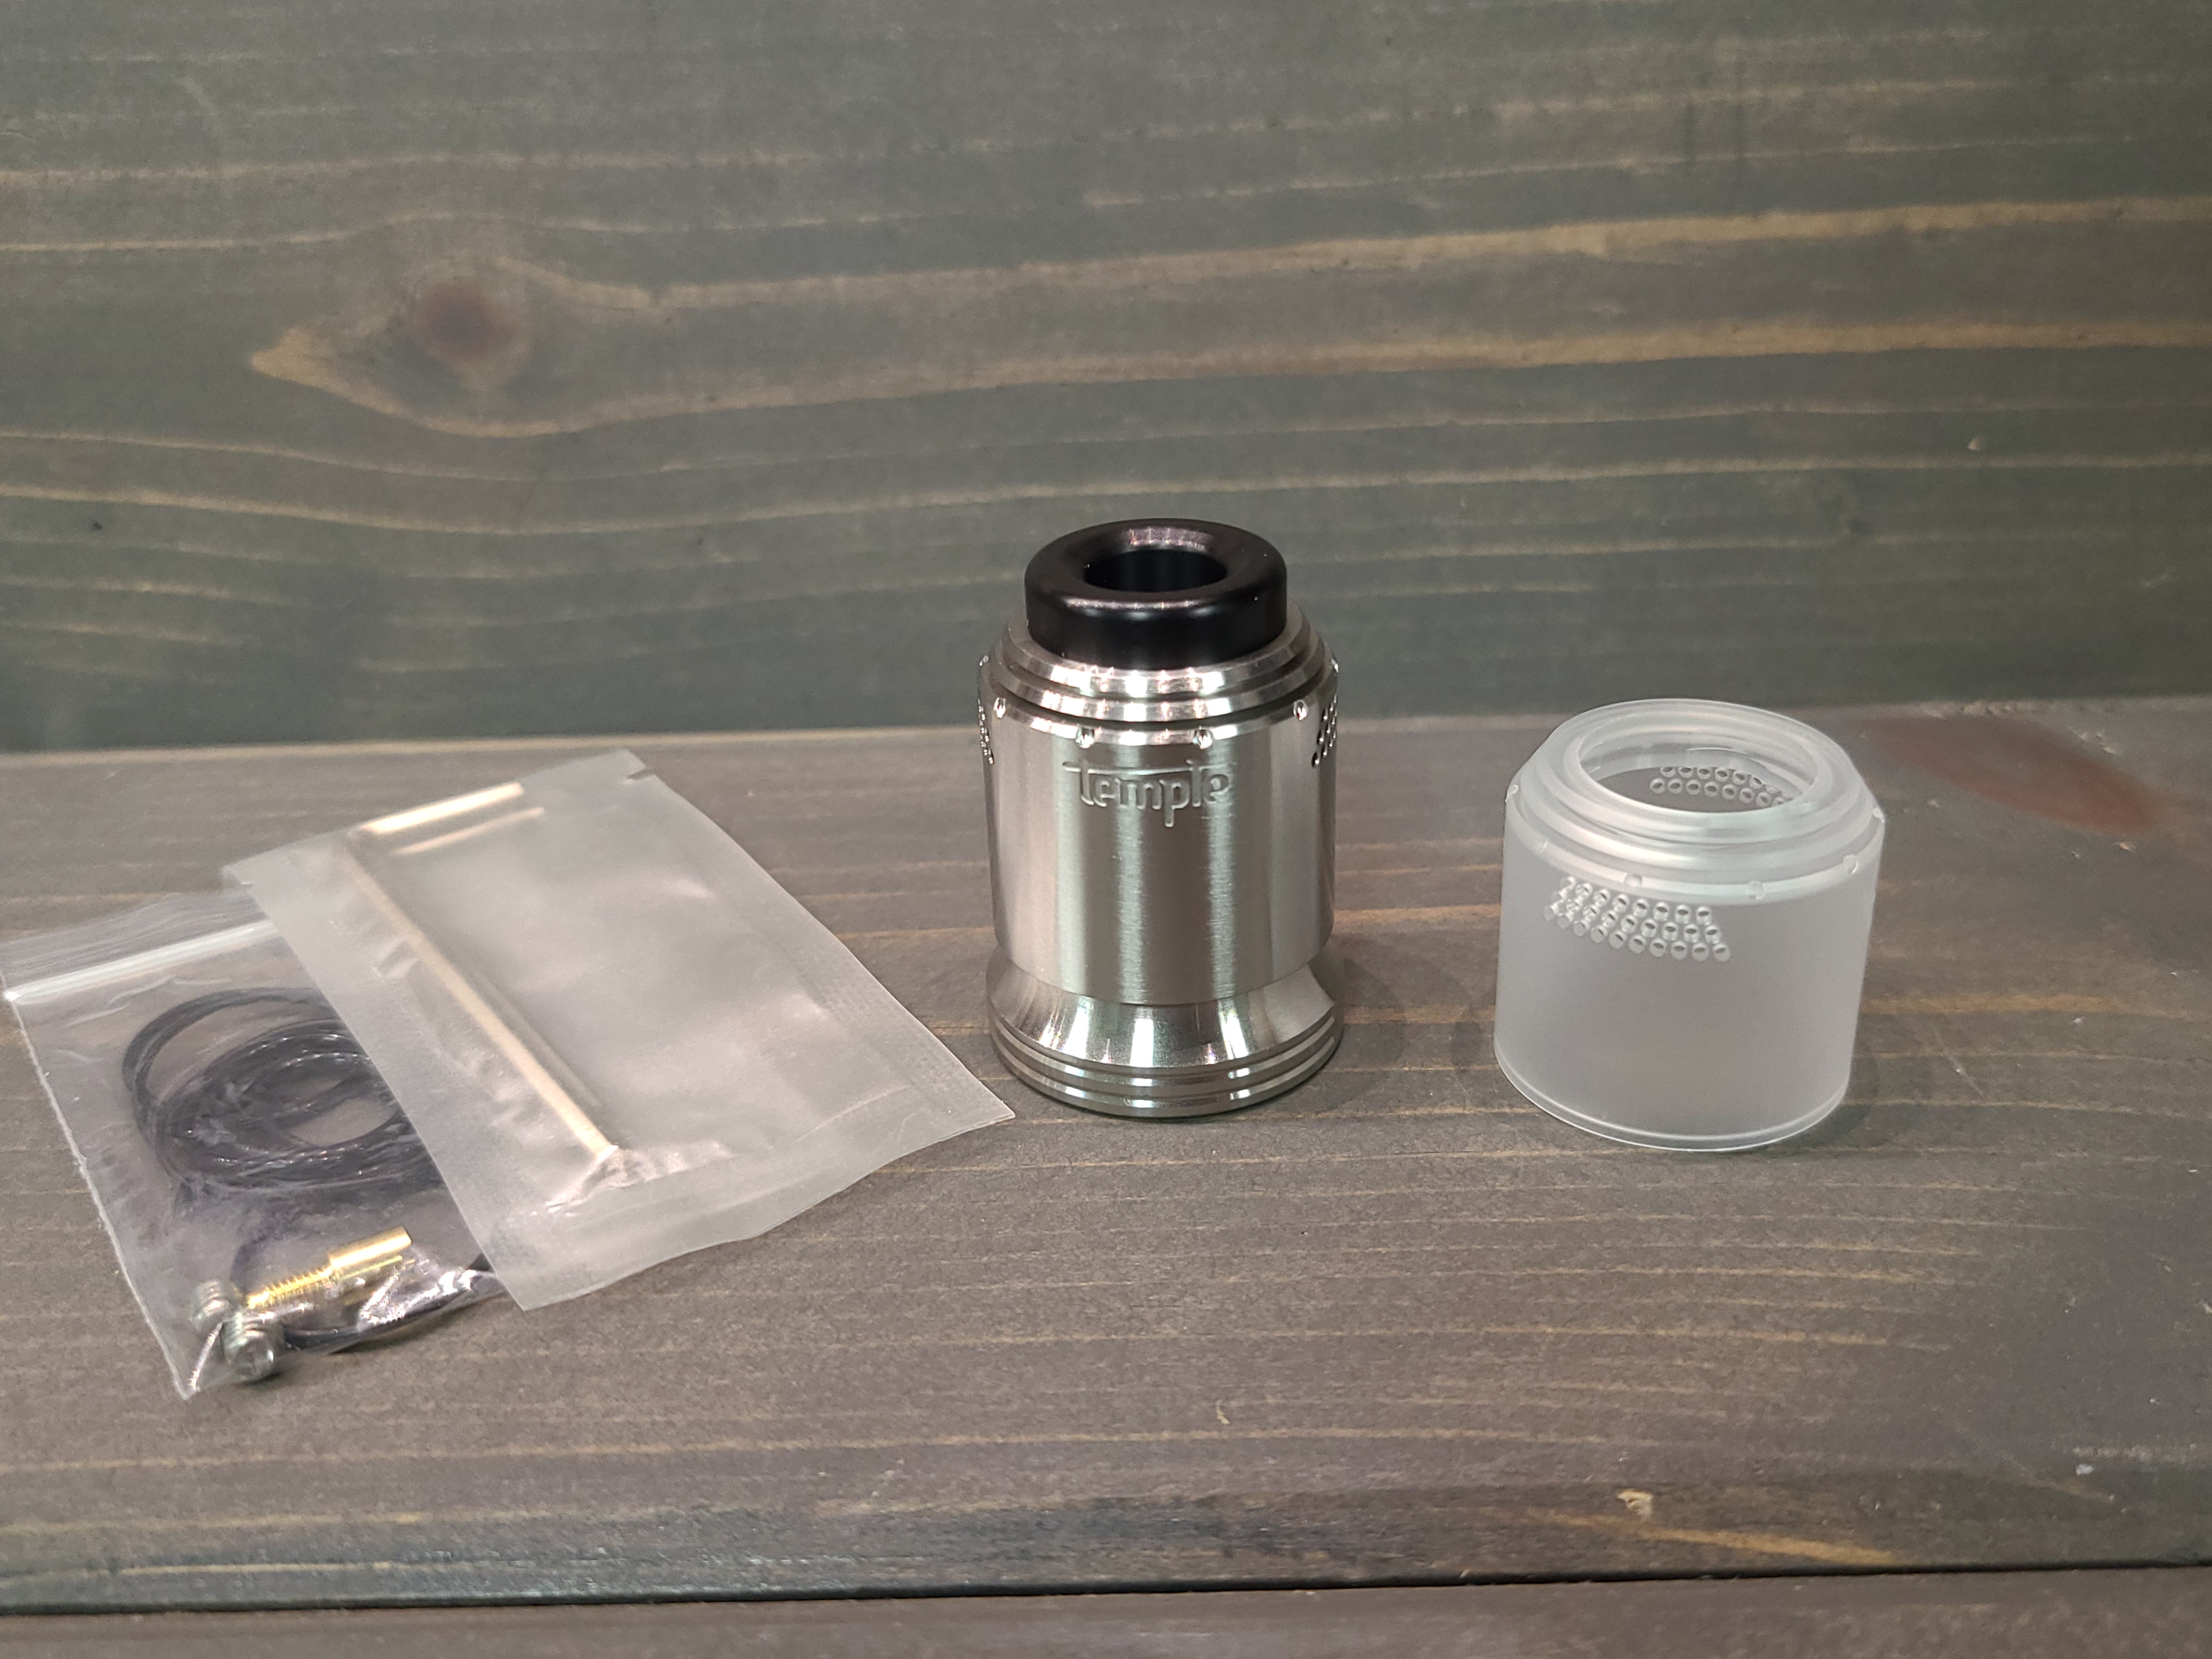
- 25mm or 28mm Temple RDA
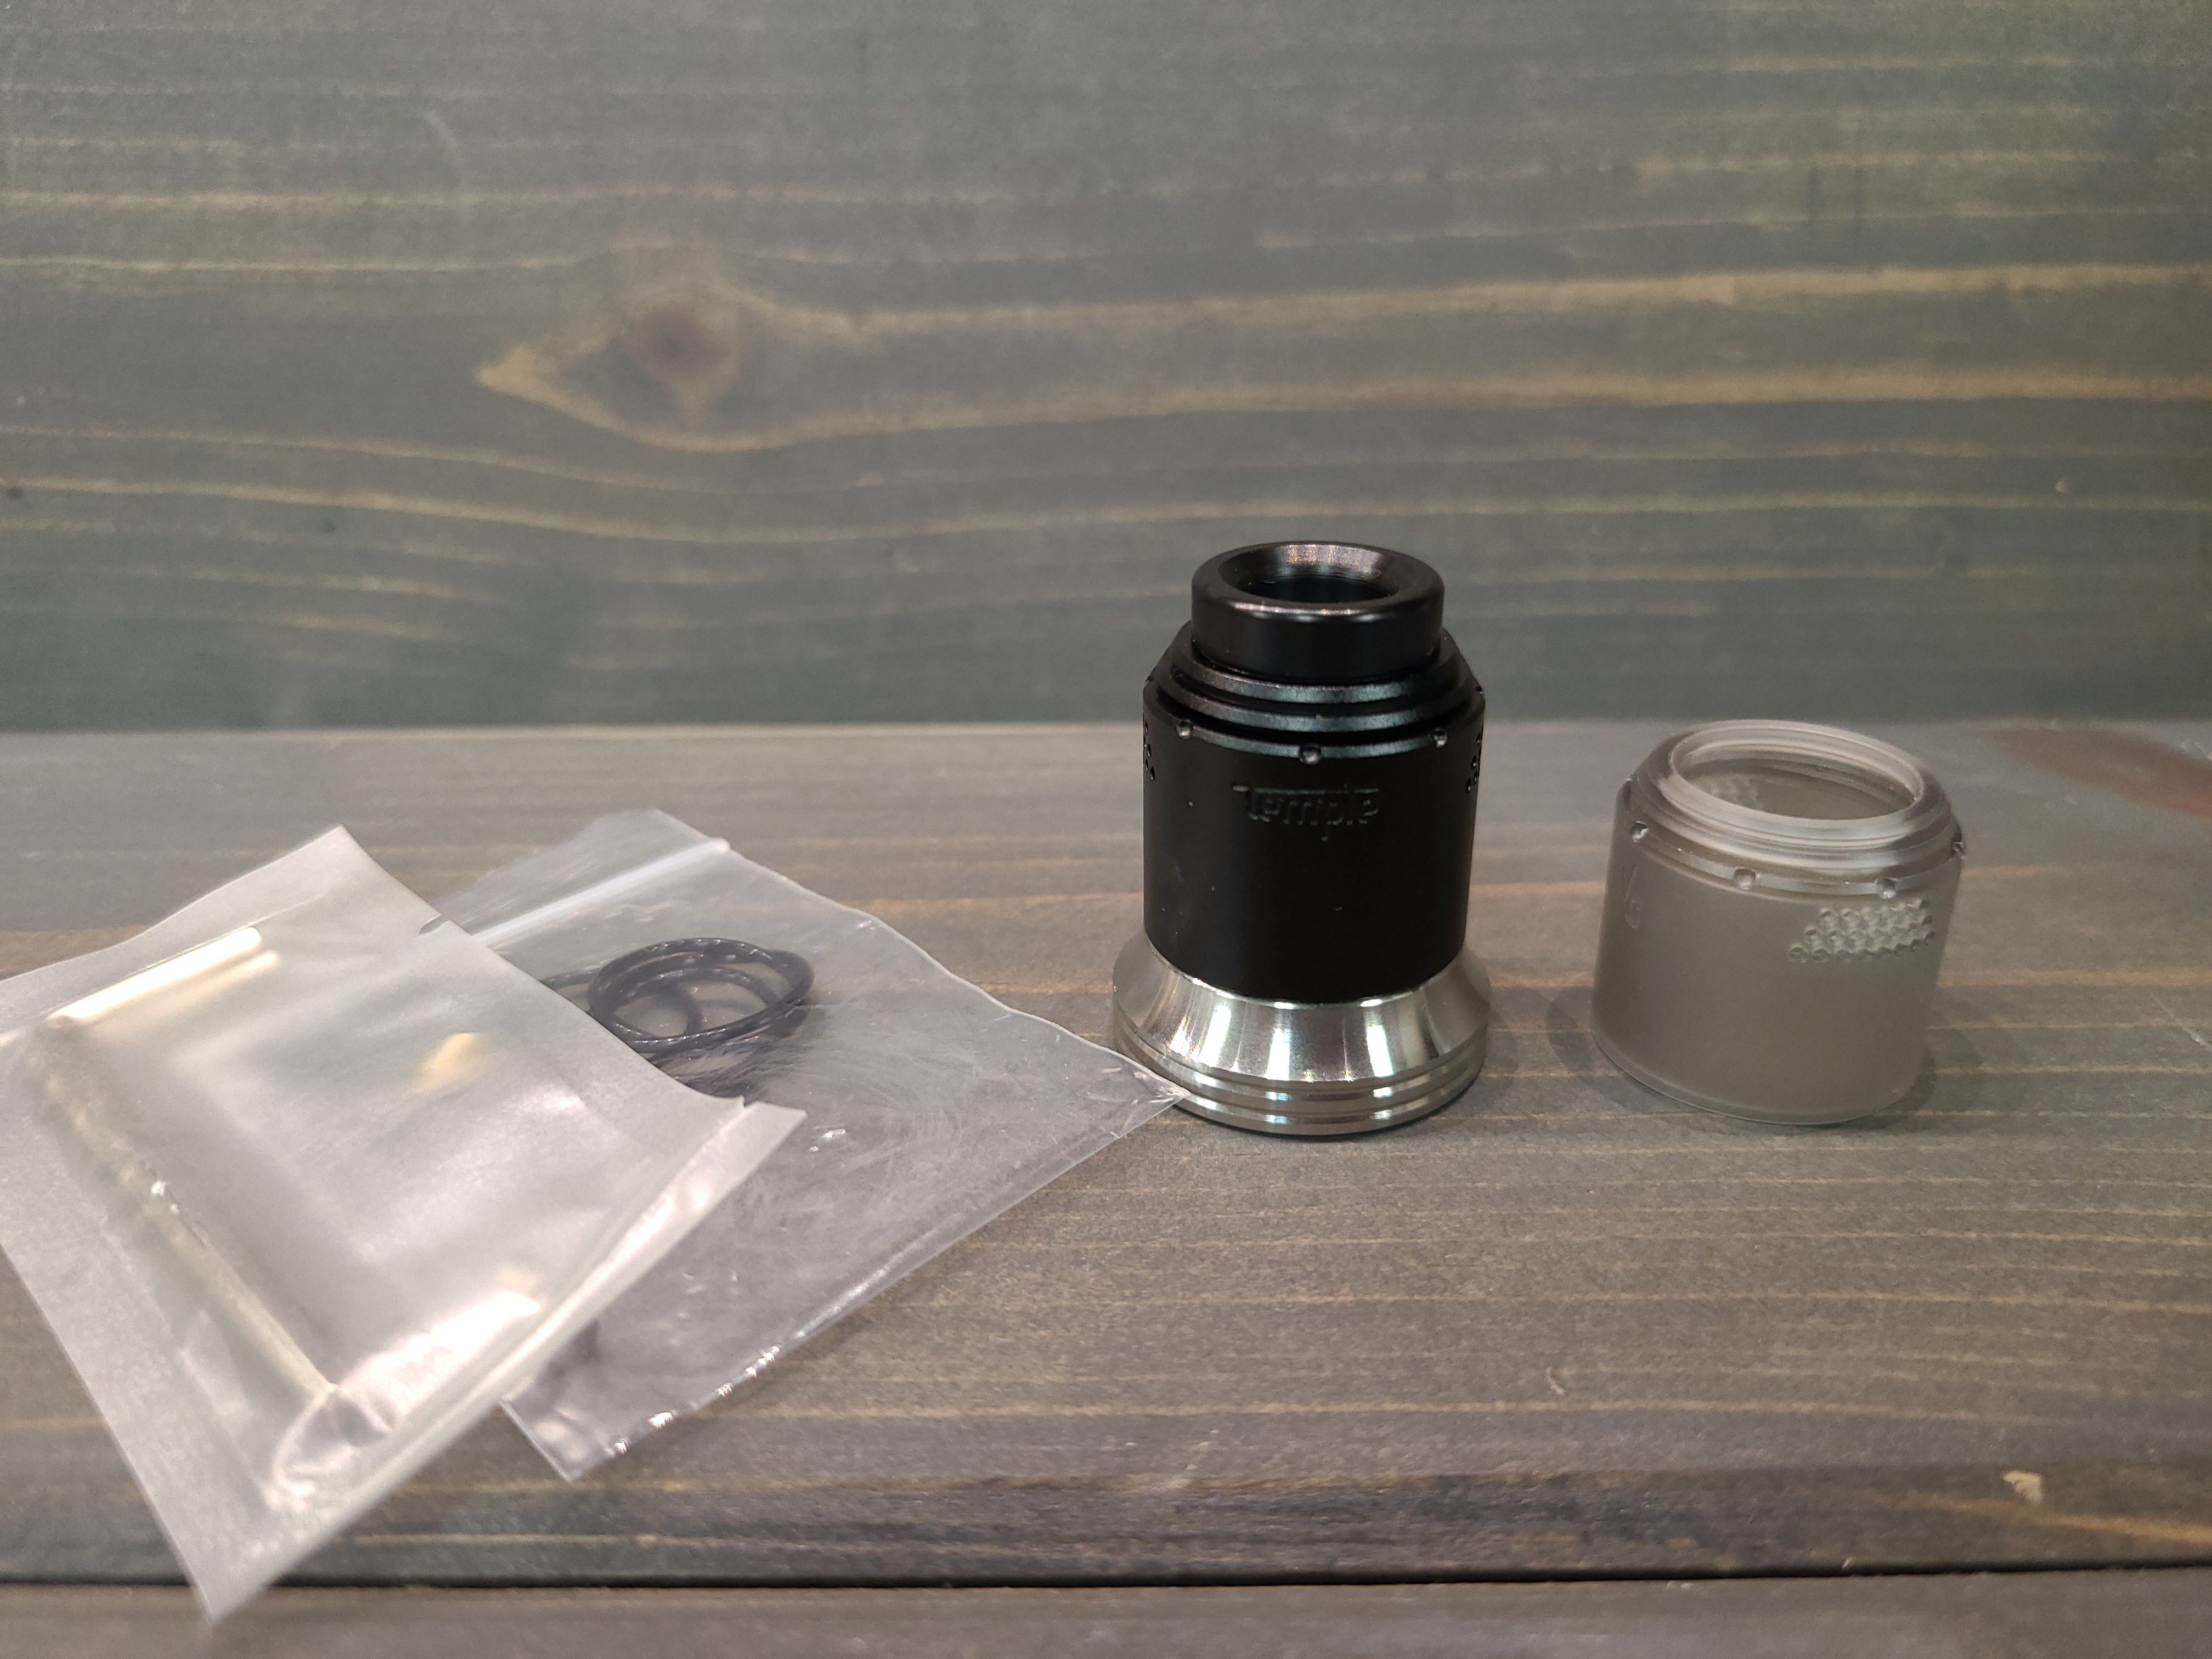
- Frosted or Smoked Acrylic Top Cap
- Acrylic Airflow Insert
- Wide Bore 810 Drip tip
- Spare Screws and O-rings
- Tools
- Solid Positive Pin (squonk pin w/ plug option preinstalled)
CLOSE UPS
PACKAGING

OUT OF BOX
_____________________________________________________________________________________
_____________________________________________________________________________________
FIRST IMPRESSIONS
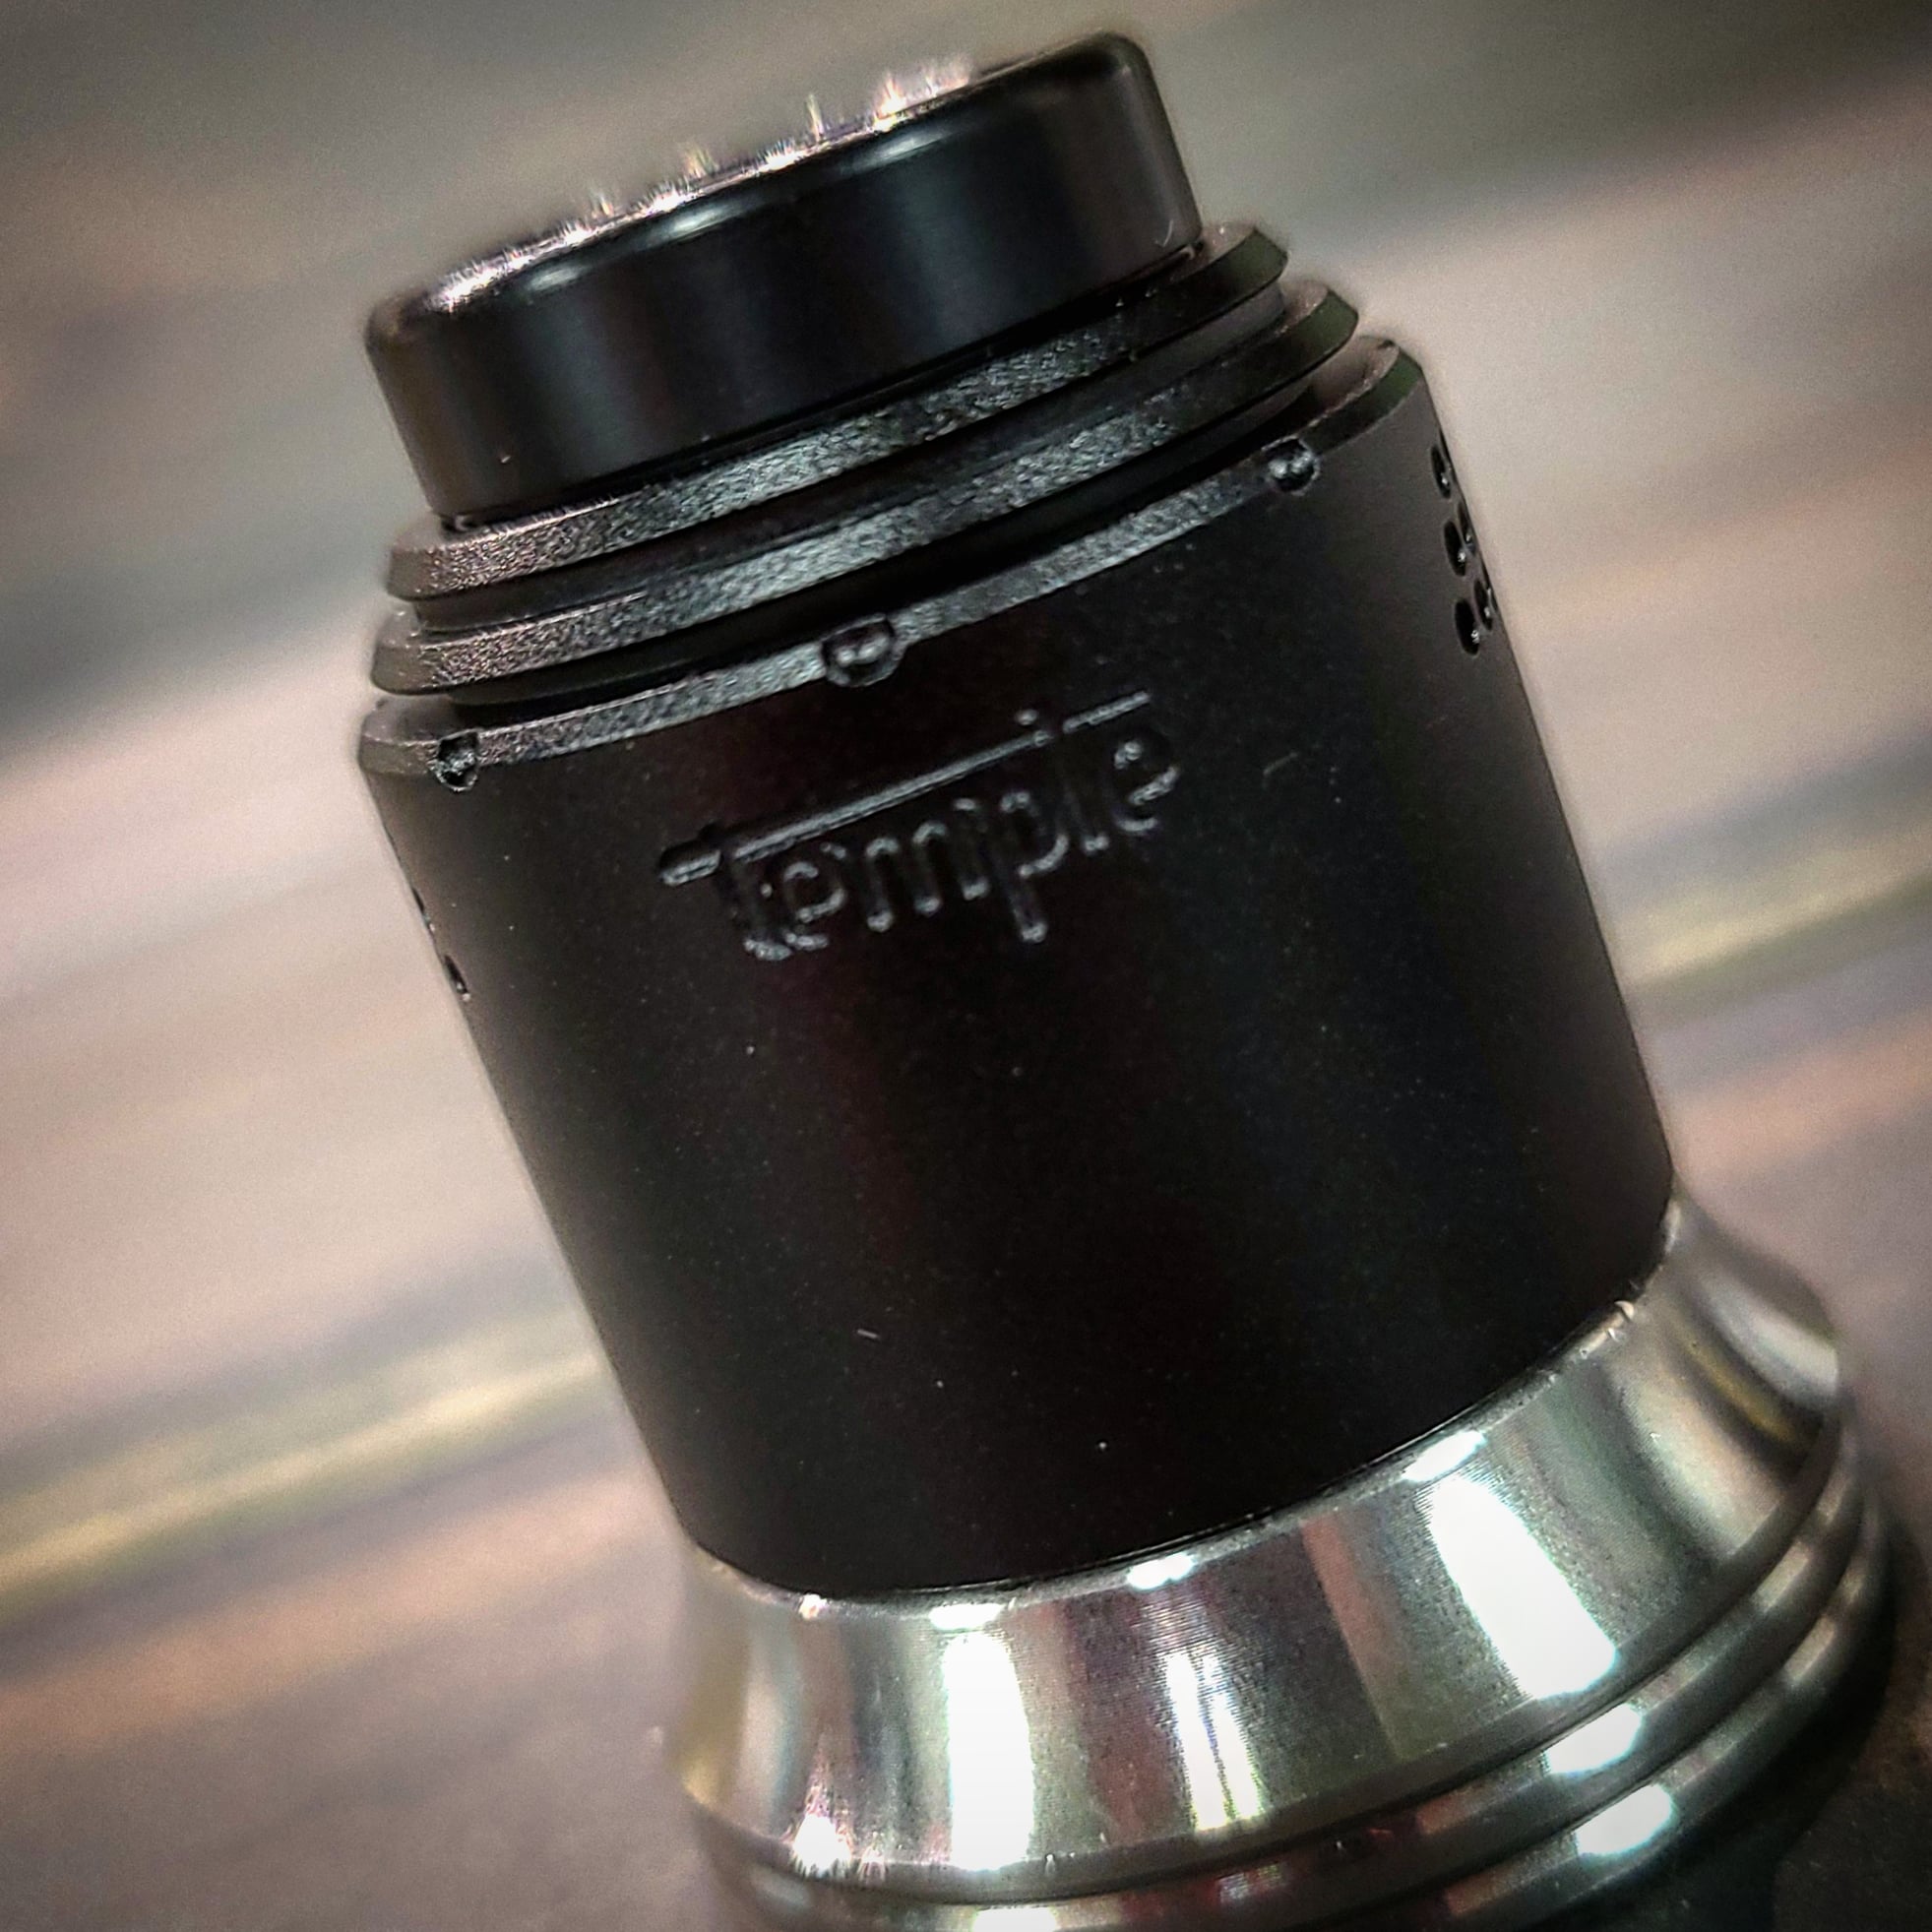
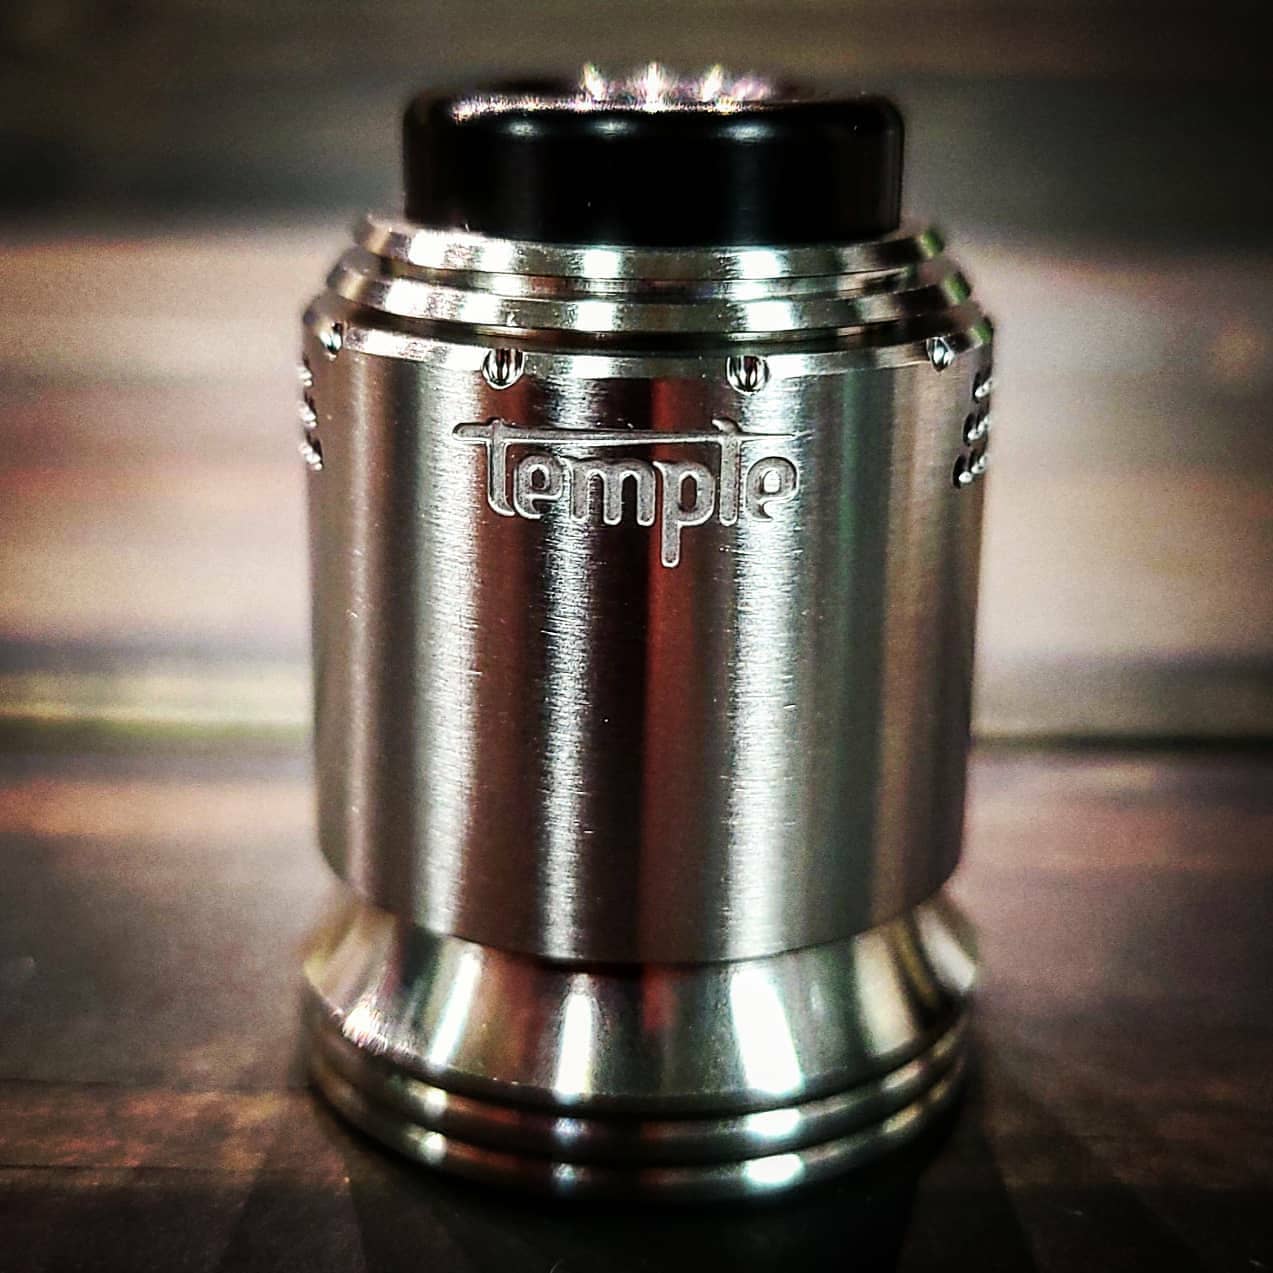
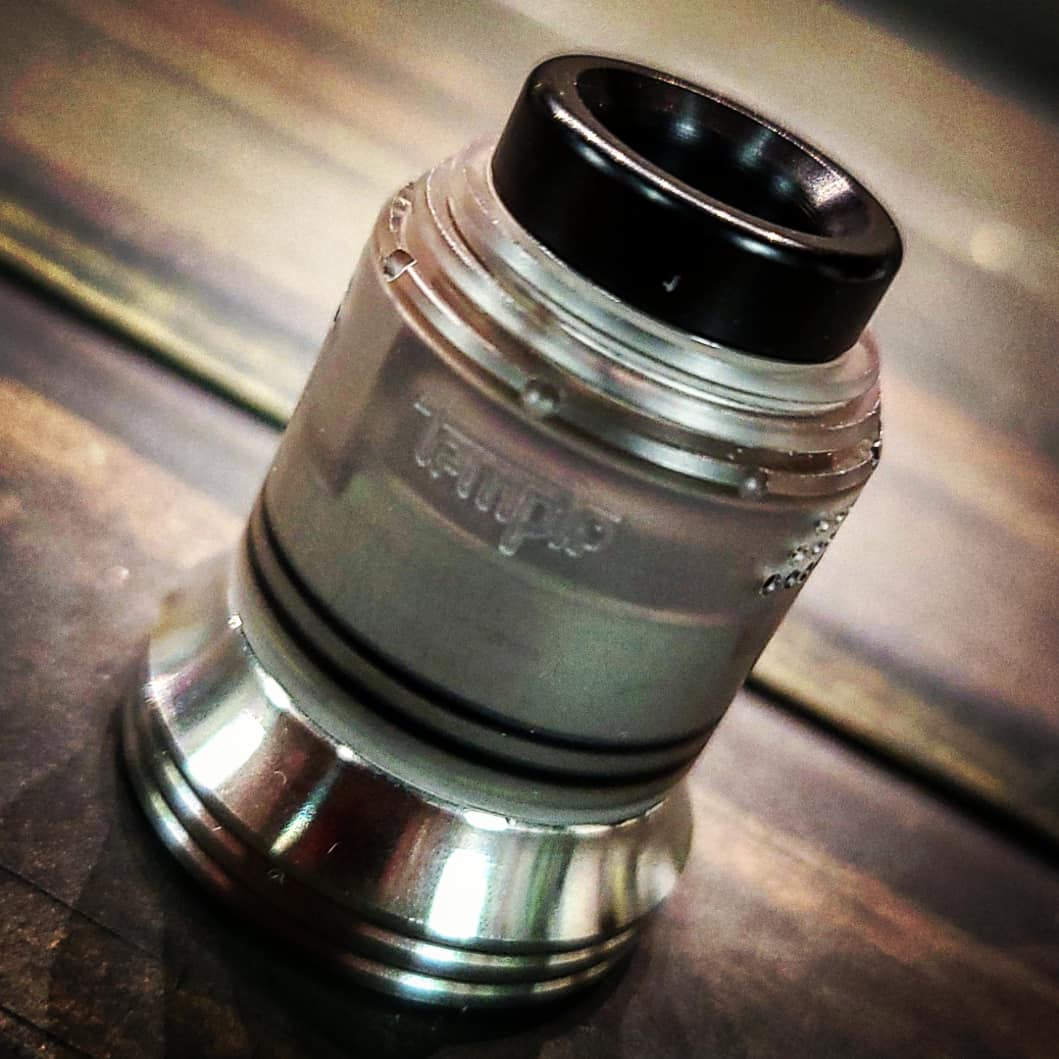
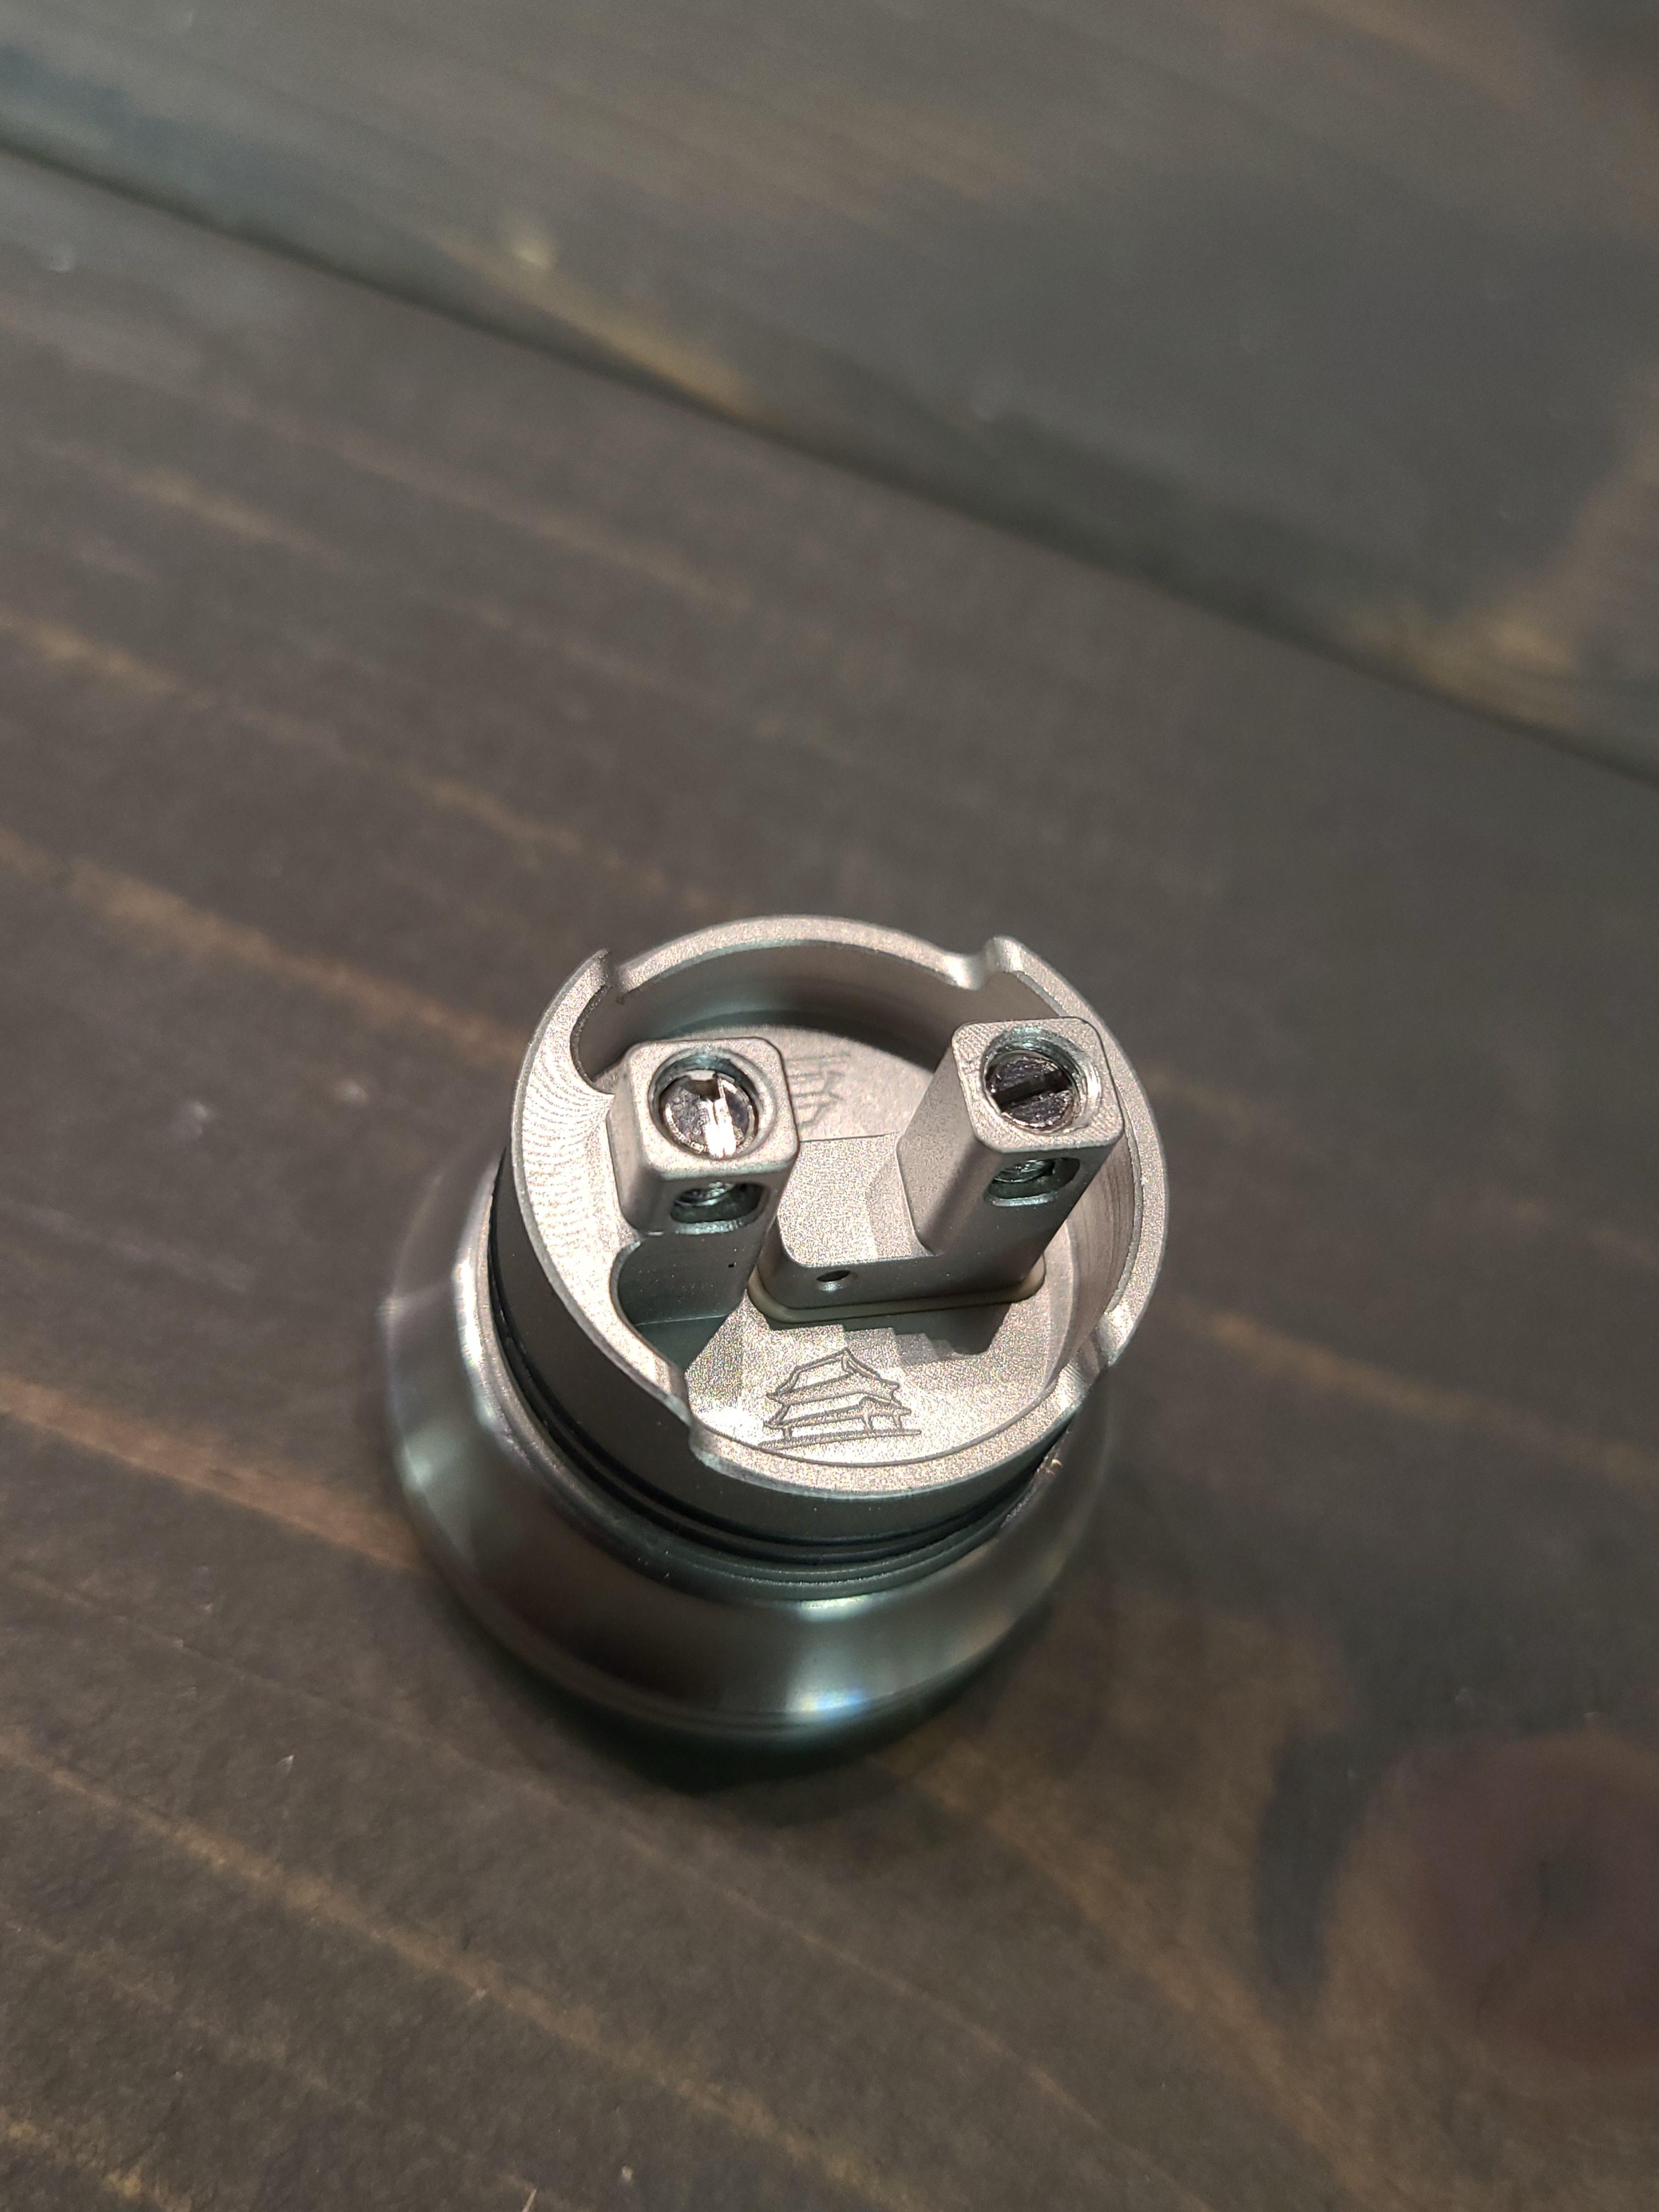
What have we got here? New Jordans? Straight from Vaperz Cloud themselves, they wanted the packaging to feel like that refreshing moment of unboxing some new sneakers and that is exactly what you get. The review packaging I received is going to be the same or close in retail, with a small box that slides open to reveal everything wrapped in Vaperz Cloud branded tissue paper. It all just adds to the experience in a neat way. Now what’s all tucked under this tissue paper? First off, you get the atomizer. Glancing at it, you can see two distinct things, the Temple ribbed top cap followed up by Asgard-esque airflow coming in the sides. Then, you see a very subtle Temple branding on one side. Super clean looking way they did this, and I appreciate it. The finish on these is just like an Asgard. The matte black is slightly textured, while the brushed SS is a slightly brushed, yet shiny stainless steel. Pop the cap, and you will find a two post build deck, similar to what is on the Suicide Mods Nightmare RDA. This is a big change over the original Temple, as it utilized a velocity style deck. A two post system has its share of pros and cons, but we will get there when we get there. Let’s toss the cap back on for now and keep digging in the box. Along with the atomizer, you will find another item wrapped in tissue paper, an extra top cap! With the black model, I received a smoked cap, and with the stainless model, I received a frosted clear cap. These are made of acrylic, just like they did with the smoked and iced versions of the Asgard. Beyond this couple of things, you get the normal things you get. Spare O-rings, lots of them. Spare screws, a solid gold plated positive pin, and tools.
_____________________________________________________________________________________
BUILD DECK
Like I mentioned above, this RDA uses a two post build deck. The build deck offers wide openings for coils, and uses a large flat head screw for securing the leads. I have a couple of gripes with this system. For one, it isn’t as feasible to use narrow coils on a deck like this. One must either space the coils, or install wider ones. Two, this deck takes up some valuable space in the chamber. With properly built coils, I found no problems at all, but these are things one must consider before purchasing.
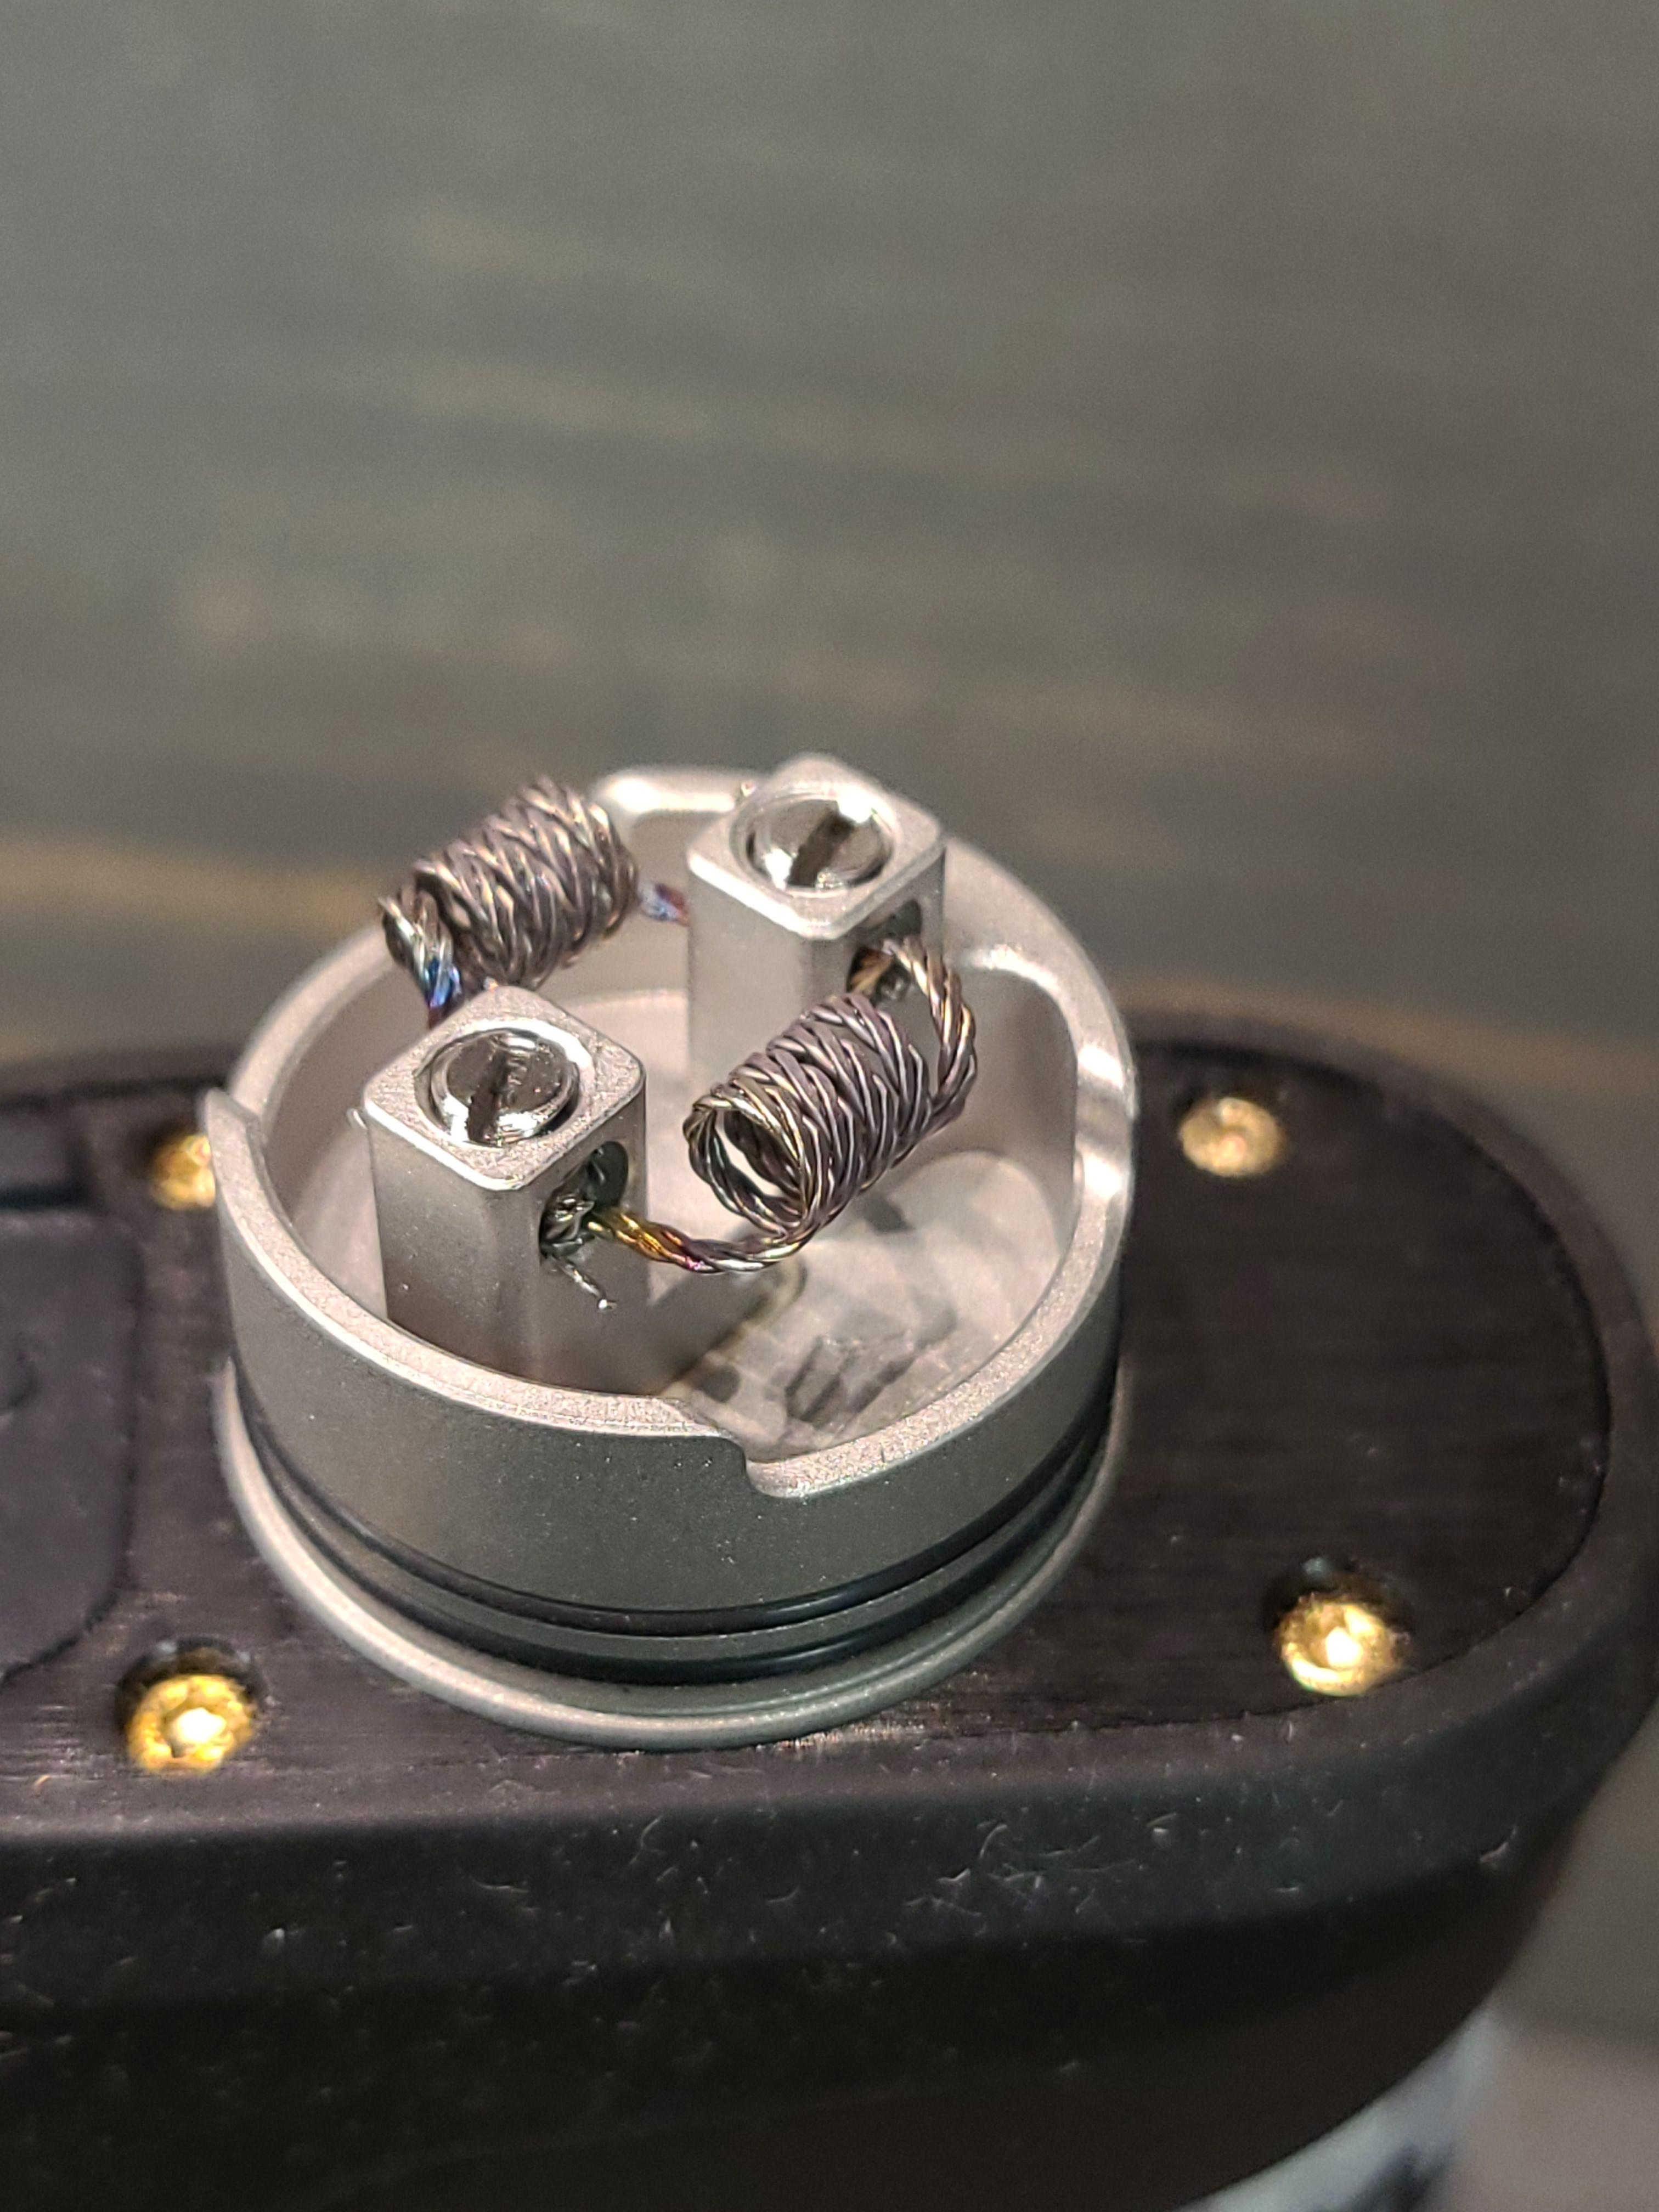
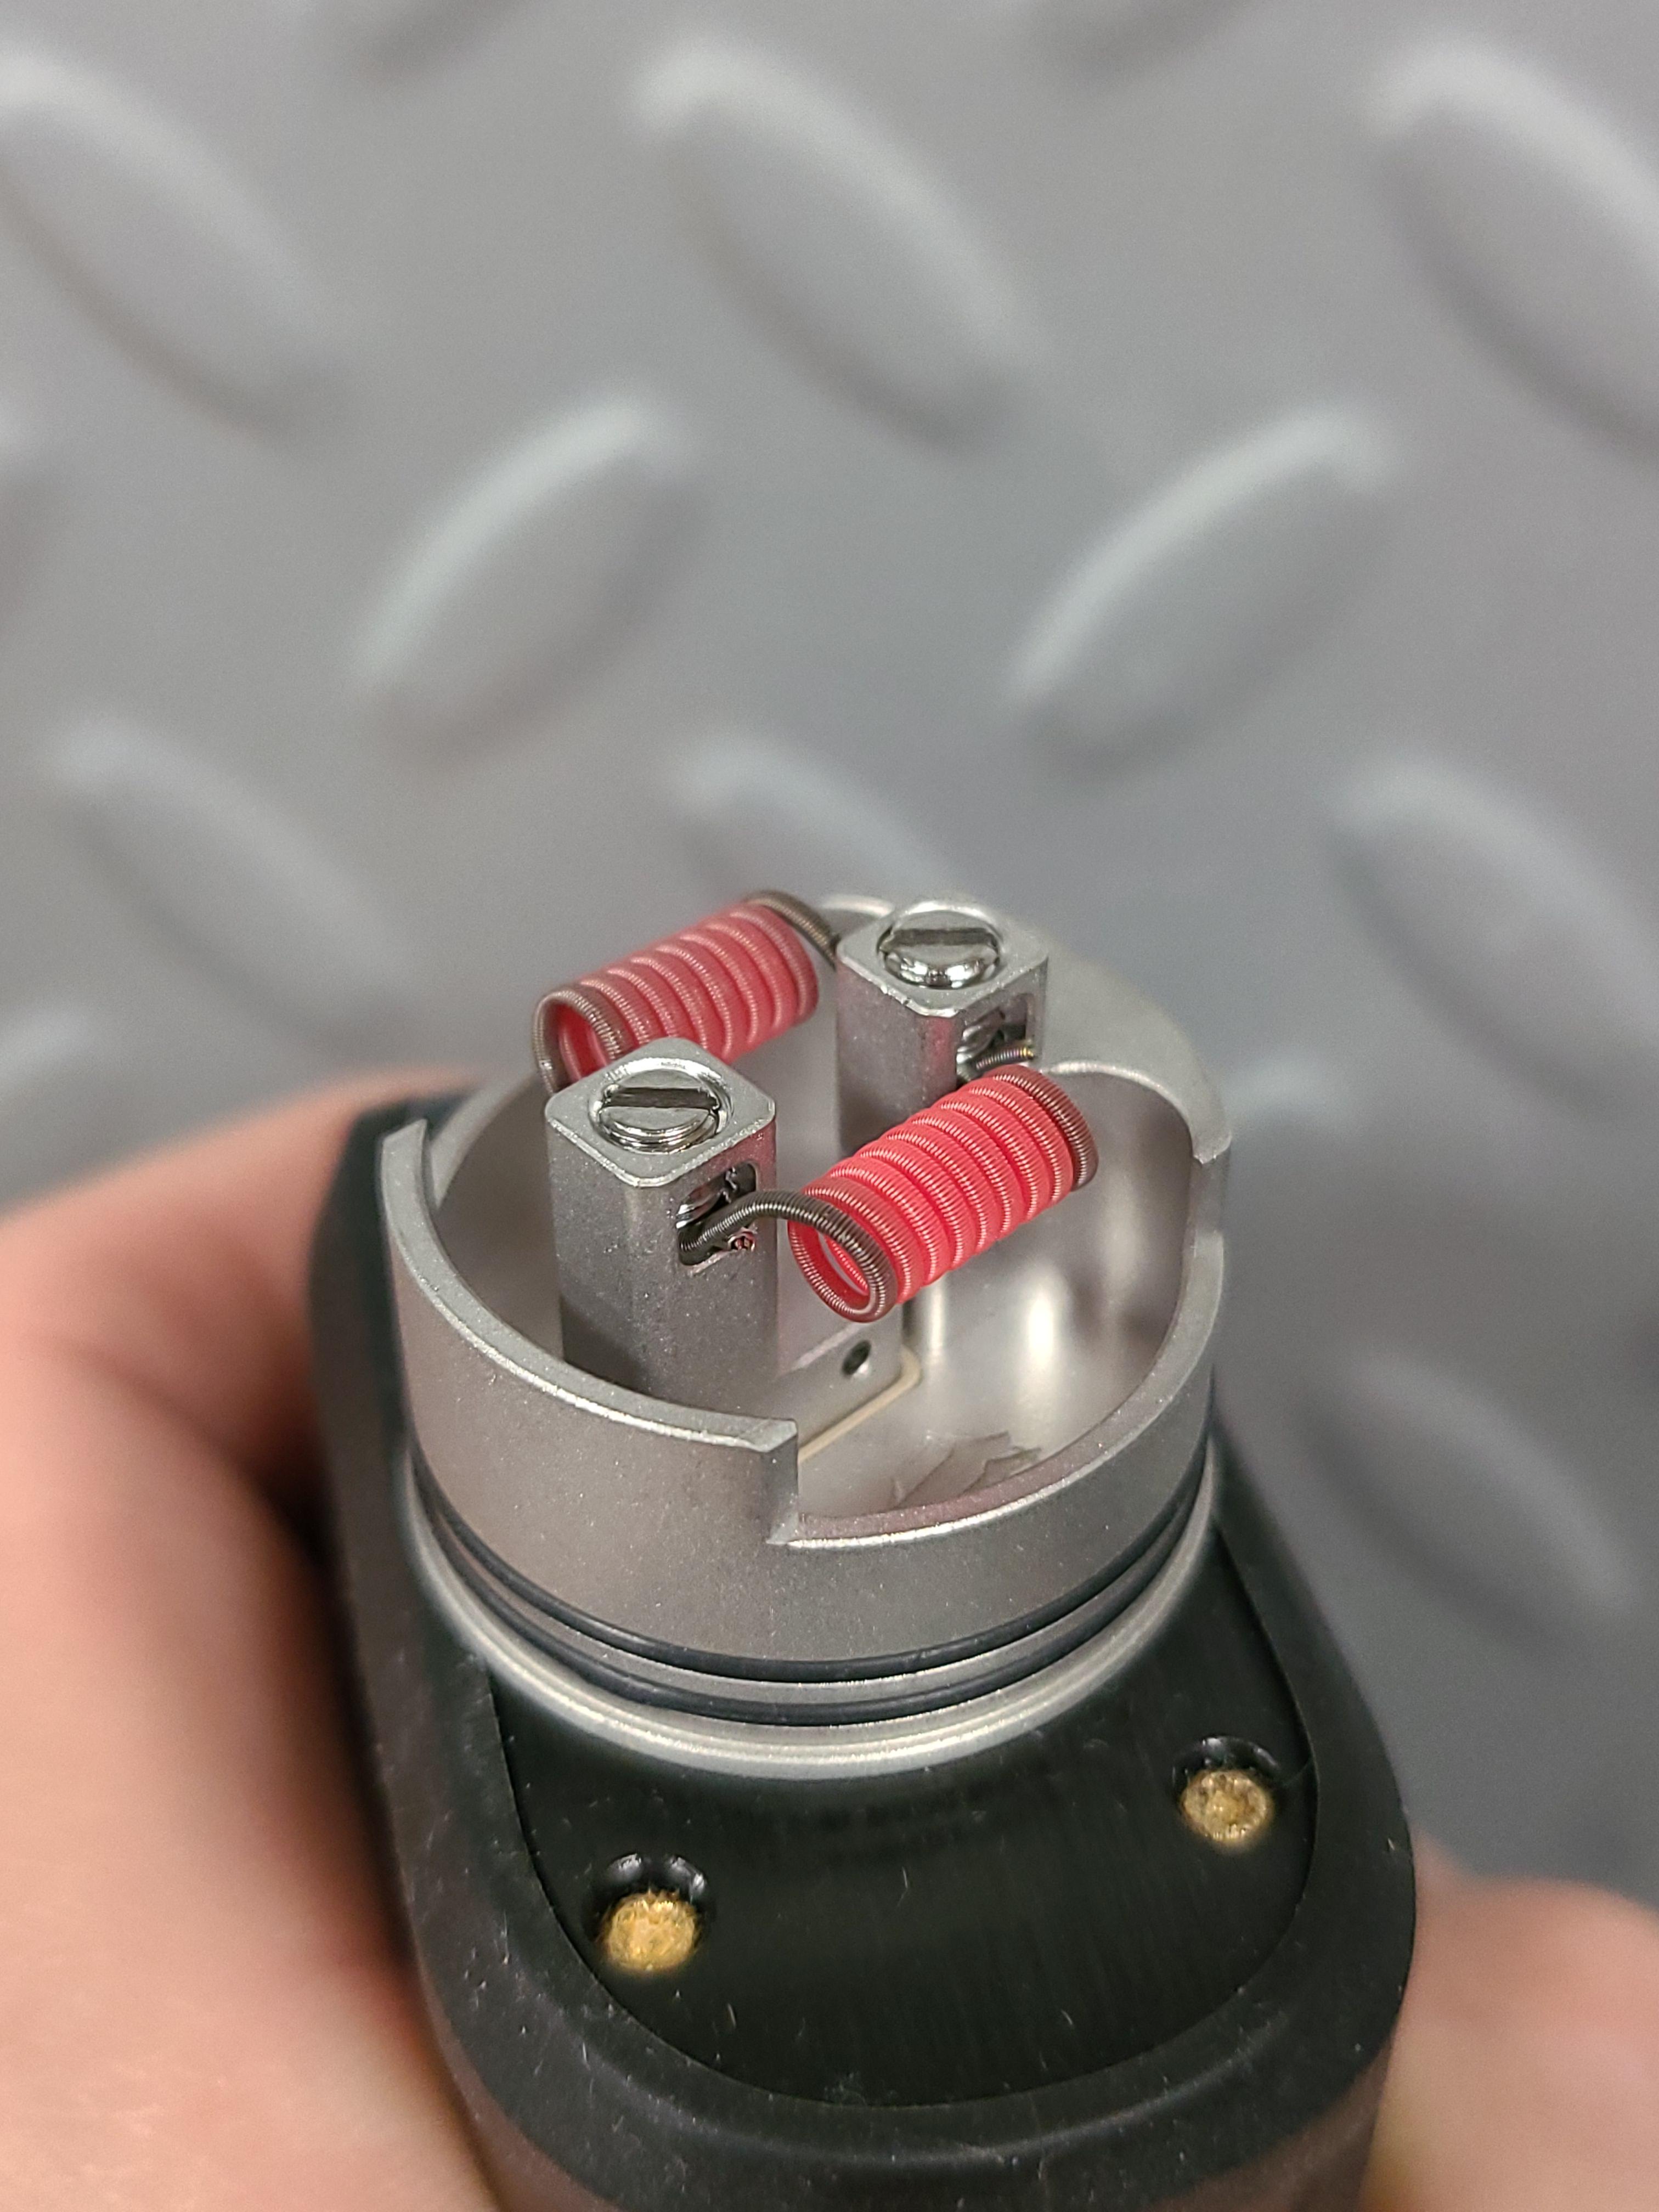
On the 25mm RDA, I was able to fit 6 wrap, 3mm fused clapton. If I had larger cored fused claptons I would have to go down to 2.5mm. One photo in the gallery is a set of Badazd twisted flat coils, shrunk down to a hair under 3mm.
With the 28mm RDA, there is a little more freedom. You basically get the same deck, but have 1.5mm on each side. 3mm coils are still the ticket in my opinion, as there isn’t a ton of space, but you might be able to somehow go a little bigger if the coil isn’t super wide.
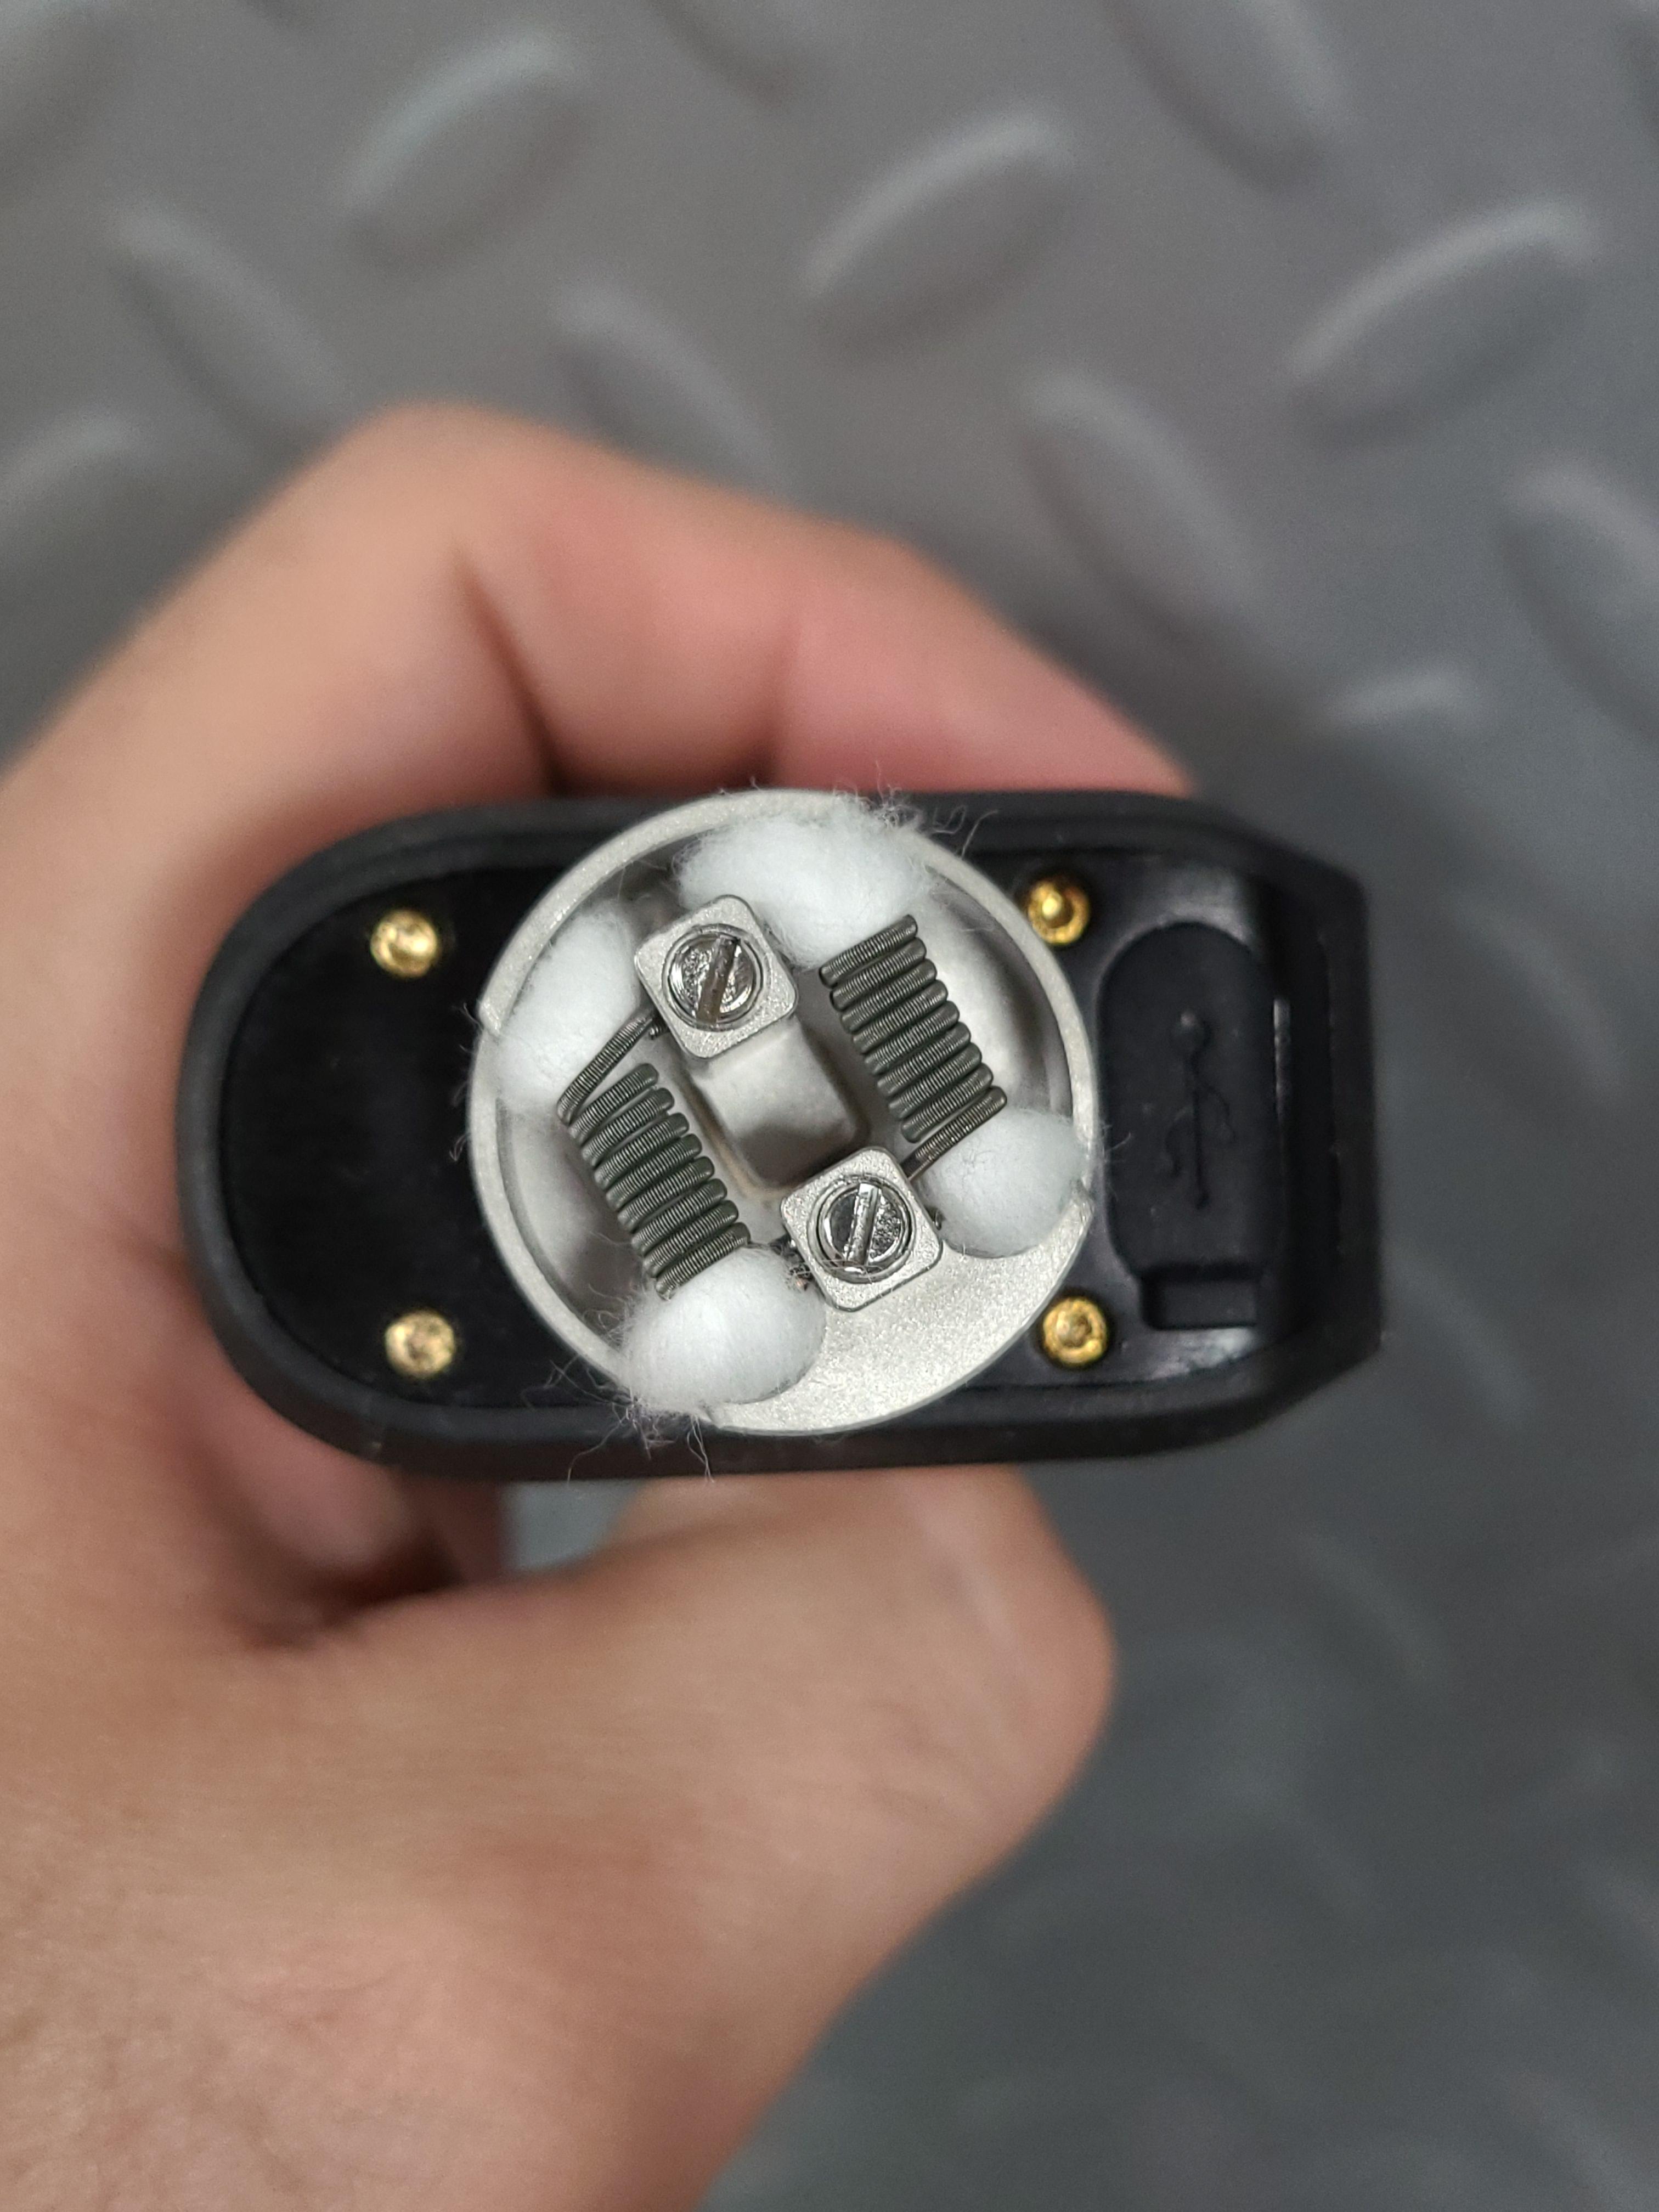
The deck is deceiving because it appears like there is a lot of room. However, with the airflow inserts, there just isn’t. The best practice on the Temple is to pull the coils in so that damn near touch the center posts, and rest the coiling rod on the bottom. Perfect position for airflow, every, single, time.
I won’t comment much on wicking, as Stevey Wonder could wick it. Snip just above the base of the RDA, fold over… Boom… done…
_____________________________________________________________________________________
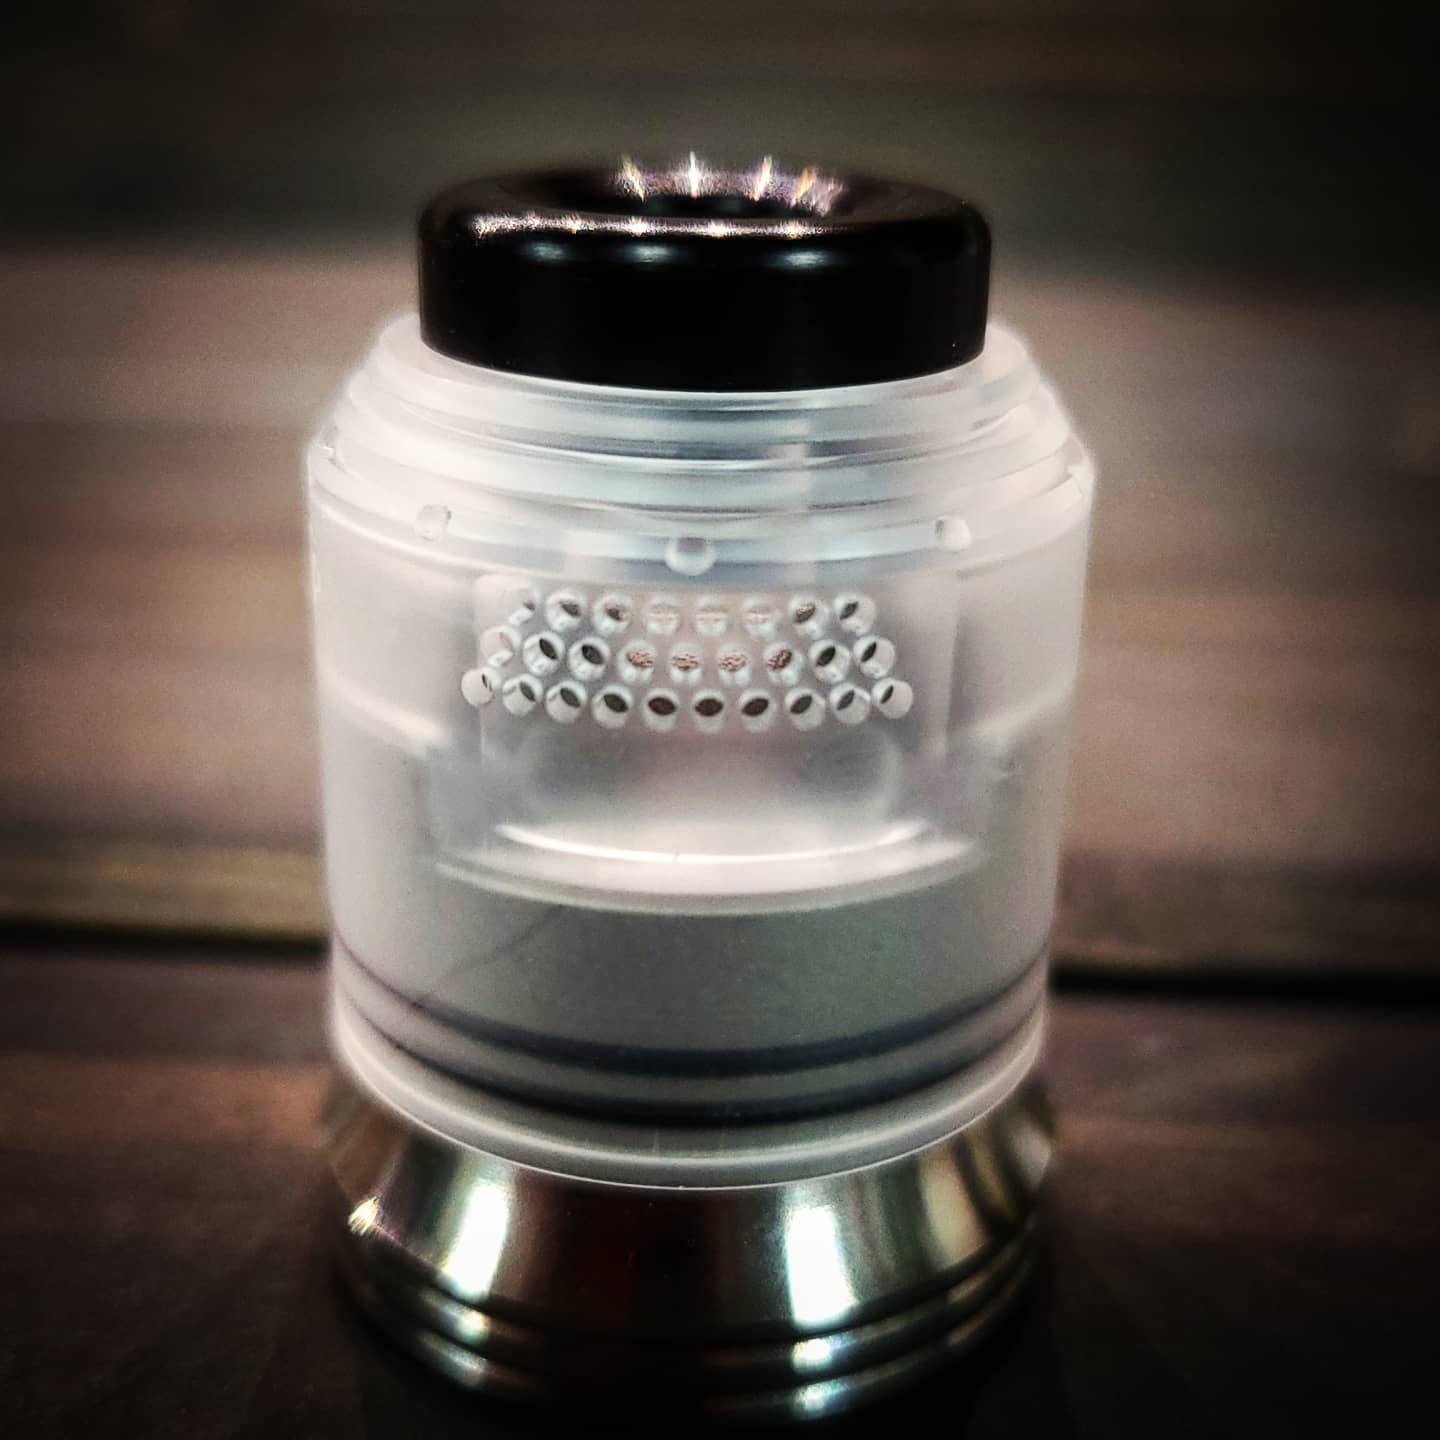
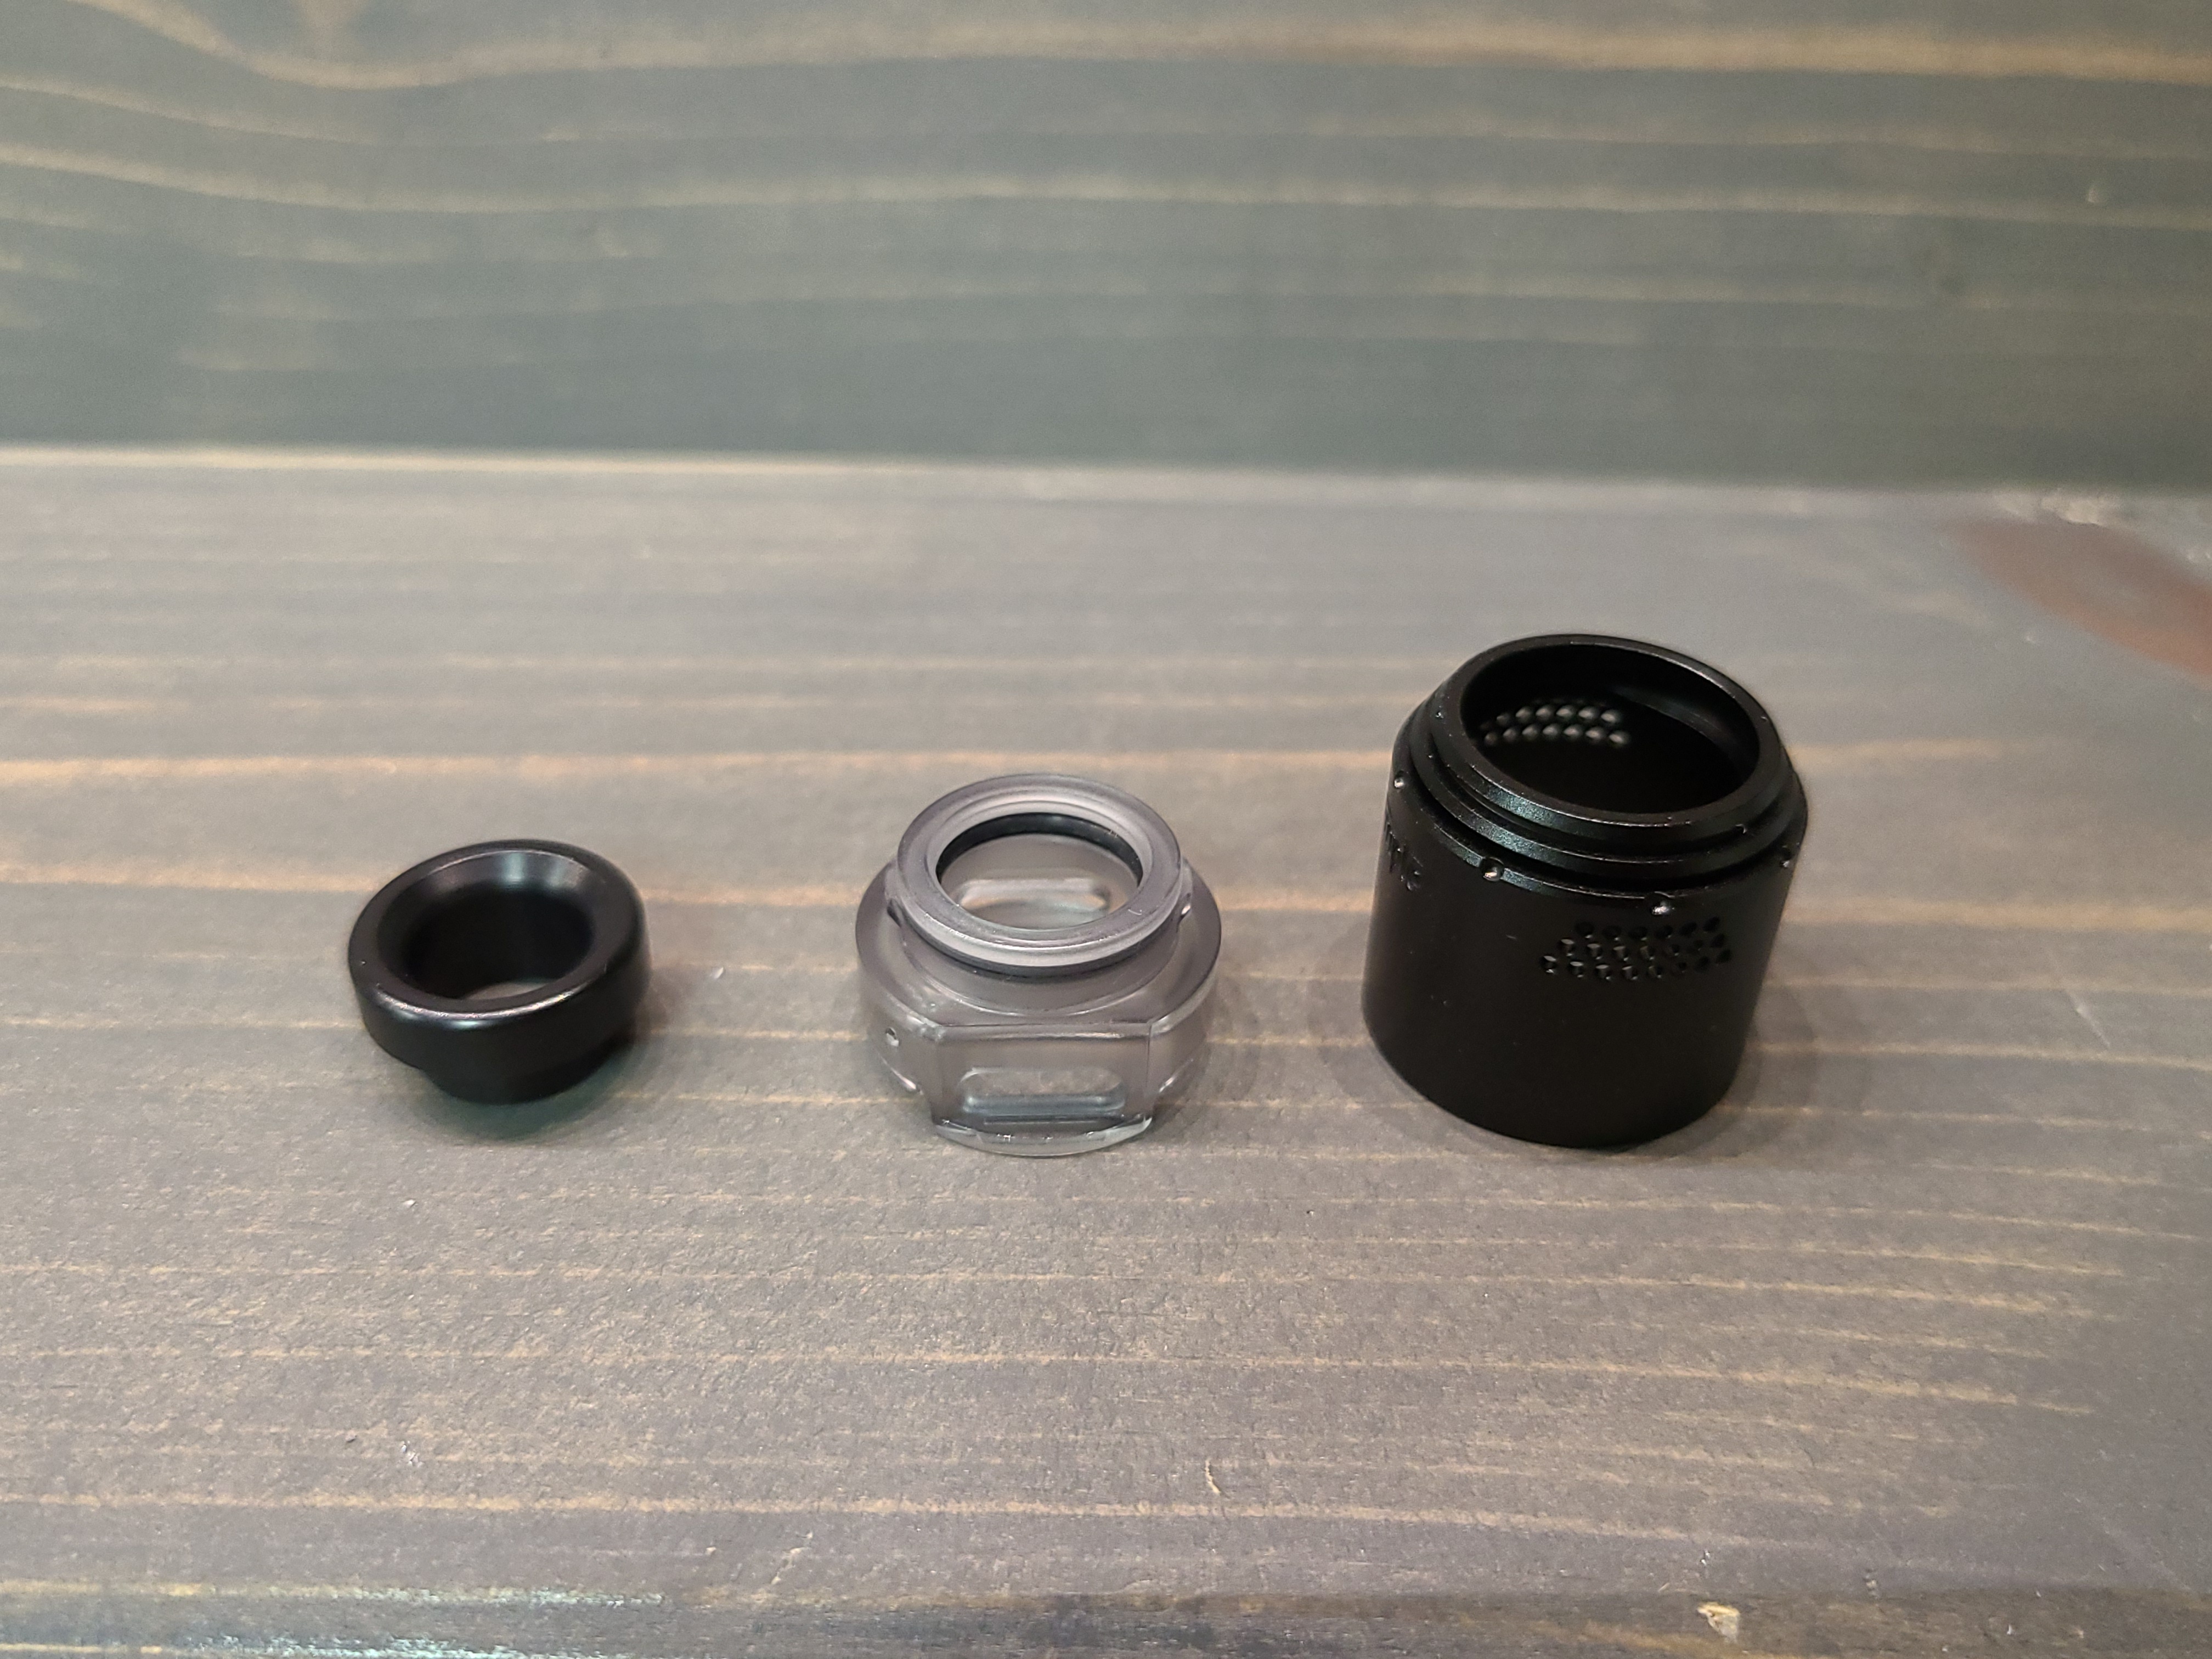
AIR FLOW
Now that we have these babies built, let’s take a look at the redesigned airflow. Taking notes from the Asgard RDA airflow, Vaperz Cloud released a slightly tweaked version of this for the temple. Like the Asgards, the top cap and an airflow insert are separate and held into the top cap with a notch which holes it all together when in place. This not only makes it removable for cleaning, but it is also replaceable, should you melt one (due to improper coil install). The insert on these matches the color of the top cap, so should you opt for the frosted or smoked look, it blends right on. That’s all good and well, but let’s also look at the function of this airflow insert. One change made from the Asgard is the hole quantity and shape. The Asgard mini has three rows of eight holes, while the Asgard 30 has three rows of nine holes. The Temple 25 has three rows that taper to the top with eight holes on the bottom, seven in the middle, and six on top. The Temple 28 has three tapering rows as well with nine on the bottom, eight in the middle, and seven at the top. This is a design cue taken from the OG Temple which also had a tapered airflow inlet. Another major change is that the air flow insert no longer has a combination of holes and a swoop, but rather a more aggressive swoop, bringing the airflow right to the very bottom of the coil. This basically makes the temp act like a bottom airflow rda, but with air inlets coming in higher up. Huge pro for squonkers out there, as it would almost have to be over-squonked (or overdripped) on purpose. Since the air flow comes in so low, it has nowhere to go but straight past the coils and out of the drip tip. Overall, this air flow feels as smooth as the Asgard, but covers more area around the entire coil. This design works well when it comes to flavor, but has one con as well. This takes up A LOT of precious build deck space, and I strongly recommend inserting just the air flow insert on top of the deck before you get done placing coils. This will allow you to ensure the coil is not resting against this insert. If you do rest it against the acrylic and it will melt.
_____________________________________________________________________________________
PHOTO GALLERY
_____________________________________________________________________________________