Become a Patron!

Rincoe Manto AIO Plus II Review By Ben28

Rincoe Manto II Plus
1.jpg

It has been a long time since I did a review and I was really looking forward to it. First of all, I wish you all a happy holiday and tell you that I hope you had a great time with your family and friends.

Today I bring you an AIO (All-In-One) from the Rincoe brand. This is the second one they have made of this model, they have improved it a lot from what I understand. To see this product with beautiful eyes we have to go back in time since between its square shapes and its general aesthetics, it makes it look like it is from the 80s/90s.


descarga.png


Up there I leave you a few photos so you can see at first glance what the product will be like. It is presented to us in 4 different colors, I personally chose green. I leave you two tables, one of features and another of specs so that you have them synthesized and clear.
Features
Manto 2.0 Chip
80W Max
3-Color Smart LED Lights
Offers MTL & DTL & DIY
3.5ml Capacity, Easy Refilling System

BrandRincoe
Product NameManto AIO Plus II Kit
BatterySingle external 18650 battery (Not included)
Output Power10-80W
Charging5V/1A Type-C
Input Voltage3.5-4.2V
Max Output Voltage4.2V
Coil Resistance0.1-3Ω
Efficiency95%
Capacity3.5ml
Fit ForAll Manto AIO Coil Including RBA Coil
ColorBlack, Green, Blue, Orange

Packaging And First Impressions
IMG_9493.jpg
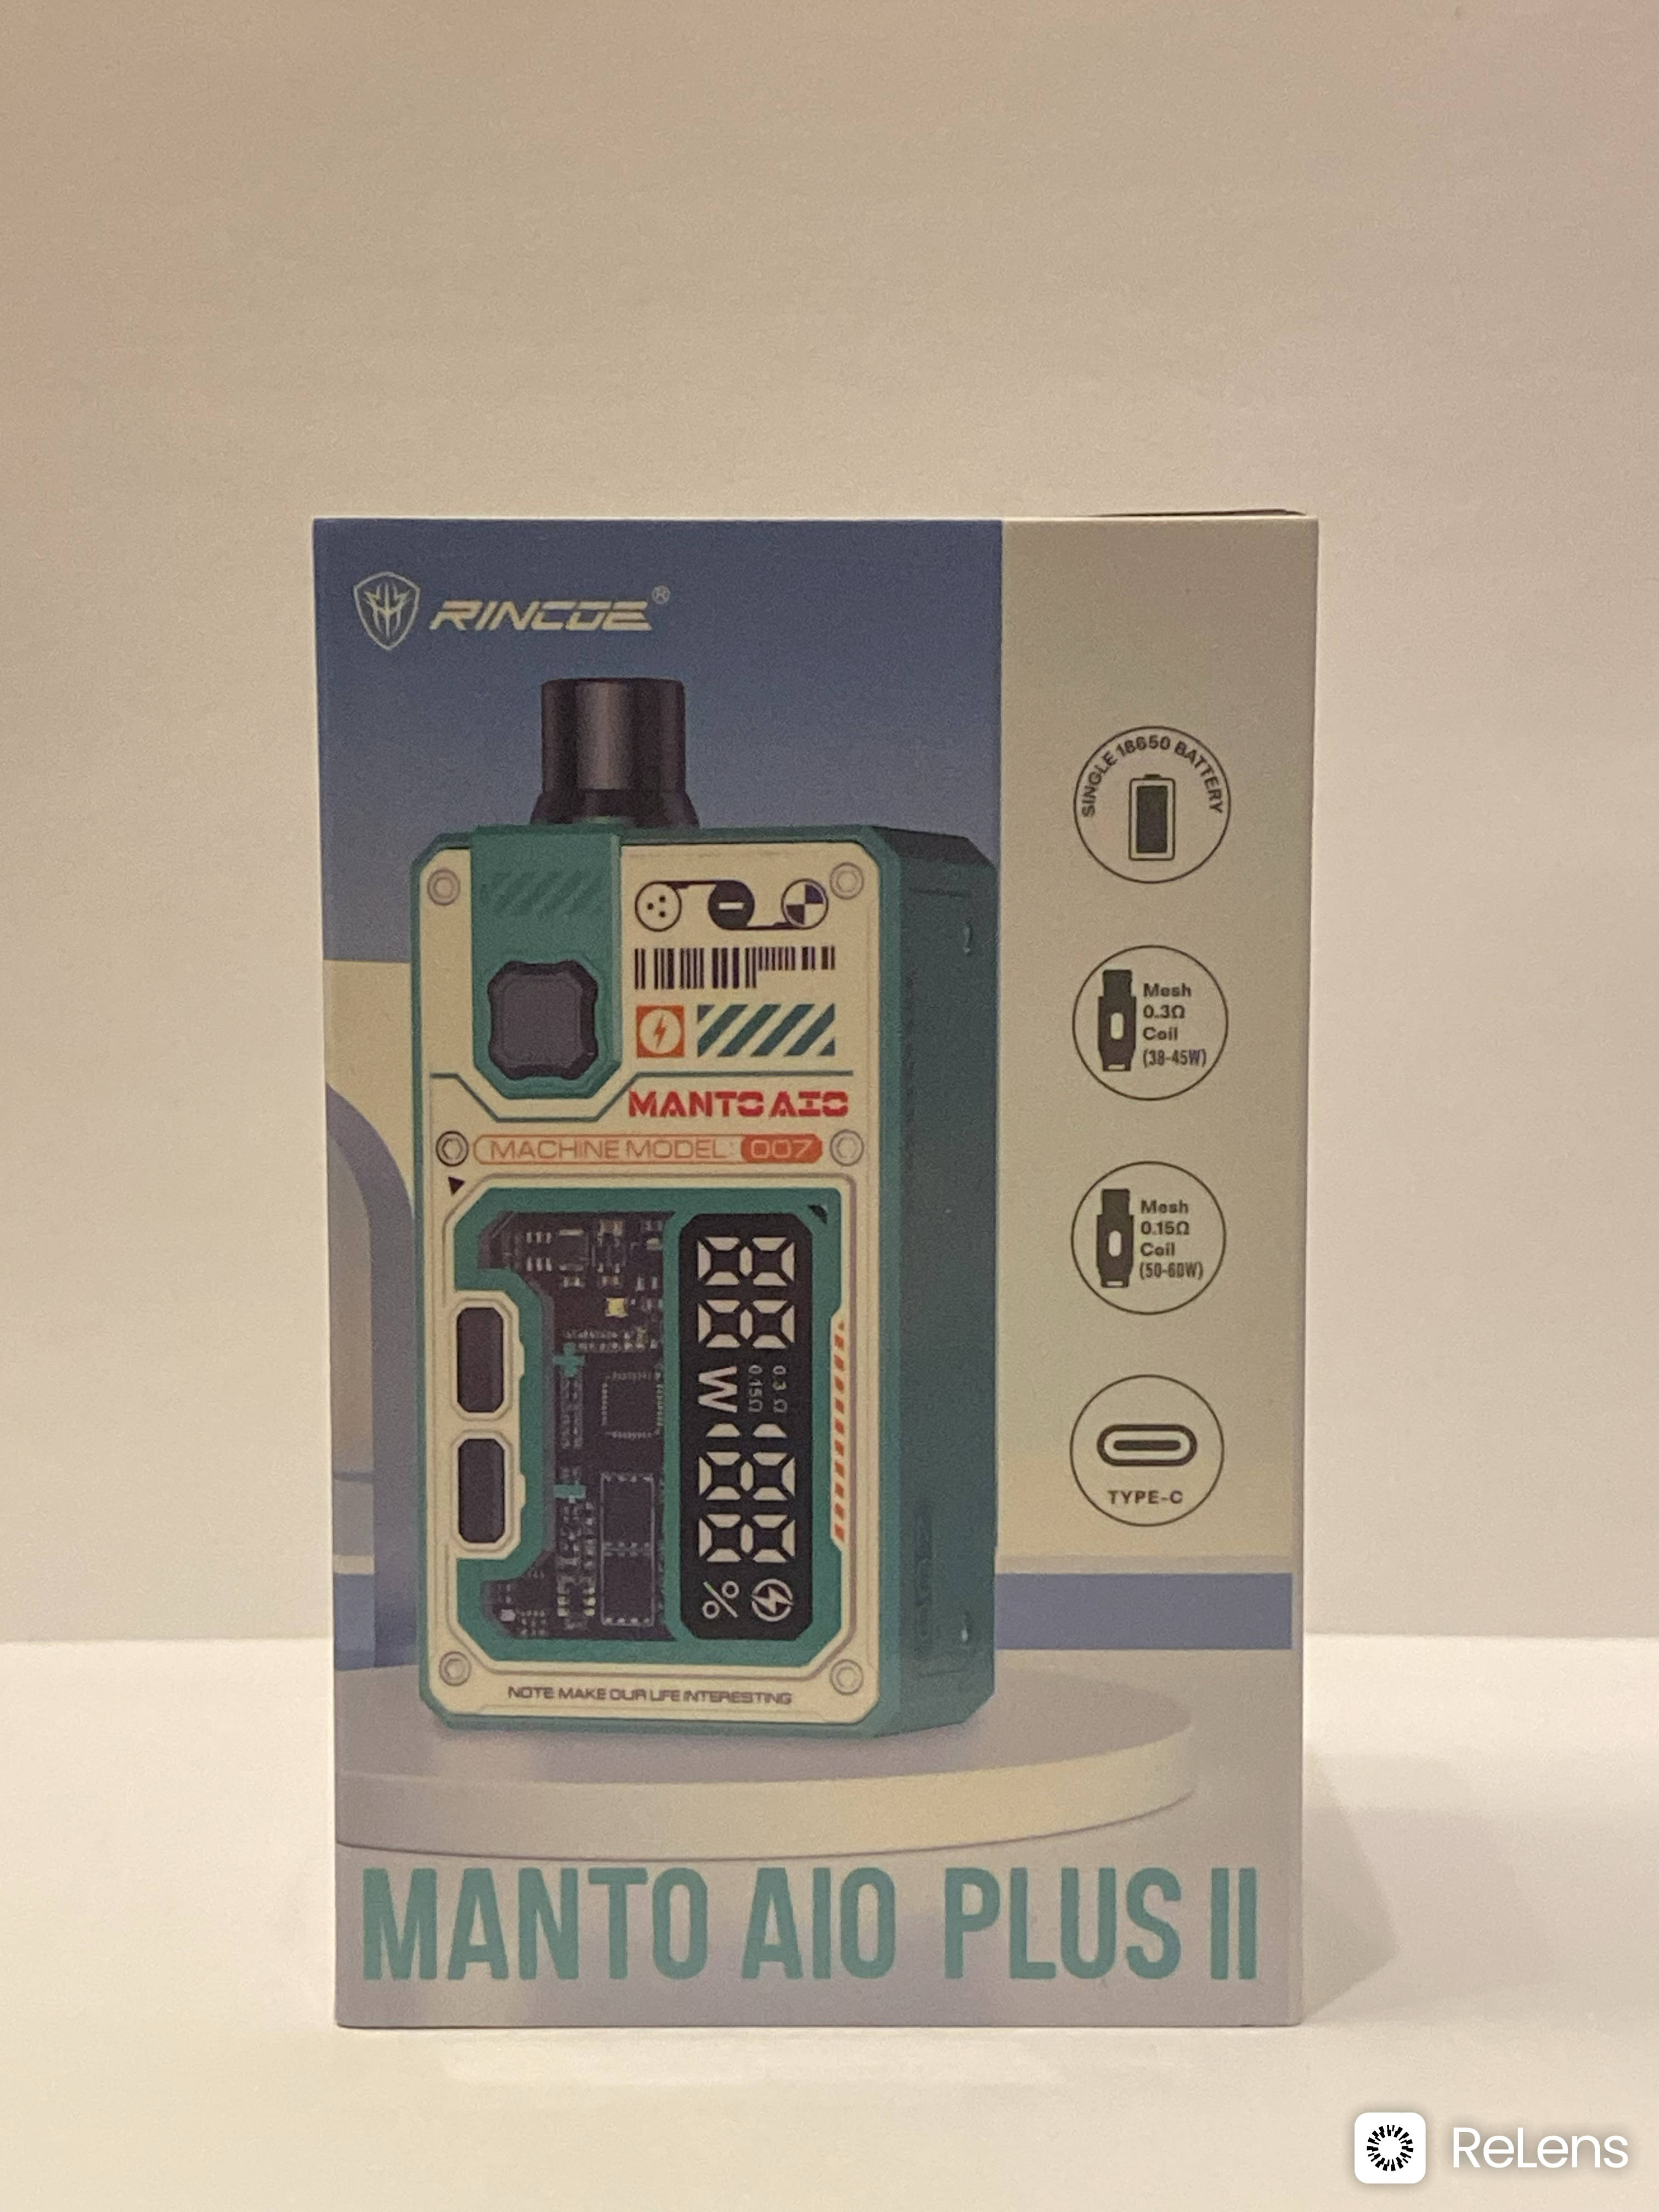
Well, we are presented with a rectangular box with the device very large so that we can see it without opening the box. It combines colors such as white, green, blue and black. On the right side we find that it only works with an 18650 battery, we have two types of coils available (three actually) and a Type-C charging port. Even with that charging port, I recommend charging them outside the device.
IMG_9494.jpg

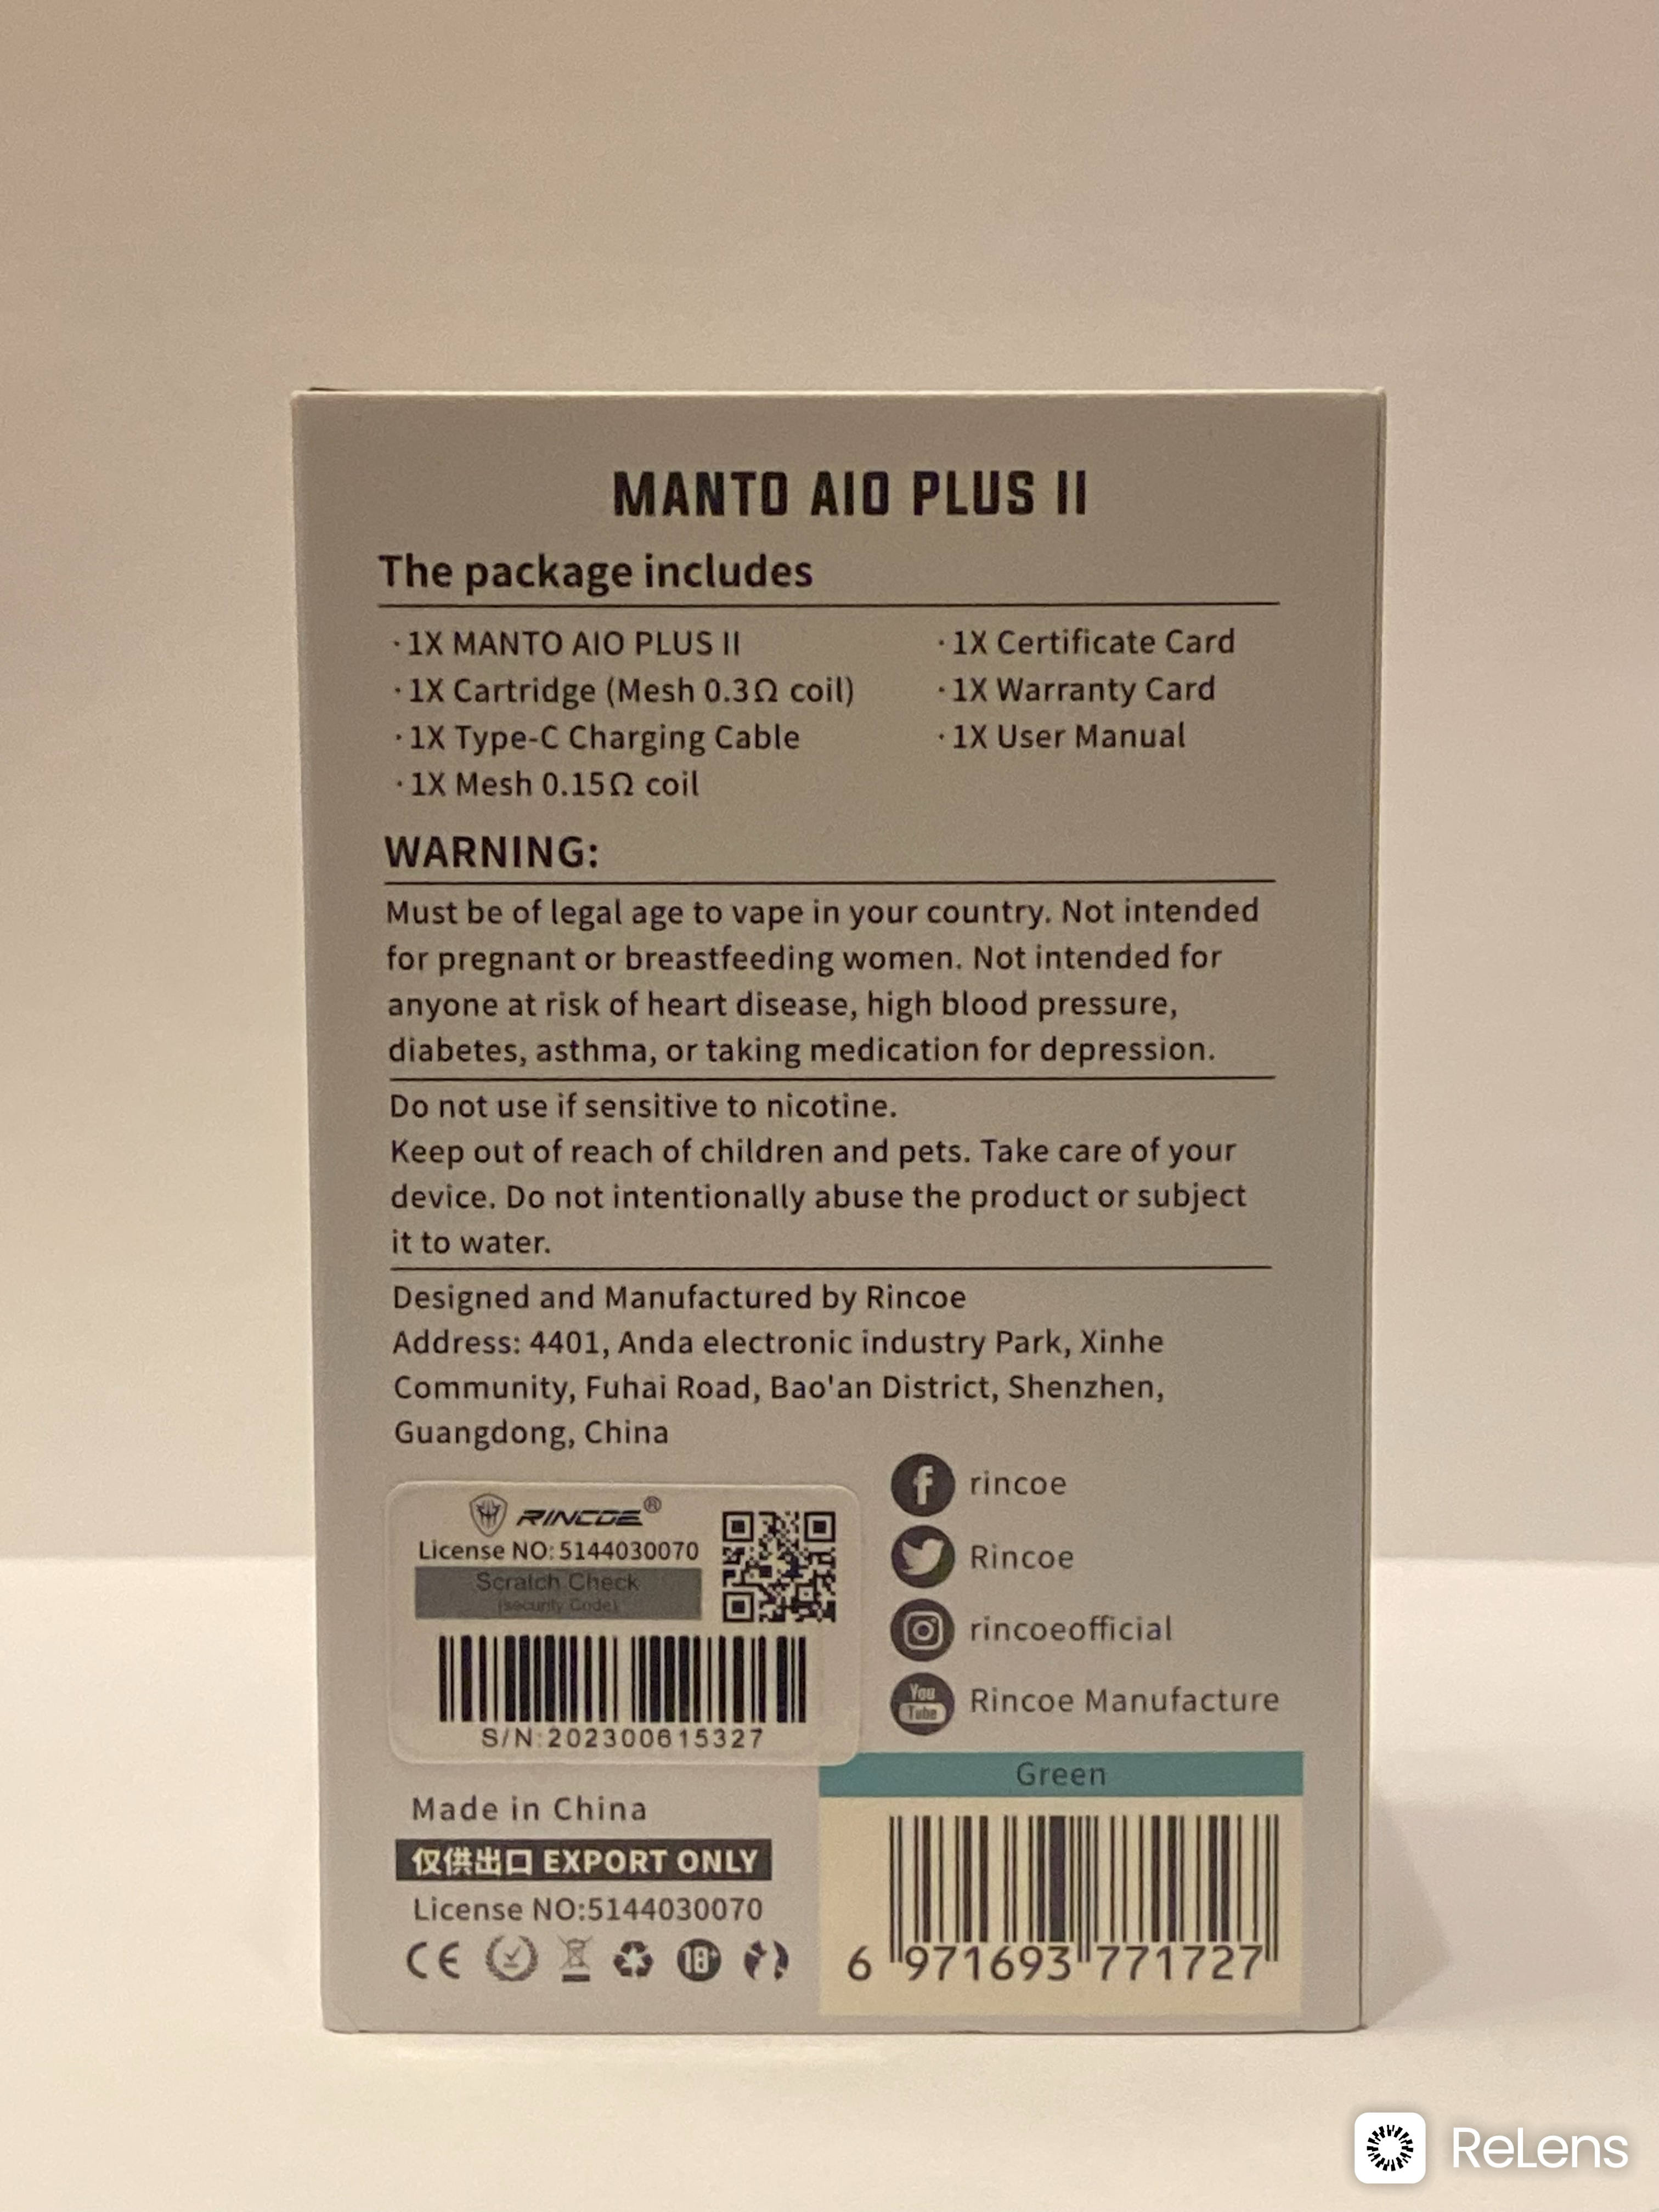
On the back we are told the contents of the box and we are given certain warnings, the typical ones that are usually placed on all vaping products by law. We also find a scratch to verify if it is not a fake and at the bottom right the color of the same product.

In the box;
1* Manto AIO Plus II
1* Cartridge 3.5mL
1* 0.3Ω Coil
1* 0.15Ω Coil
1* Certificate Card
1* Warranty Card
1* User Manual

IMG_9495.jpg


On one side of the box we simply find propaganda about Rincoe's official and social networks.

IMG_9496.jpg


On the other hand, we are shown warnings and information about the material of the box and its recycling.

IMG_9497.jpg


When we open the box the first thing we find are the manuals but underneath is the device on a soft pillow with a hole made to measure for it. From this moment I fell in love with the device, I love how it looks.

IMG_9498.jpg


If we remove the device and the things from the double bottom of the box and organize a little... It will be something like this. We have the device with its tank inserted (0.3Ω coil mounted), the 0.15ohm coil and a Type-C cable to charge at 5V/1A. Even so, and as I said, I recommend charging them outside the device with a device designed for this.
 
Device Inspection
IMG_9499.jpg

From the first moment I fell in love with the device in terms of its aesthetics. We are presented with a rectangle made entirely of hard plastic with completely square corners. At the top right we find the fire button and at the bottom the buttons to raise and lower the wattage. It will be as simple as that, plug and play, no features. Normally I am against this but with this device it has not happened to me, I feel that it is configured efficiently and perfectly just as it comes from the factory. On the right we see the area that will indicate the battery percentage, the coil Ω and the wattage. All this with white indicator LEDs, no screens, so battery saving increases.

IMG_9509.jpg

This is how it looks once turned on, the light is impressive, maybe on camera it loses something but in person you can see everything very clearly.

IMG_9500.jpg


Behind we find the panel that will open the door to the battery compartment and the tank. This one has white, blue and black patterns, somewhat futuristic in my opinion. The hole in the tank area serves as both a non-adjustable air inlet and a window to see the amount of liquid remaining. This back cover stays well fixed thanks to two magnets and does not move at all, so good job Rincoe.

IMG_9501.jpg


On the side we continue with the eighties/nineties aesthetic and find on the one hand the Type-C charging port and on the other hand the air inlet, which is also not adjustable. Why is it not adjustable, you might ask? Well, the air inlet is regulated from the lower part of the tank, we will see it later.

IMG_9502.jpg


At the top of the device we find a 510 nozzle that we can exchange for any that suits our taste, in my case I left this one that is perfect for DTL.

IMG_9504.jpg


Here we can see the open compartment. On the left would be the battery, which has plenty of space, the positive pole facing up, the negative pole facing down. They also leave us with a handle to remove it more easily. The tank is on the right but we must be careful, we have to put it in with the tab facing outwards to be able to remove it easily, otherwise it will cost us a lot.

IMG_9505.jpg


This is the tank. Filling is very simple, we remove the silicone tab and put the bottle we want to fill it. I tried it with the typical 120mL ones and there were no problems. In addition, it can be filled practically to the top. I really like this tank.

Extra fact; As I understand and have informed myself, any Boro DotAIO tank fits perfectly into the hole and detects it. Of course, it will mark the Ω to which it is closest, that is, if your resistance is 0.27Ω it will mark 0.3Ω and if it is 0.16Ω it will mark 0.15Ω.

IMG_9506.jpg


At the bottom of the tank we find the air regulation, it is very easy to use, we simply turn it until it is at our ideal point, I am a DTL vaper so it was kept completely open almost all the time except for testing.

IMG_9507.jpg


I present to you the three parts of the tank. On the one hand, the coil is screwed to the air regulation. Then we put pressure on the air regulation along with the coil in the tank itself. It doesn't leak or anything thanks to the o-rings so don't worry.


Vaping Time
I have bad news for you. Looking at functions and the screen, I had the 0.15Ω coil installed and I ended up accidentally burning it as there was no liquid in the tank, so I will only give my opinion about the 0.3Ω one :(


Well, with the battery at 100%, liquid filled and eager to give it a go, I ventured to take my first puff on the 0.3Ω one, starting with 35W, which is even below what is recommended for the coil. This device is macabre, what Rincoe have done is crazy. The first thing that impresses you is the amount of vapor it produces and how quickly it heats up the coil and gives you the hit and puff you need. On the other hand, after puffs and puffs the flavor increases even more. I don't know how many times I gave it the entire time I used it because it doesn't have a counter, but it remained my main device and I still use it as my main device to this day.

I can't comment on the RBA or the 0.15Ω one but, be careful, the Rincoe RBA is on the way, which I really wanted to try so I will update this review with that information when I get it.


Pros And Cons

ProsCons
Plug And Play DeviceNo Puff Counter
Ergonomic
Unique Style
Amazing Flavour
Amazing Vapour

Conclusion
I don't have much to say about the device. It is one of the best I have tried of this style and also with commercial resistances, which I did not expect at all. I highly recommend purchasing it if you like it and you can put a DotAio tank in it if you want. For the price, this is a bargain. If I had to rate it, this is a 10/10 from Rincoe.

Also, the guys at Sourcemore have sent me a code that lowers the price to $23.19 so here I leave it in case you want to use it RM2K


VU Sponsors

Top