LG X-Charge. Cheap phone with a decent 13mp camera. My shots are hit or miss. Some come out amazing but some like the last one up there. You know, you've seen most of it. I am like 99% sure it's in my shooting techniques (lighting, focal point/zoom choices, ect ...). I do know that my camera will, at some point, put a ceiling on me. But I can't seem to find a rhyme or reason as to why it works well somtimes and visa-versa.That's kinda humorous to me because Open Camera won't do focus bracketing on my phone at all - it will just take 20 pictures or whatever at the exact same focus lol
I do have to up the time between shots to at least 1.5 seconds in Hedgecam, or it will crash - it needs time to adjust focus before snapping again, and every phone is different
What phone do you have? This, I think, is the necessary place to start
Become a Patron!
You are using an out of date browser. It may not display this or other websites correctly.
You should upgrade or use an alternative browser.
You should upgrade or use an alternative browser.
The Official Coil Photography Thread
- Thread starter CrazyChef v2.0
- Start date
Thanks, I appreciate that, but don't talk to me about rooting your phone.
I had a Galaxy S6 for three years that was rooted, had TWRP, was overclocked and tweaked so tight I thought it might implode. My new phone cannot be rooted. At least not at the bootloader like the S6, and I'm still mourning bad over that.

The point of that post was that rooting was Not necessary - it was a waste of time for photography

LG X-Charge. Cheap phone with a decent 13mp camera. My shots are hit or miss. Some come out amazing but some like the last one up there. You know, you've seen most of it. I am like 99% sure it's in my shooting techniques (lighting, focal point/zoom choices, ect ...). I do know that my camera will, at some point, put a ceiling on me. But I can't seem to find a rhyme or reason as to why it works well somtimes and visa-versa.
Well...the only thing I can think of that I Know is that the whole coil needs to have no light shining directly on it - so lots of paper towels or a white t shirt or what have you, between it and all light sources, so there is no shine/glare on any of it
I keep a white cloth between the coil and the lights, and put a piece of paper on the side opposite the lights to reflect light to the other side of the coil, like raymo said the other day
My lighting needs a lot of work though, it's a hassle every time and still isnt ideal
I know and of course I'm kidding, but it still kills me not having root on my phone.The point of that post was that rooting was Not necessary - it was a waste of time for photography

Here's an example of some good shots and I have no idea why they turned out so much better than the last one lol. I almost always use the same lighting set-up.
More practice with focus bracketing and helicon.
First shot is wide angle macro with a base 1:1 crop
second is full macro at about 2.3x zoom then super cropped.
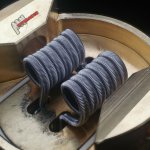
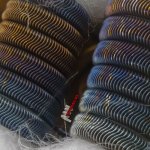
More practice with focus bracketing and helicon.
First shot is wide angle macro with a base 1:1 crop
second is full macro at about 2.3x zoom then super cropped.


Last edited:
Been a while. There's been a big upswing in the builder population over the past year on a number of social platforms. And I've been investing more and more time into the photo end of coil building. But, in the end, for me it's still more about the wire than the pictures. And I'm still a poor man so I've been looking for the cheapest ways to get the best outcome. Here's where I am at now.
For reference I use an LG X-Charge (13mp) to shoot with. And I use a free mobile app for full manual control of the camera. As well as focus bracketing up to 100 shots, though I typical range between 5 and 20. OpenCamera - https://play.google.com/store/apps/details?id=net.sourceforge.opencamera
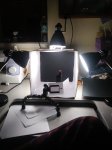
Let's start with the Physical "Studio". I shoot mostly indoors. Though I do like the occasional natural light session.
Materials/Cost/Set-up
-Cardboard box: Free
**Open up 1 end completely and cut out 3 of the adjacent sides leaving an inch or so to tape your paper to.
-Scotch tape and a few sheets of medium/heavy white printer paper: Pennies
**You can use any pure white material (Polyester/Silk Cloth, paper, tissue, ect...). Depending on what it is it will block and reflect different amounts of light.
**If the inside of your box is anything other than pure matte white then fully cover the inside with the white paper. Try to keep the seems as thin as you can and in places that you are not likely to shine the light through ... overlapping paper will cause shadows. And use as little tape as possible. I used 3 ~1" pieces per side/seem.
-3x Table lamps (top one is a clamp base) with standard bulb sockets and deep conical shades: $8 each
-75w daylight (5000k) LED bulbs: 4 pack for 7/8 bucks
**Make sure they are LED because they will be up-close and personal with paper/cloth and standard bulbs will get hot as hell
-Fully adjustable table-top tri-pod: $15-$20
**Don't get the cheap cheap ($5) ones. They don't stand up well, break, and just all around not worth it.
-Clip-on lens set: $25
The Digital Studio:
Cost:$0-$30
-I started with a free mobile app called PicsArt https://play.google.com/store/apps/details?id=com.picsart.studio
**It's a great, little, easy to use editing program with a lot of options. The best thing about it is how quick you can do minor edits like cropping, clarity, exposure, saturation, ect... And the ability to add a watermark. I could literally spend like 1-2 mins bumping sliders around and adding my watermark and improve the picture quality with very little time/effort. It has so much stuff I never even messed with so I'm not entirely sure what all you can do with it. There are a million little apps like this and they are a great introduction to editing software. I still use this for cropping and adding my watermark.
Here's a couple shots done only using PicsArt with 1-2 mins of post-editing. And these where shot with only 1 light, on a desktop, not in a box, defused with a single sheet of paper approx 6 inches from the subject, and the light approx 6 inches from the paper.
![IMG_20181025_143427_417[1].jpg IMG_20181025_143427_417[1].jpg](https://vapingunderground.com/data/attachments/138/138149-780e5eaf7a515592883eca7d3bb76abf.jpg)
![IMG_20181117_122824_912[1].jpg IMG_20181117_122824_912[1].jpg](https://vapingunderground.com/data/attachments/138/138150-d489a406285a807541680c5484ce436b.jpg)
-GIMP: Free https://www.gimp.org/
**GIMP is a freeware version of PhotoShop. It has been around forever and works just as well. It's safe and effective and has freeware plug-ins to further expand it's functionality. I really enjoy G'MICQT https://gmic.eu
-Helicon Focus: $0-$30 https://www.heliconsoft.com/heliconsoft-products/helicon-focus/
**Helicon is a focus stacking program with a free 30 day demo that you can subvert with your PC clock or making new emails. I just went ahead spent the $30 on a year subscription after a couple of months with the trial. It also has some other editing functionalities with a higher price point but they don't do anything I can't do in GIMP. In all honesty You can focus stack for free with GIMP as well. I posted a tutorial up in this thread somewhere. But it is torturous and tedious for anything more than stacking a few shots.
Some work in a lightbox with GIMP and Helicon. Post-edit time can be anywhere from 5 mins to hours depending on what I'm trying to accomplish and if I'm practiced in the specific techniques I'm trying to apply. Though non of these took hours. I'd say on average 10-15 mins from start to finish?!? Not including the actual taking of the pictures.
![IMG_20190513_072246_072[1].jpg IMG_20190513_072246_072[1].jpg](https://vapingunderground.com/data/attachments/138/138151-139e7127f33ed24c27d91c5ea5ef19c0.jpg)
![IMG_20190427_140245_245[1].jpg IMG_20190427_140245_245[1].jpg](https://vapingunderground.com/data/attachments/138/138152-27438996d4af1217d2050a6795e8290a.jpg)
![IMG_20190514_141409_745[1].jpg IMG_20190514_141409_745[1].jpg](https://vapingunderground.com/data/attachments/138/138154-67943aa40b2f082ffbaaddde0a607de5.jpg)
So, for $75-$100 you can get some outstanding results. Truth be told you can get reasonable results for just about no financial investment - see some of my previous posts for other cheaper ideas. And you don't have to invest all at once. Get 1 good bulb and some paper towels/white paper, for defusing, to start with and build up from there.
I still have work to do to be more consistent with my shots. And editing can only do so much. A dressed up pile of crap still smells bad lol
For reference I use an LG X-Charge (13mp) to shoot with. And I use a free mobile app for full manual control of the camera. As well as focus bracketing up to 100 shots, though I typical range between 5 and 20. OpenCamera - https://play.google.com/store/apps/details?id=net.sourceforge.opencamera
Let's start with the Physical "Studio". I shoot mostly indoors. Though I do like the occasional natural light session.
Materials/Cost/Set-up
-Cardboard box: Free
**Open up 1 end completely and cut out 3 of the adjacent sides leaving an inch or so to tape your paper to.
-Scotch tape and a few sheets of medium/heavy white printer paper: Pennies
**You can use any pure white material (Polyester/Silk Cloth, paper, tissue, ect...). Depending on what it is it will block and reflect different amounts of light.
**If the inside of your box is anything other than pure matte white then fully cover the inside with the white paper. Try to keep the seems as thin as you can and in places that you are not likely to shine the light through ... overlapping paper will cause shadows. And use as little tape as possible. I used 3 ~1" pieces per side/seem.
-3x Table lamps (top one is a clamp base) with standard bulb sockets and deep conical shades: $8 each
-75w daylight (5000k) LED bulbs: 4 pack for 7/8 bucks
**Make sure they are LED because they will be up-close and personal with paper/cloth and standard bulbs will get hot as hell
-Fully adjustable table-top tri-pod: $15-$20
**Don't get the cheap cheap ($5) ones. They don't stand up well, break, and just all around not worth it.
-Clip-on lens set: $25


The Digital Studio:
Cost:$0-$30
-I started with a free mobile app called PicsArt https://play.google.com/store/apps/details?id=com.picsart.studio
**It's a great, little, easy to use editing program with a lot of options. The best thing about it is how quick you can do minor edits like cropping, clarity, exposure, saturation, ect... And the ability to add a watermark. I could literally spend like 1-2 mins bumping sliders around and adding my watermark and improve the picture quality with very little time/effort. It has so much stuff I never even messed with so I'm not entirely sure what all you can do with it. There are a million little apps like this and they are a great introduction to editing software. I still use this for cropping and adding my watermark.
Here's a couple shots done only using PicsArt with 1-2 mins of post-editing. And these where shot with only 1 light, on a desktop, not in a box, defused with a single sheet of paper approx 6 inches from the subject, and the light approx 6 inches from the paper.
![IMG_20181025_143427_417[1].jpg IMG_20181025_143427_417[1].jpg](https://vapingunderground.com/data/attachments/138/138149-780e5eaf7a515592883eca7d3bb76abf.jpg)
![IMG_20181117_122824_912[1].jpg IMG_20181117_122824_912[1].jpg](https://vapingunderground.com/data/attachments/138/138150-d489a406285a807541680c5484ce436b.jpg)
-GIMP: Free https://www.gimp.org/
**GIMP is a freeware version of PhotoShop. It has been around forever and works just as well. It's safe and effective and has freeware plug-ins to further expand it's functionality. I really enjoy G'MICQT https://gmic.eu
-Helicon Focus: $0-$30 https://www.heliconsoft.com/heliconsoft-products/helicon-focus/
**Helicon is a focus stacking program with a free 30 day demo that you can subvert with your PC clock or making new emails. I just went ahead spent the $30 on a year subscription after a couple of months with the trial. It also has some other editing functionalities with a higher price point but they don't do anything I can't do in GIMP. In all honesty You can focus stack for free with GIMP as well. I posted a tutorial up in this thread somewhere. But it is torturous and tedious for anything more than stacking a few shots.
Some work in a lightbox with GIMP and Helicon. Post-edit time can be anywhere from 5 mins to hours depending on what I'm trying to accomplish and if I'm practiced in the specific techniques I'm trying to apply. Though non of these took hours. I'd say on average 10-15 mins from start to finish?!? Not including the actual taking of the pictures.
![IMG_20190513_072246_072[1].jpg IMG_20190513_072246_072[1].jpg](https://vapingunderground.com/data/attachments/138/138151-139e7127f33ed24c27d91c5ea5ef19c0.jpg)
![IMG_20190427_140245_245[1].jpg IMG_20190427_140245_245[1].jpg](https://vapingunderground.com/data/attachments/138/138152-27438996d4af1217d2050a6795e8290a.jpg)
![IMG_20190514_141409_745[1].jpg IMG_20190514_141409_745[1].jpg](https://vapingunderground.com/data/attachments/138/138154-67943aa40b2f082ffbaaddde0a607de5.jpg)
So, for $75-$100 you can get some outstanding results. Truth be told you can get reasonable results for just about no financial investment - see some of my previous posts for other cheaper ideas. And you don't have to invest all at once. Get 1 good bulb and some paper towels/white paper, for defusing, to start with and build up from there.
I still have work to do to be more consistent with my shots. And editing can only do so much. A dressed up pile of crap still smells bad lol
Last edited:
Got a new lightbox a while back, Ive had great success with it so I thought I'd share. They make them in multiple sizes from 12"x12" to 32"x32", I got the 32" version so I could play with more than close up shots/alternate photography. It was $80 on Ebay but it comes with everything you need, the lighting, diffuser and the box itself is fully adjustable.
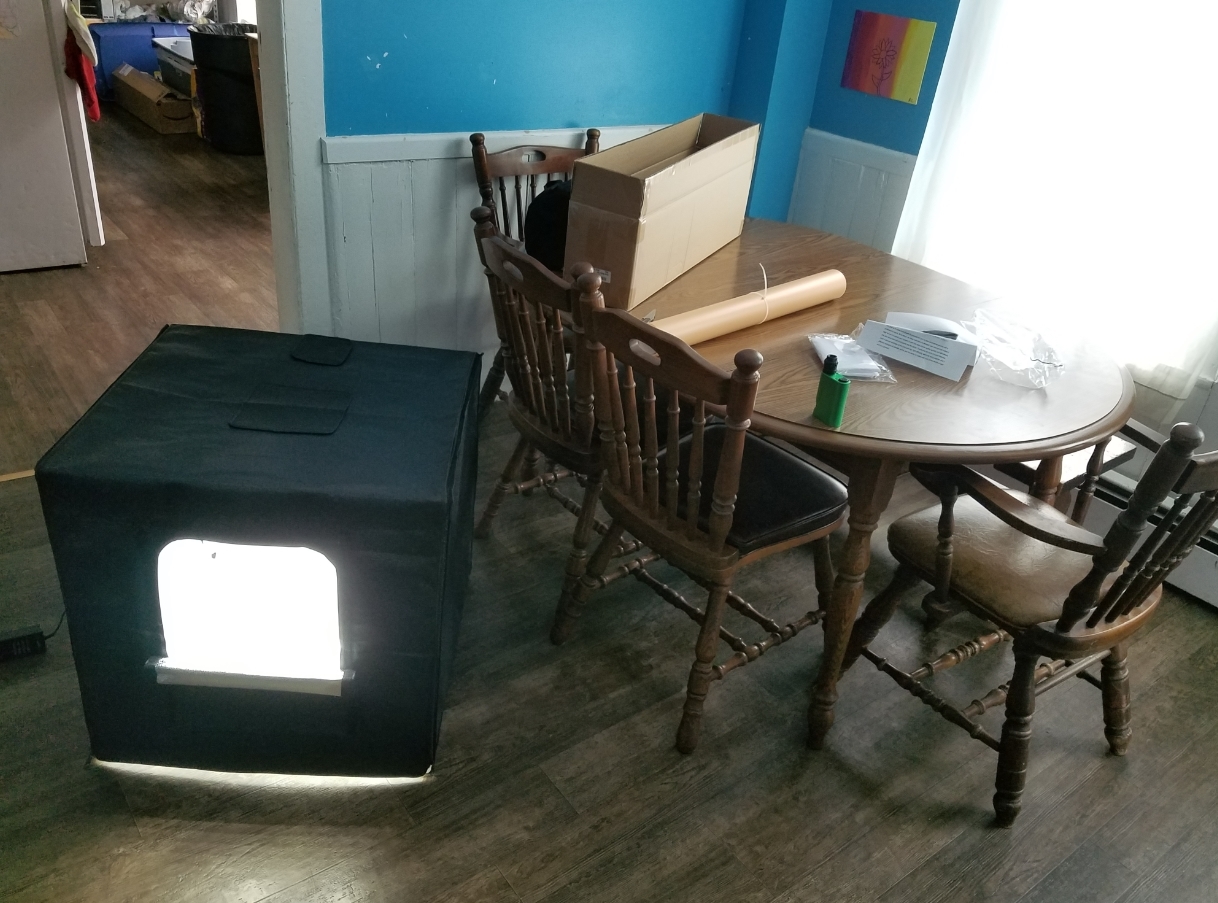
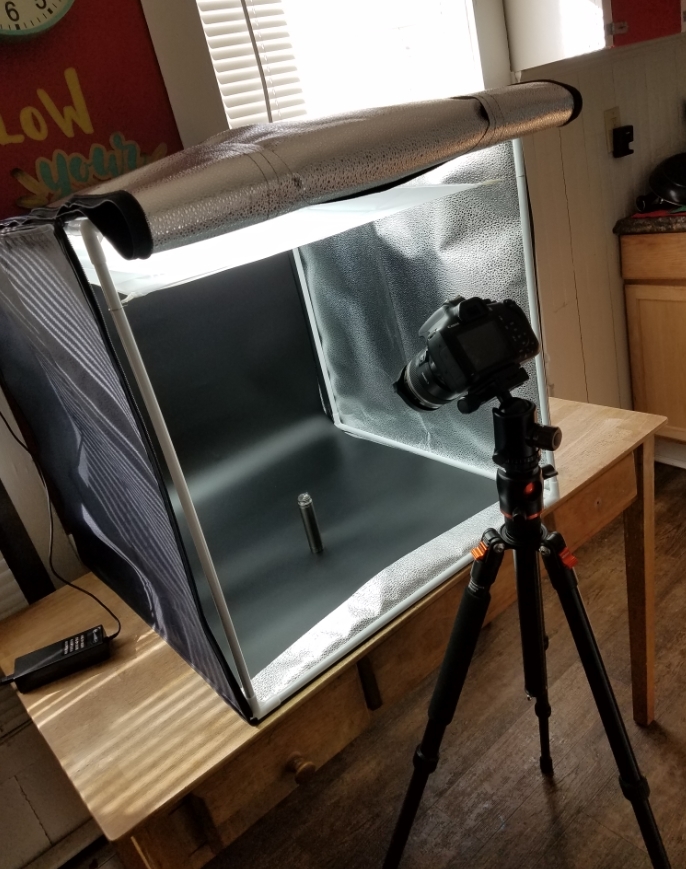
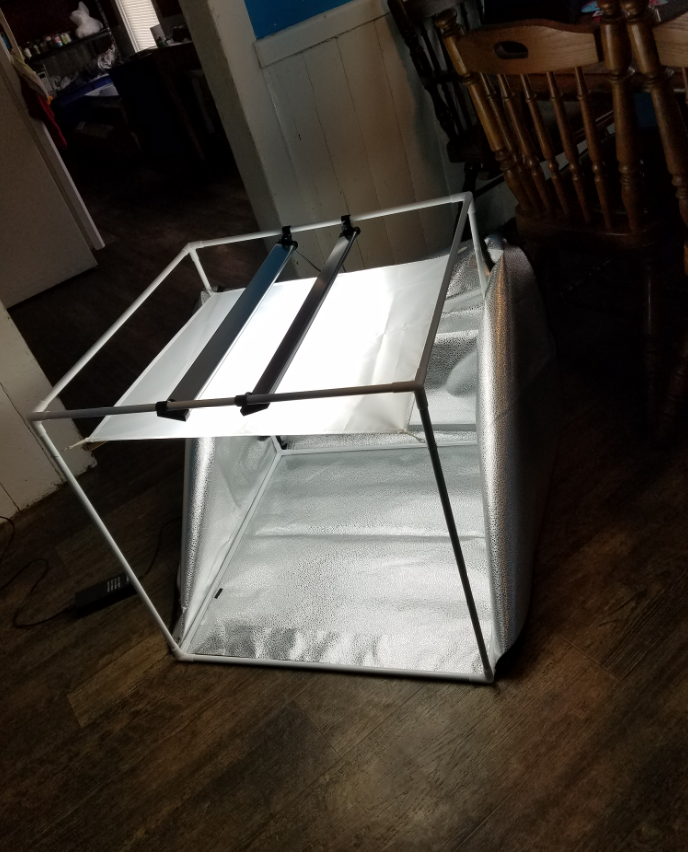

It has allowed me to photograph things much larger and it offers "windows" for shooting above, from the side, the front and you can lift the entire front end if need be. It also helps that Ive purchased Photoshop and have slowly learned to use it instead of Paint.net....


It has allowed me to photograph things much larger and it offers "windows" for shooting above, from the side, the front and you can lift the entire front end if need be. It also helps that Ive purchased Photoshop and have slowly learned to use it instead of Paint.net....


Last edited:
That is much more reasonable than 480 LMAO!!It was $80 on Ebay
Having gotten that out of the way ... How do you feel the foil reflection is compared to a matte finish?? I've considered going this route but I've been concerned about harshness.
I noticed a few typo's and fixed themThat is much more reasonable than 480 LMAO!!
Having gotten that out of the way ... How do you feel the foil reflection is compared to a matte finish?? I've considered going this route but I've been concerned about harshness.
The diffuser can be adjusted as well as the lighting to the sides, over the top, from the back, ect. The diffuser and lights clip onto the bars...so you can have the lights over the top but angled towards the the front and rear and then have the diffuser just above your object (this is what I do). The foil sides havent caused the reflections or harshness...I was also concerned about this at first. The only time I have had it be an issue is with mirrored surfaces exposing the foil, other than that it acts like a light reflector no different than paper but conveys more light. - which I like because then I can drop my shutter speed. The lights are dimmable and you can move your object away from the sides or front, so you have total control over your lighting.
Last edited:
Alright now you got me ... where can I gander at said lightbox?I noticed a few typo's and fixed them
The diffuser can be adjusted as well as the lighting to the sides, over the top, from the back, ect. The diffuser and lights clip onto the bars...so you can have the lights over the top but angled towards the the front and rear and then have the diffuser just above your object (this is what I do). The foil sides havent caused the reflections or harshness...I was also concerned about this at first. The only time I have had it be an issue is with mirrored surfaces exposing the foil, other than that it acts like a light reflector no different than paper but conveys more light. - which I like because then I can drop my shutter speed. The lights are dimmable and you can move your object away from the sides or front, so you have total control over your lighting.
CrazyChef v2.0
Platinum Contributor
ECF Refugee
VU Challenge Team
Member For 5 Years
Reddit Exile
VU Patreon
Dude - that's a grow tent!Right HERE
lol Its just the pictures they used, I dont think the lighting would be good for growingDude - that's a grow tent!
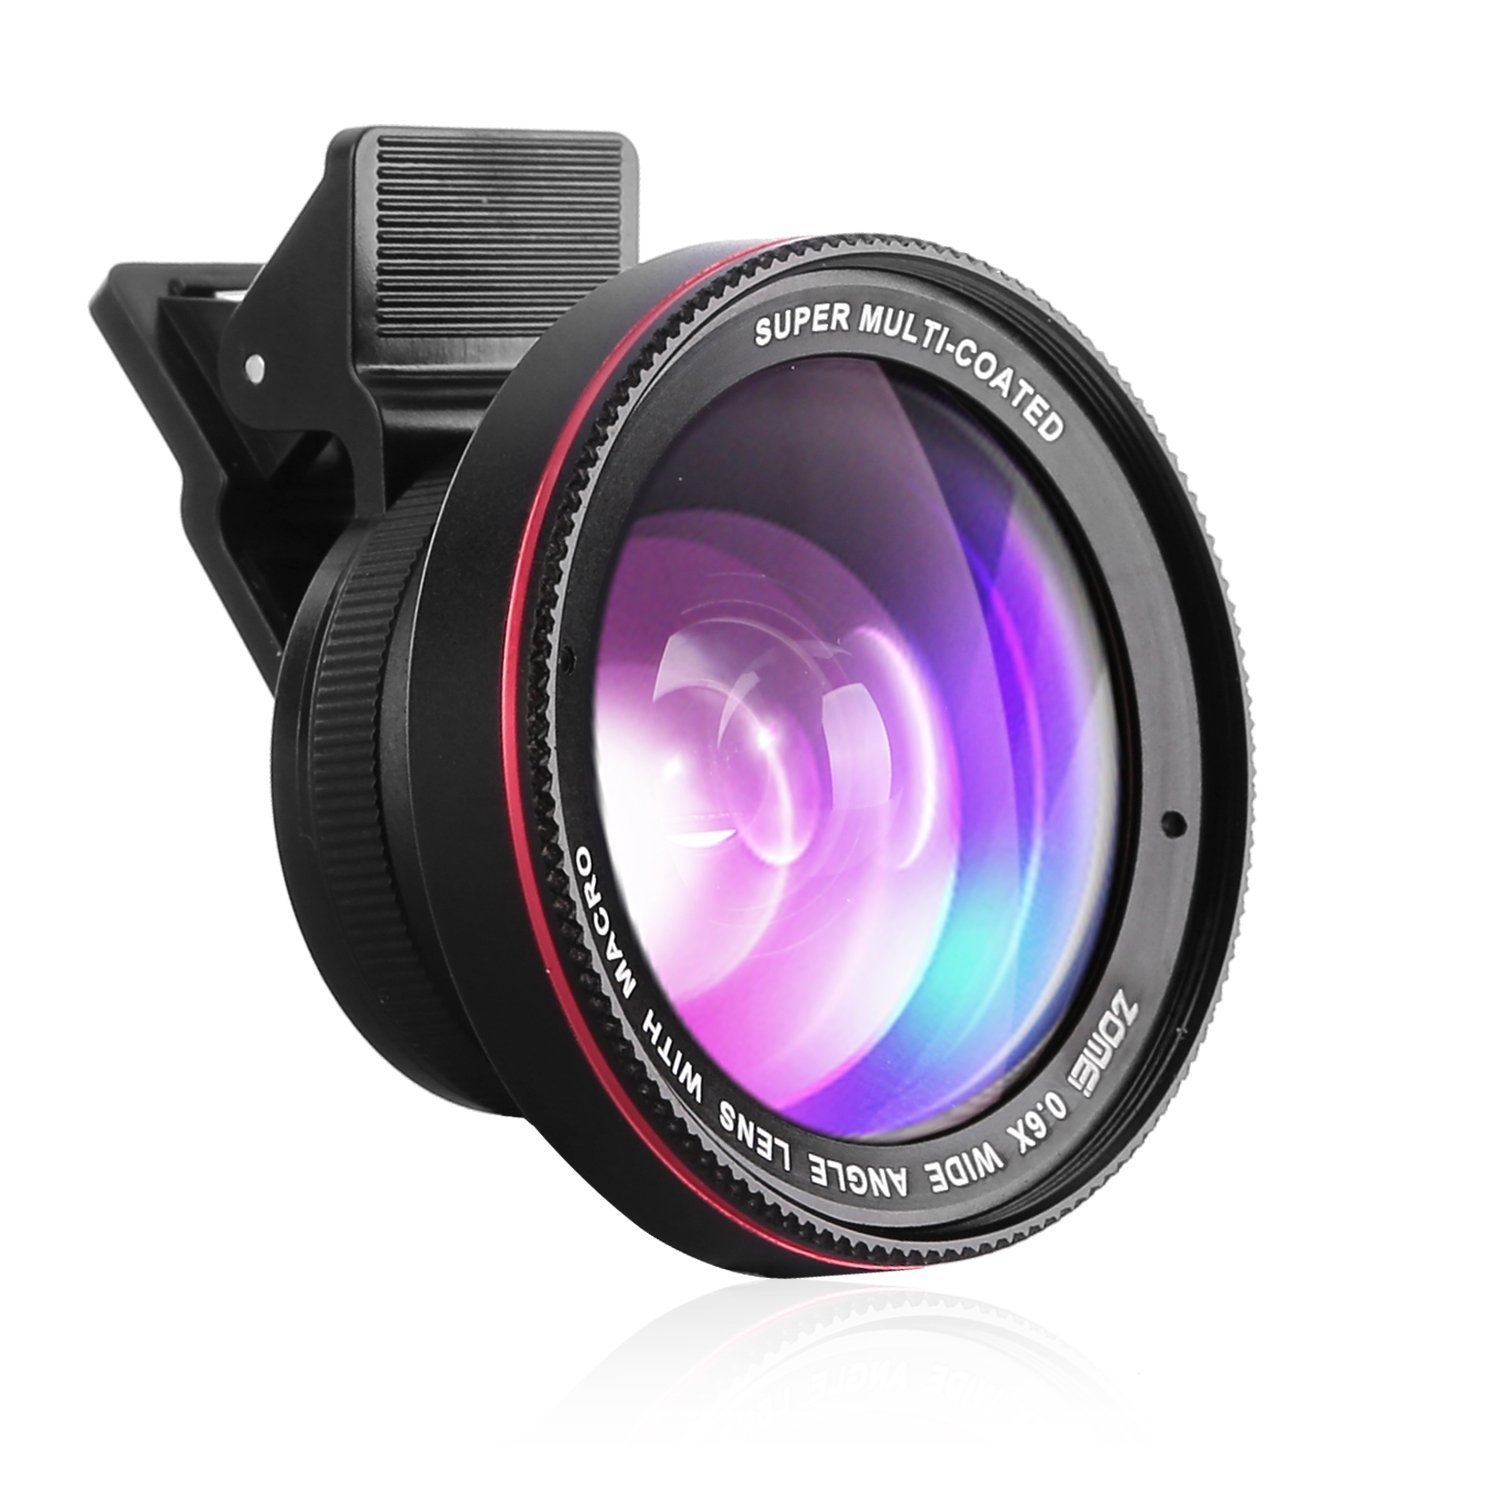
IIRC, @raymo2u once told that the one to get was this:-Clip-on lens set: $25
https://usa.banggood.com/Zomei-0_6X...-p-1096095.html?rmmds=search&cur_warehouse=CN
Thanks for the link. I plan on picking up a 30-37mm lens next so this will go on the list to look at. The 2 wide angles in my kit are a .63x/~16mm with a 15x macro and a .36x/~26mm with a 20x macro.IIRC, @raymo2u once told that the one to get was this:
https://usa.banggood.com/Zomei-0_6X...-p-1096095.html?rmmds=search&cur_warehouse=CN
Last edited:
Picked up a TopSide Dual today
I know it's not coils but I figured I'd take a shot (PUNS!!!) at some product photography. There's some focus issues on the atty. Should have set up differently or stacked a few shots. And I guess I'll have to get a drop cloth if I plan on using a wider angle like this lol.
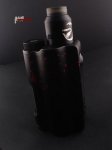
I know it's not coils but I figured I'd take a shot (PUNS!!!) at some product photography. There's some focus issues on the atty. Should have set up differently or stacked a few shots. And I guess I'll have to get a drop cloth if I plan on using a wider angle like this lol.

Why would anyone laugh at a perfectly good vape ?!?!OK, don't laugh, but finally built my first usable (I think) fused Clapton. 26g kanthol, wrapped with 30g ss 316. We shall see....

Sent from my SM-G920R4 using Tapatalk
Just can't get them beautiful. Idk, but it is vaping just fine.Why would anyone laugh at a perfectly good vape ?!?!

Sent from my SM-G920R4 using Tapatalk
That looks pretty good.Why would anyone laugh at a perfectly good vape ?!?!
Sent from my SM-G975W using Tapatalk
Good thread! I'm a amateur photographer but have learned much over the years. Don't have a high end camera but a decent older model Nikon. I learned on fully manual Pentax K1000 years ago so forced to understand f-stops, shutter speed, depth of field, ect. Also... it's all about the light! Anyway, if you don't have a good camera/phone this might help. Have good light (preferably diffuse light... many cheap easy ways to do that) Also, just back away from the subject a bit and crop image later using computer program. For posting on the internet, you don't need a huge high quality file (like you do for printing) You will have better depth of field by not trying to get so close to the subject. You learn things like this when you have a low budget.
I've always thought that starting out with less is better in the end, you learn more information than most others will and you have a better understanding for when you need to diagnose an issue.Good thread! I'm a amateur photographer but have learned much over the years. Don't have a high end camera but a decent older model Nikon. I learned on fully manual Pentax K1000 years ago so forced to understand f-stops, shutter speed, depth of field, ect. Also... it's all about the light! Anyway, if you don't have a good camera/phone this might help. Have good light (preferably diffuse light... many cheap easy ways to do that) Also, just back away from the subject a bit and crop image later using computer program. For posting on the internet, you don't need a huge high quality file (like you do for printing) You will have better depth of field by not trying to get so close to the subject. You learn things like this when you have a low budget.
Much like purchasing a first car, if anything were to happen or issue arise. Say, there is a person who purchased a early 90's civic with 250K miles and a person who buys/leases a brand new civic? The person who purchased the older car will have to do their own oil changes and other fluids and most of the lighter mechanical work(brakes/rebuild engine) if they dont go to a mechanic. The person leasing a new car will have to have full coverage insurance and have the company do everything. Which person will have a better understanding of their vehicle or vehicles in general - who would know what to do, or atleast quickly find out what the issue is and tend to it?
Thank you for going the hard route, whether it was up to you or not...you chose to continue in your new hobby and IMO that deserves notice. Your last segment is something I wholeheartedly agree with.
That's what I have. And I got a light box and a "helping hand" of AmazonHere's a macro lens that I use with my phone's camera that works pretty well. I get mine at Amazon, although I'm sure they're available on eBay and other places as well.
