Become a Patron!

Vandy Vape B3 MTL RTA Reviewed by SessionDrummer

SessionDrummer

Bronze Contributor
Member For 4 Years
1 Lede.jpg


Having almost every previous version of the Berserkers I knew I had to try out the NEW B3 MTL RTA from Vandy Vape. Thanks out to Joyi from Sourcemore for sending this out for review.


A collaboration between Vandy Vapes, and [Alex from Vapers MD](https://www.youtube.com/user/vapersmd), promised improvements, and enhancements to the previous v.2 design. It may be the v.3, but we're just going to call it the B3.

**From the MFG:**

Check out the Vandy Vape B3 MTL 24mm RTA, featuring a 3mL tank capacity, dual post build deck, and swappable airflow pins for a satisfying vape experience. Constructed from durable stainless steel, the superior chassis construction is sleek and visually striking. Holding up to 3mL of eJuice within the confines of the tank glass, the B3 MTL RTA can accommdate a single coil configuration on the dual post build deck. Utilizing swappable airflow pins, the B3 RTA can change the rate of intaken airflow to create the best vaping set up for those that love MTL vaping. Refillable via top fill system, the B3 MTL RTA features two large fill ports to ensure the coils and cotton remain soaked in your favorite eJuice.

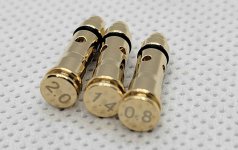
> Four airflow inserts come in the box: 0.8mm, 1.2mm, 1.4mm, and 2.0mm. This is a nice range of MTL draws; a very tight MTL draw with the 0.8mm insert, a tight MTL draw with the 1.2mm insert, a medium MTL draw with the 1.4mm insert, and a loose MTL draw with the 2.0mm insert.

**Vandy Vape B3 MTL RTA Features:**

* 24mm Diameter
* 3mL Tank Capacity
* Pyrex Glass Reinforcement
* Quarter Turn Top Fill System - Dual Fill Ports
* Stainless Steel Tank Construction
* Dual Post Build Deck -
* Top Secured via Allen Screw
* Single Coil Configuration
* Swappable Airflow Pin
* 510 Drip Tip
* Threaded 510 Connection
* Available in Black, Gunmetal, and Stainless Steel

**Includes:**


* 1 B3 MTL RTA
* 2 Drip Tip
* 2 0.74ohm Superfine MTL Fused Clapton Coil
* 2 PEI Tube
* 1 Glass Tube
* 3 Airflow Pipe
* 1 Accessory Bag
* 1 Instructional Manual

Some things familiar with the previous version, and a couple of new changes and enhancements ...
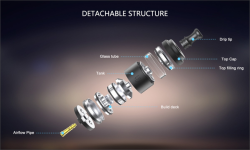
2 Breakdown.png

One of the things that didn't change was the outstanding packaging from Vandy Vape ...

3 Box Shot.jpg

4 Box Bottom.jpg

Talk about OPTIONS, VV included (4) Tank sections, 3 drip tips, and 4 airflow pins ..
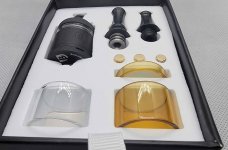
5 Box Open.jpg

And there's MORE !!!! Chimney extension, loads of o-rings, screws, allen key, micro fine MTL coils, and user manual ....
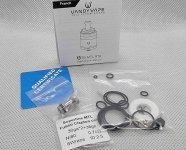
6 Contents.jpg

You don't see THREE drip tips included very often ...
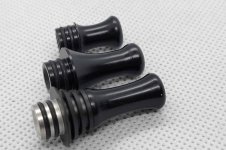
7 Drip Tips 2.jpg

Another look at the stock (installed) 2ml tank, extension, and the 6ml extra tank section ...
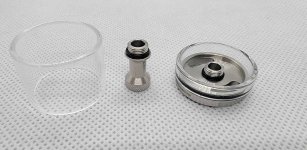
8 Chimney Extension.jpg

Everything you would ever need to rebuild, repair, and keep on MTL'ing .....
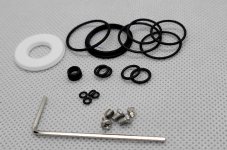
9 Goodies.jpg

A closeup of the extra PEI and glass tanks ....
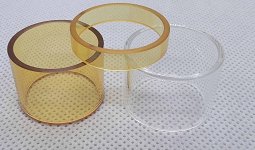
10 Spare Tanks.jpg
 

SessionDrummer

Bronze Contributor
Member For 4 Years
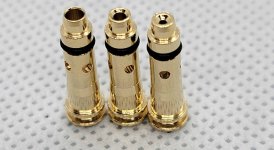
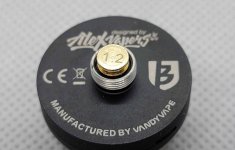
A SUPER zoomed in shot to show the I.D. of the air flow pins ...

11 Pins Closeup.jpg

Clearly marked for your vaping pleasure ...

12 Pins Closeup Bottom.jpg

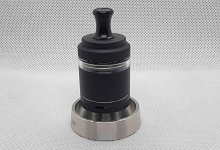
The B3 had an almost "Stealth" look to it (at least in flat black that is) .....

13 B3.jpg

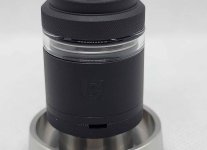
Even in flat black, the "B" logo was visible, along with the rectangular air inlet ports (one on each side), and the very smartly done knurling on the top and bottom caps ....
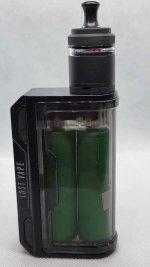
14 B Logo.jpg

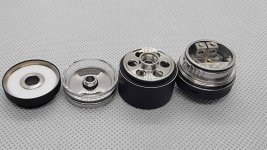
After a full cleaning before testing, the core components showcased a very well engineered MTL RTA ....
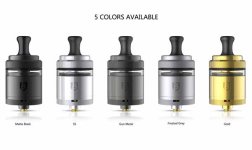
15 Main Parts.jpg

The non-descript top cap was o-ring-less, but that didn't matter, as each drip tip had 2 o-rings installed, and provided a snug, hassle free experience ....
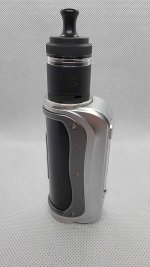
16 Drip Tip Chamber.jpg

Within a quarter turn the top cap was off, and clearly gasket-ed for no leaking ....
17 Top Cap O-ring.jpg

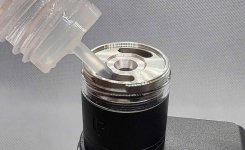
The top filling ring showed dual, large kidney filling ports ....
18 Fill Ports.jpg

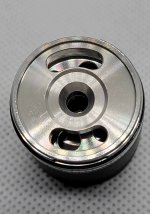
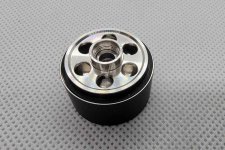
With top filling ring, and the glass section removed, the top of the tank revealed an interesting 6 port juice flow array, along with the threaded receiver for the chimney ...
19 Juice Flow Ports.jpg

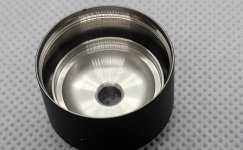
Flipping the tank over revealed a pancake styled domed interior, which looked like it would EXCEL at compressing all of that flavor down to a saturation point, right before it's exit .....

20 Domed Cap.jpg
 

SessionDrummer

Bronze Contributor
Member For 4 Years
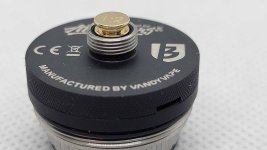
Saving the build deck for last, moving to the bottom cap showcased the bottom of the in use air pin, which also doubled as the 510 connection ....

21 Air Pin Bottom.jpg

With all of the o-rings installed into the bottom cap / air pin receiver, the pins were held snugly in place, and were easy to remove/re-insert, even WHILE the tank was FULL !!!!!

22 Air Pin Side.jpg

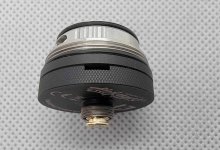
Another shot for perspective, and closeup of the air flow port (one on each side) ....

23 Air Flow Ports.jpg

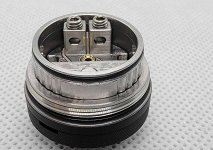
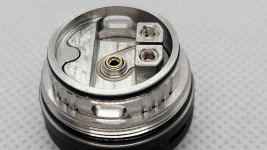
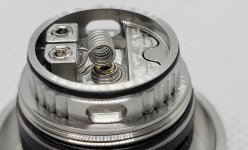
Onto the deck. Fairly spacious coil ports, and build deck for easy building ....

24 Deck 3.jpg

Dual, side oriented juice flow ports ....

25 Deck 2.jpg

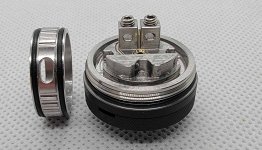
After easily sliding off the keyed deck ring (nicely double o-ringed), the building could commence ...

26 Deck Ring Removed.jpg

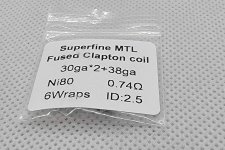
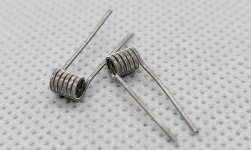
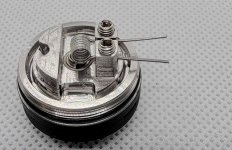
(2) Ni80 Super Fine MTL coils were included, and spec'd to 0.74 ohms ...

28 Coils.jpg

29 Coils 2.jpg


I decided to leave in, and test the installed grubs and allen key, and great news, grippy grippy, no strippie .....

30 Deck Allen Key.jpg

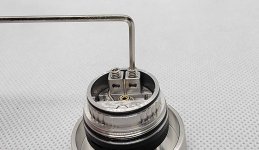
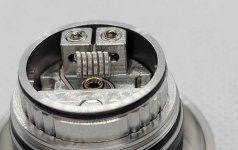
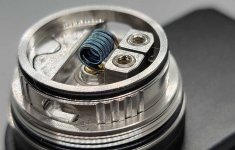
With the deck ring removed, coil insertion, manipulation, and trimming couldn't have been easier. Notice the puzzle piece keying on the left of the deck, so the deck ring could be re-inserted correctly, and the wick tail / juice wells ....

31 Coils Loaded.jpg
 

SessionDrummer

Bronze Contributor
Member For 4 Years
Centered, and JUST above the tip of the air flow pin ......

32 Coil Loaded Front.jpg

33 Coil Loaded Side.jpg

After a little pulsing and stroking .....

34 Coils Pulsed.jpg

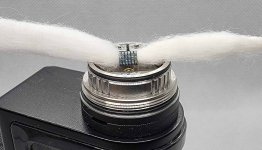
With a 2.5mm I.D. coil, I had to cut down my normal (larger) cotton strips to drag snugly through, but without deforming the coil ....

35 Cotton Pulled.jpg

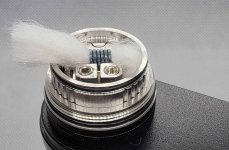
For tail length I folded the tails over, and cut just below the bottom of the deck ring. If you go too short, or thin, you risk leaking ....
36 Cotton Tail Length.jpg

37 Cotton Tails Inserted.jpg

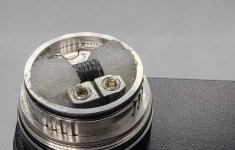
After making sure to completely cover the juice flow ports with the wick tails, it was time to sauce the deck ....

38 Money Shot.jpg

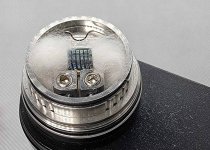
Sauced, and ready for re-assembly, and filling ....

39 Deck Sauced.jpg

The filling ports worked great for all my needle tips, but not for my cosmo bottles ....

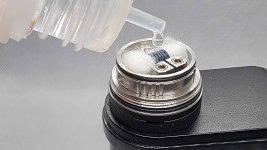
40 Juice Fill.jpg

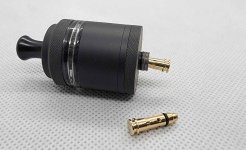
Now realizing that MOST MTL'ers will just find an air flow pin they prefer, and "set it and forget it", it WAS nice that you could replace at any time, even WITH a FULL tank. I left the B3 sitting on it's side for 1/2 hour putting pins in and out, completely filled, and had NO leaks whatsoever ....

41 Pin Change Wet.jpg
 

SessionDrummer

Bronze Contributor
Member For 4 Years
Loaded for bear, and ready to test ...

42 Final 2.jpg

**Testing / Usage:**

The fit and finish on the B3 was very good, and after really looking at all of the pieces, it was obvious that either Vandy Vape, and/or Alex spent considerable time on this design. Very smooth threads, o-rings, and knurling JUST where you needed it. Super easy to build on, wick, and replace/change air pins as needed. The dual air ports surprisingly stayed almost silent, and much quieter than expected. The air pins really DID work, and they worked well, with a wide array of air flow choices. The coil measured almost dead on accurate at 0.75 ohms, and I ran it at 17 watts throughout all of my testing. Having three different Berserkers currently, I appreciated the new and improved design on this one, The flavor on this one, was almost OFF the charts, and THAT, was saying something.

**Pros:**

* Deck easy to build on
* Top notch machining
* Ample o-rings, with no leakage
* Stellar flavor, with great saturation
* Great knurling
* Almost silent air flow
* Wide range of airflow via the air pins, and could be replaced white tank was full
* Keyed deck ring for ease of correct orientation
* Flat black color had high stealthy-ness
* 2ml, or 6ml capacity

**Cons:**

* Can be hard to see juice level in 2ml tank
* Leaking possible without correct wick tail length
* 2ml glass hard to remove from factory install
* Coils provided, but no cotton

**Conclusion:**

Wow, wow, and MORE wow on this one. After considerable testing, this, the B3, proved to have the BEST flavor out of ALL of my current MTL setups, and that is/was no easy task. Saturation levels OF the flavor stayed fairly consistent, and dense throughout all of the air flow pins, with my favorite being the pre-installed 1.2mm. The new deck style, and deck ring really made things simple. When removed, it allowed total, easy access to the deck for building, and then when re-installed, kept all of your cotton just where it needed to be, with no "cotton in the threads" hassles. The dual rectangular air flow ports remained almost silent during all of the tests, and that was almost a surprise.

The air flow pins worked great, and COULD be swapped, and even removed with a FULL TANK, with no leaking. They ranged perfectly from very restricted to fairly loose, and airy. I expect most MTL'ers will try out the pins, find the one preferred, and just roll with it, as opposed to running around with a pocket full of pins, BUT, you COULD if you wanted to. Very well thought out design, and implementation. Correct tail length, and thickness is fairly crucial, but not hard to achieve, to prevent any leaking. I just guessed by trimming just below the bottom of the deck ring, and it worked flawlessly. As stated above, I actually laid the B3 on it's side, with NO air flow pins installed JUST to see, and NO leaks.

Overall, the B3 was really impressive, with few to no real faults, and the great saturated flavor kept everything as good as it could be. Because the deck was so easy to build on, it was geared towards everyone, not just advanced users/builders. If your current MTL setup is falling short on the flavor, OR, if you are looking to get INTO MTL'ing, the B3 should be on your list. Too easy to build on, use, and enjoy, to not recommend. An impressive offering from Vandy Vape, and Alex.

46 Final.jpg


**Colors:**


45 Colors.jpg

**Bonus:**


47 Bonus 1a.jpg

48 Bonus 2.jpg

49 Bonus 3.jpg

50 Bonus 4.jpg

51 Bonus.jpg

52 Tips and Pins.jpg


**If you made is THIS far:**

Then I salute you. Thanks for taking some of your valuable time, and sticking it through, ALL the way to the end. If you’ve had a great year (COVID not withstanding), and would like to help some of those in need, take a look at the [Semper Fi and America’s Fund](https://semperfifund.org/), which is rated at **97/100** by [Charity Navigator](https://www.charitynavigator.org/ein/260086305), and is doing outstanding work, and could use your support.

Thank you.


S.D.
 

VU Sponsors

Top