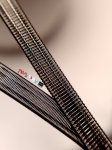
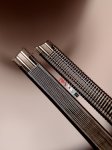
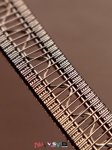
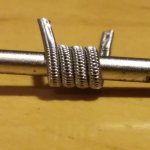
I have a box full of builds only used for a day or less. Most kicked ass but I just had to try out the new build.
Become a Patron!
You are using an out of date browser. It may not display this or other websites correctly.
You should upgrade or use an alternative browser.
You should upgrade or use an alternative browser.
Post your builds
- Thread starter Vape_geek
- Start date
I hear ya man im sitting here now trying to decide which one is the worst out of the bunch so i can put in the all SS build i made 3 days ago...i have a few builds wrapped and ready that are patiently waiting...ennie minnie miny moeI have a box full of builds only used for a day or less. Most kicked ass but I just had to try out the new build.
Unbelievable.Just something I was playing with. I have some ideas to make this look better next time.View attachment 71768
Thankyou. I think I'm finally starting to get the hang of the baby steps.
Thats one of the things I LOVE about the Boreas... I have three. They all come with two decks. I bored the juice holes out in the small ones so they are the same size as the large ones, and now I can have 6 different builds set up and simply swap them in or out as i want. I normally try to keep one or two empty incase I get bored and want to build a set of coils.I hear ya man im sitting here now trying to decide which one is the worst out of the bunch so i can put in the all SS build i made 3 days ago...i have a few builds wrapped and ready that are patiently waiting...ennie minnie miny moe
Wow...just wowColor shot of yesterday's build. The N80 alien lost its color due to overheating, but the KA1 polished came out pretty nice.
View attachment 71871
Last time I went a building the result was this bag. So I don't have to go a-building for long long time. Unless the tinkering mood takes me.I have a box full of builds only used for a day or less. Most kicked ass but I just had to try out the new build.

CrazyChef
Custom Hand Crafted Coils - PureCoils.com
VU Vendor
VU Donator
Platinum Contributor
Member For 4 Years
ECF Refugee
Thank ya!Wow...just wow
Just crazy. Beautiful work. Another kick ass job raymo
It tags the person.
Its labeled as a Inception Coil. Usually its the same wire coiled inside then coiled around the outside similar to whats shown but recently people have been making them with 2 different cls and calling them by the same name.Dude @raymo2u, that massive huge coil at at the bottom is super sick, and then i saw the (flattened?) wire running through it! Really clean sexy build.
Lol i just learned that adding the @ sign before a name makes it special...im so far behind the times
Ive made a few of them and I thoought it would be cooler then just 2 wraps of that monster alone. (it was .9x.3 Square wire btw)
Original Inception Coil:


The ones Ive made so far:


Firing clip of that last one: LINK
Ok i got ya, ive heard that before but didnt know what it was. Few quick questions if you dont mind? Can one even wick that kind of coil? And is it a process fitting the smaller coil inside of the larger one or do you just stick one leg in and work it around like when you bring a large kitchen table through a doorway?Its labeled as a Inception Coil. Usually its the same wire coiled inside then coiled around the outside similar to whats shown but recently people have been making them with 2 different cls and calling them by the same name.
Ive made a few of them and I thoought it would be cooler then just 2 wraps of that monster alone. (it was .9x.3 Square wire btw)
Original Inception Coil:


The ones Ive made so far:


Firing clip of that last one: LINK
Btw, i had no idea they made square wire lol
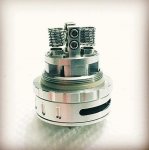
Vertical Install with the aim for both cloud production and flavor and I must say, this build lived up to the hype. Lasted a SOLID two weeks plus with regular cleaning it absolutely chuckeddd
Tiger Coil - .36 (Individually)
I am new to the board by the way and I just wanted to introduce myself - I'm AJ and what up/much love to all vapelife out there. - "Saving Lives Day by Day" - @VapeScorpionLounge (East Coast Vapes - Vape Scorpion - Venom Juice). What'p up to all the Philly Vapeheads too! Cheers!
CrazyChef
Custom Hand Crafted Coils - PureCoils.com
VU Vendor
VU Donator
Platinum Contributor
Member For 4 Years
ECF Refugee
Interesting - Do you have any pics of the wicking?Vertical Install
Its labeled as a Inception Coil. Usually its the same wire coiled inside then coiled around the outside similar to whats shown but recently people have been making them with 2 different cls and calling them by the same name.
Ive made a few of them and I thoought it would be cooler then just 2 wraps of that monster alone. (it was .9x.3 Square wire btw)
Original Inception Coil:


The ones Ive made so far:


Firing clip of that last one: LINK
**This is just insane. Those inception coils are SO dope. Much wire skills & photography skills! Always a pleasure to check out!
Ray made me quit
X 1,000,000
Nice, id say you're right about the paranoia. I figured a little wiggle here and there would probably solve the issue. Hey you might could help me right quick! I dont need to know the whole process and dont wanna cause you to write a book but when making a tsuka do i twist the ribbon and clapton the opposite way or clapton and decore like an alien?
Interesting - Do you have any pics of the wicking?
Sure! It was actually a full sheet cut of organic cotton into four. then two other pieces (1/4 inch). I cut that 1/4 inch piece into two pieces and then primed the first wick at the top, stuck it to the previously installed wick and formed a half moon to three quarter wrap around the deck. (Griffin 25 - Velocity Deck) Then I used the last strand of wick and completed the entire circumference of the deck creating a "nest". I have nothing but praise for thid build. CLOUDS; 10/10, FLAVOR 10/10. Check out the buildersbible youtube.com for "Vertical Install" for more information! Cheers!

Wow i didnt think that was possible. Vertical builds are great for flavor but a super bitch to wickSure! It was actually a full sheet cut of organic cotton into four. then two other pieces (1/4 inch). I cut that 1/4 inch piece into two pieces and then primed the first wick at the top, stuck it to the previously installed wick and formed a half moon to three quarter wrap around the deck. (Griffin 25 - Velocity Deck) Then I used the last strand of wick and completed the entire circumference of the deck creating a "nest". I have nothing but praise for thid build. CLOUDS; 10/10, FLAVOR 10/10. Check out the buildersbible youtube.com for "Vertical Install" for more information! Cheers!View attachment 72089
Alright i think i kinda figured this out. I did 3 cores of 26g ni80, twisted .5 k ribbon (and figuring out how much to twist that shit was annoying! I kept having to take it out and twist, load up the cores, try again, didnt work so twist some more...about 4 times) wrapped it around a 3mm. Ohms out to 0.28. This is my first attempt at a tsuka and im pretty happy! It's got a few flaws but hopefully i can work out the kinks with practice.


Alright i think i kinda figured this out. I did 3 cores of 26g ni80, twisted .5 k ribbon (and figuring out how much to twist that shit was annoying! I kept having to take it out and twist, load up the cores, try again, didnt work so twist some more...about 4 times) wrapped it around a 3mm. Ohms out to 0.28. This is my first attempt at a tsuka and im pretty happy!
That's cool AF.
Likewise man! Those are nice and clean! Using different guages on the wraps is a veteran move too.That's cool AF.
Thanks!Likewise man! Those are nice and clean! Using different guages on the wraps is a veteran move too.


Stuff I made today.

Hardcore single coil mode in the Aromamiser Plus... because why not?

Ooh manual focus hell yeah!


Stuff I made today.
Nice build man!
How do you prep the staggered frames before loading it into the chuck?
Sent from my iPhone using Tapatalk
With round frames I get them side by side with the gap I want with the ends hanging off the table then I put a mousepad on them with weight. Them I glue a 1" bead and twist the ends together. Repeat.Nice build man!
How do you prep the staggered frames before loading it into the chuck?
Sent from my iPhone using Tapatalk
Using ribbon frames it's the same only I bind them.
Haha very true. However, they do hold juice like a champ, That's why I enjoy it most on an RDTA.Wow i didnt think that was possible. Vertical builds are great for flavor but a super bitch to wick
Alright i think i kinda figured this out. I did 3 cores of 26g ni80, twisted .5 k ribbon (and figuring out how much to twist that shit was annoying! I kept having to take it out and twist, load up the cores, try again, didnt work so twist some more...about 4 times) wrapped it around a 3mm. Ohms out to 0.28. This is my first attempt at a tsuka and im pretty happy! It's got a few flaws but hopefully i can work out the kinks with practice.View attachment 72104 View attachment 72105 View attachment 72106 View attachment 72108
That first photo is SO dope. That's a perfect example of how much respect it takes to pull off that intricate wirework.
Thanks man you just made my day! Ive been learning so much through this forum and a few of the guys here are some of the best builders in the world imo. Now i kinda wanna try that vertical build in my griffin 25 lol! Thanks for the ideaThat first photo is SO dope. That's a perfect example of how much respect it takes to pull off that intricate wirework.
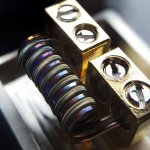
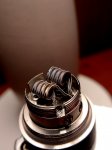
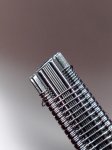
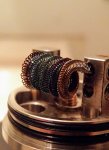
My first attempt at a mohawk build. Pain..in..the..ass. 3x 26g k, 34g ss wraps. I couldnt keep my cores flat, maybe from not stretching enough? Idk. The wraps kept pulling them together as they fell into place. It worked out. Mostly even wraps on two coils, one better than the other so i stuck the good one in my original avocado. Its best with single coils and the 24 is best for duals. Definitly going to need to practice this one more.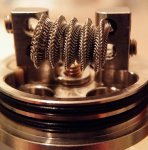
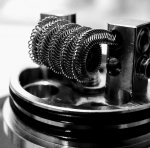
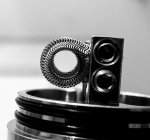
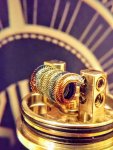


They look great. Bang up job.
With round frames I get them side by side with the gap I want with the ends hanging off the table then I put a mousepad on them with weight. Them I glue a 1" bead and twist the ends together. Repeat.
Using ribbon frames it's the same only I bind them.
Wow interesting use of beads!
Sent from my iPhone using Tapatalk
Some new stuff....


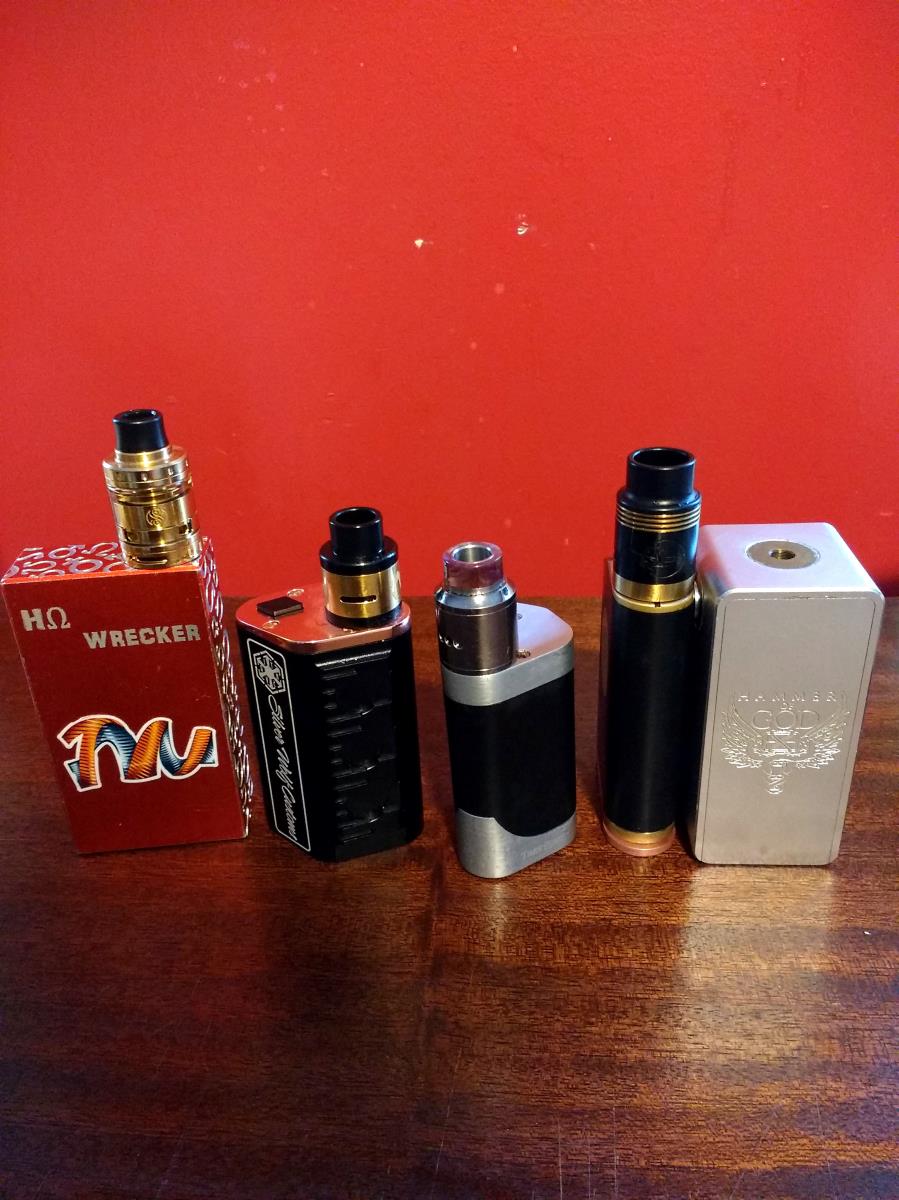
Beast builds and boss mods!
Sent from my iPhone using Tapatalk
My first attempt at a mohawk build. Pain..in..the..ass. 3x 26g k, 34g ss wraps. I couldnt keep my cores flat, maybe from not stretching enough? Idk. The wraps kept pulling them together as they fell into place. It worked out. Mostly even wraps on two coils, one better than the other so i stuck the good one in my original avocado. Its best with single coils and the 24 is best for duals. Definitly going to need to practice this one more.View attachment 72176 View attachment 72177 View attachment 72178 View attachment 72179 View attachment 72180
Apparently you're meant to have the cores bunched in a triangle? Either way killed it!
Sent from my iPhone using Tapatalk
Yea they were trying to triangle and i had a ribbon slider to hold thr cores flat and i was pinching the wire in front of the wraps to try and keep them flat but it just wasnt working. Bad thing with this particular build is you can't pinch the wire where you've already wrapped or you'll ruin it. They sorta straightened themselves out when i coiled it up though. Thanks for the props though i appreciate it!Apparently you're meant to have the cores bunched in a triangle? Either way killed it!
Sent from my iPhone using Tapatalk


