Ssfc take me about 2 hours to makeI'm done with this poop for a while, I don't want to even do staples until my kbee comes in the mail
View attachment 115390
Sent from my Nexus 6P using Tapatalk
Ssfc take me about 2 hours to makeI'm done with this poop for a while, I don't want to even do staples until my kbee comes in the mail
View attachment 115390
Ssfc take me about 2 hours to make
Sent from my Nexus 6P using Tapatalk
Yea I definitely need to build more. Just lazy. LolTrial and error and more error and practice can speed that up
Is it bending off the spool meg or what?

So you don't stretch your ribbon? Or do you mean just straightenYes. I heard it comes off the spool straight like Kidney Puncher - but mine comes off Wavy, not consistently curved but more wacky. Hard to straighten, too, and straightening leads to at least one strand being noticeably angled/ twisted
So screwed if I straighten, screwed if I don't
So you don't stretch your ribbon? Or do you mean just straighten
Sent from my Nexus 6P using Tapatalk
Interesting. I only had one problem with it before I switched over to all Sandvik. They sent me a spool that was wound with maybe 400ft, then an additional 100ft to make a 500ft roll like I ordered. Well, it snagged all over the place, and they made it right when I brought it to their attention. Other than that, the quality was always pretty good. Unfortunately, their 36, 38, 40g N80 isn't much better than Lightning Vapes's wireI really dont like this coil society ribbon
You should contact them about it. I've never had anything but straight ribbon from them. Never anything crooked, wavy, etc. Well, except for the one roll I mentioned above.Yes. I heard it comes off the spool straight like Kidney Puncher - but mine comes off Wavy, not consistently curved but more wacky. Hard to straighten, too, and straightening leads to at least one strand being noticeably angled/ twisted
Interesting, I’ll have to try that this weekend. Y’all know I’m a staggering junky, lol. Anything that works better or faster, I’m game.Gentlemen, tonight I witnessed and learned the easiest staggering technique to date, thanks to a guy on instagram named probee300
Wrap some spacing wire between your first manual spaces, two rotations or so, tighten the lot of the two wires, and put on a mini clothespin
I'm working on ssfc today as well. I've only ever got one good coil. I use 28 for .3 and .4 I think that is about the NormI think I'm gonna try SSFCs again tonight, any advice on what size frames I should use for .3 ribbon? Was planning on using 28ga but I almost wonder if that's too big. Had had issues with the frames trying to triangle up on me, might start using more clothespins and doing them one coil at a time (so like, starting with 5 inches of ribbon and frames only need 3.5-4 for the actual coils, but that gives me some extra room to work with if one end fuses better or something).
I'll try that then. Maybe that why I have issues. I know pre is the key though.I use 28g frames for 0.3 ribbon as well, though I use 26g frames for 0.4 ribbon
I'll try that then. Maybe that why I have issues. I know pre is the key though.
Sent from my Nexus 6P using Tapatalk
I think I'm gonna try SSFCs again tonight, any advice on what size frames I should use for .3 ribbon? Was planning on using 28ga but I almost wonder if that's too big. Had had issues with the frames trying to triangle up on me, might start using more clothespins and doing them one coil at a time (so like, starting with 5 inches of ribbon and frames only need 3.5-4 for the actual coils, but that gives me some extra room to work with if one end fuses better or something).
 welcome to VU
 Hey, I think I know youwelcome to VU

So it didn't turn out that well :/
I'll attempt some more tomorrow, but as a consolation prize, I mounted it and it coloured up nicely and tastes great.
My spacing was screwed up on one or both frames, seemed like one was twice as spaced as the other. They came from the same piece of 28 I spaced with the double loop method.
Photos are too big for the forum apparently, I'll upload them on IG
Yeah, I've had the same issues with the frames while using a dozen or so mini clothespins on a ~12″ strand so I ended up cutting away the ribbon stack turning them into a regular SFC build. Was using 8ply .1×.3 Ni80 ribbon and 29g Ni80 frames with 36g Ni80 wrap on that attempt... thing is, you need to find a way to stop the frames from getting pulled on top of the ribbon stack, and, IME putting less tension on the 36g wrap wire is not a viable solution that works so what I'll try next is I'll put a key ring on just the ribbon stack, with a guide attached to the key ring to hold the frames in such a way that they get pulled next to the ribbon stack instead of always getting pulled on top of it.I think I'm gonna try SSFCs again tonight, any advice on what size frames I should use for .3 ribbon? Was planning on using 28ga but I almost wonder if that's too big. Had had issues with the frames trying to triangle up on me, might start using more clothespins and doing them one coil at a time (so like, starting with 5 inches of ribbon and frames only need 3.5-4 for the actual coils, but that gives me some extra room to work with if one end fuses better or something).
Is this your first SSFC? It's awesome that you at least completed it and get to vape it! That's two wins, in my book
Yeah, I've had the same issues with the frames while using a dozen or so mini clothespins on a ~12″ strand
I was also just using them to keep it flat. But it kept wanting to triangle up still nevertheless.I can get away with 2 on a 5ish inch piece, just using them to keep the setup flat, not to keep it together. Seems to work pretty well.
I was also just using them to keep it flat. But it kept wanting to triangle up still nevertheless.
My clothespins weren't disturbing nor strangling the staggering on my frames. The problem I was experiencing was that 29g Ni80 is just so incredibly weak it just helixes itself around the ribbon stack almost immediately despite the clothespins were spaced like less than an inch apart.I would recommend a large gauge ribbon slider (0.4, 0.5) placed on loosely (pinched very gently) or aluminum foil folded over twices then wrapped around, rather than clothes pins. Either can be slid down the stick as you go without disturbing or strangling the staggering on the frames.
The lower the gauge of the stagger, the larger gauge your ribbon slider will need to be to prevent it from digging in. For 36g, just use foil
The problem I was experiencing was that 29g Ni80 is just so incredibly weak it just helixes itself around the ribbon stack almost immediately despite the clothespins were spaced like less than an inch apart.
That's exactly how I ended up doing it, but it still didn't work. I haven't tried to build another coil for almost 2 months now, mostly because of that. lolI hotglued everything together in my chuck end, I think n.devine does this sometimes. Helped keep it from helixing or twisting too much.

That's exactly how I ended up doing it, but it still didn't work. I haven't tried to build another coil for almost 2 months now, mostly because of that. lol
@Pegleg Meg
View attachment 115838
Recycling duty got rained out, so I'm making that ssfc video now. That's too bad.
Yaaaay. I see you post about rain and 90 degree weather, you in Florida too?
People, help.
I'm having a really hard time to make the staggered fused claptons.
I'm using the shirt bottom method to space clapton. The wire seems ok.
I see people loosen the clapton before put the wires together for the final wrap.
But some people hold the end of the clapton and trigger the drill in reverse. Others unwrap the beginning of clapton that is in the chuck and just hold the end of the core wire and give a drill spin in the same way they claptoned it. So. I don't even know the best method to loosen the spaced clapton.
Then, even when i get a nice spaced clapton, put them together and try to make the final wrap i cant get not more than 2 inches of consistent staggared fused clapton. The final wire always overlaps one space or jump another and i end up with a shitty shitty wire...
Can you guys give me tips to loosen the spaced clapton and then how wrap the two spaced claptons cores, please?
Look how crappy staggered im making...
Save Ferris, please Save Ferris(Thats a joke for those who's 35 or older, lol)


Sorry to keep on bothering PegLeg, just to make sense to me:
1. Put the core in the chuck of the drill and start to clapton.
2. Take it out of the chuck and tape it, so the clapton stay firm in the core. Use something like a masking tape to it(?)
3. Proceed to the spaced clapton method you like the best (shirt bottom, loop holding with finger, mother fudger, etc)..
4. When the space clapton is finished you cut the clapton wire out of the spool.
5. The clapton will automatically unclapton it self a little bit.
6. With plyers you pinch this piece of clapton wire that automatically unclaptoned itself. You do this while the core wire is still fixed to the swivel.
7. While pinching the end of clapton wire, and just the clapton wire, not the core or anything else, you trigger the drill in rever mode for a few seconds. In this step you don't pull the clapton wire, just pinch it and don`t move your hand.
8. Take the hoje wire out of the drill, cut the piece with the masking tape.
9. Cut the end of the wire that were in the swivel.
10. You have a spaced clapton wire that will be cut in half (or passed through the swivel with the two ends getting into the chuck) and ready to become a fused staggered.
Is that it?
Another thing, and this for everybody. Once i have a pair os spaced claptons, how in da hell i can fuse them together with out lossing spaces or overlaping a few? As i said, one or two inches get real good, but the rest os my wire always end uo with holes or wires doubled in the claptons spaces... As in the in my post above...

Another thing, and this for everybody. Once i have a pair os spaced claptons, how in da hell i can fuse them together with out lossing spaces or overlaping a few? As i said, one or two inches get real good, but the rest os my wire always end uo with holes or wires doubled in the claptons spaces... As in the in my post above...
I swear tying a loop of wire around has got to be easier then all that guys. But y'all build better than I so to each their own. Maybe that my issue as well. Not listening to what I'm told.
Sent from my Nexus 6P using Tapatalk
There are extremely good builders out there who use any of the loop methods. I tried for months to get it to work for me. And sometimes it does and sometimes it doesn't. But, for some reason or another, it's just not consistent for me. I've spent to much time and wasted to much wire. So I use what I know works. It's more involved and time consuming, but less time consuming than getting an in depth build all prepped up only to find my stags aren't cooperating.I swear tying a loop of wire around has got to be easier then all that guys. But y'all build better than I so to each their own. Maybe that my issue as well. Not listening to what I'm told.
Sent from my Nexus 6P using Tapatalk
Oh ok I see what you're saying now. SorryI'm just talkin bout how to loosen the clapton after its done, that's all
Oh yea I know what you mean. Get all prepped and it's misaligned. I love how staple variation vape but have the hardest time building them.There are extremely good builders out there who use any of the loop methods. I tried for months to get it to work for me. And sometimes it does and sometimes it doesn't. But, for some reason or another, it's just not consistent for me. I've spent to much time and wasted to much wire. So I use what I know works. It's more involved and time consuming, but less time consuming than getting an in depth build all prepped up only to find my stags aren't cooperating.
UnderstoodNo! Keep it simpler -
1. Keep your core in the drill the entire time.
2. When you begin your clapton, tape your wrap wire to the chuck
3. Use your spacing technique, doesnt matter which technique
4. Make your spaced clapton
5. Clip your wrap wire, Only on the end (Not near the chuck) and do Not cut the core
6. Pinch wrap wire on the core and reverse drill for a moment
7. Now you can cut the wrap wire at the chuck end, and slide it to the middle of your core if you like, then remove core for your next step in building
I'm going to throw in my 2 cents. I find, for getting good clean stags, force fusing WAY easier than any other method I've seen out there. I leaned this from Mr Devine's (n.devine83) youtube whilst making my way into interlocks. It's and easy way to parallel clap without the hassle of 2 spools (or pulling off a length if you only have 1 spool). Had a private convo with someone today and figured I'd share for others.
This stag was done with a 32g core and 40g clap
Run a clap 1/2 way down your core and snip it long. Then flip the drill in reverse, grab the snip and run it for a couple of seconds. This loosens up the claps. To be sure they are loose enough just grab them near the chuck and see if they slide back and forth, freely, on the core.
Put your drill back in forward and start another clapton, at the chuck end, between the first clapton.
Using a good amount of fuse tension run the second clapton parallel to the first. If you've loosened the first run well, and are using enough fuse tension, it should slide in without any trouble.
As you run the second set of claps the first one will slow push forawrd. Once you get to the end of the first run you should have some core wire left. At this point you need to slow down to make sure you get past the snipped lead without tangling in it. Once your past it, bare down as hard as you dare (without breaking the wire or your swivels, ect ...) all the way to the end to lock them in place so they don't bounce back.
Now just grab the snipped lead, put your drill in reverse, and pull the lead off. DO NOT let the tnesion go on the wire your pulling untill it's off. Otherwise it may get tangled up and ruin the whole thing. Now you should have a nice staggered wire reade for use!
View attachment 119418 View attachment 119419 View attachment 119420 View attachment 119421 View attachment 119422
GREAT!!! So, glad I could be of help to someoneTired this the other day. Waaay easier than loops and buttons! I made a sfc I just ripped it on the drill and everything was perfect.
1) How in da hell do you guys stack your ribbons?
2) When i try to put all together and wrap, the staggered claptons kind of roll and I end up with a triangle with the ribbon as a base and the two staggered on top. So, if i wrap this, a have a very very weird round wire of like 10g (lol).
Any tips to help?
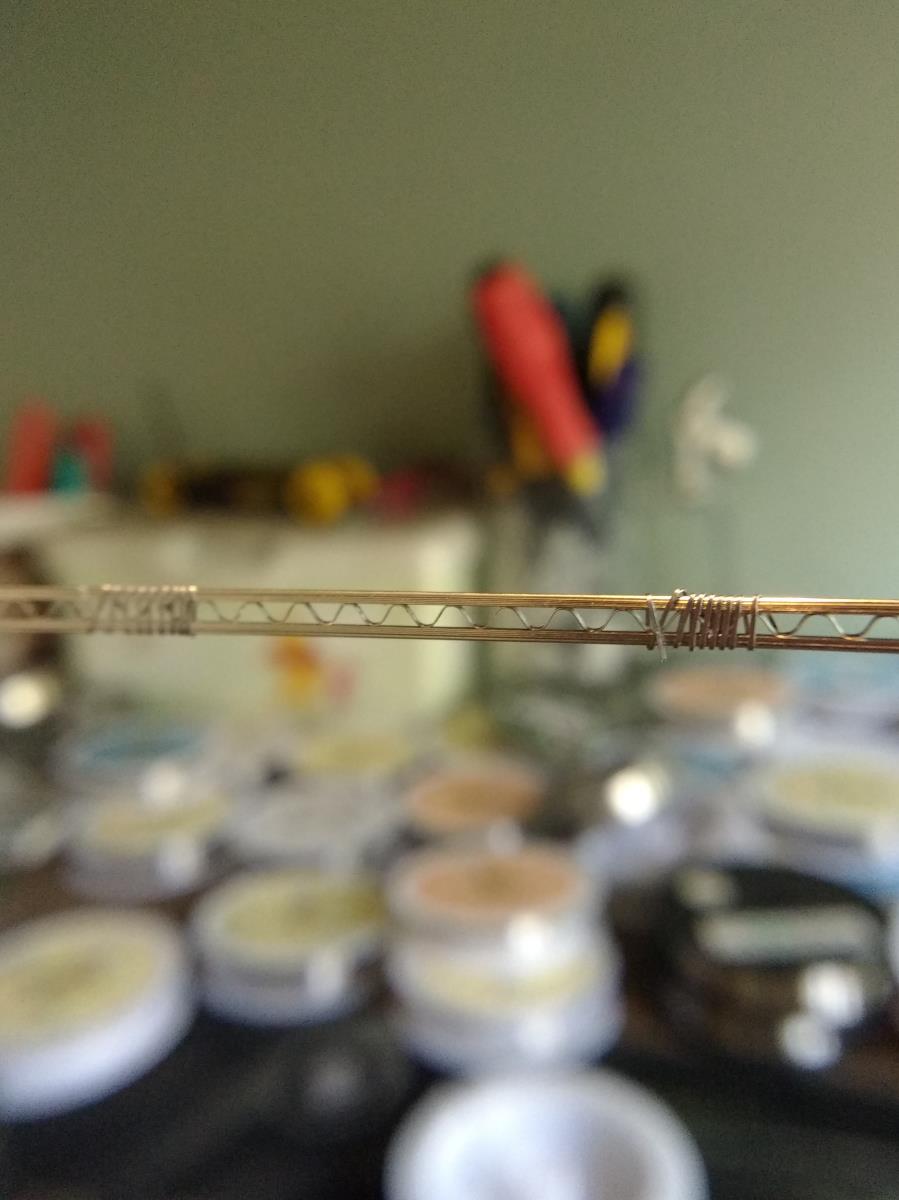
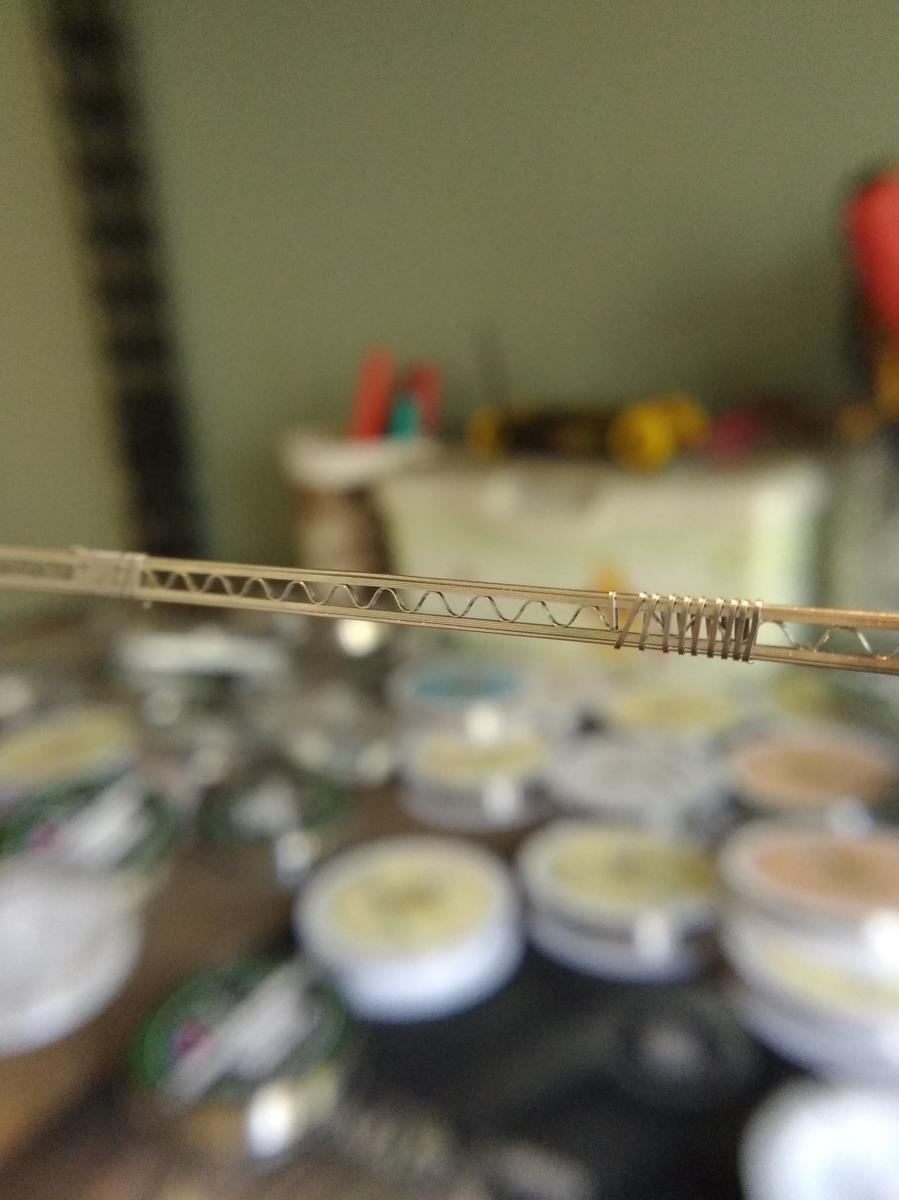
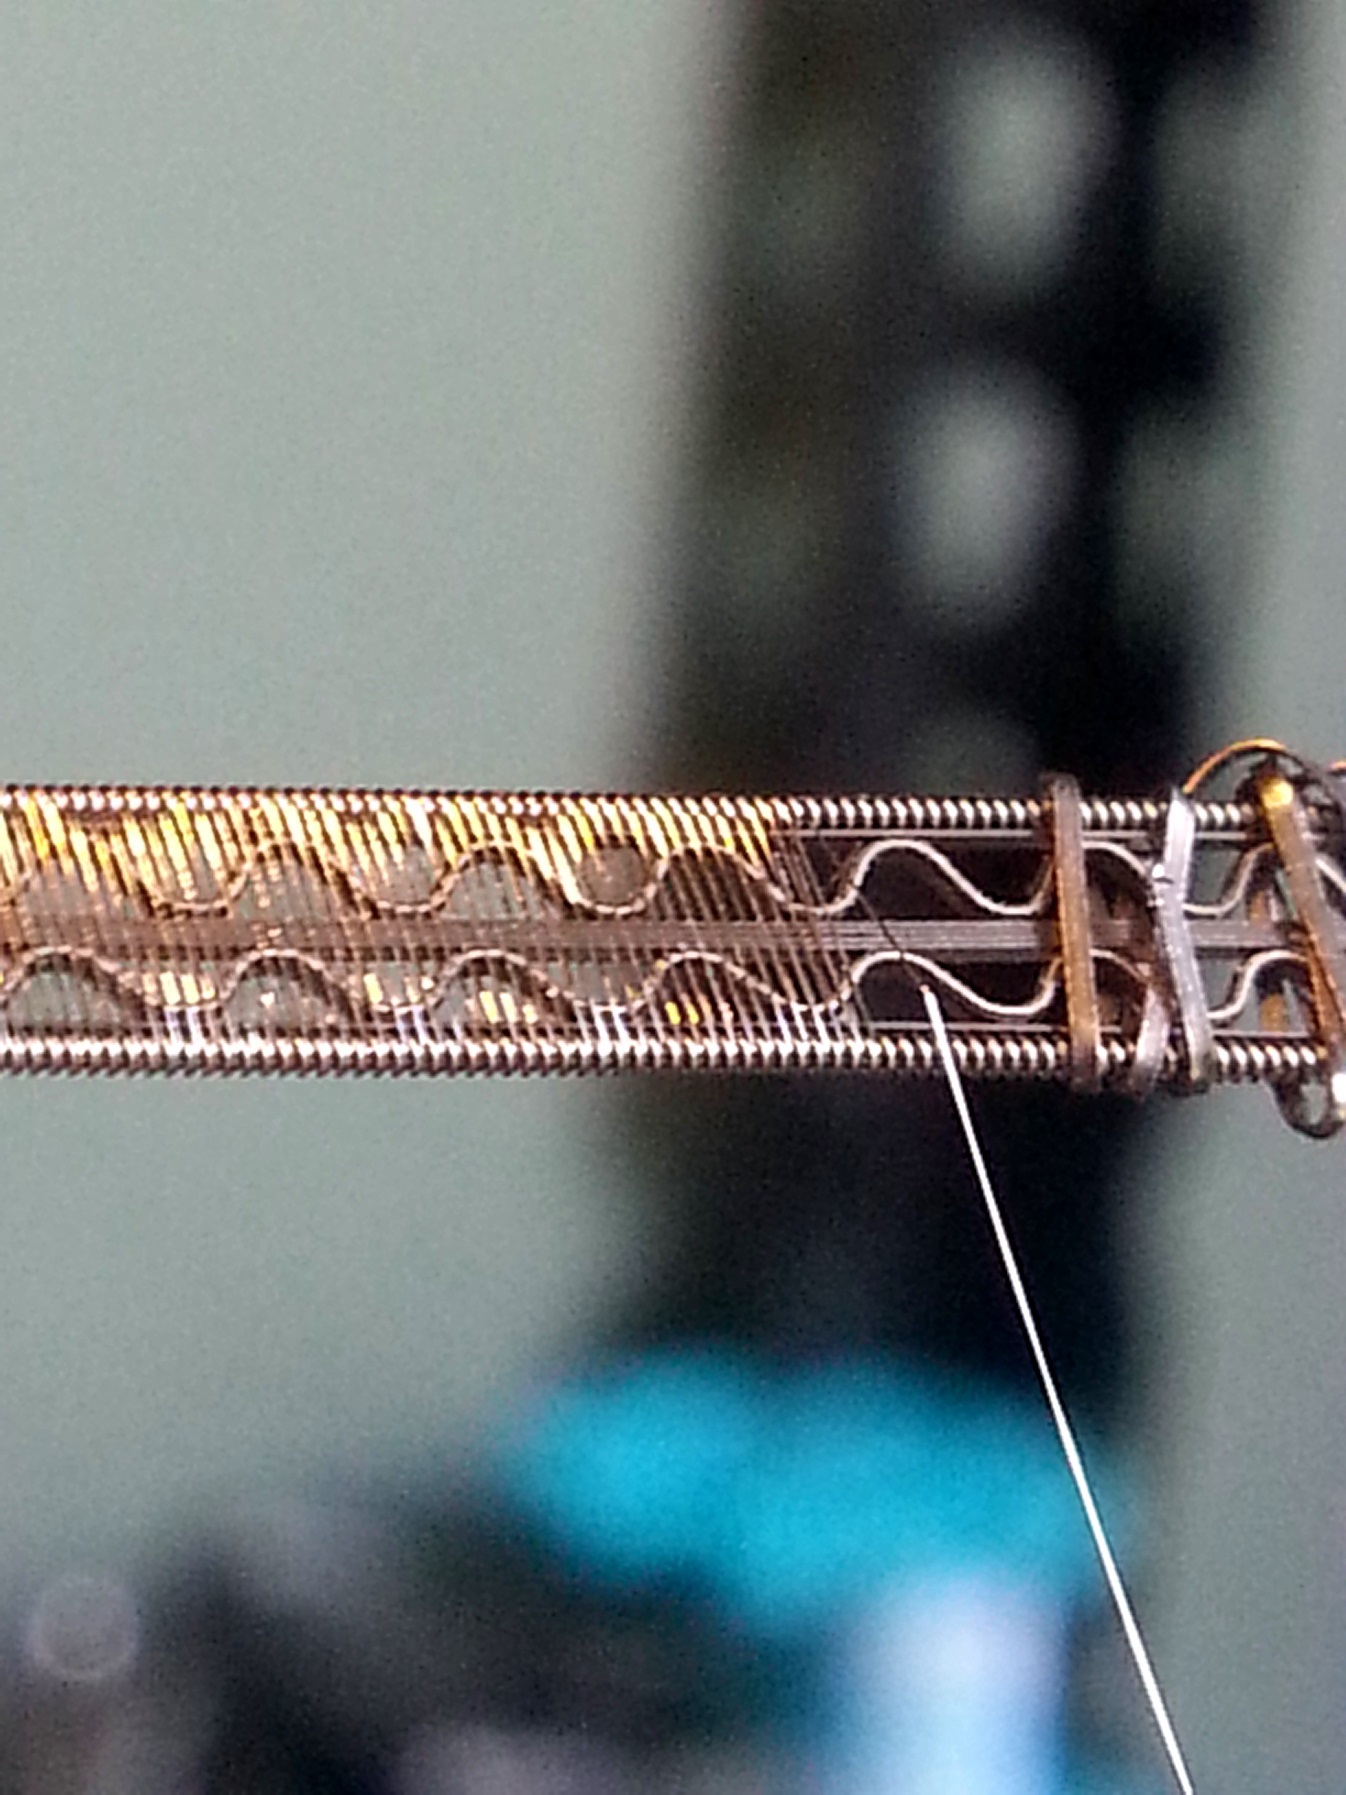
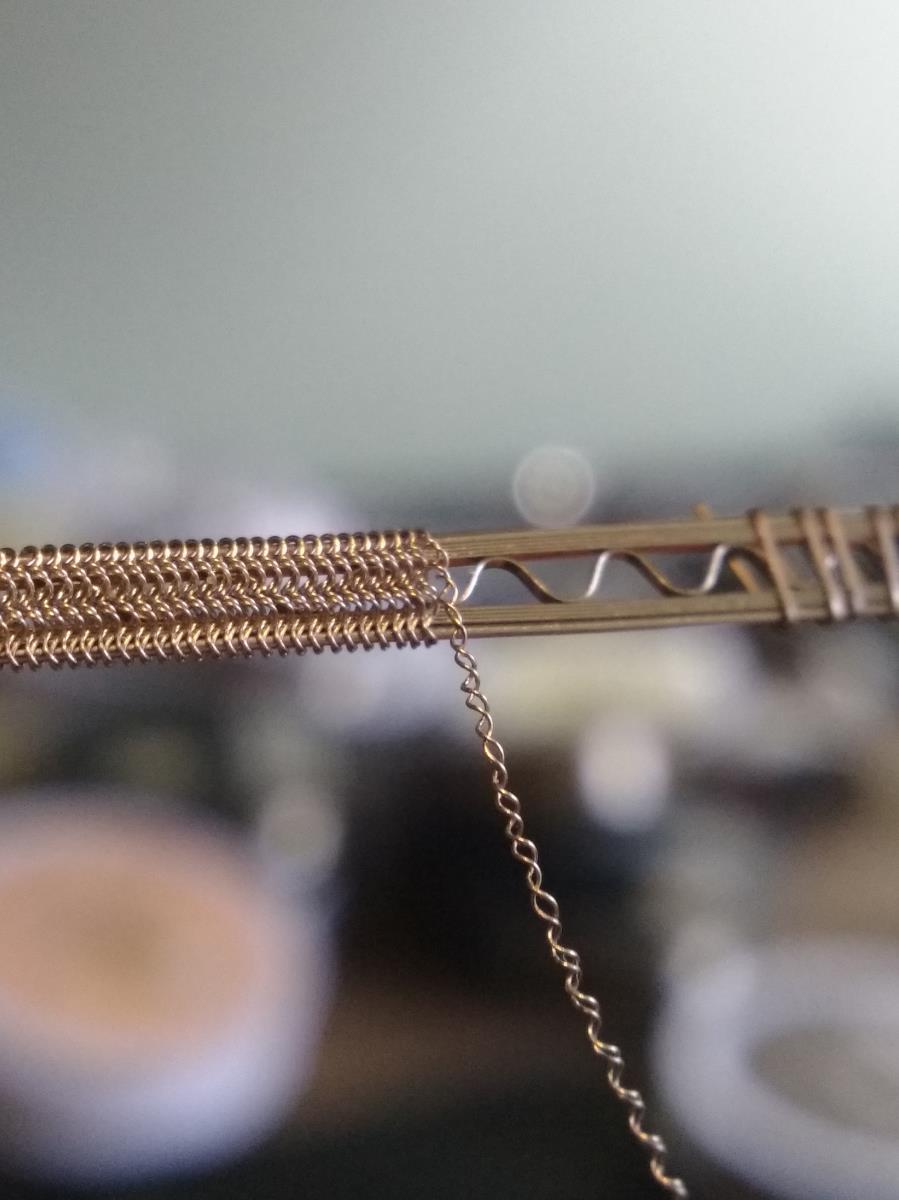
You're "the man".1.) Cut all your Ribbon and set it together, drop a glob of Eliquid on your fingers and slide it up and down all the ribbon, grabb one end about an inch from the end of the gathered ribbon and lift into the air and tilt it so the wide side of the ribbon is parallel to the ground. This will stack all the ribbon on top of each other just from gravity, just pinch the sides and slide your fingers down to ensure they are all perfectly stacked. Then cut the ends flush and carefully set it down with a bit hanging off the edge for an easy way to grab them again.
I made a video that shows what I mean here: https://drive.google.com/file/d/0ByjxYyTSvEyBOFRwS1JZMG1kZVk/view?usp=sharing
2.) I use Ribbon Sliders and Pinching with Nylon Pliers every few wraps. Take a strand of Ribbon about 2 Inches long and Loosely wrap it around your wires, VERY LIGHTLY pinch it with Nylon pliers. This will make a band that locks everything together. I make 3-4 of them and space them down the wire, keeping 2 of them closer to each other where you are working (keep one within 1/4" of where you are fusing). Remember to pinch the fused portion every 5-8 fuses. .4 Ribbon or larger works best.


Hope this helps.
