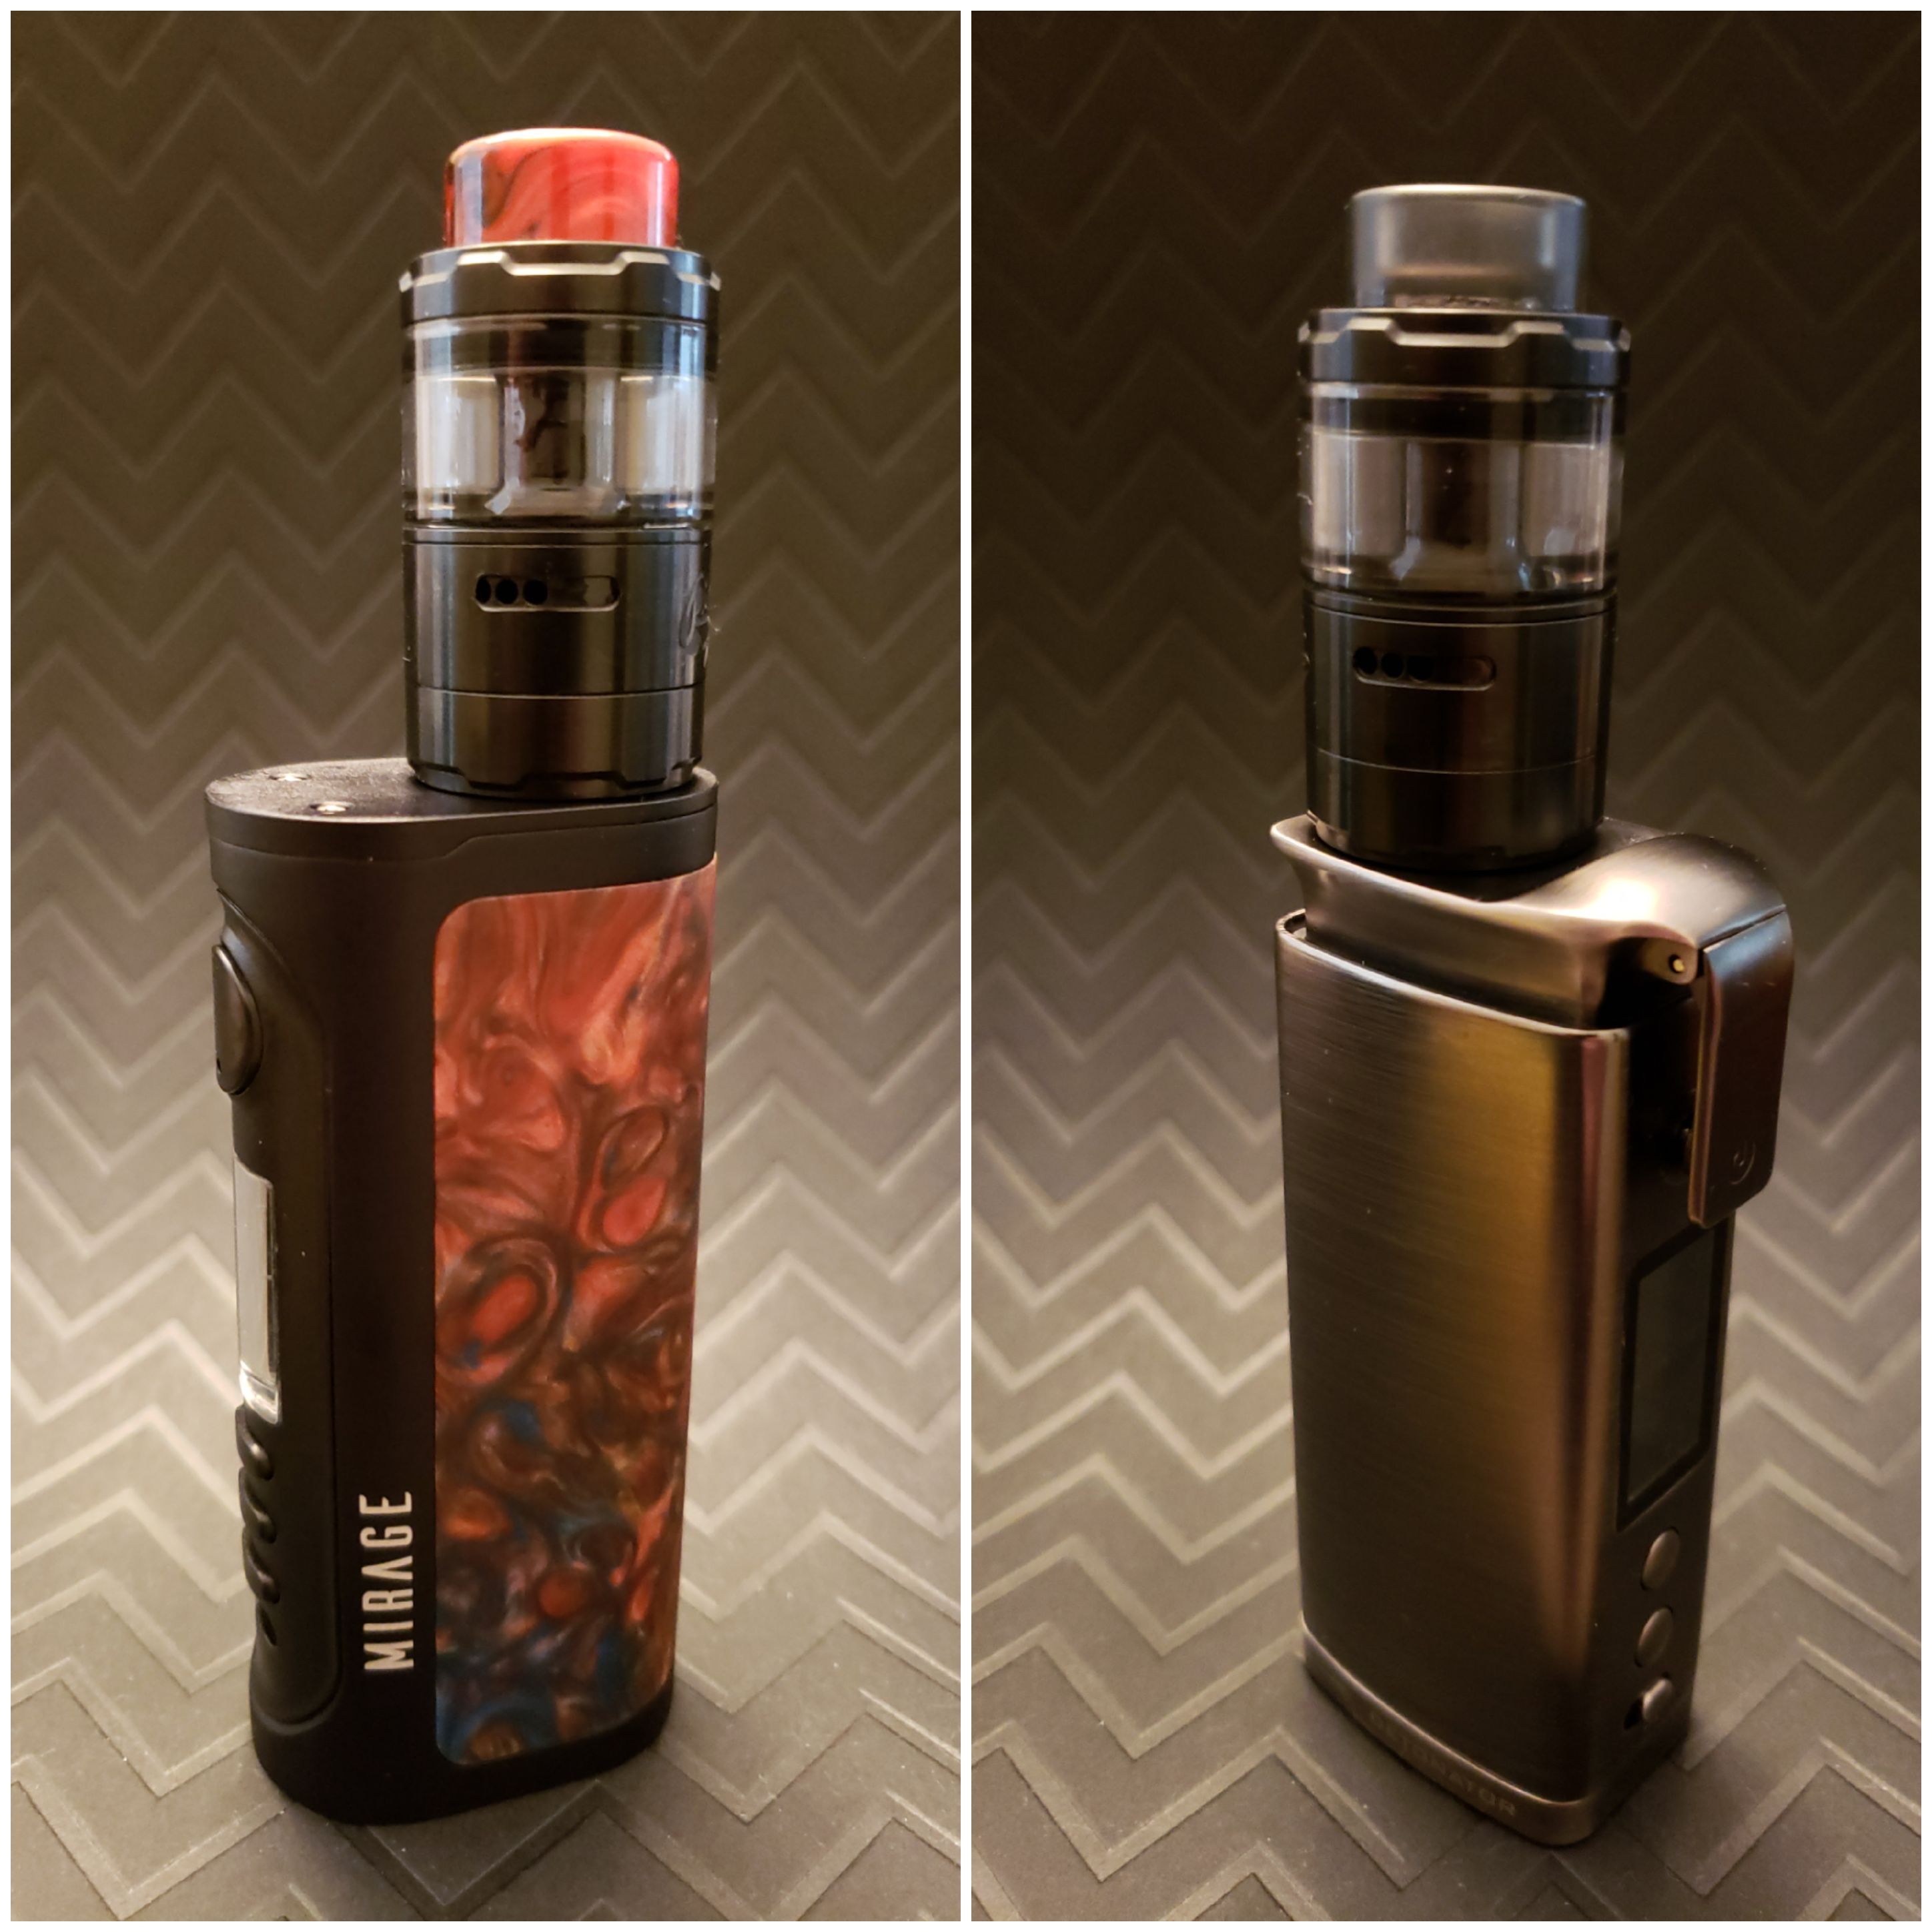
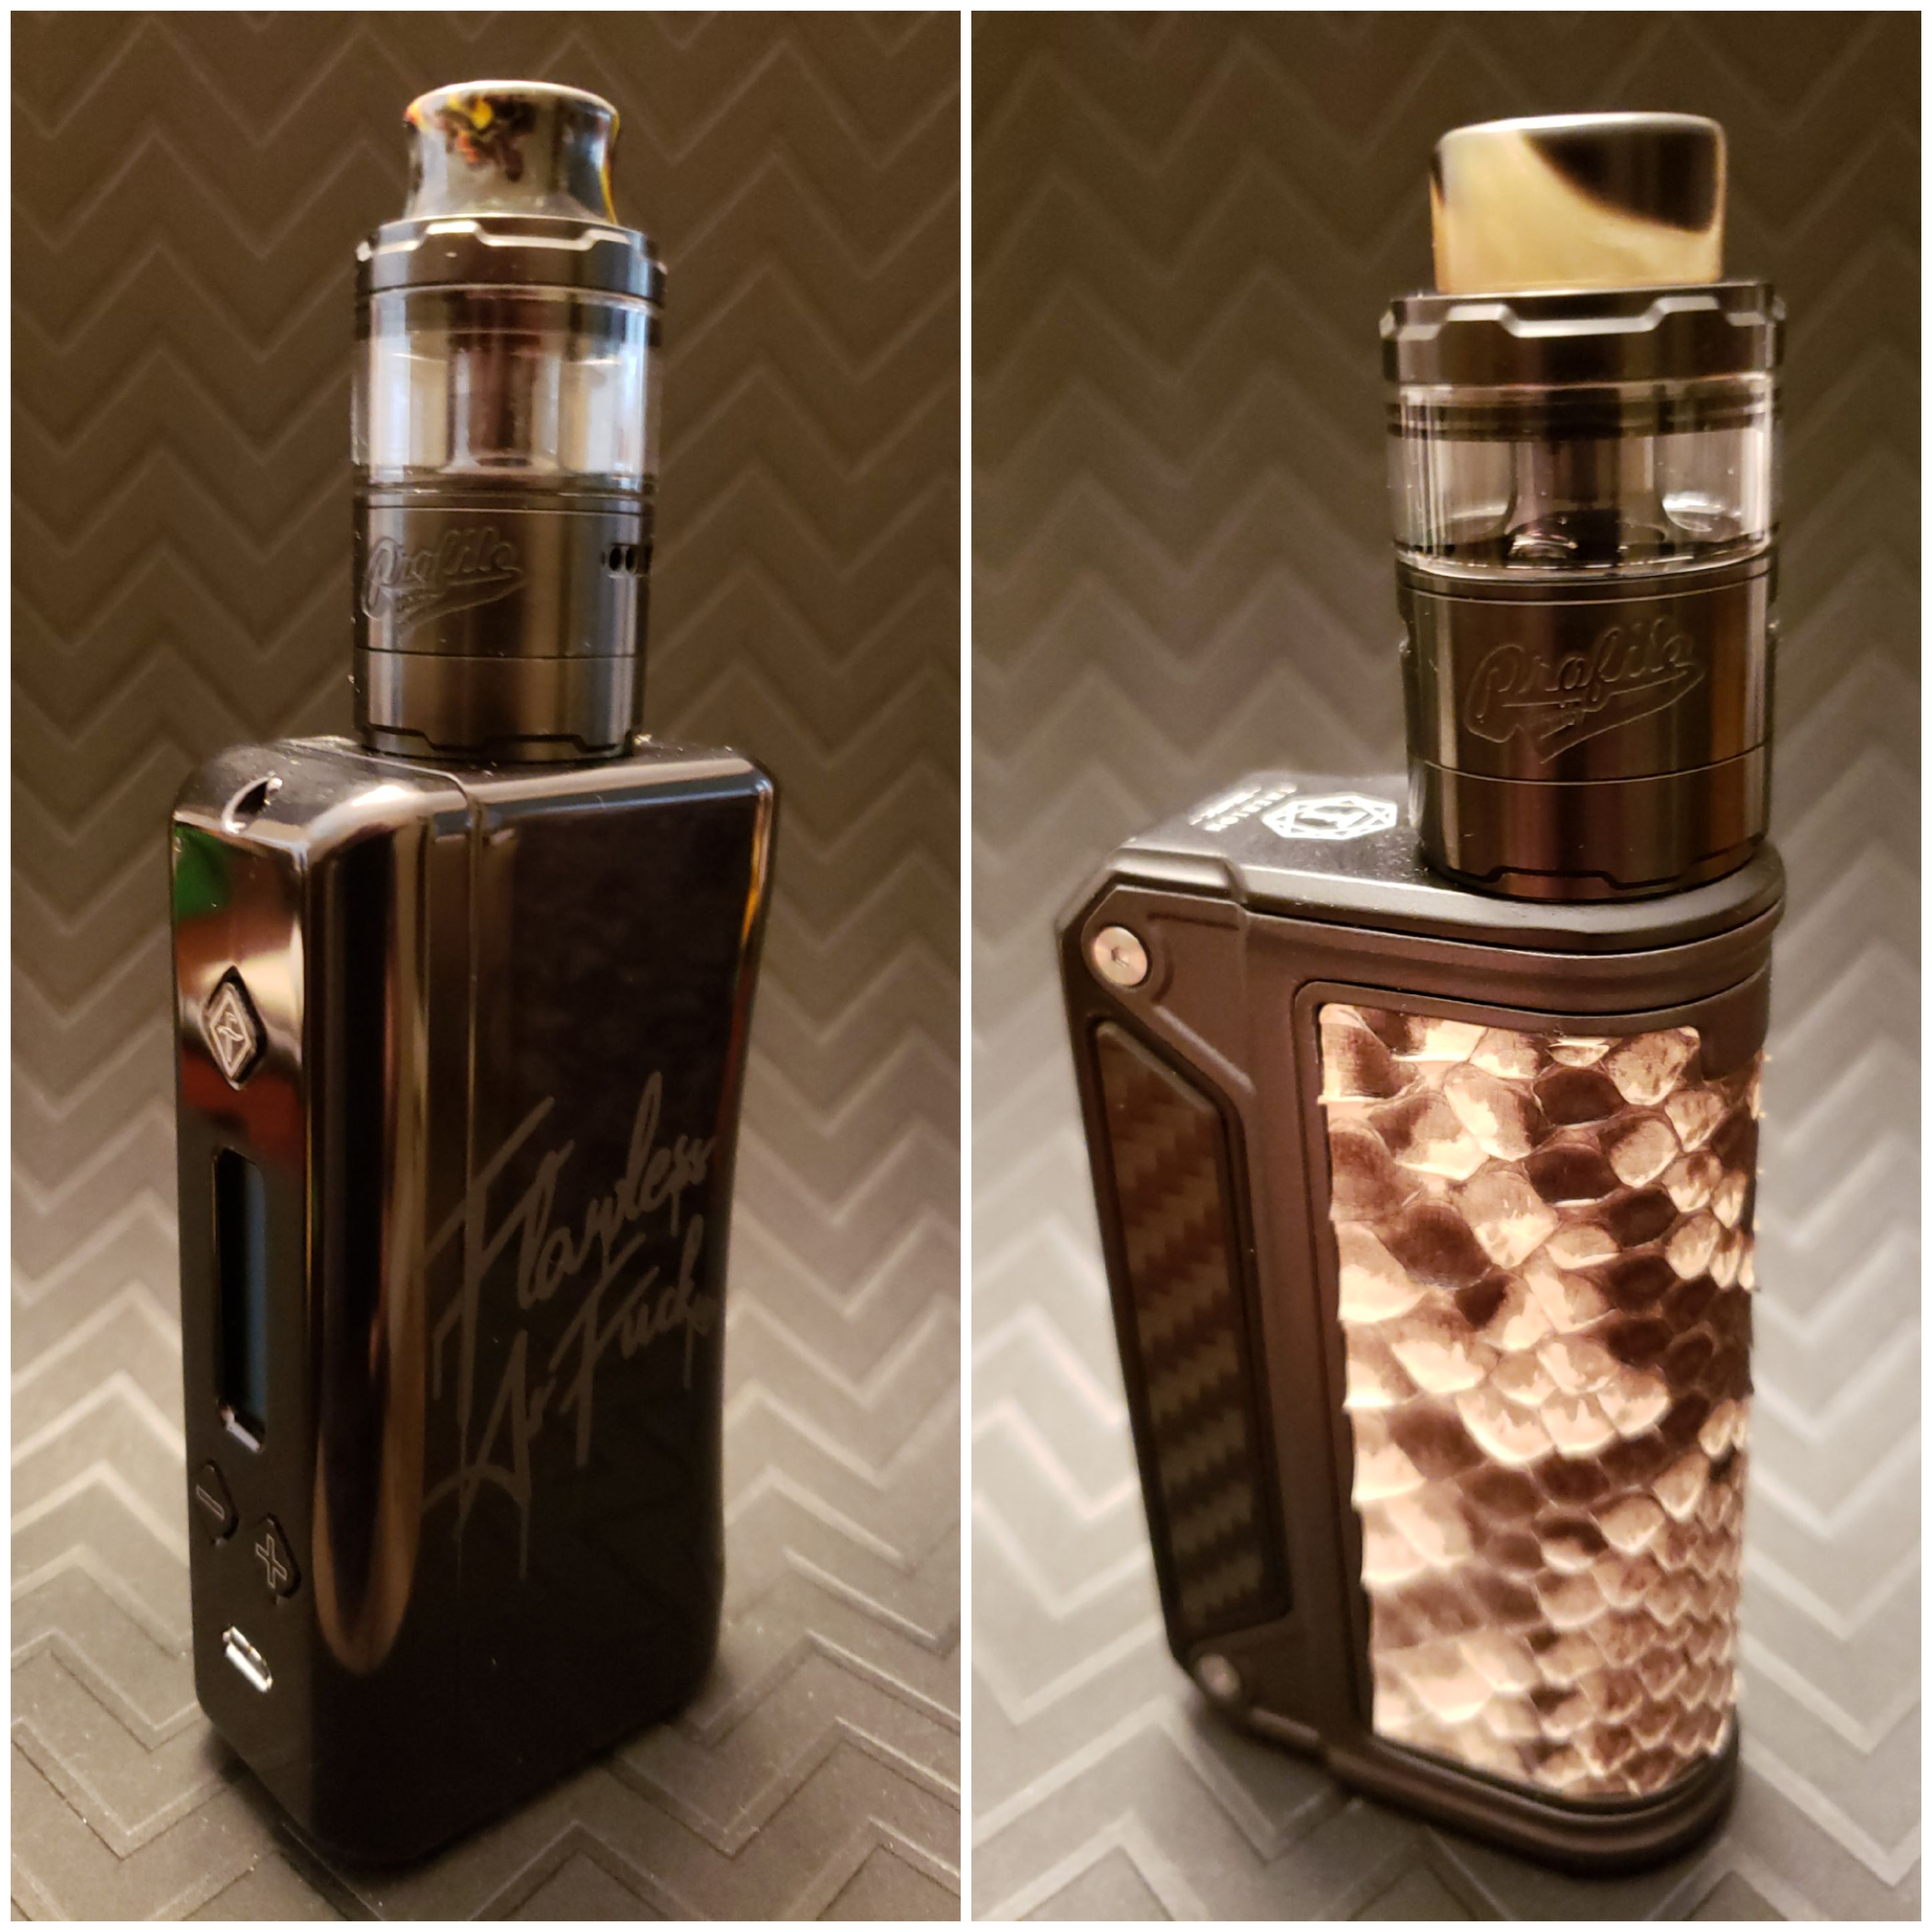
Wotofo is at it again, bringing mesh to the masses with the Profile Unity RTA. Once again designed by the Profile RDA guru MrJustRight1 and adding Brian Herb fromThe Vapor Chronicles, designer of the Drop RDA, Dovpo Topside and other cool gear.
Specifications:
Mesh Coil Specs (OFRF nexMESH):
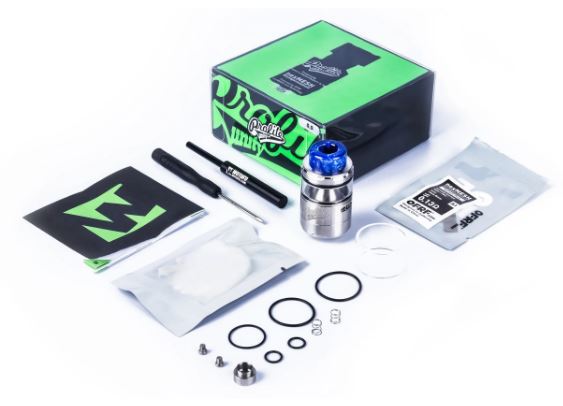
What’s in the package:
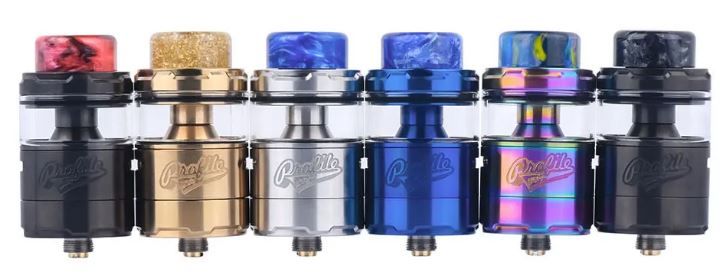
Available in 6 colors:
Getting to know the Wotofo Profile Unity RTA
If you are not already familiar with the Profile RDA which was released sometime back in September 2018 it was the first Mesh RDA that I not only loved at the time but still use to this day. It became one of the popular RDA's back then, I know a local vape shop that was selling them like crazy. What they finally got right was a spring mechanism that kept the cotton in constant contact with the mesh, something that plagued earlier Mesh rebuildable tanks. I personally tried about 2 or 3 mesh RDA and RTA's and you could get them to work but overall they were a PITA and not worth the trouble.
Mesh can work great though, look at how it has nearly dominated the sub-ohm tank market, nearly every new prebuilt coil coming out now has a mesh coil option.
The Profile Unity RTA has a similar build deck to the RDA, here is the Profile RDA deck on the left, RTA on the right.
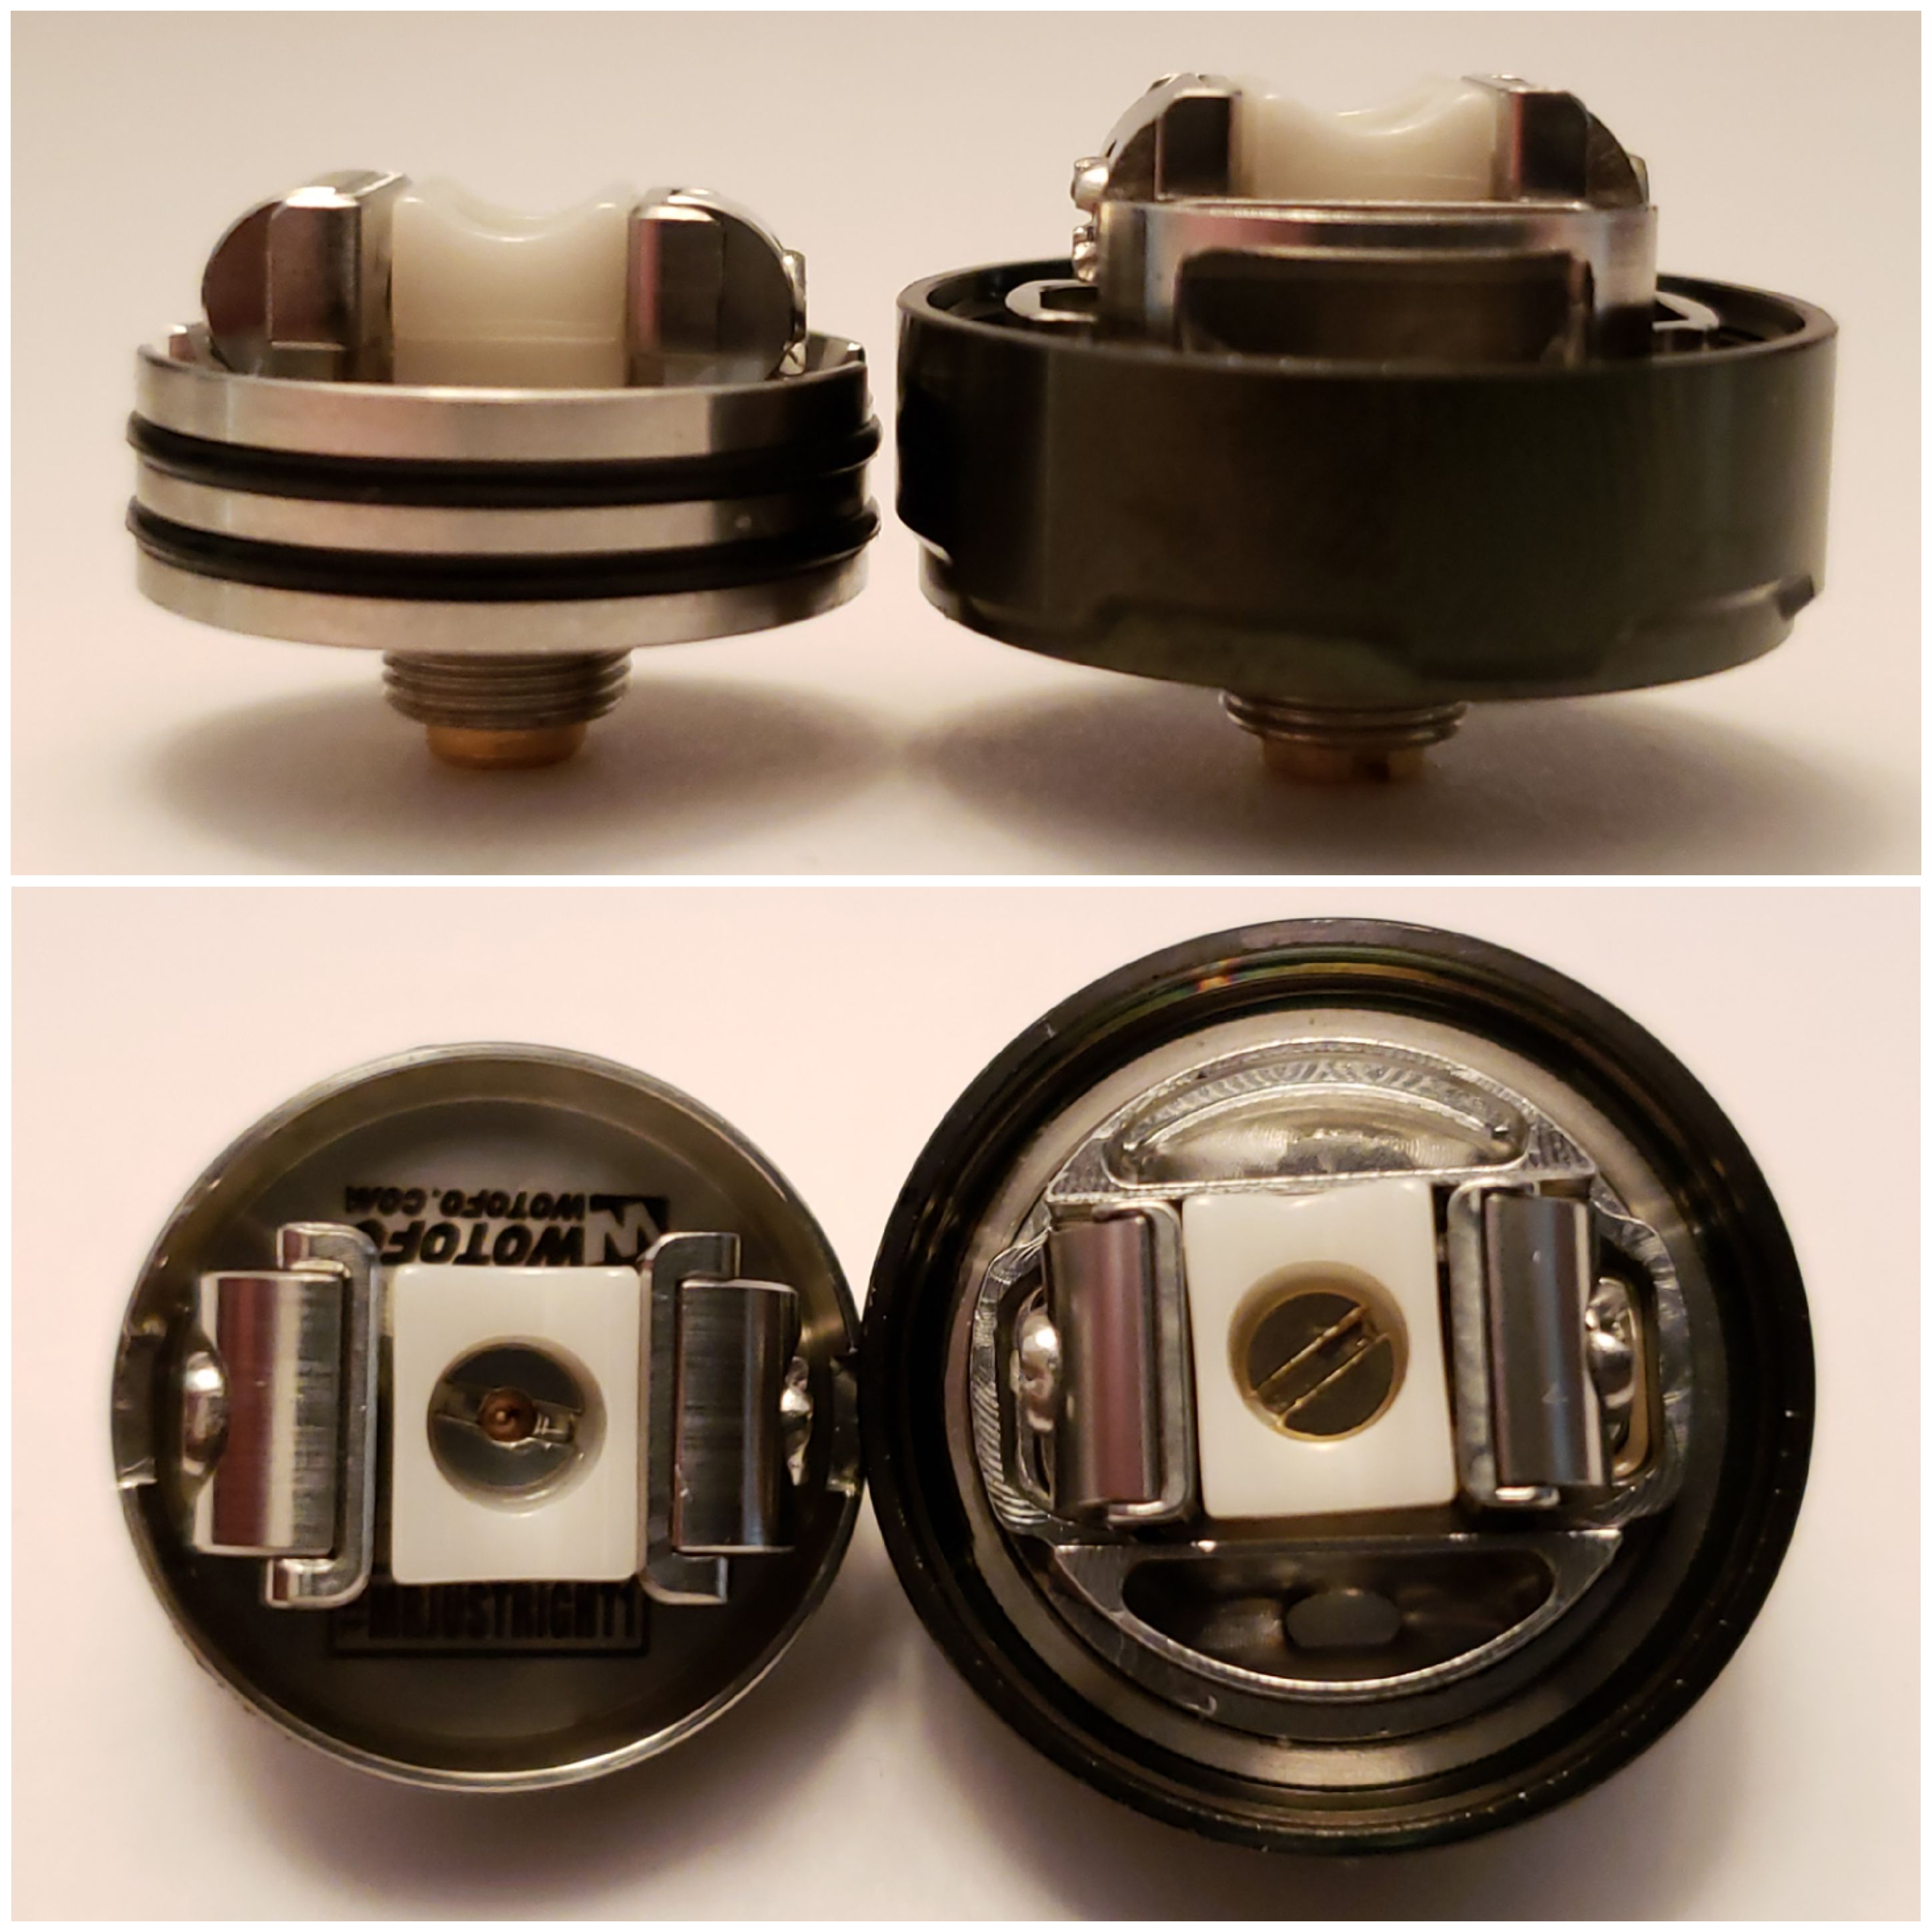
The white grooved thing you see in the middle is spring loaded, it is there to keep your cotton snug against the mesh once installed, simple idea that works.
The fit and finish of the tank is pretty nice and threading is smooth, no struggling to find the grooves. Half a turn and the top cap comes off to fill, would have liked bigger fill ports though.
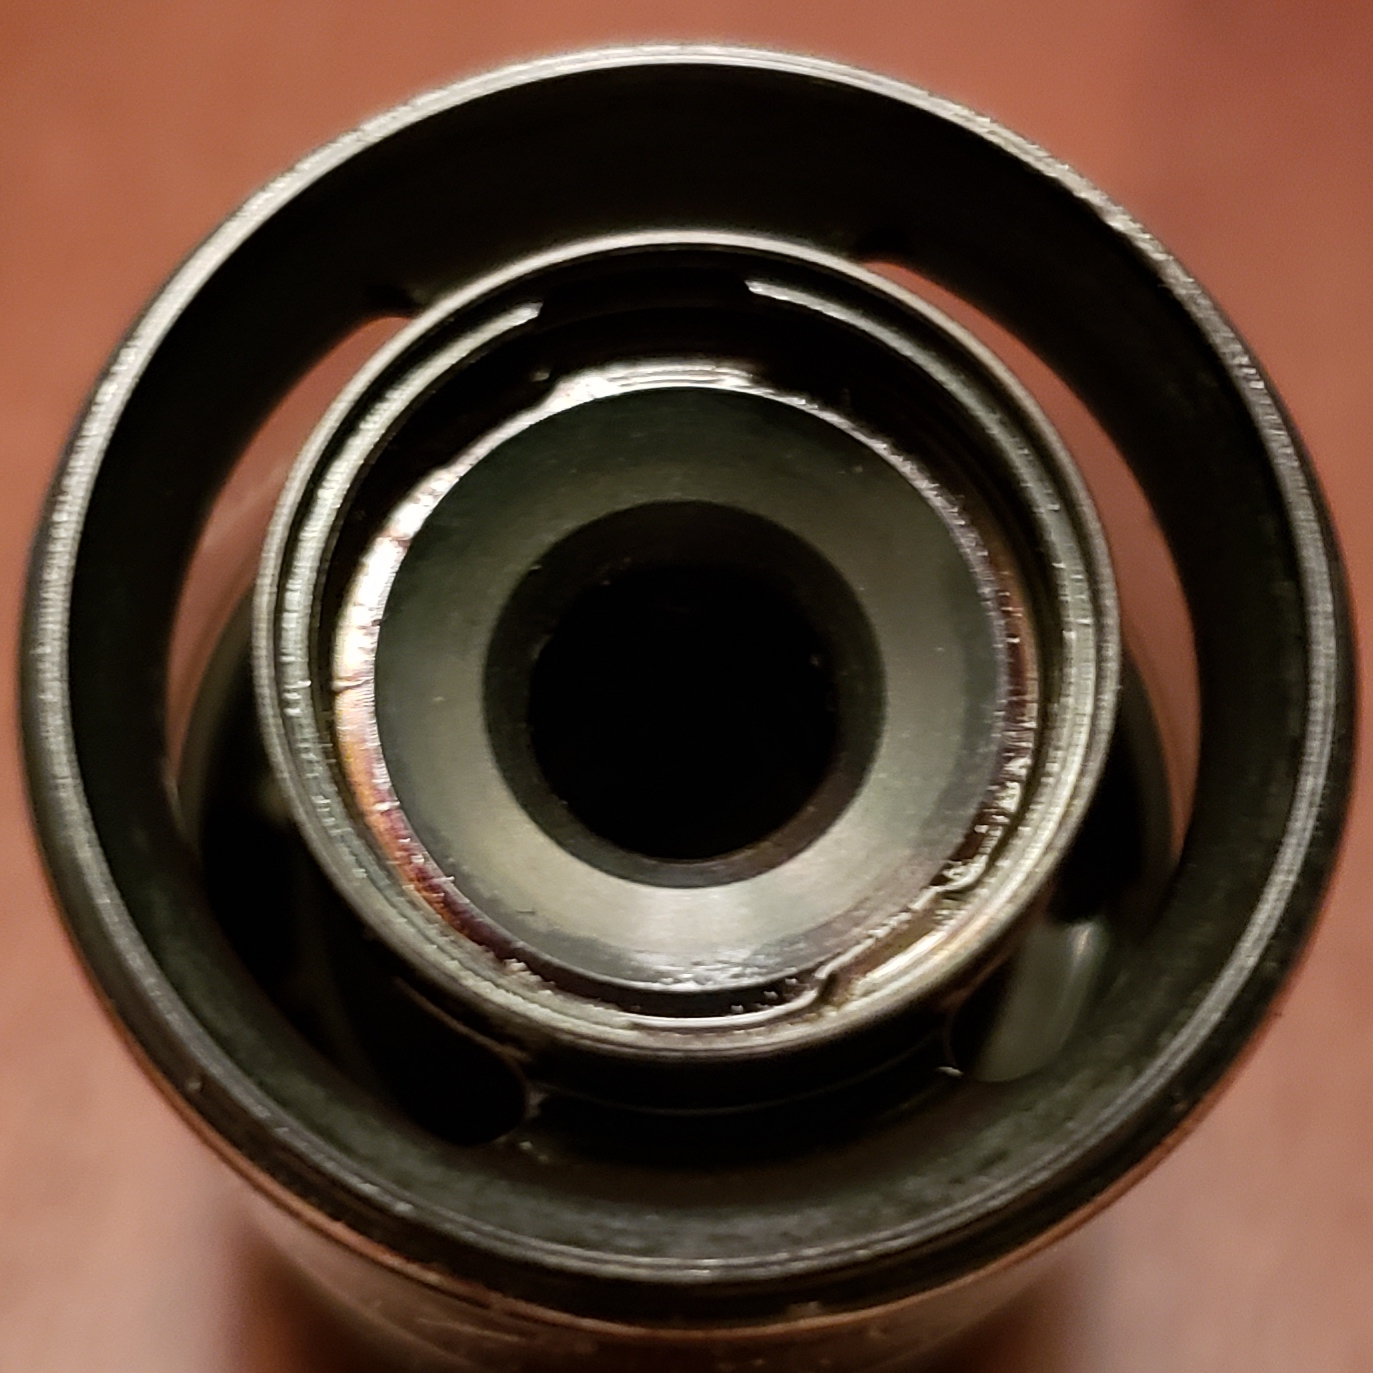
Airflow with all 5 holes open is pretty airy, airier than I was expecting so closed it off to 3 air holes open on each side which came me a little restriction and a bit of a flavor boost. Smooth and quiet airflow, tried all the openings and not noisy at all.
When I used the included drip tip (no extra drip tip included which is a con) I had to open up another air hole as the included 810 drip tip has a narrow opening. Here is a pic of a normal friction fit 810 on the left, Wotofo Profile included 810 center and friction fit 510 DT on the right.
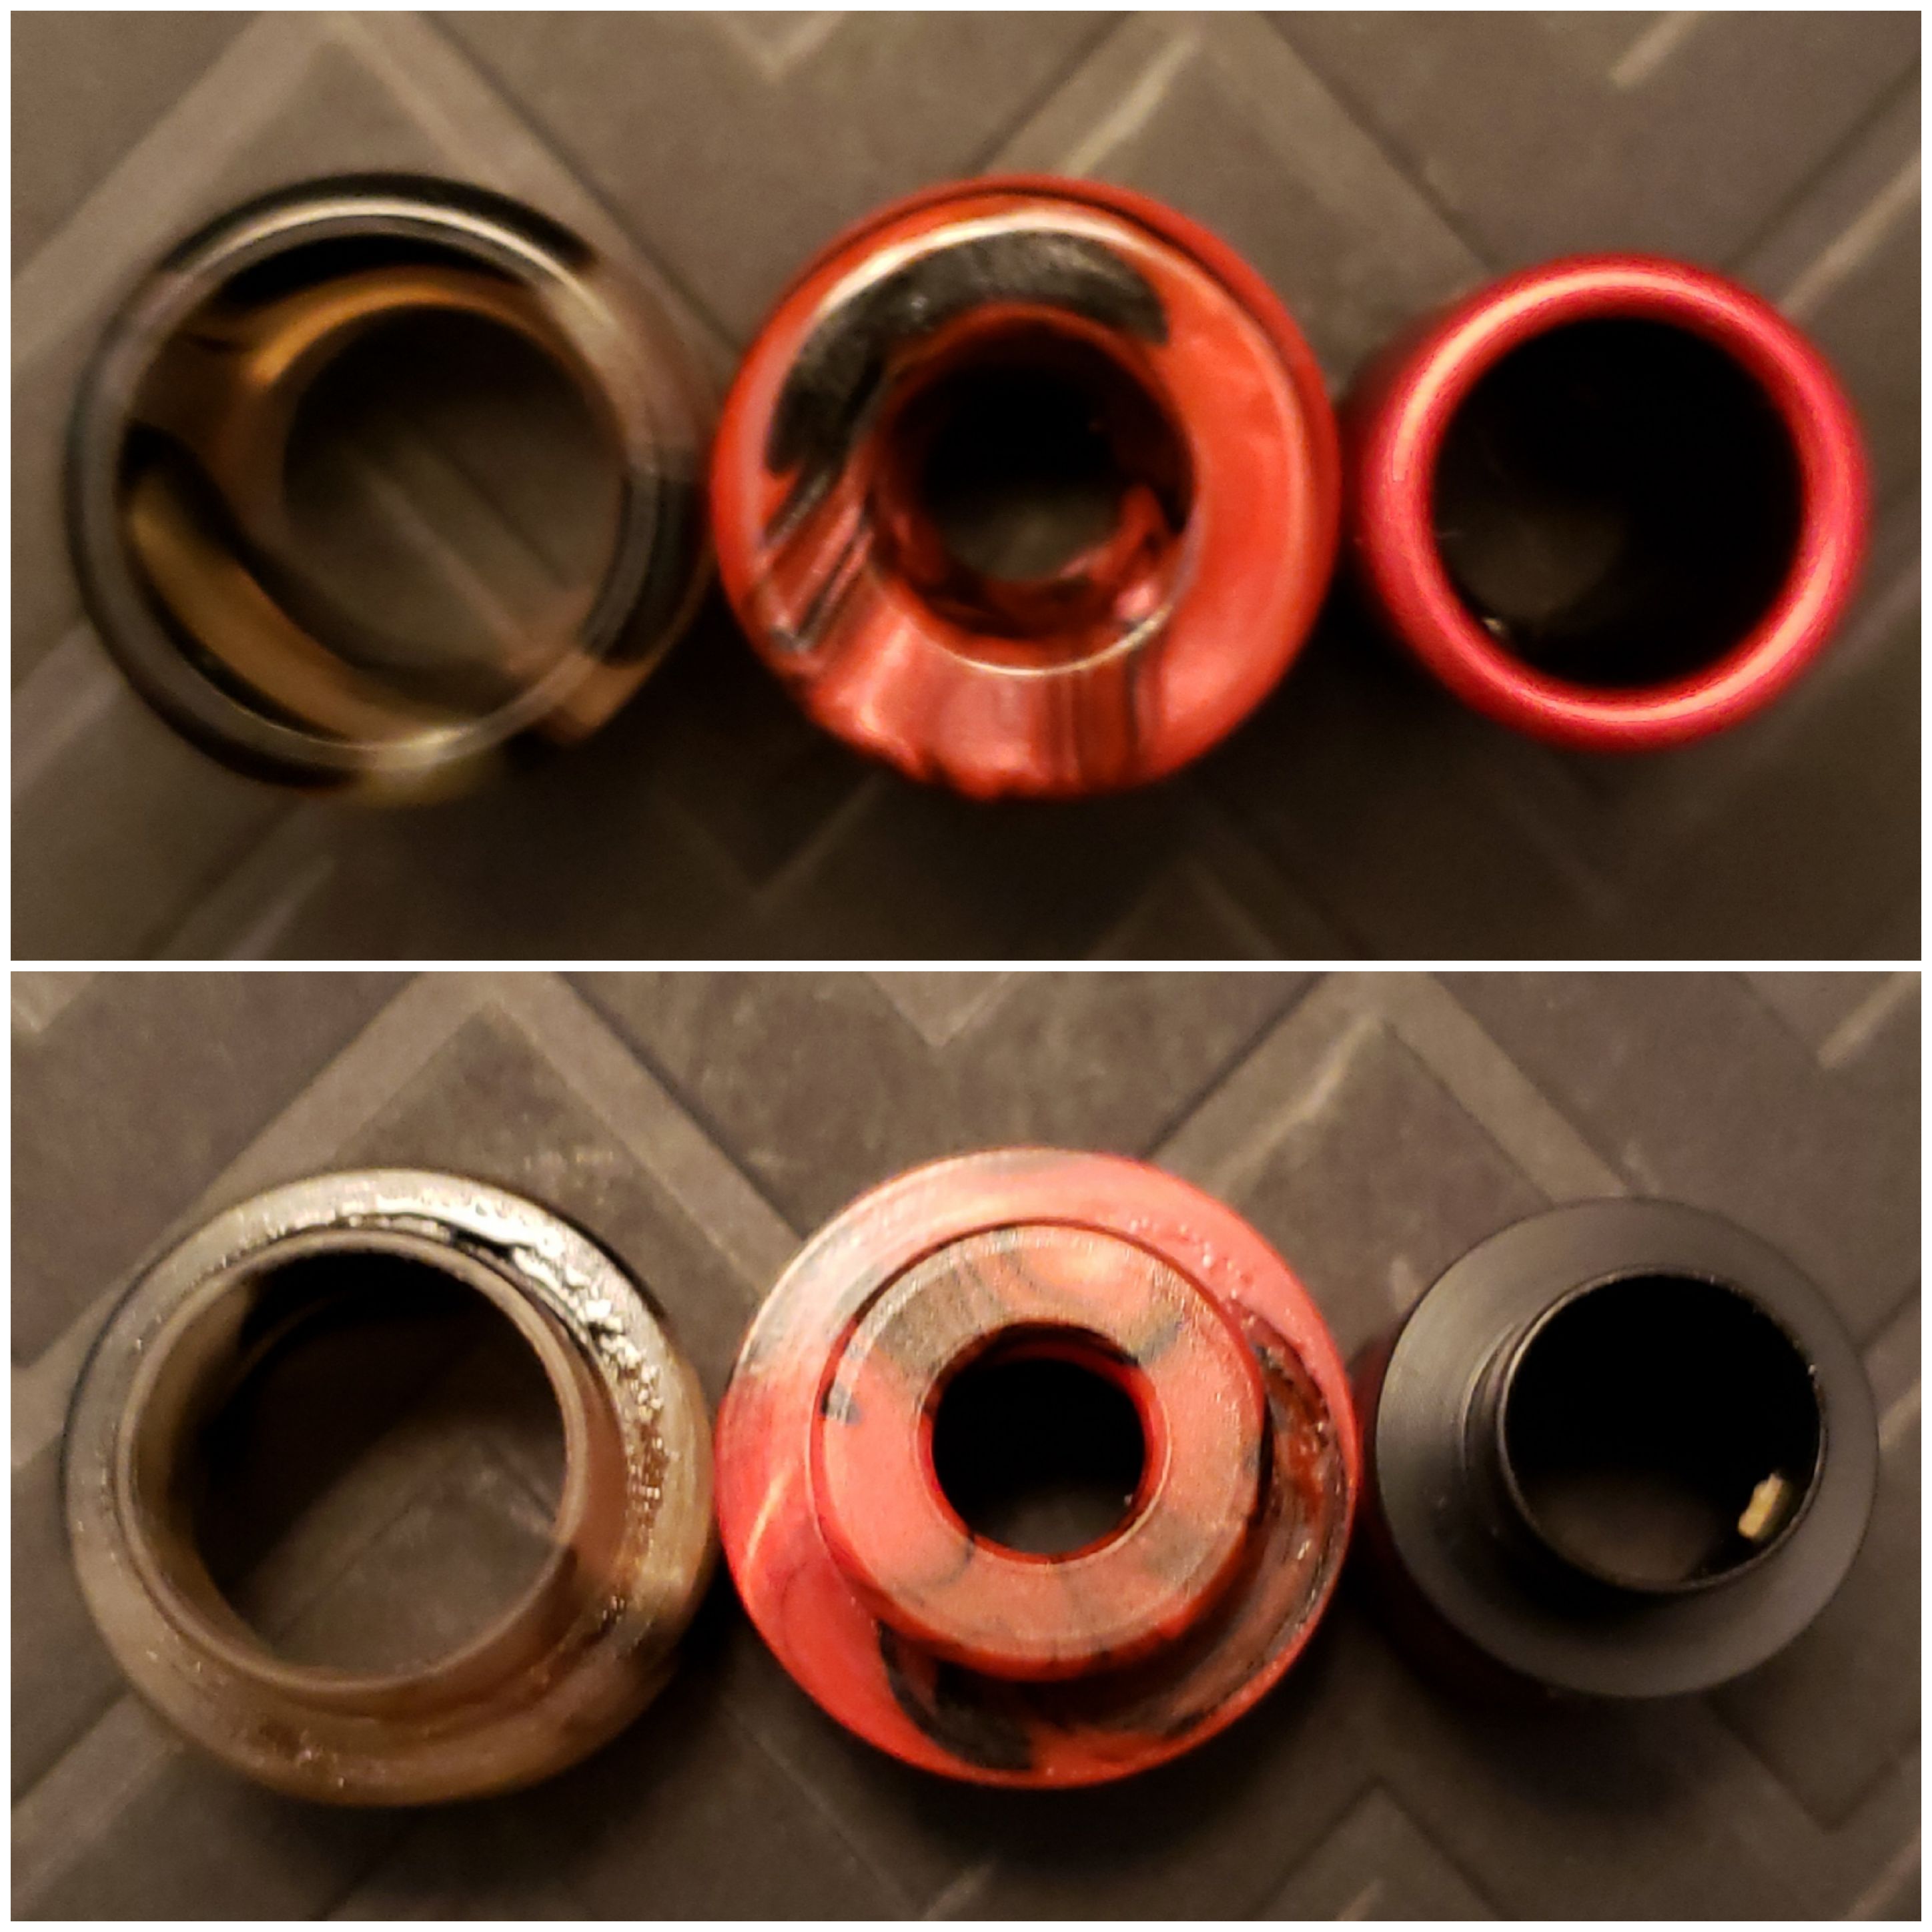
As you can see the Wotofo provided DT has the smallest opening, smaller than a friction fit 510. Since I prefer more airflow I swapped it out after the first tankful and got a bump in flavor.
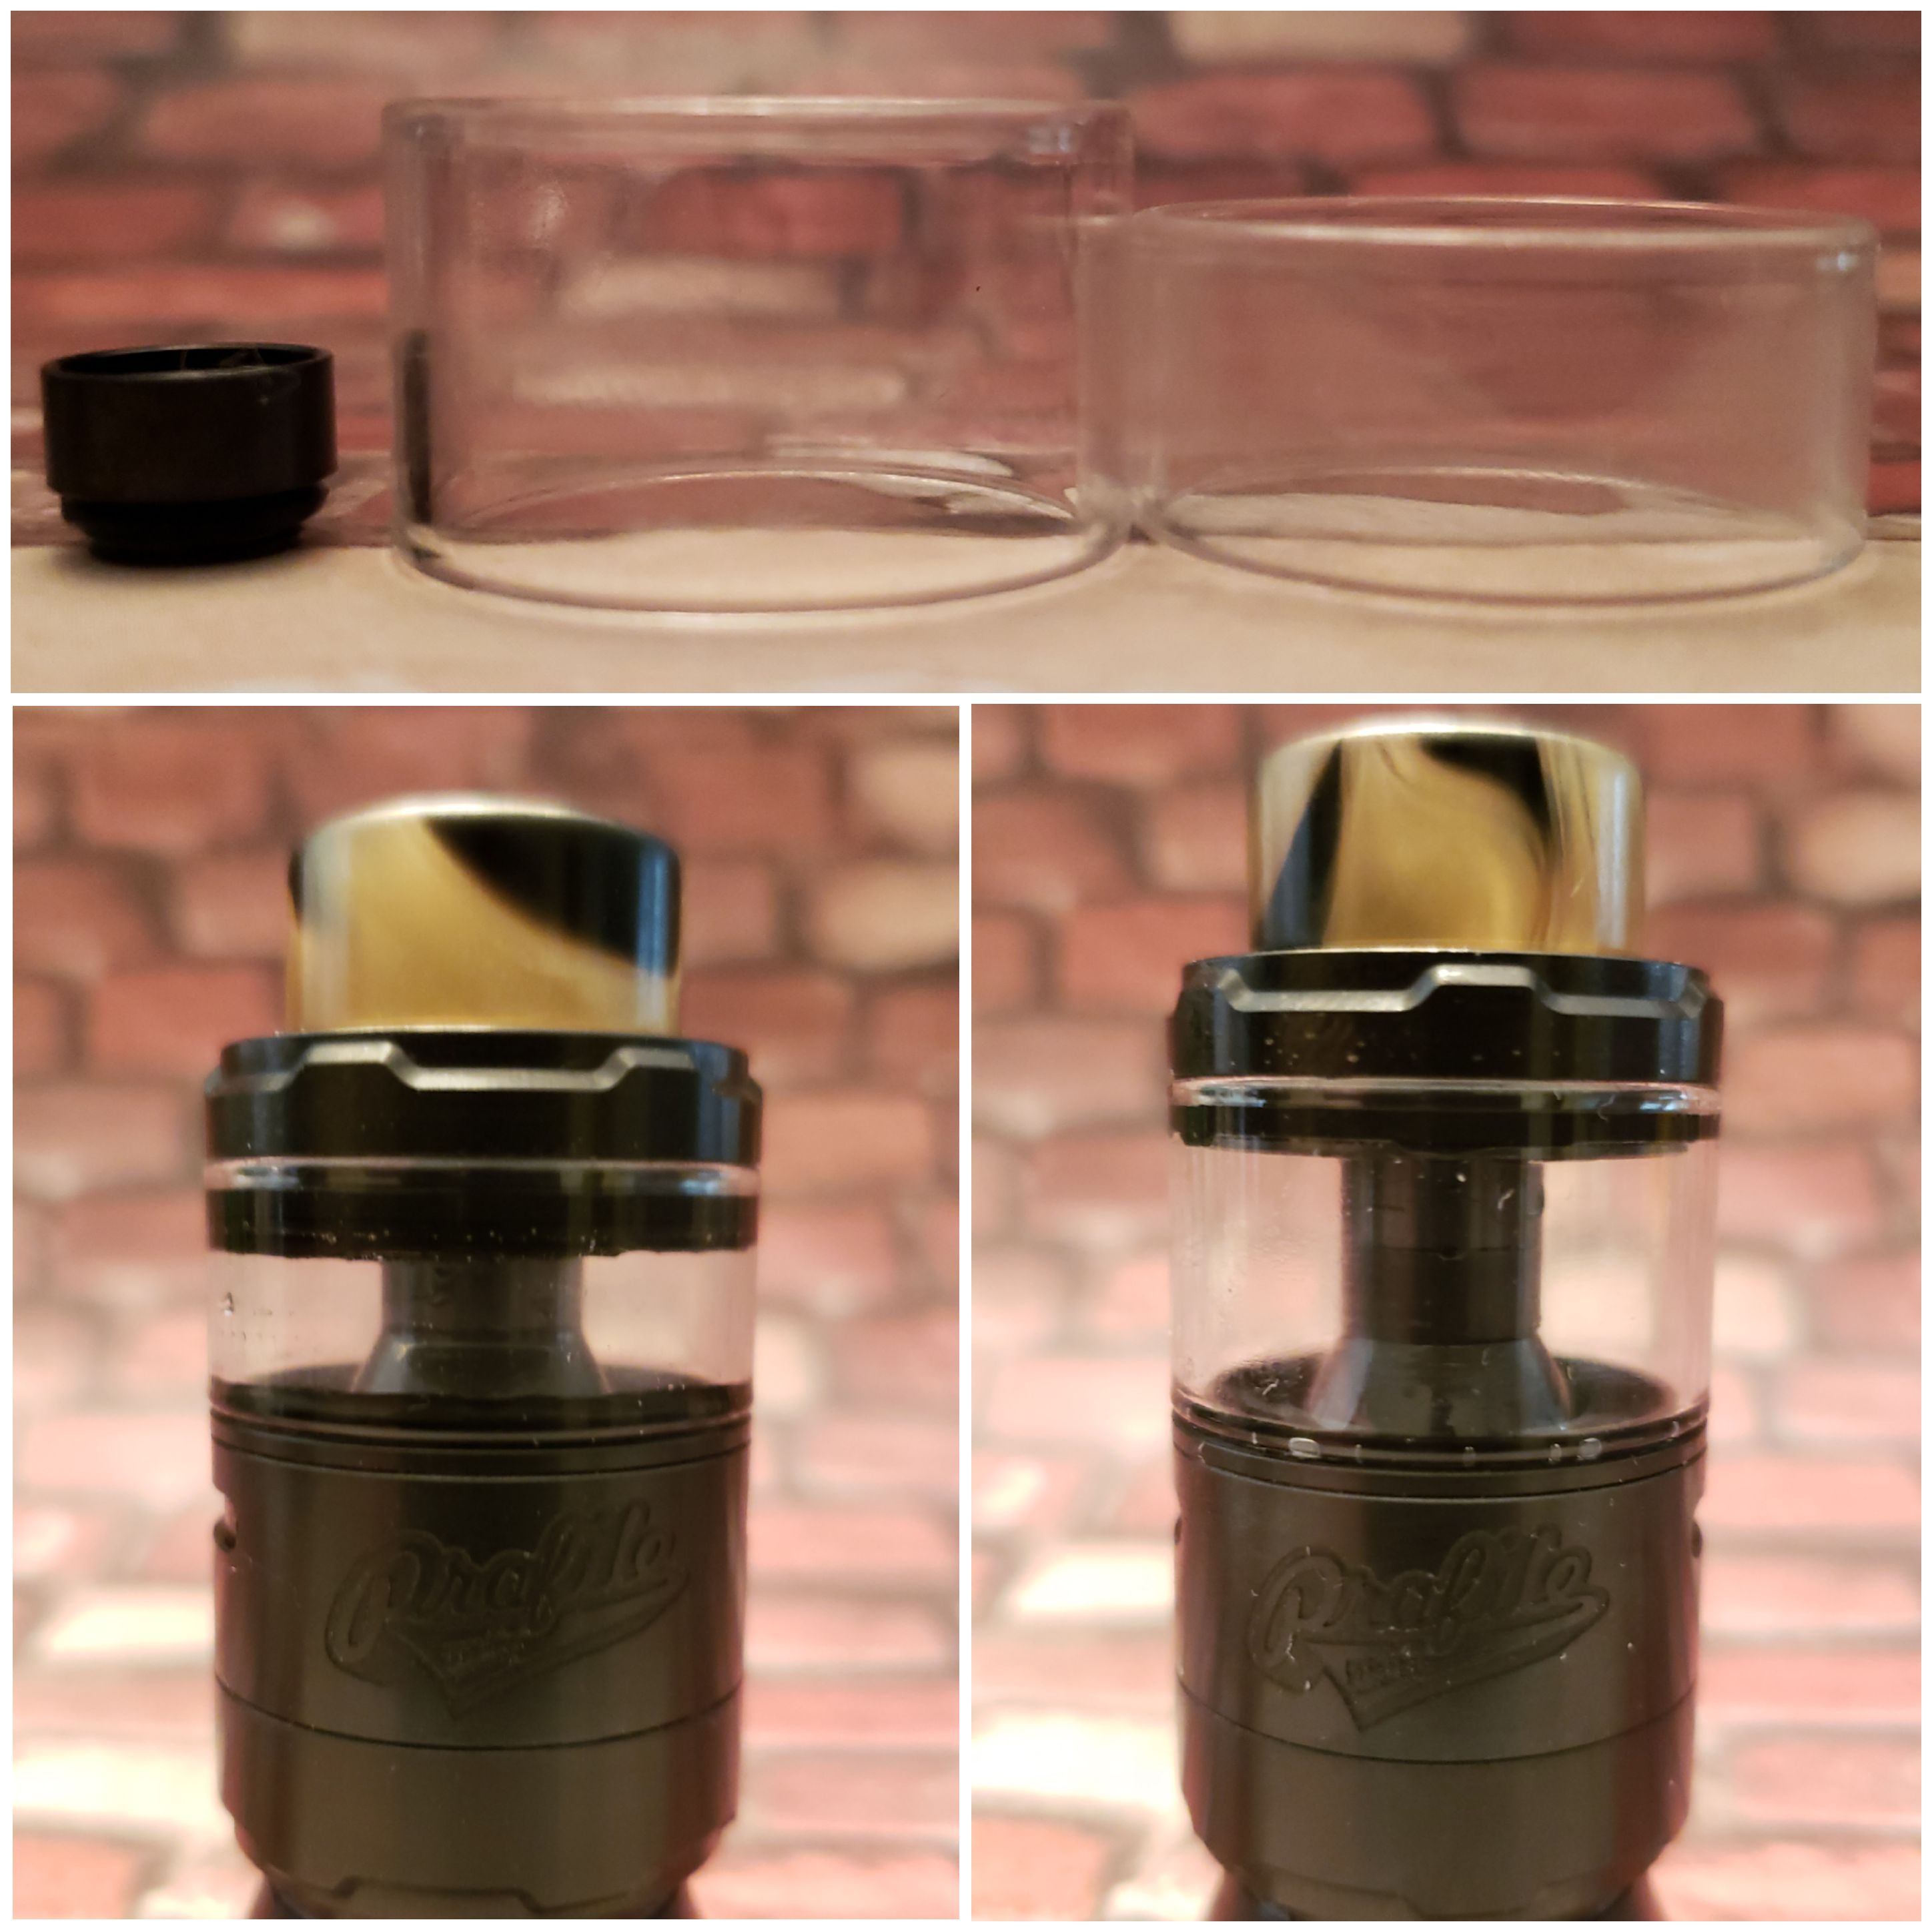
Wotofo does provide extra o'rings, spare springs, screws and the normal whatnots including a chimney extension with taller glass for it to make it a 5ml instead of 3.5ml. You also get (2) OFRF nexMESH and (2) 6mm Agleted Cotton for wicking. No spare 3.5 or 5ml glass are included so if you break one you need to go with the other.
Build and wick
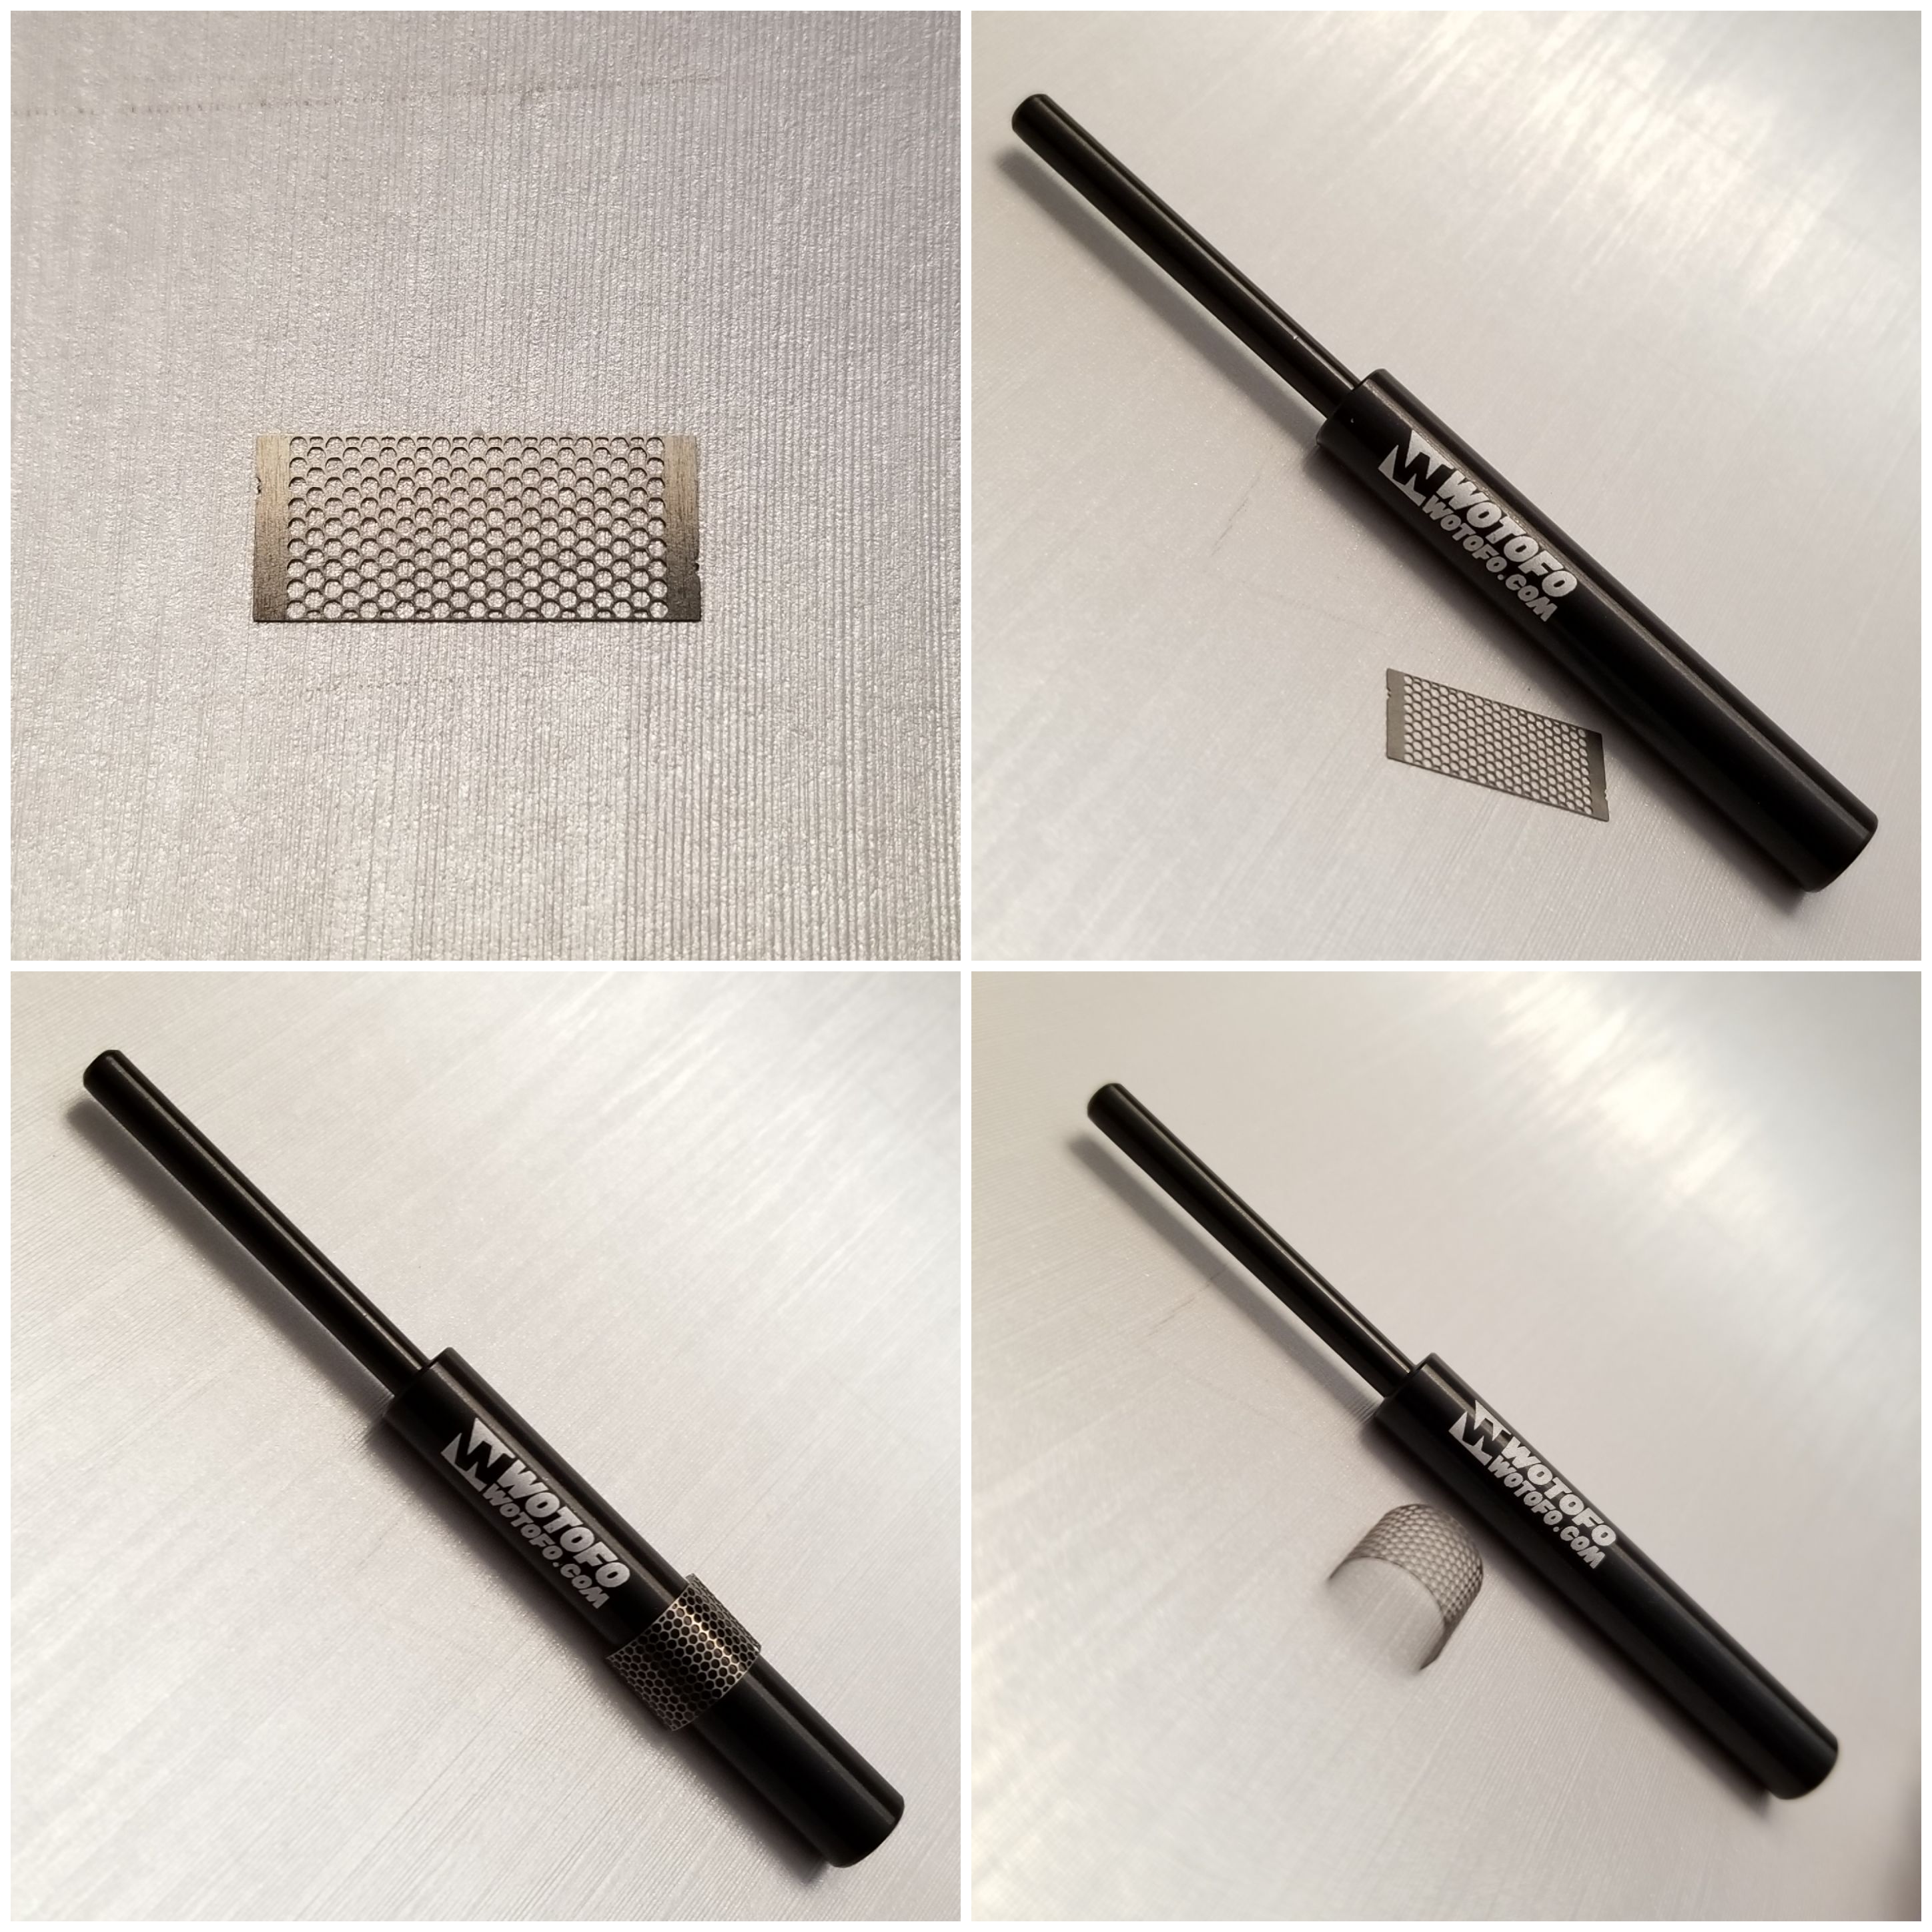
Installing the mesh is about as easy as it gets, just use the supplied tool to bend the mesh in advance and install it.
Not going to bother showing the rest of that build, it was good but I found using the included Agleted Cotton it was just too thick and wicking suffered, could vape fine at about 45 watts but anything about that gave me the dreaded mesh dry hits.....cough cough cough. When I removed the build the cotton under the mesh was like a rock, too much wick. Here is a pic of the included Wotofo Agleted Cotton next to the Cotton Bacon Prime wick I used next.
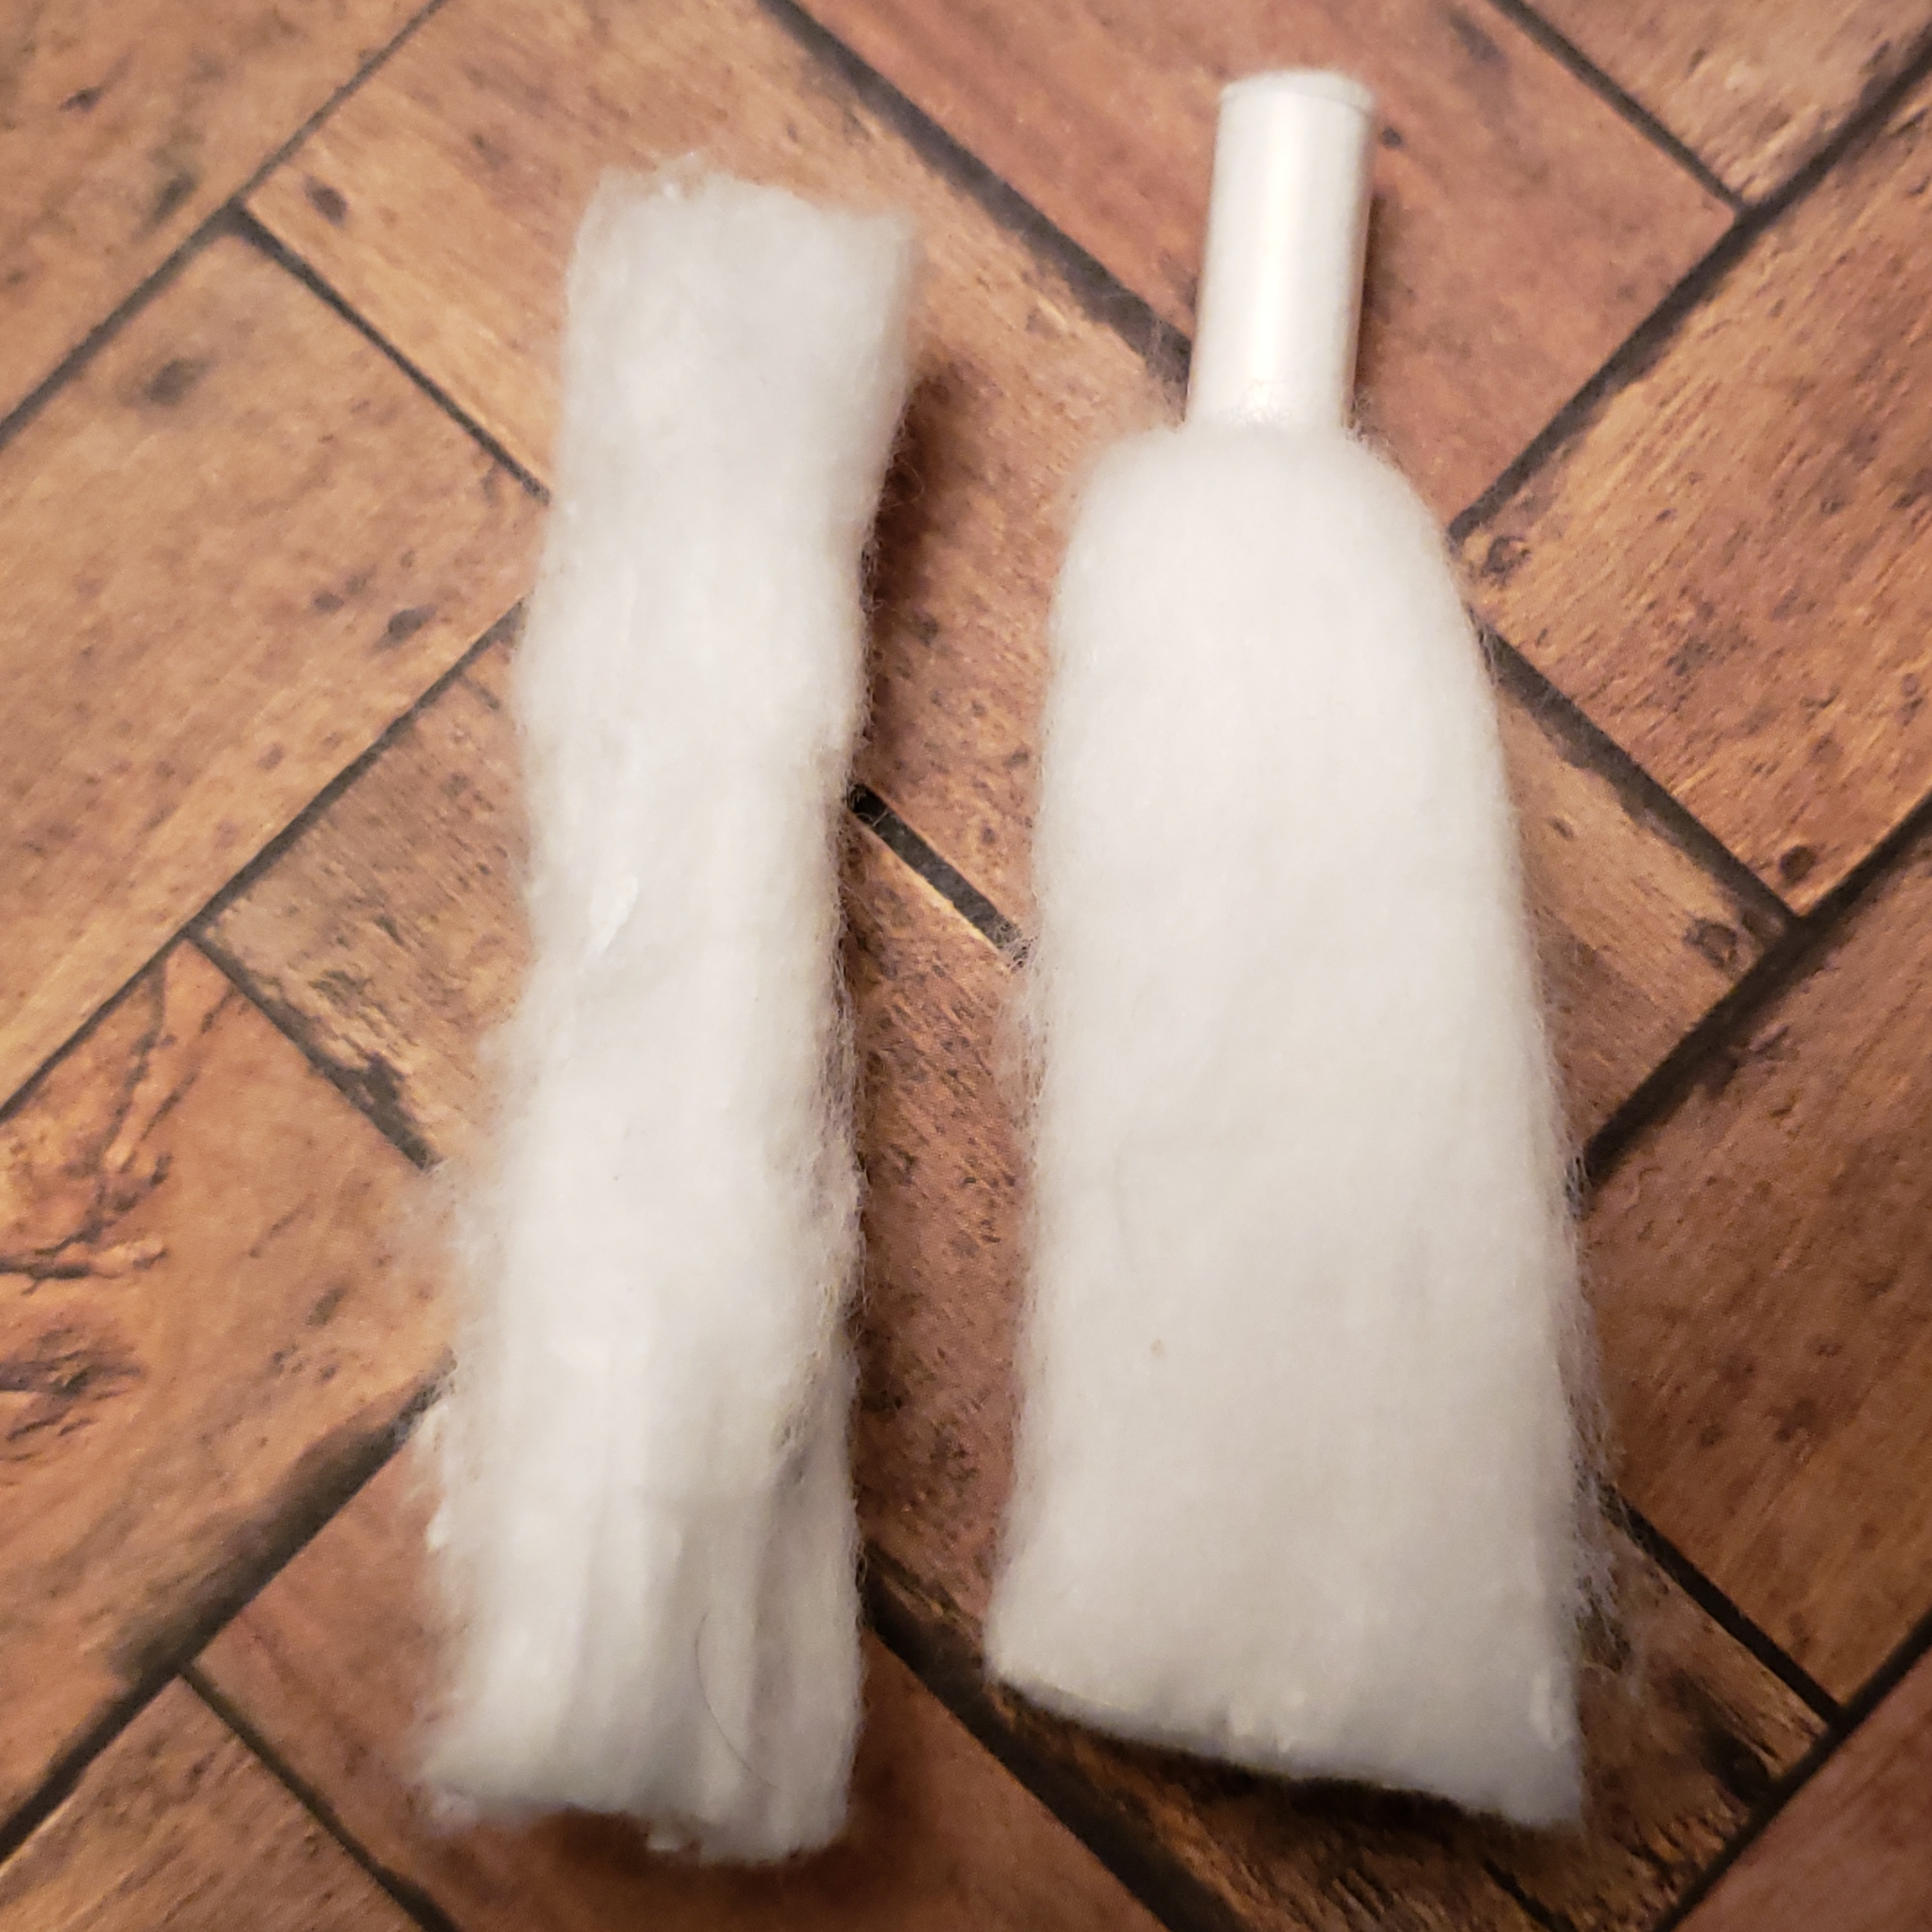
This build here was my favorite using Vandy Vape SS316L 200 Mesh and the Cotton Bacon Prime wick I show above, just use one of the included mesh as a guide to cut to the same size.
Wotofo includes a guide on wicking in the owners manual, a nice touch as it is tricky. When feeding your cotton you want restriction, enough that it is not easy to pull out but not so much that it is tough to get through. Once in cut the cotton at an angle on both sides and uses a pointy tweezer to get it nice and fluffy.
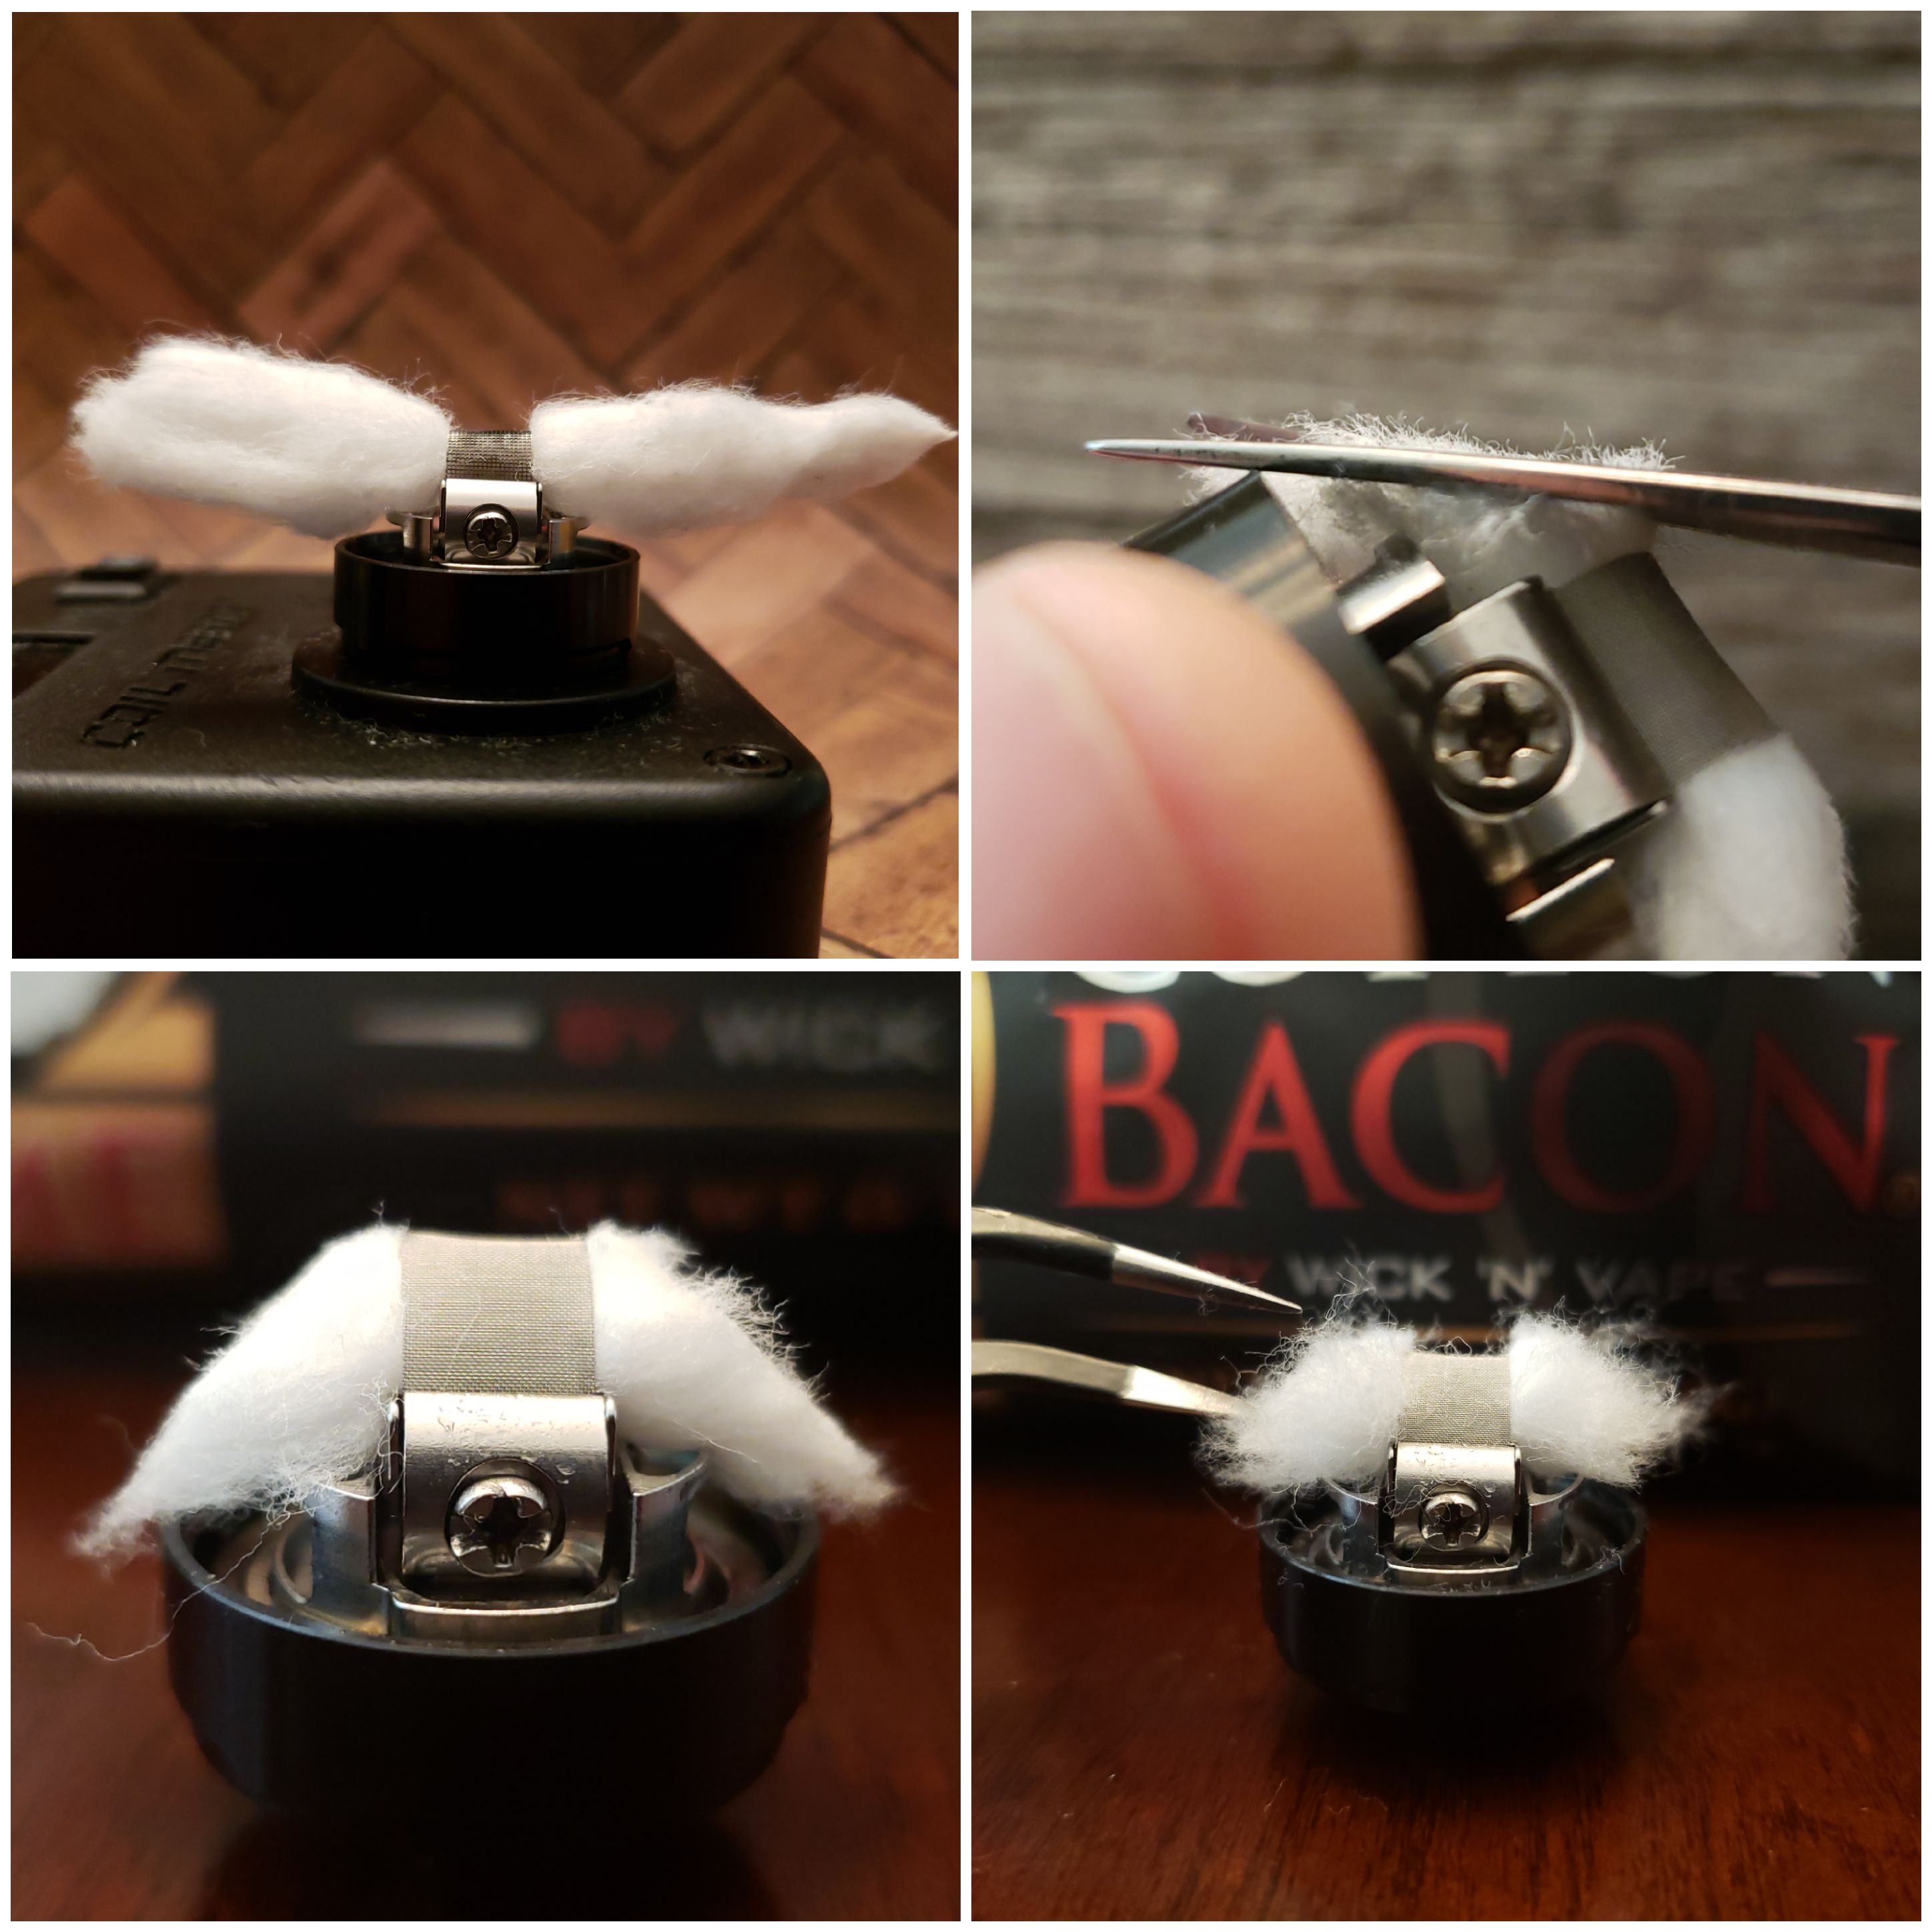
Additional trimming might be necessary as you do not want your wicks to reach the bottom, just peaking into the wicking slots and enough to block any juice from getting into the deck. Once your wicks are in place you can trim the top of the cotton near the mesh, just be careful not to cut the mesh. In the pic below the tucked wick on the left has had the wicks trimmed near the top, the other side still needs a little trim once the wick is tucked in.
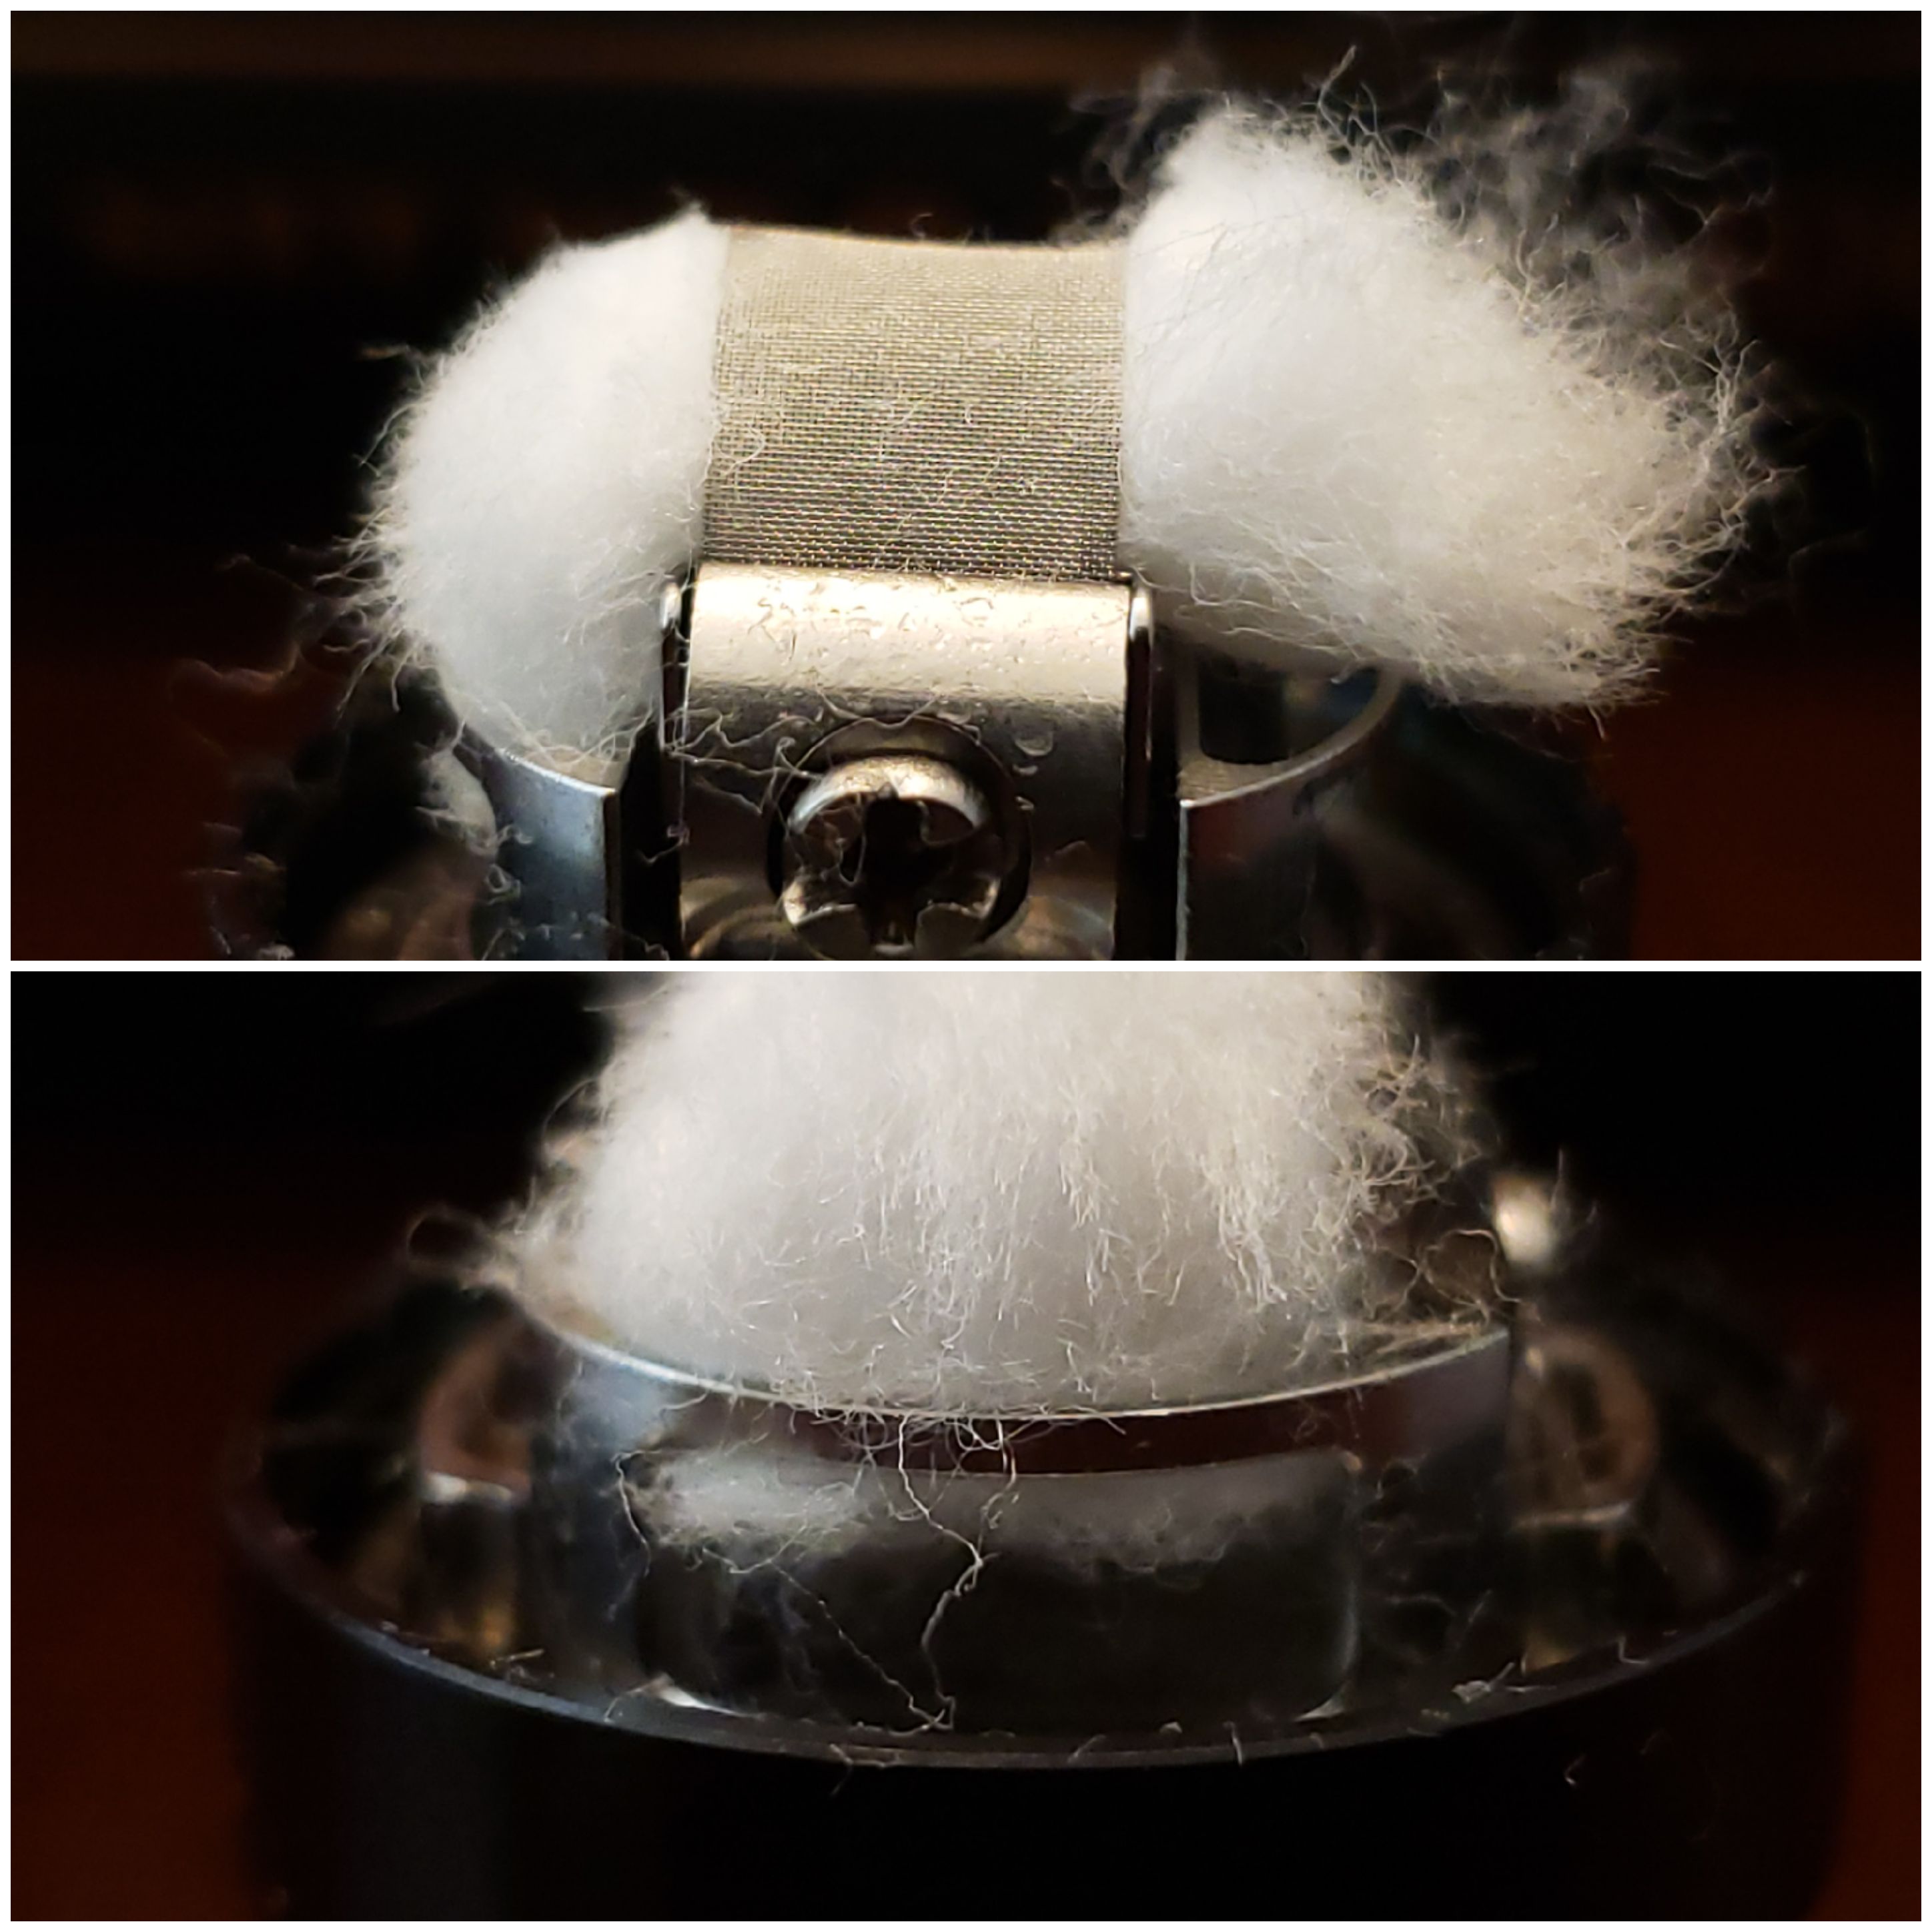
Care needs to be taken when installing the deck and the deck cannot be installed when on a mod or a build station as it only screws in from the bottom. There are slots in the chimney that line up with the base, best to try and get the slots close and not just spinning it around until it falls in, you can mess up your wicks. That build above lasted me a good 5 days and about 10 to 12 fill ups before I decided to take out the deck to see how the mesh was holding up.
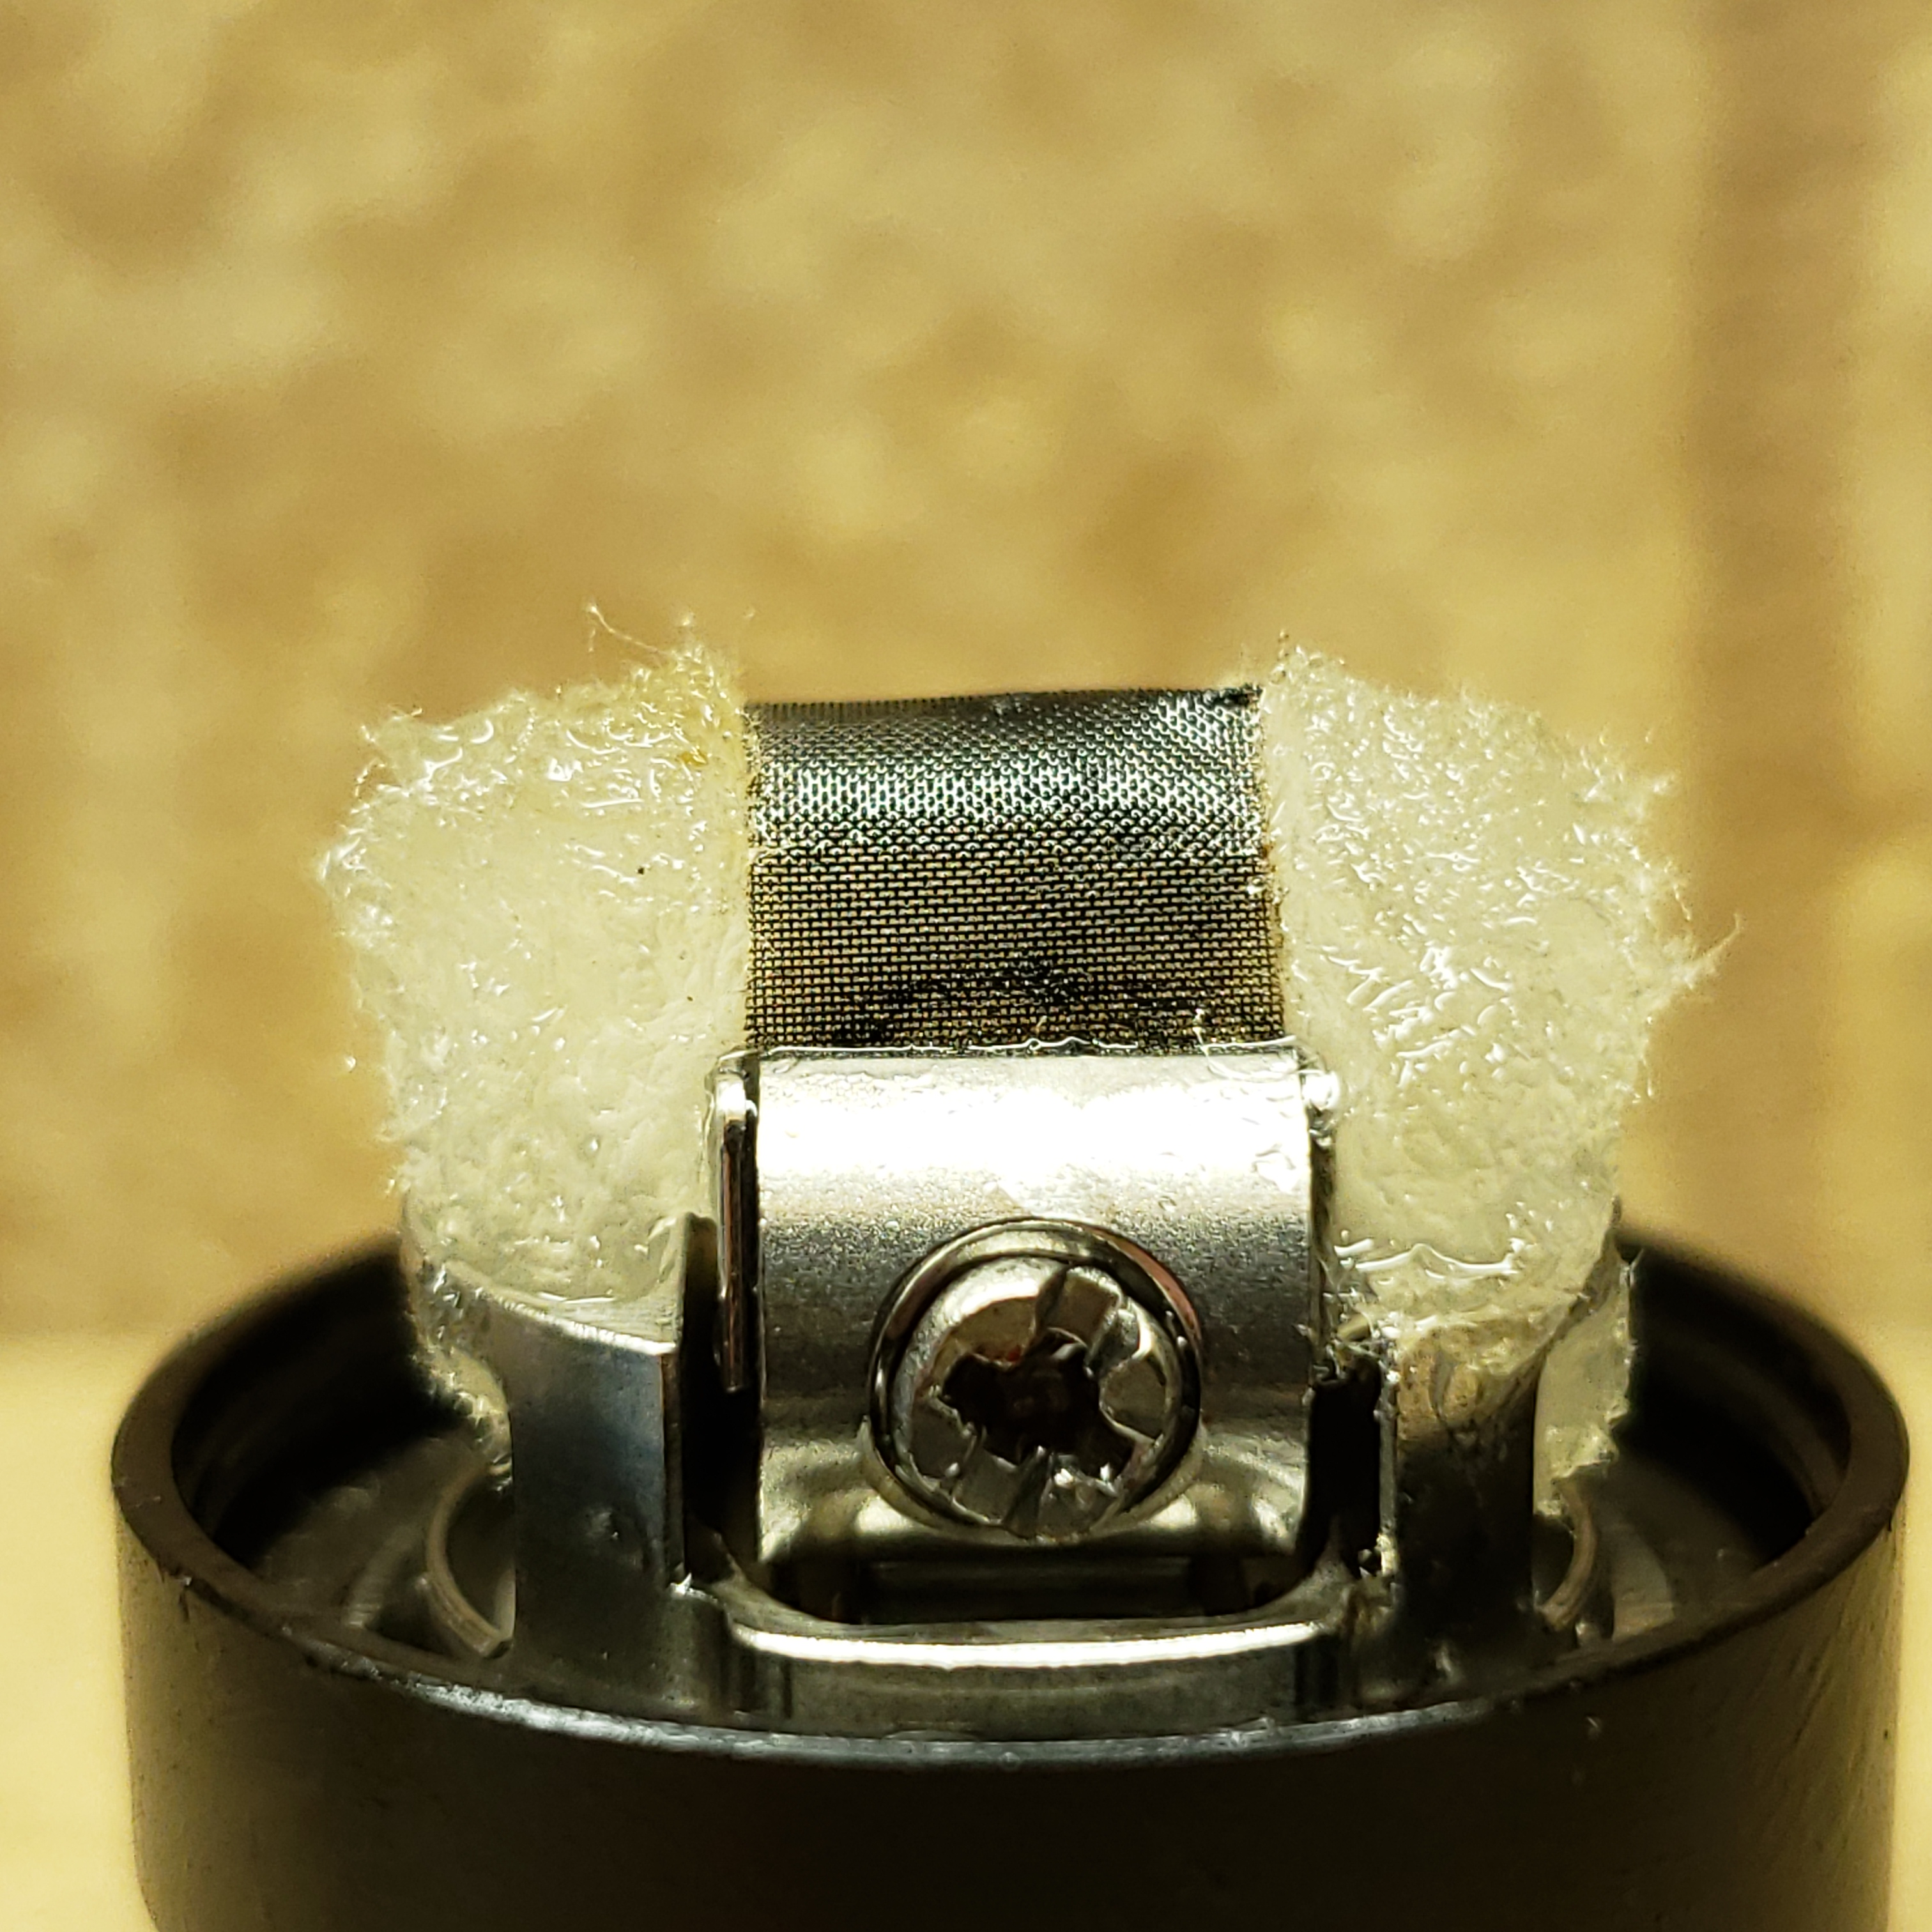
Look at how nice and juicy that is, performing like a champ and no problems chain vaping at 75 watts.....what dry hits, not this guy. Wasn't even gonna bother rebuilding it, still looked great and more importantly performing great after 50+ mls of juice.......Then it happened, was all cocky thinking yep, I rock and was putting the deck back in and spinning it around until the slots lined up, screwed down the deck and filled it up......oh noooooooo, leak city, lost a good ml or more of juice. Turns out the wick got snagged as I was spinning it to line up the grooves and yep, had to re-wick.....bummer.
If you do use the included Wotofo Agleted Cotton might be wise to thin it out first. I had success using Native Wicks Platinum Blend and even Puff Organic cotton, you know, the cotton pads. If using cotton pads cut it in half, remove 1 of the top layers and stretch it out like the Scottish Roll method (google it if you don't know) your half of cotton should look like the cotton on the right after stretching.

You can use the whole pad if you want but you then have to remove both top layers from either side. The bottom right pic shows the Puff Cotton in the center, Wotofo cotton left and Cotton Bacon Prime right.
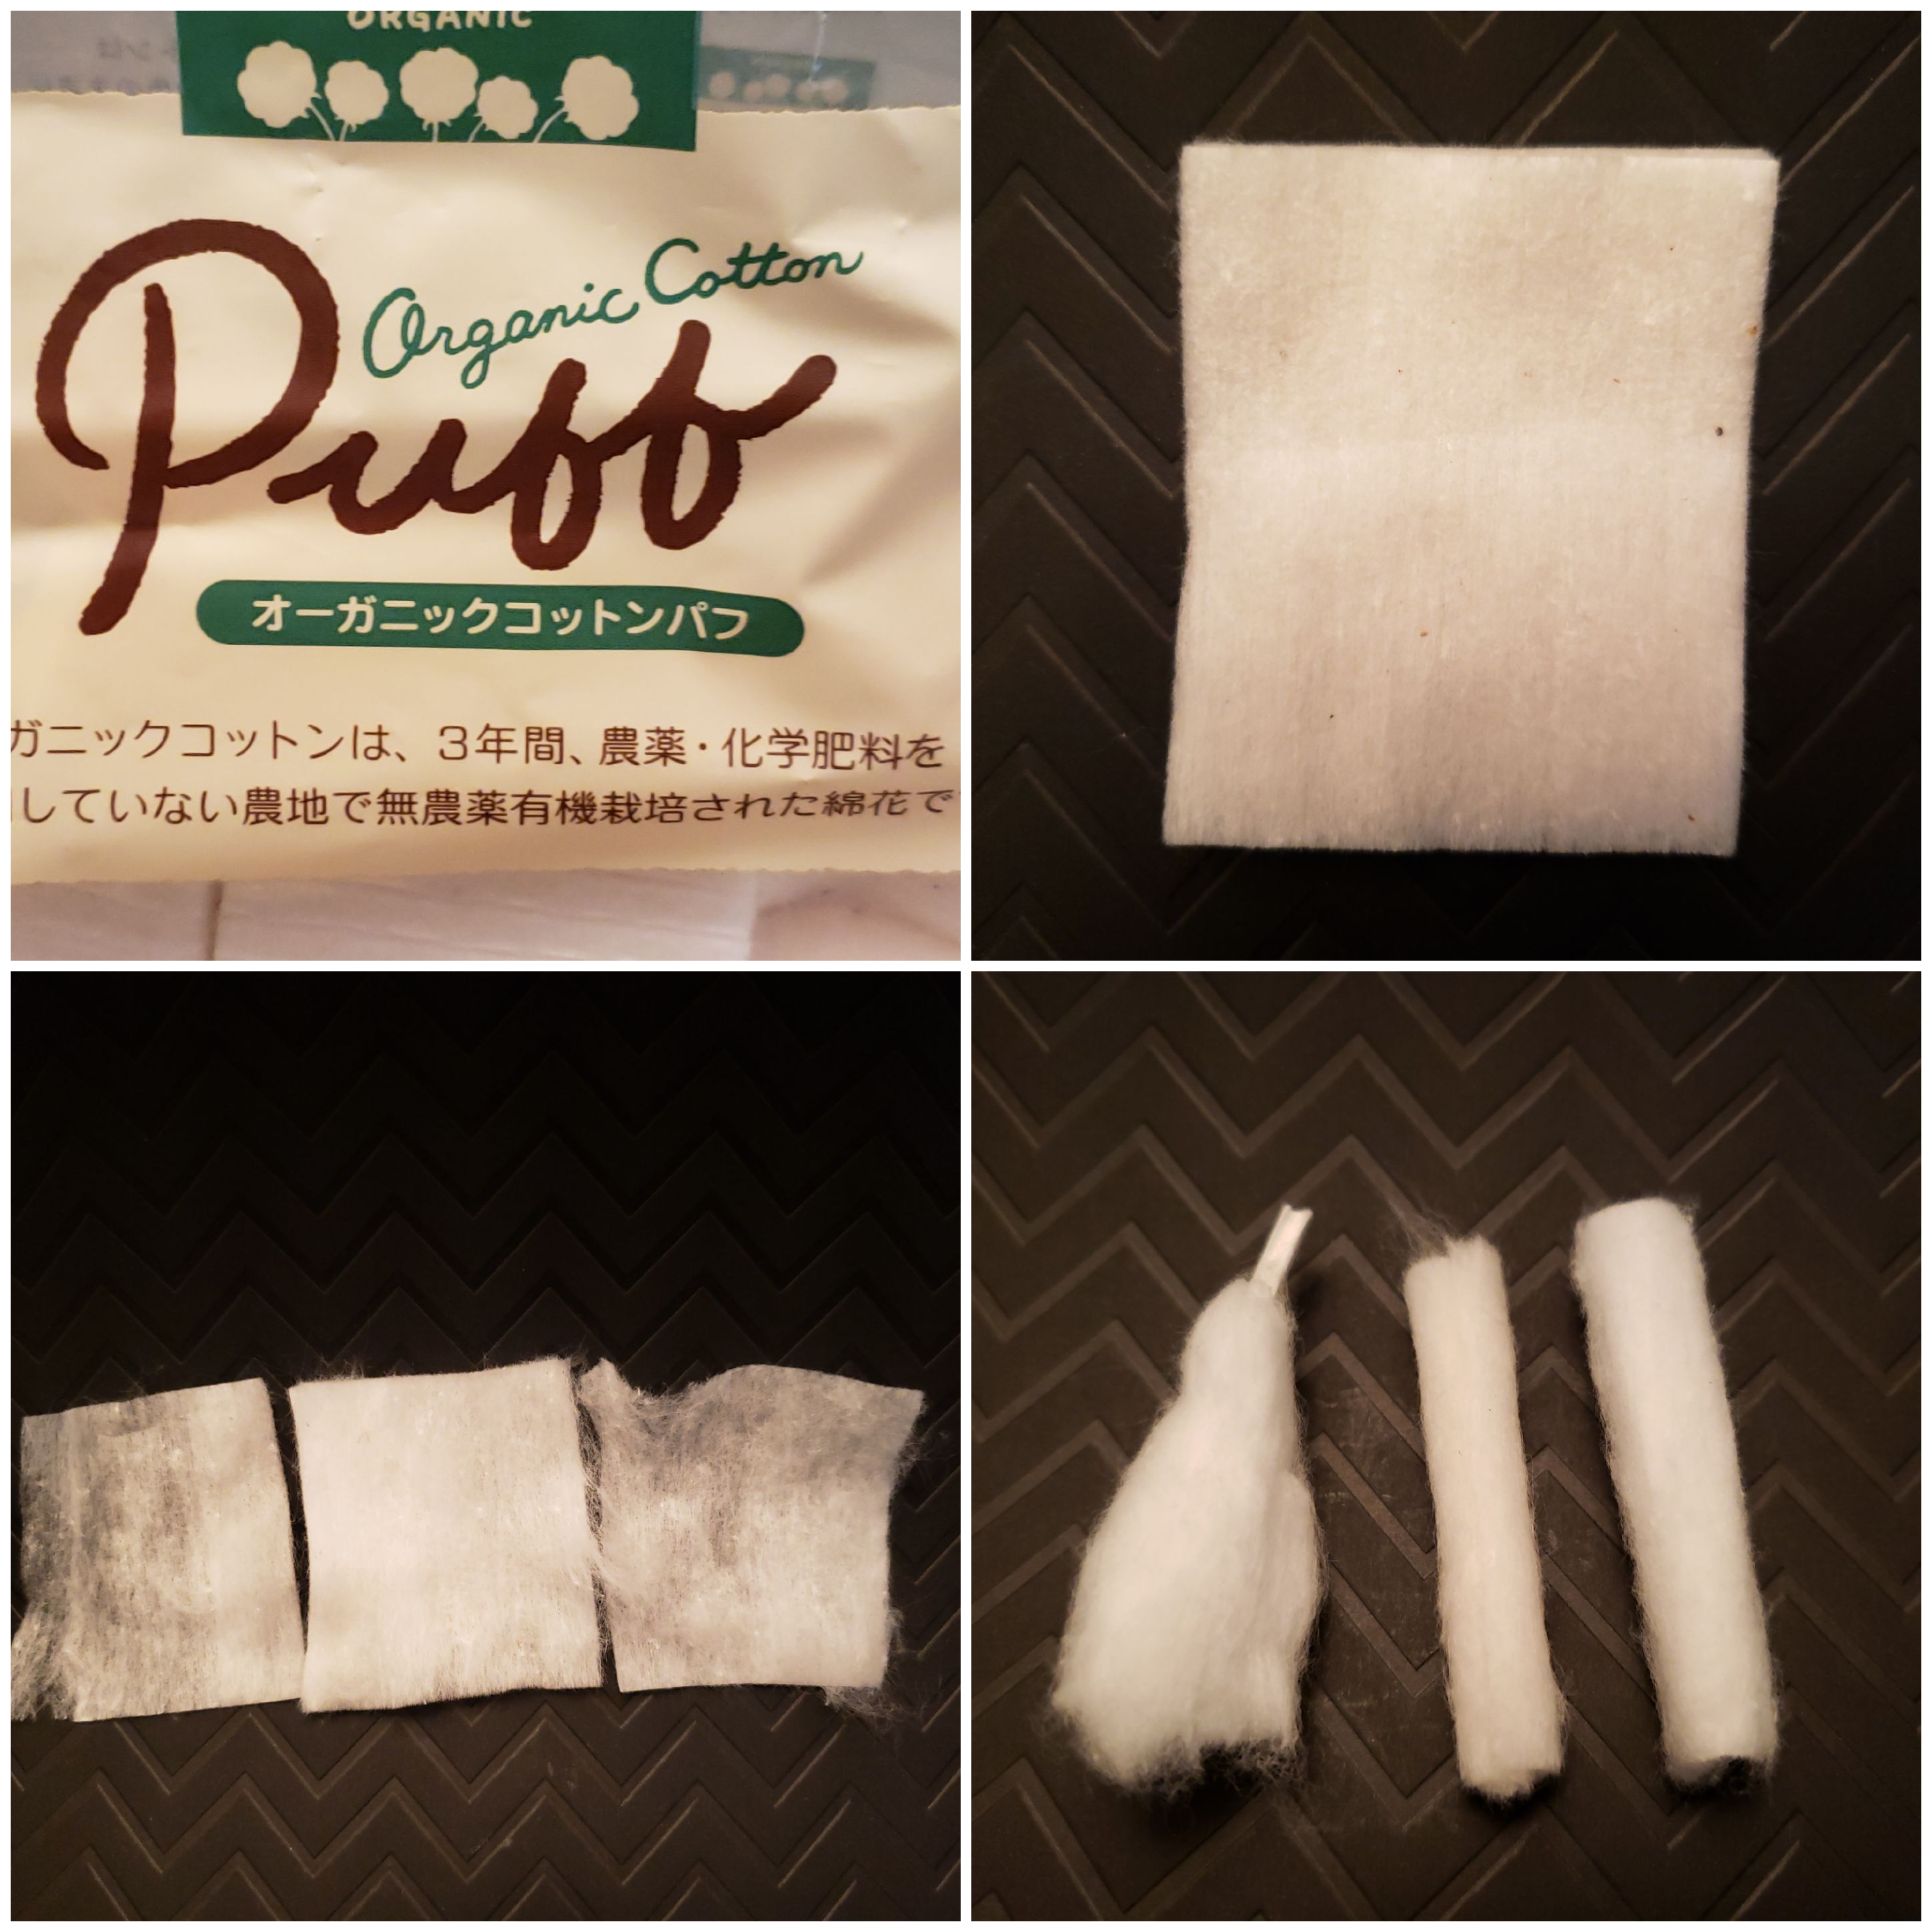
I got the same performance from both so might as well get 2 wicks instead of 1.
My preferred wick is still the Cotton Bacon Prime, was able to get the highest wattage before dry hits but the other works fine up until about 65 to 70 watts.
Specifications:
- Diameter: 25mm
- Overall Height: 48.5mm
- Threading: 510 thread
- E-liquid Capacity: 3.5ml (5ml tube included)
- Filling Method: Top filling
- Coil Type: Mesh coil
- Airflow Type: Adjustable side airflow
- Insulator Material: German PEEK
Mesh Coil Specs (OFRF nexMESH):
- Material: Kanthal A1
- Size: 16*6.8mm (compatible with Profile RDA)
- Resistance: 0.13ohm
- Recommended Wattage: 60-70W
What’s in the package:
- 1pc Profile Unity RTA
- 1pc 5ml Glass Tube
- 1pc 5ml Tube Adapter
- 1pc User Manual
- 1pc Bending Tool
- 1pc Screw Driver
- 1bag nexMesh Coil (0.13 ohm)*2
- 1bag 6mm Agleted Cotton*1
- 1bag Extra Orings & Screws, Springs

Available in 6 colors:

Getting to know the Wotofo Profile Unity RTA
If you are not already familiar with the Profile RDA which was released sometime back in September 2018 it was the first Mesh RDA that I not only loved at the time but still use to this day. It became one of the popular RDA's back then, I know a local vape shop that was selling them like crazy. What they finally got right was a spring mechanism that kept the cotton in constant contact with the mesh, something that plagued earlier Mesh rebuildable tanks. I personally tried about 2 or 3 mesh RDA and RTA's and you could get them to work but overall they were a PITA and not worth the trouble.
Mesh can work great though, look at how it has nearly dominated the sub-ohm tank market, nearly every new prebuilt coil coming out now has a mesh coil option.
The Profile Unity RTA has a similar build deck to the RDA, here is the Profile RDA deck on the left, RTA on the right.

The white grooved thing you see in the middle is spring loaded, it is there to keep your cotton snug against the mesh once installed, simple idea that works.
The fit and finish of the tank is pretty nice and threading is smooth, no struggling to find the grooves. Half a turn and the top cap comes off to fill, would have liked bigger fill ports though.

Airflow with all 5 holes open is pretty airy, airier than I was expecting so closed it off to 3 air holes open on each side which came me a little restriction and a bit of a flavor boost. Smooth and quiet airflow, tried all the openings and not noisy at all.
When I used the included drip tip (no extra drip tip included which is a con) I had to open up another air hole as the included 810 drip tip has a narrow opening. Here is a pic of a normal friction fit 810 on the left, Wotofo Profile included 810 center and friction fit 510 DT on the right.

As you can see the Wotofo provided DT has the smallest opening, smaller than a friction fit 510. Since I prefer more airflow I swapped it out after the first tankful and got a bump in flavor.
Wotofo does provide extra o'rings, spare springs, screws and the normal whatnots including a chimney extension with taller glass for it to make it a 5ml instead of 3.5ml. You also get (2) OFRF nexMESH and (2) 6mm Agleted Cotton for wicking. No spare 3.5 or 5ml glass are included so if you break one you need to go with the other.
Build and wick
Installing the mesh is about as easy as it gets, just use the supplied tool to bend the mesh in advance and install it.

Not going to bother showing the rest of that build, it was good but I found using the included Agleted Cotton it was just too thick and wicking suffered, could vape fine at about 45 watts but anything about that gave me the dreaded mesh dry hits.....cough cough cough. When I removed the build the cotton under the mesh was like a rock, too much wick. Here is a pic of the included Wotofo Agleted Cotton next to the Cotton Bacon Prime wick I used next.

This build here was my favorite using Vandy Vape SS316L 200 Mesh and the Cotton Bacon Prime wick I show above, just use one of the included mesh as a guide to cut to the same size.
Wotofo includes a guide on wicking in the owners manual, a nice touch as it is tricky. When feeding your cotton you want restriction, enough that it is not easy to pull out but not so much that it is tough to get through. Once in cut the cotton at an angle on both sides and uses a pointy tweezer to get it nice and fluffy.

Additional trimming might be necessary as you do not want your wicks to reach the bottom, just peaking into the wicking slots and enough to block any juice from getting into the deck. Once your wicks are in place you can trim the top of the cotton near the mesh, just be careful not to cut the mesh. In the pic below the tucked wick on the left has had the wicks trimmed near the top, the other side still needs a little trim once the wick is tucked in.

Care needs to be taken when installing the deck and the deck cannot be installed when on a mod or a build station as it only screws in from the bottom. There are slots in the chimney that line up with the base, best to try and get the slots close and not just spinning it around until it falls in, you can mess up your wicks. That build above lasted me a good 5 days and about 10 to 12 fill ups before I decided to take out the deck to see how the mesh was holding up.

Look at how nice and juicy that is, performing like a champ and no problems chain vaping at 75 watts.....what dry hits, not this guy. Wasn't even gonna bother rebuilding it, still looked great and more importantly performing great after 50+ mls of juice.......Then it happened, was all cocky thinking yep, I rock and was putting the deck back in and spinning it around until the slots lined up, screwed down the deck and filled it up......oh noooooooo, leak city, lost a good ml or more of juice. Turns out the wick got snagged as I was spinning it to line up the grooves and yep, had to re-wick.....bummer.
If you do use the included Wotofo Agleted Cotton might be wise to thin it out first. I had success using Native Wicks Platinum Blend and even Puff Organic cotton, you know, the cotton pads. If using cotton pads cut it in half, remove 1 of the top layers and stretch it out like the Scottish Roll method (google it if you don't know) your half of cotton should look like the cotton on the right after stretching.

You can use the whole pad if you want but you then have to remove both top layers from either side. The bottom right pic shows the Puff Cotton in the center, Wotofo cotton left and Cotton Bacon Prime right.

I got the same performance from both so might as well get 2 wicks instead of 1.
My preferred wick is still the Cotton Bacon Prime, was able to get the highest wattage before dry hits but the other works fine up until about 65 to 70 watts.

