I'm a new member and new vaper so I apologize if this is in the wrong forum.
I've been lurking but learned a lot from this forum and have seen others ask for leather cases. I do leather work as a hobby and have made things like sheaths, holsters, wallets, etc.. Vaping gave me something else to practice on.. I just want to state in advance that leather work is a hobby and I am by no means an expert. I am also not selling anything.. this is a diy tutorial for those that want to try a relatively easy leather project.
I wanted something for my mods since they're pretty heavy and slick.. I kept on feeling I was going to drop it by accident every time I picked it up. Well.. I despise silicone and it's really hard to pull out of pockets sometimes and nothing really feels as nice as leather, imo.
Mods grip perfectly in the hand now. This method should work for most box mods.. not the funky shaped ones.. even then you can wet mold to get the shape into the leather. I use a ball end pen set for this.. makes it much easier to get detail.
Tools/Stuff needed:
3-4oz veg tanned leather
xacto knife or similar
hole punches / awl
ruler and / or soft tape measure
sewing needles (blunt, large enough for waxed thread)
waxed thread
colored oil dye
sponge or wool dauber
Sorry I didn't get more pics and the order is kinda confusing.. I didn't think of it until I had already stitched up the side but you can get the gist. Also it would be a good idea to remove the batteries before you start. If anyone has any questions lmk.
1. measure outside diameter of mod, then the height. Cut a piece of leather to match size. (my cuboid turned out about 5"x3.5" I think). Cut a little taller if you want to be able to curl the bottom (to prevent the mod from slipping all the way through) However, I found that once you wet mold and press fit the mod and let dry, that it works like a sleeve and only comes out if you press from the ends.
2. On the vertical ends of the leather, mark and measure stitch holes down the length's edge. punch holes down both sides. Stitching wheels work well but you can just measure evenly spaced holes with a ruler.
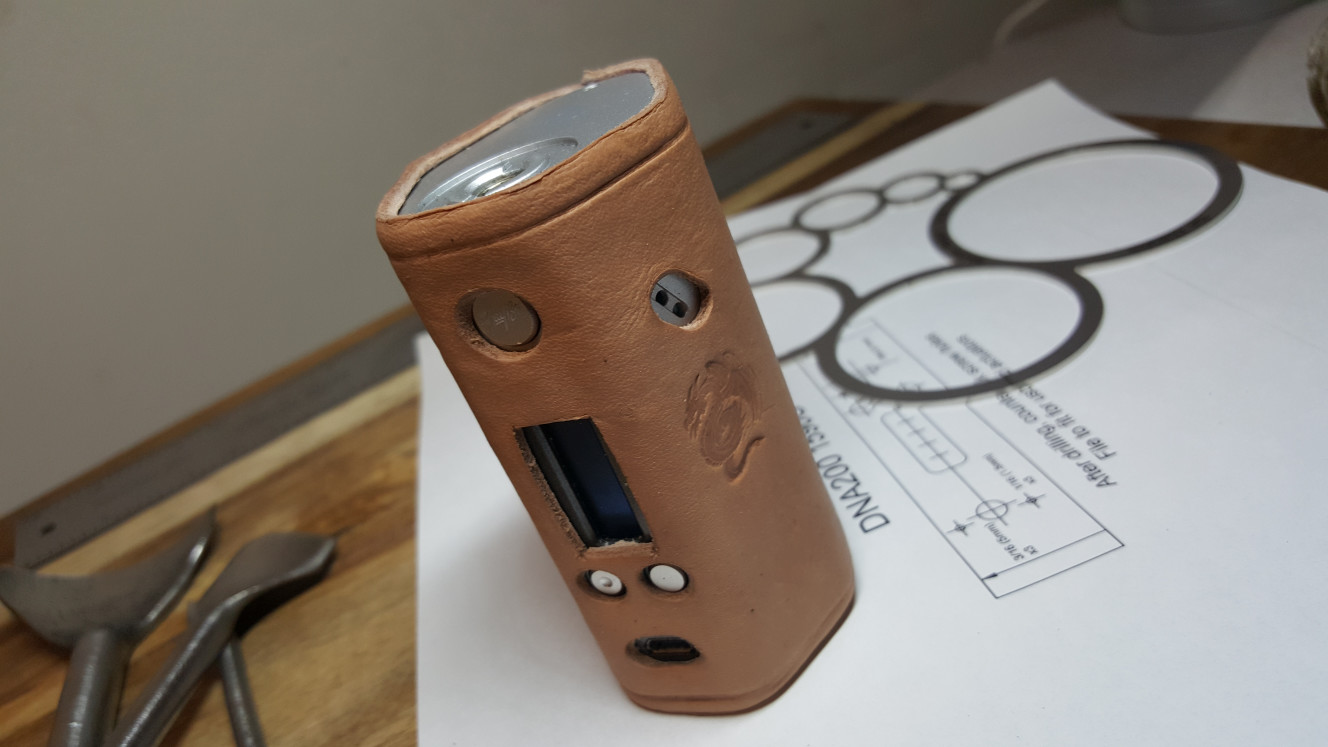
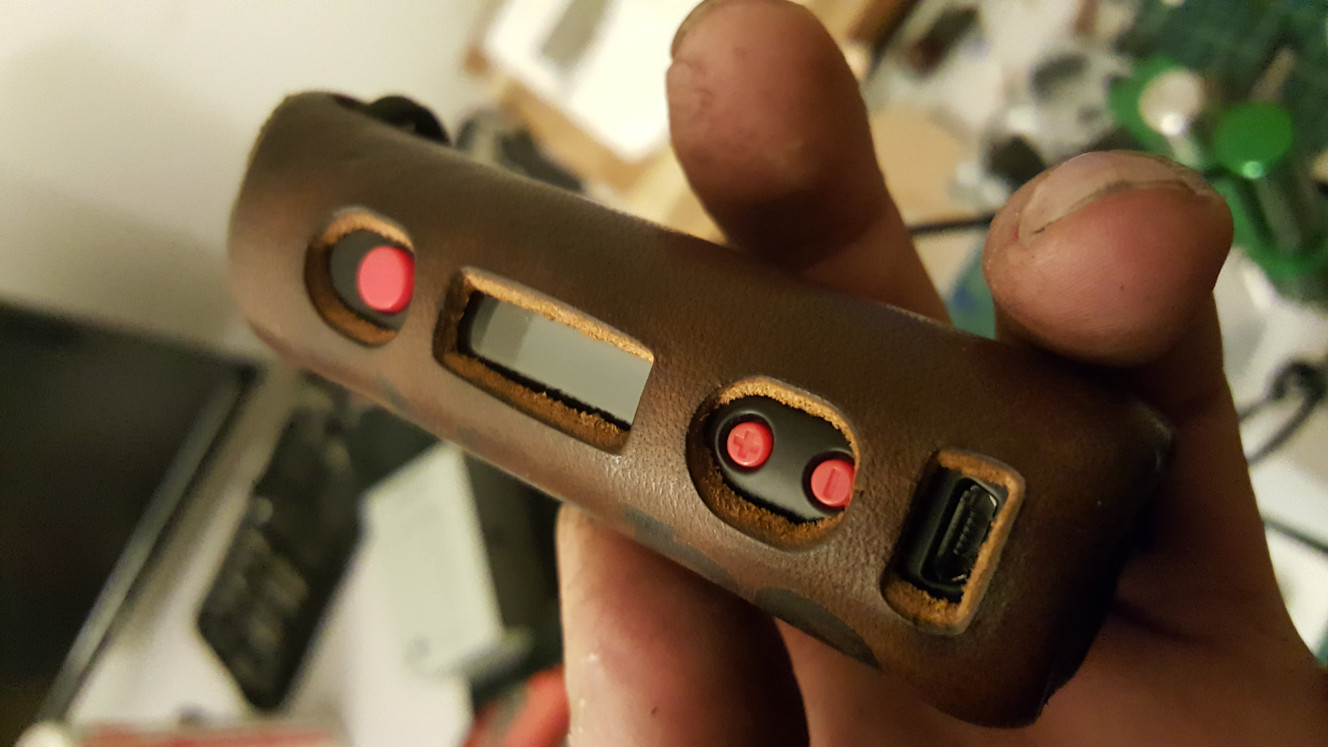
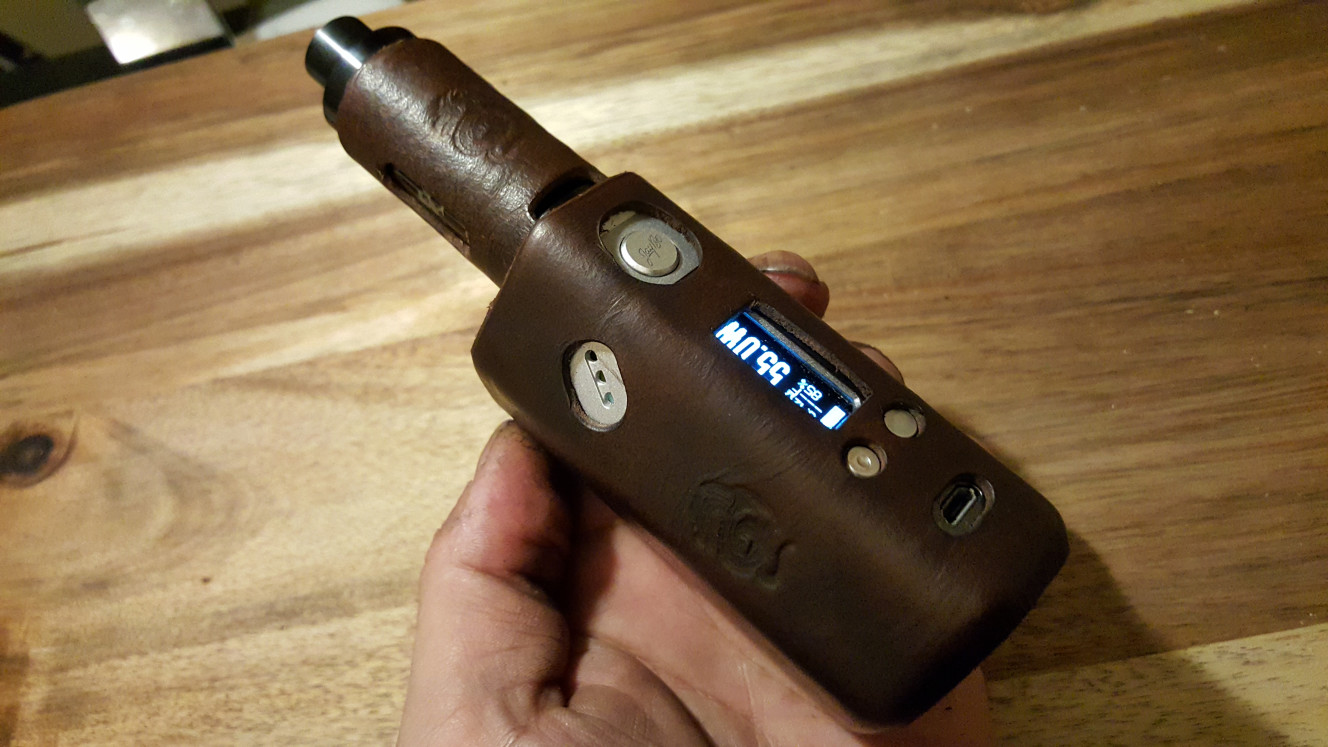
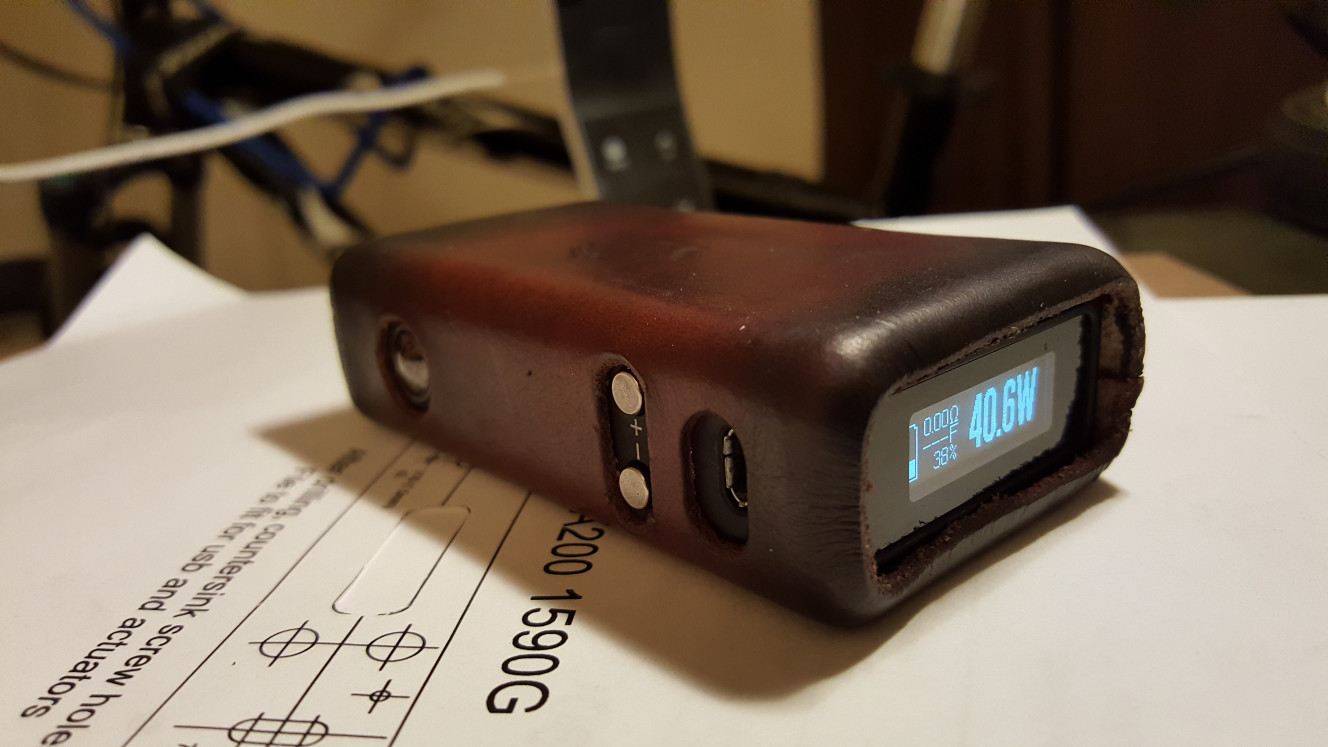
3. use a sheet of paper over your mod to determine where your holes (for screen, buttons, etc) and trace. Cut layout from sheet and place on your leather. punch/cut holes. Afterwards makes sure they line up on your mod.
Also note if you have a DNA200.. there is a PDF available with the button / screen layout. Make sure you print to scale.
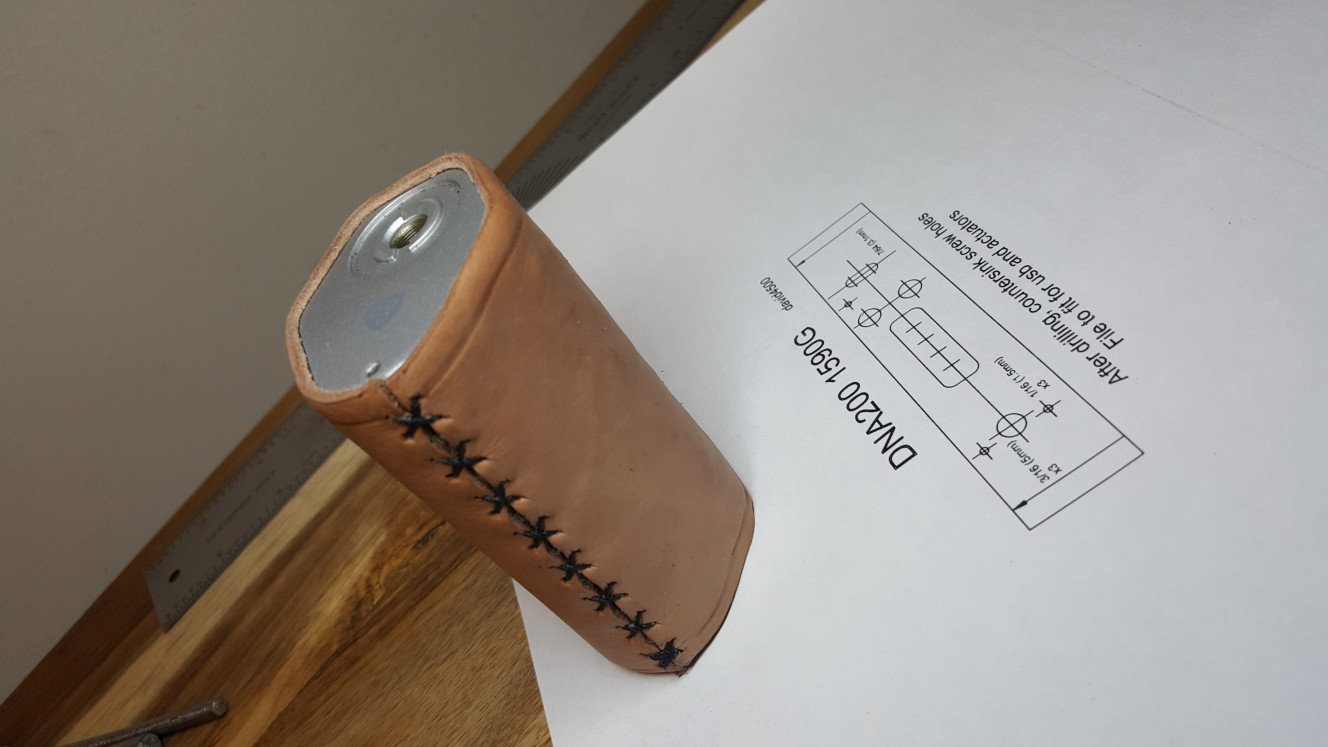
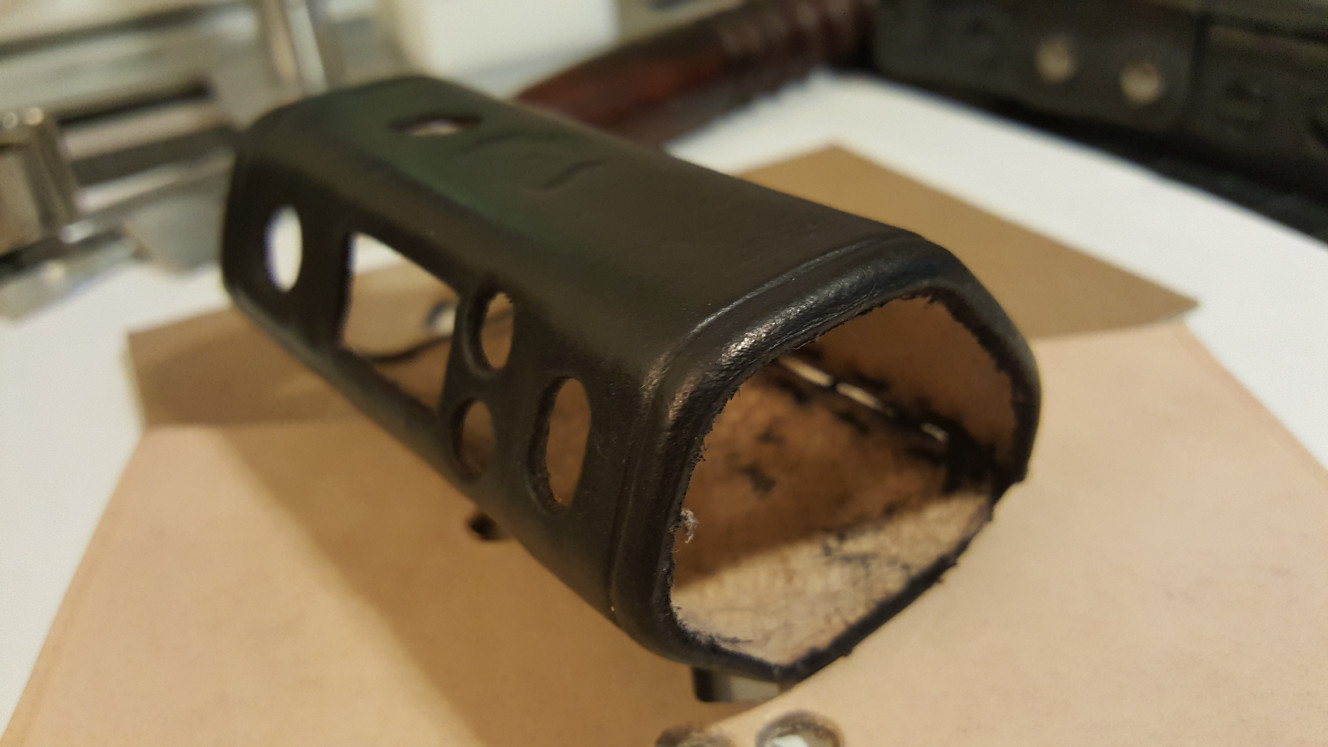
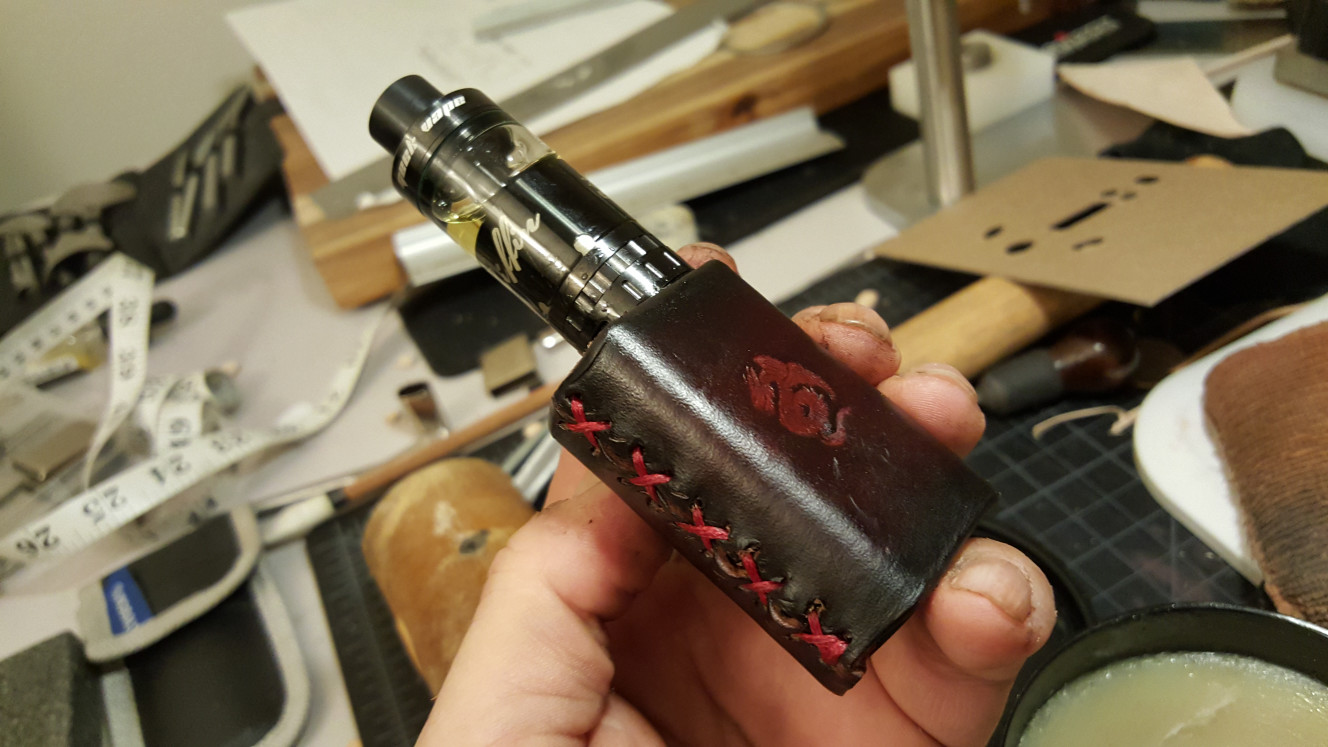
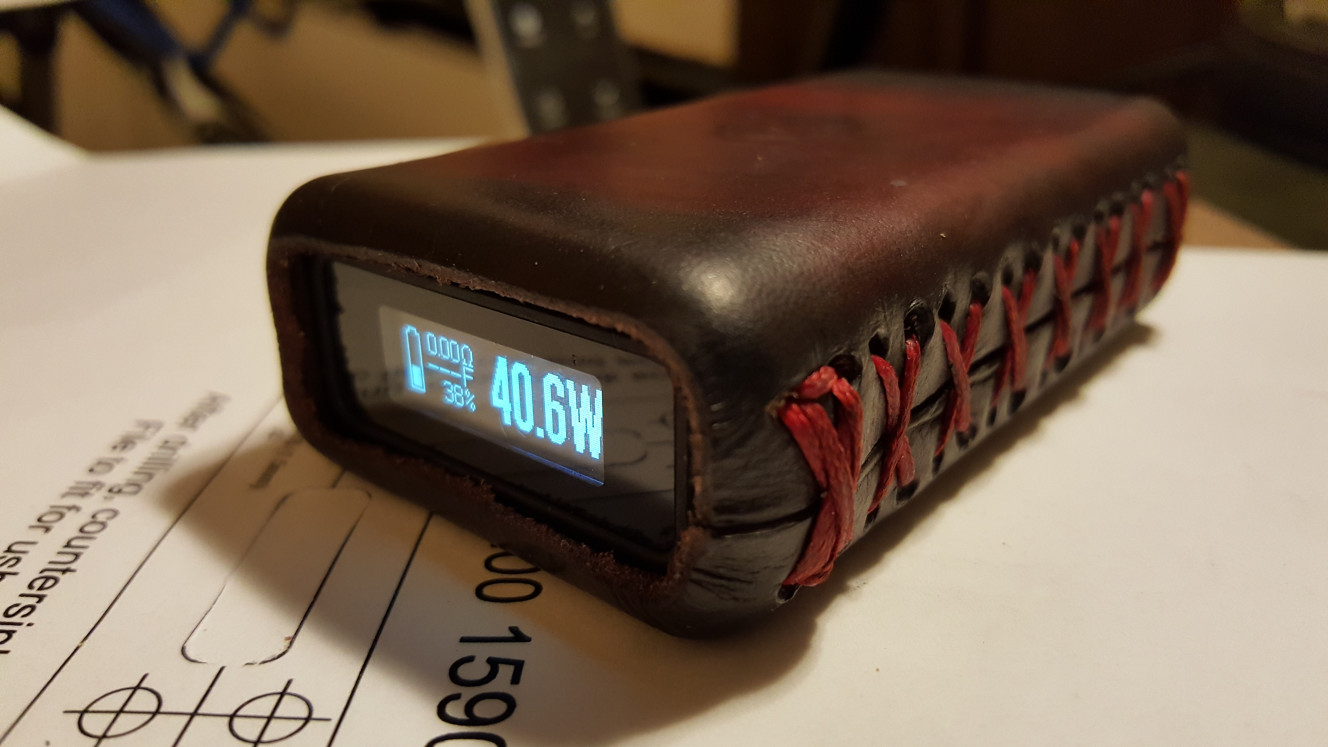
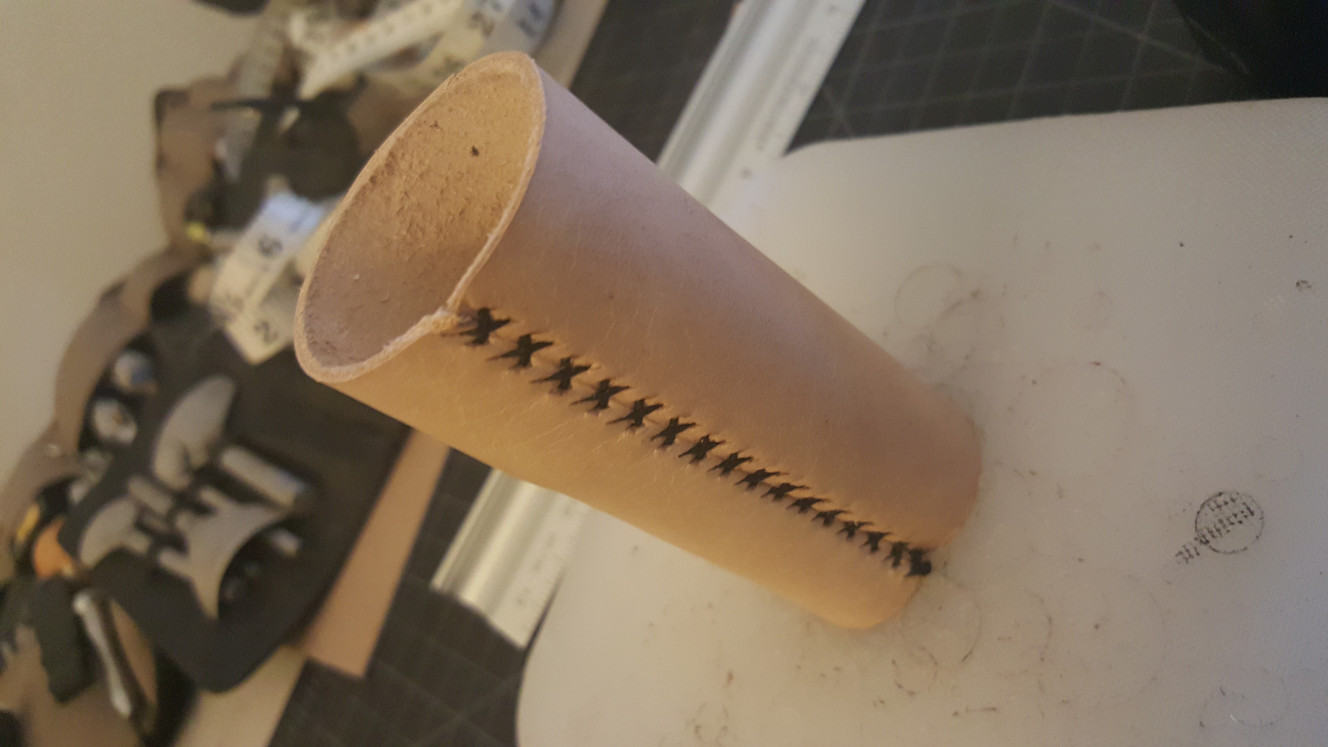
4. Stitch both sides together. You can look at youtube videos if you don't know how to stitch but I just criss crossed all the way down and melted the ends.
things should look sorta like this..
5. Spray down or dampen the leather and let sit for about 5 min. repeat until it's pliable.
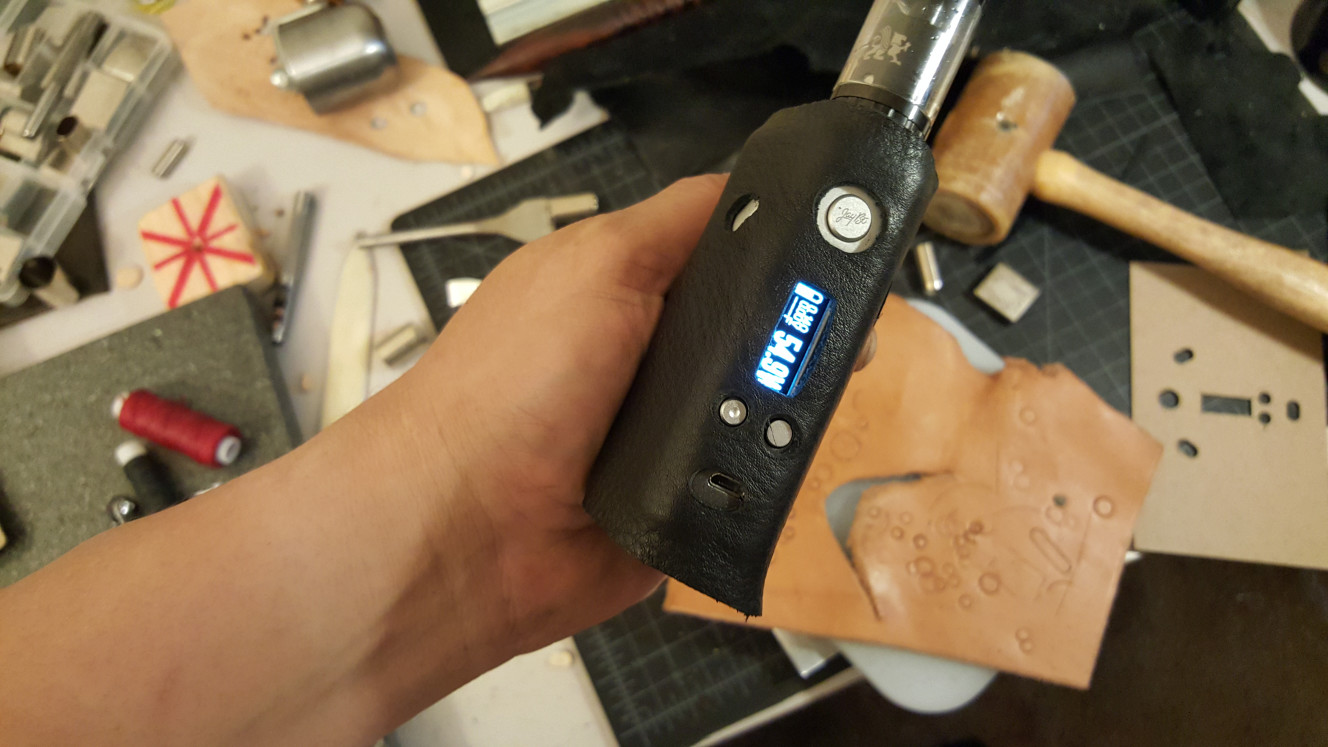
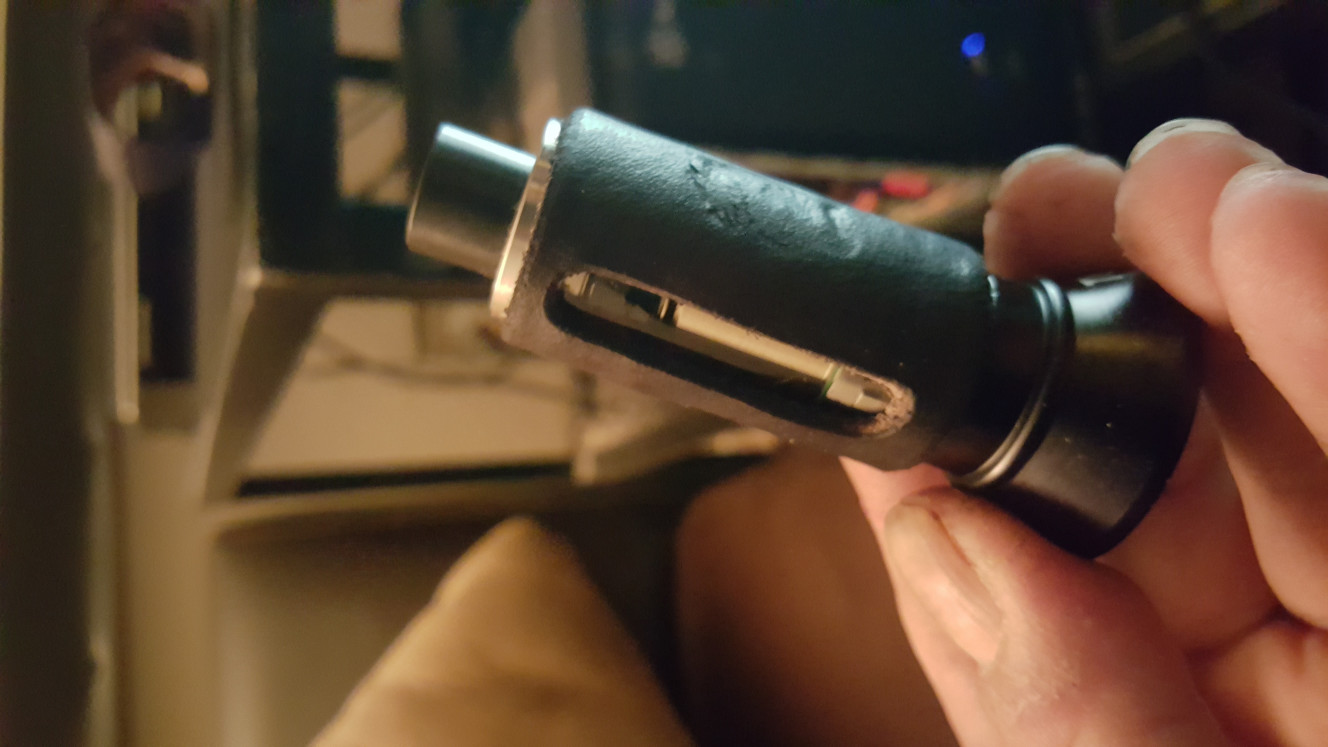
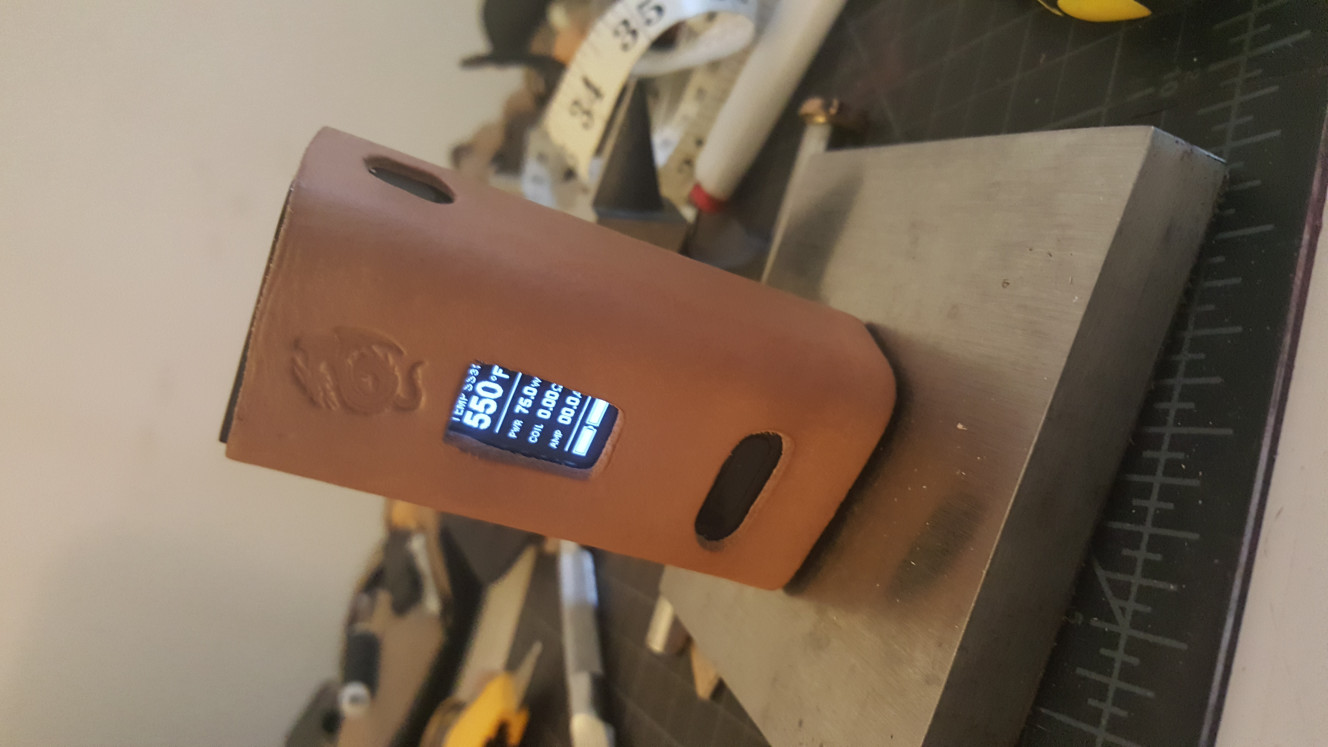
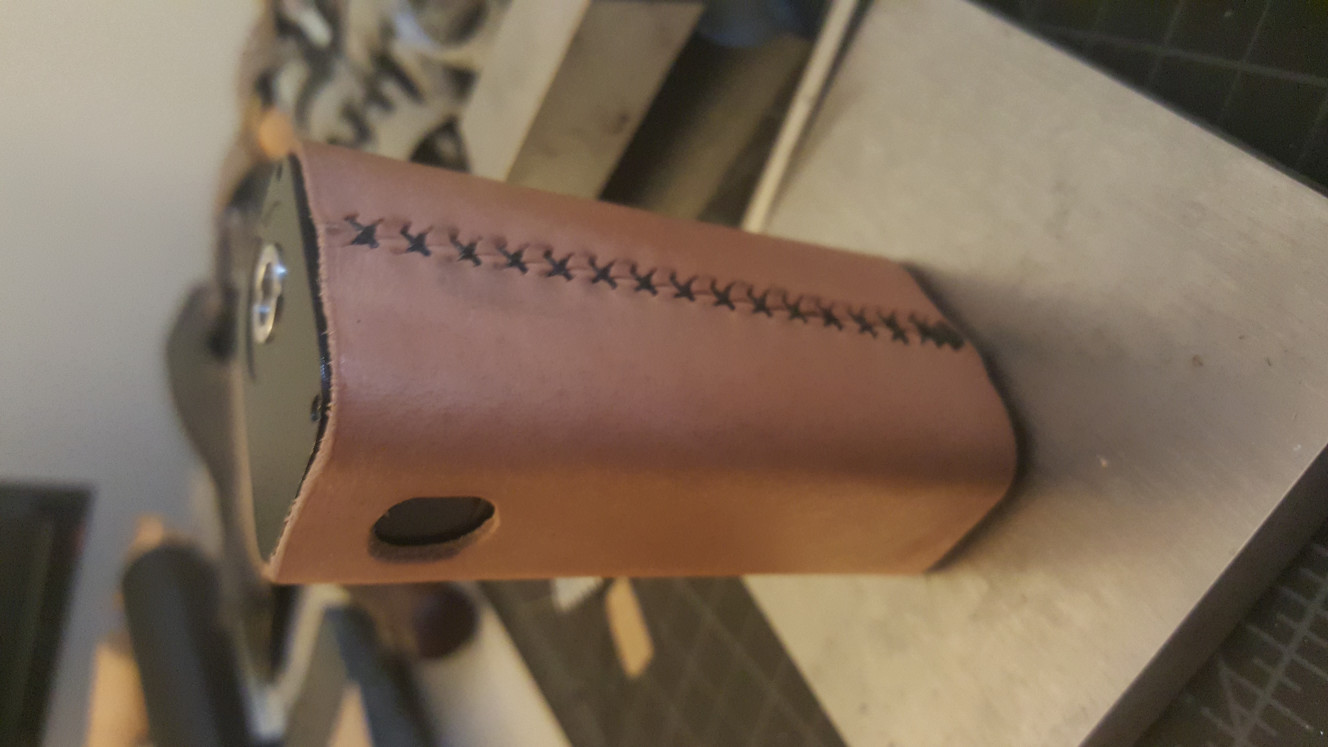
6. Press fit the leather sleeve over your mod. (wrap the mod in saran wrap to protect from moisture) It might take some stretching to get it on but wet leather will stretch a little.Leave some leather at the bottom so you can curl around the bottom edges if you want to protect the bottom of the mod. Personally I like it open on the Cuboid so I can change batteries easier. The sleeve has enough friction to not slip off unless your are pressing from the ends. Line everything up and let dry overnight.
things should look sorta like this..
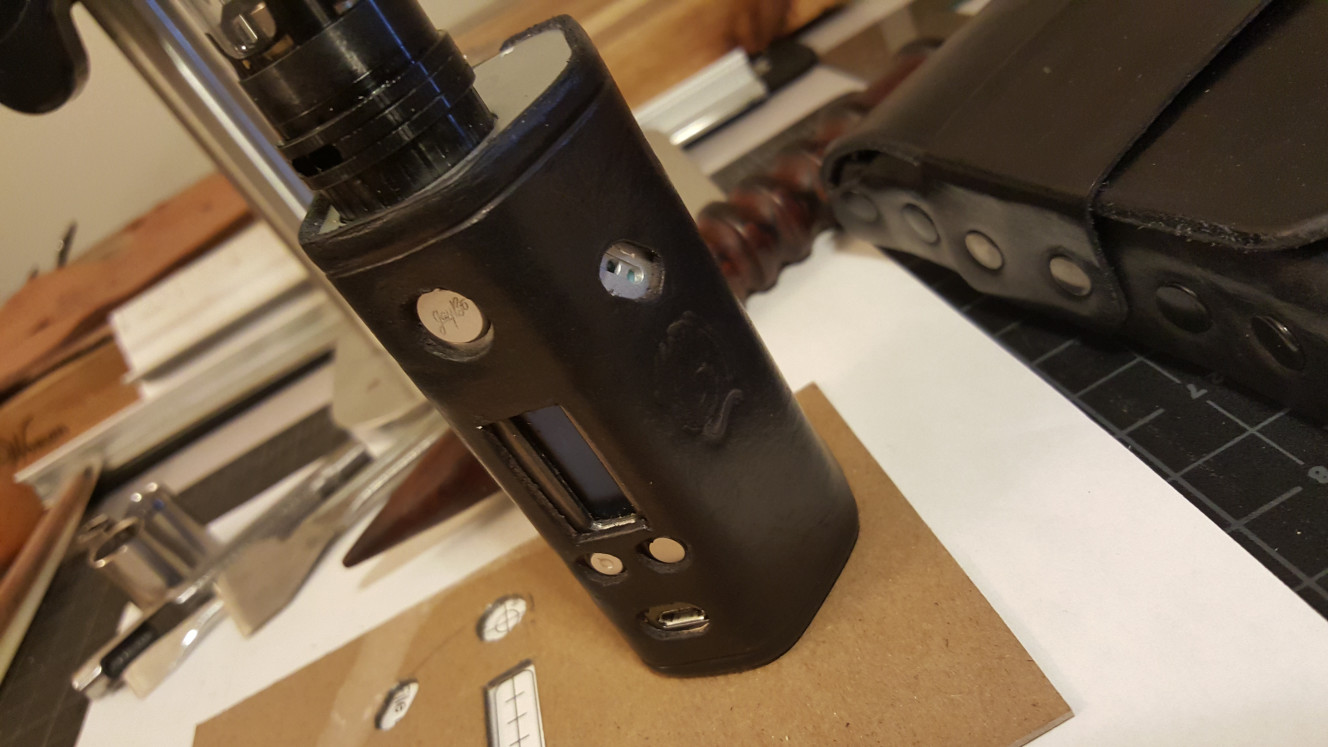
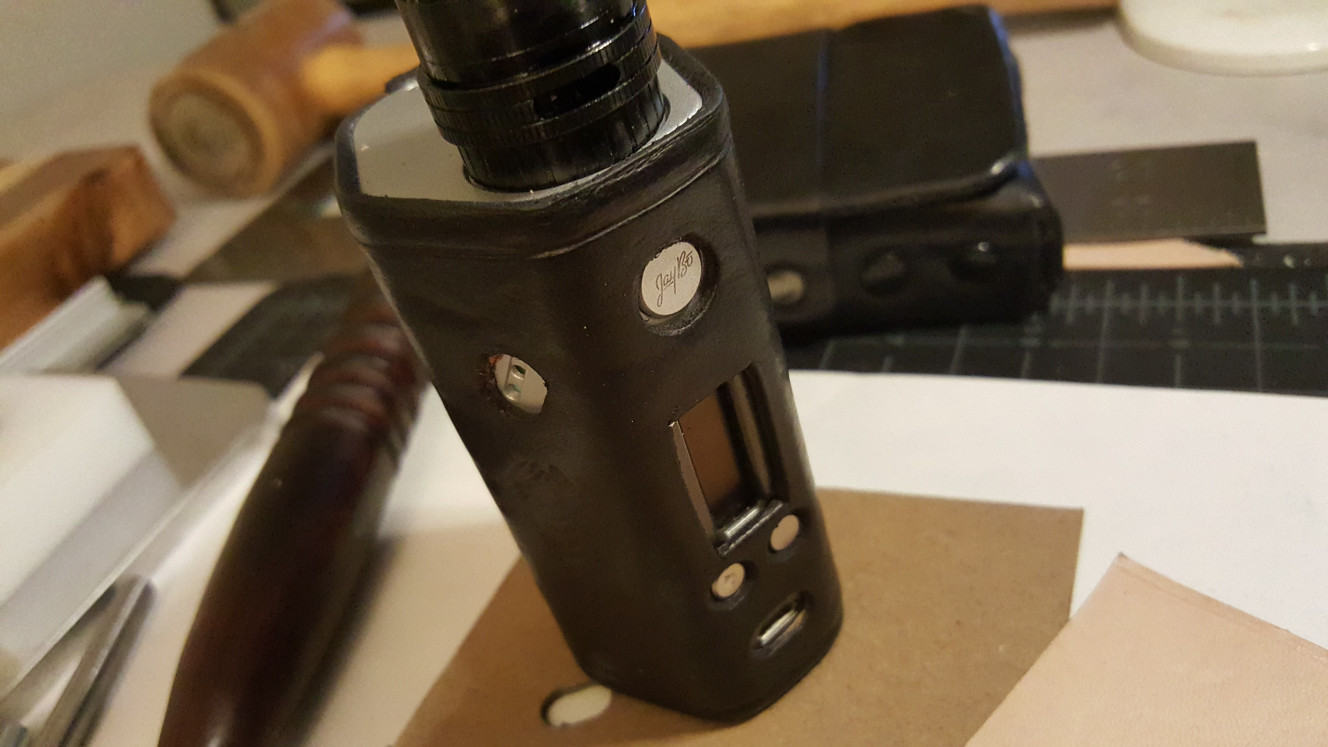
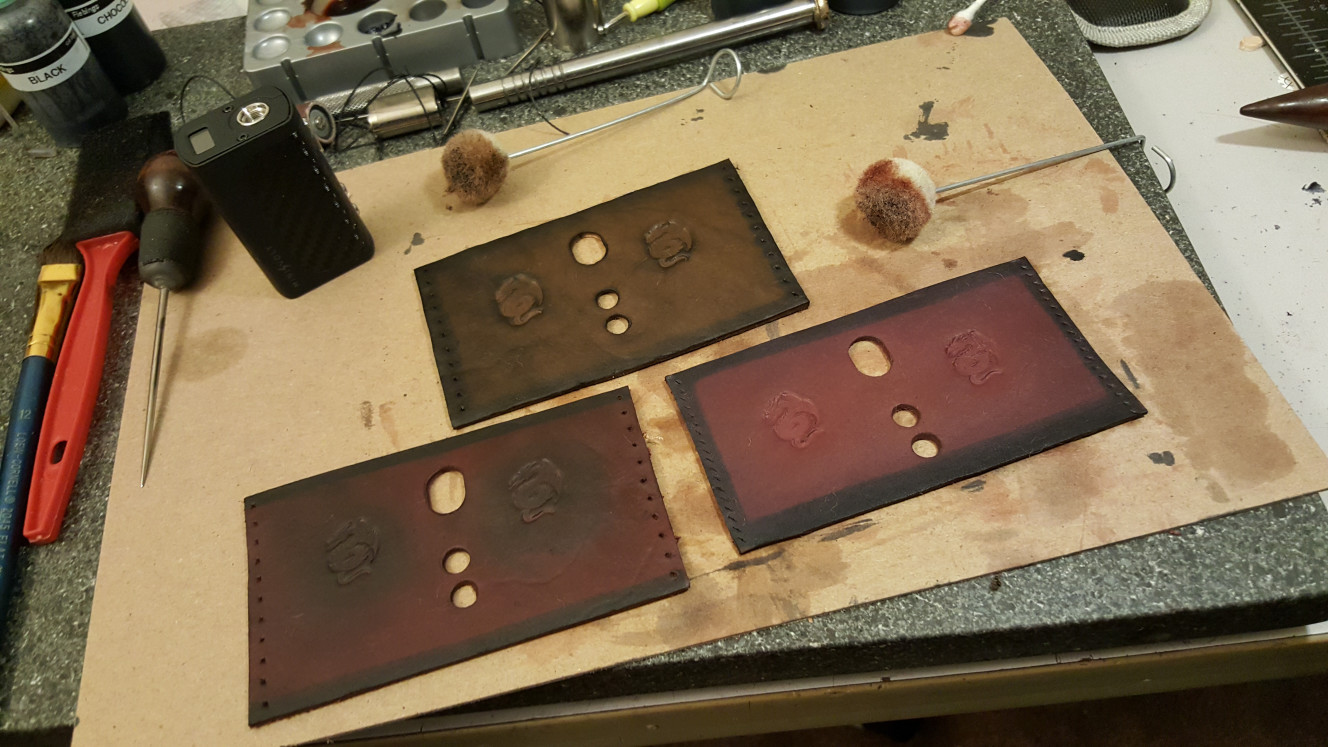
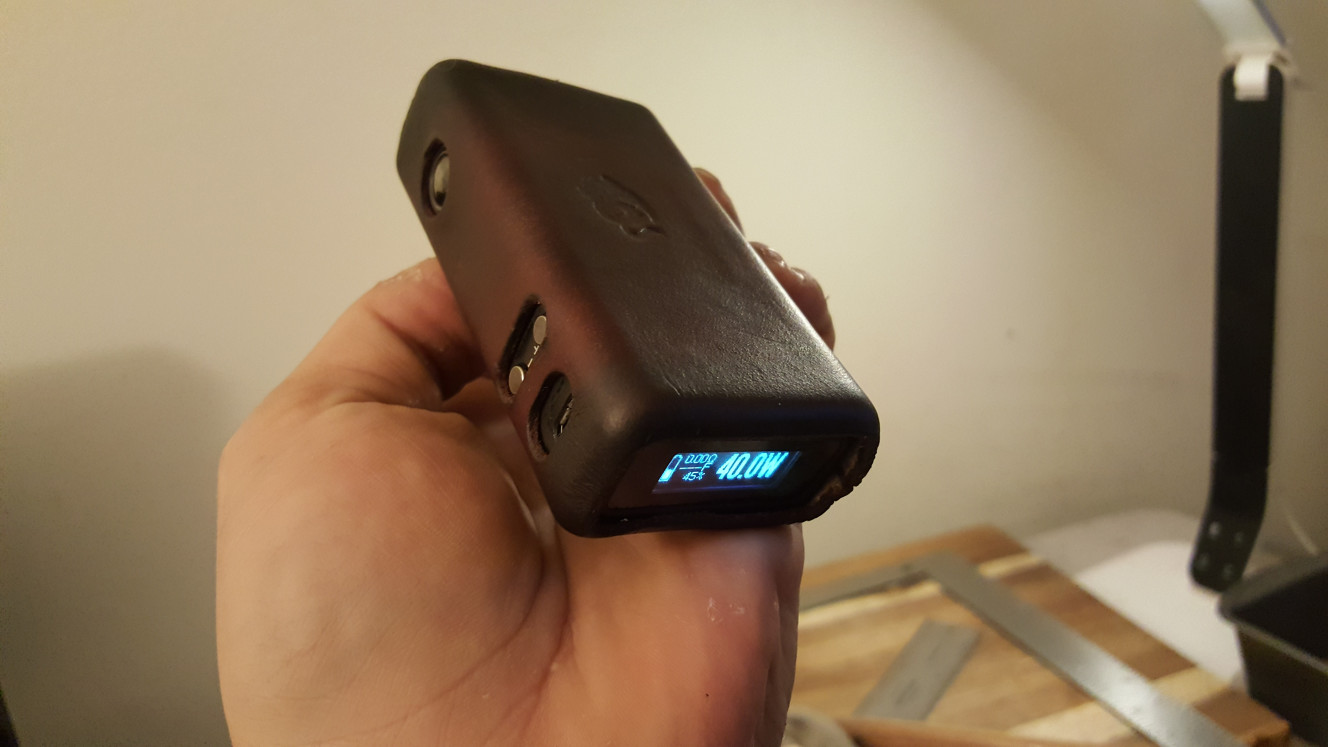
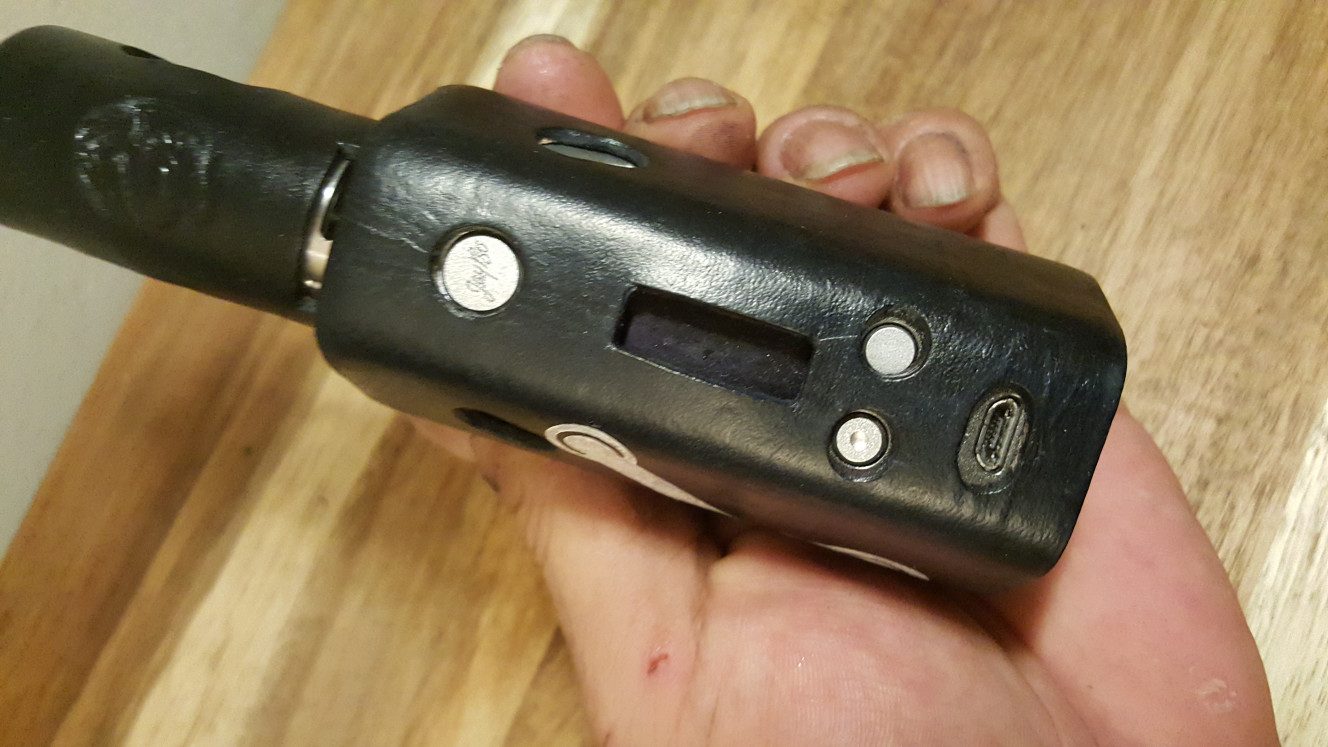
8. Now is the time to dye. (or just put a finish on) You should be able to remove the mod once dry by pressing down from the bottom while lightly holding the sides. I used Fiebings oil dye. Oil dye is less splotchy imo. Dyeing isn't rocket science.. basically use a sponge to dye, then do it again after it drys until you get the color you want. You can thin the dye also with denatured alcohol. Once dry.. rub down with leather protect-ant (and to prevent color bleed)

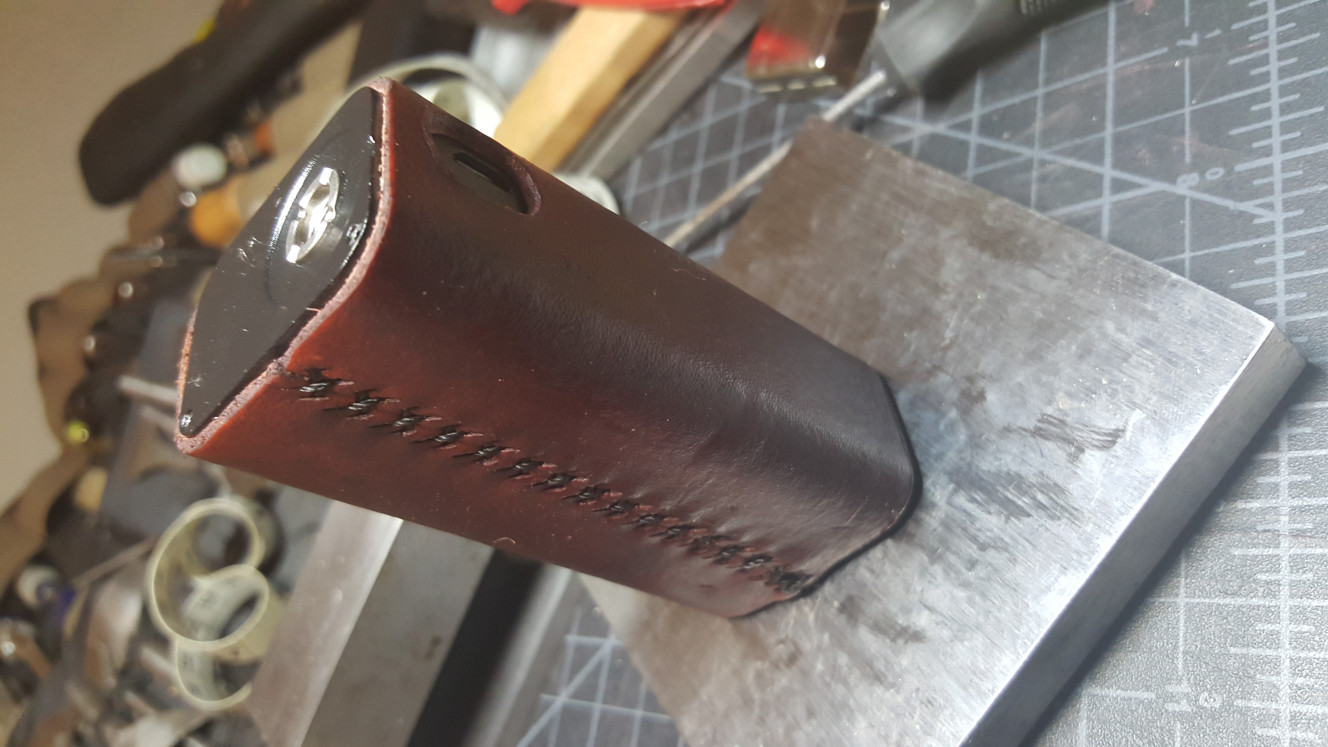
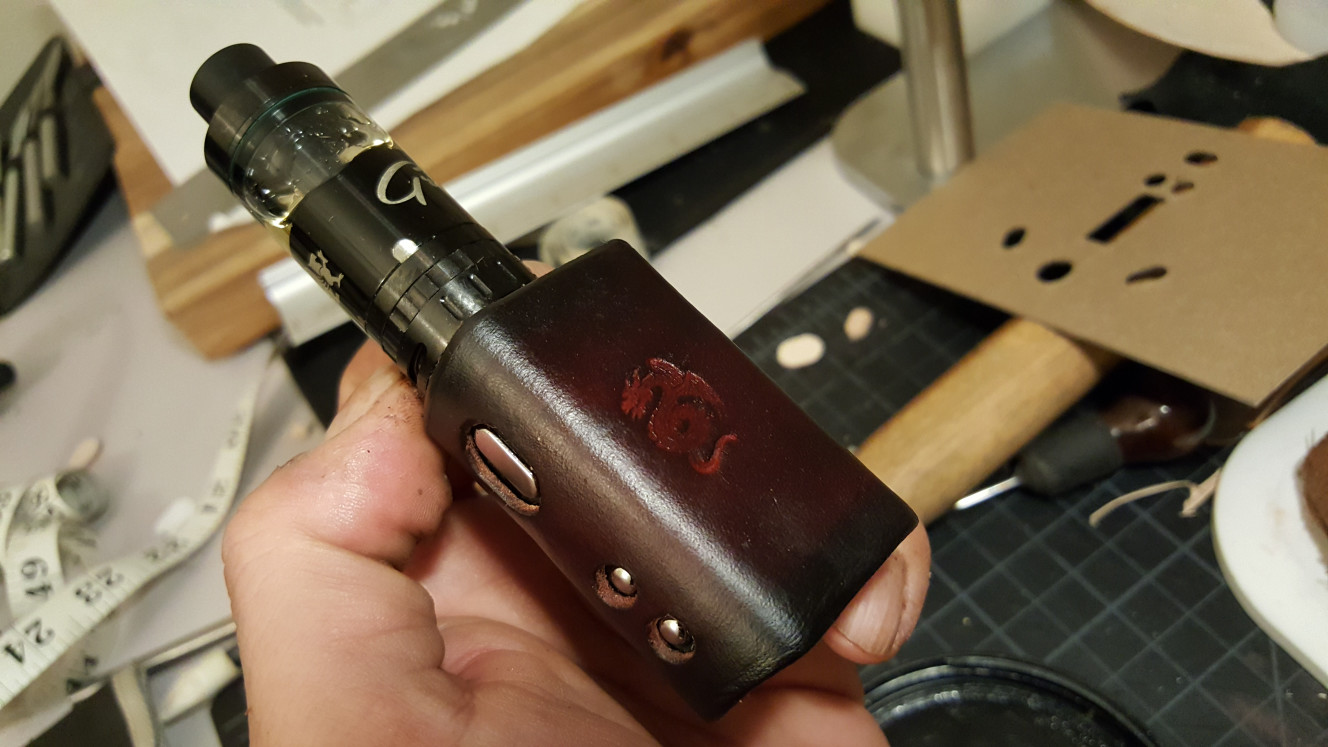
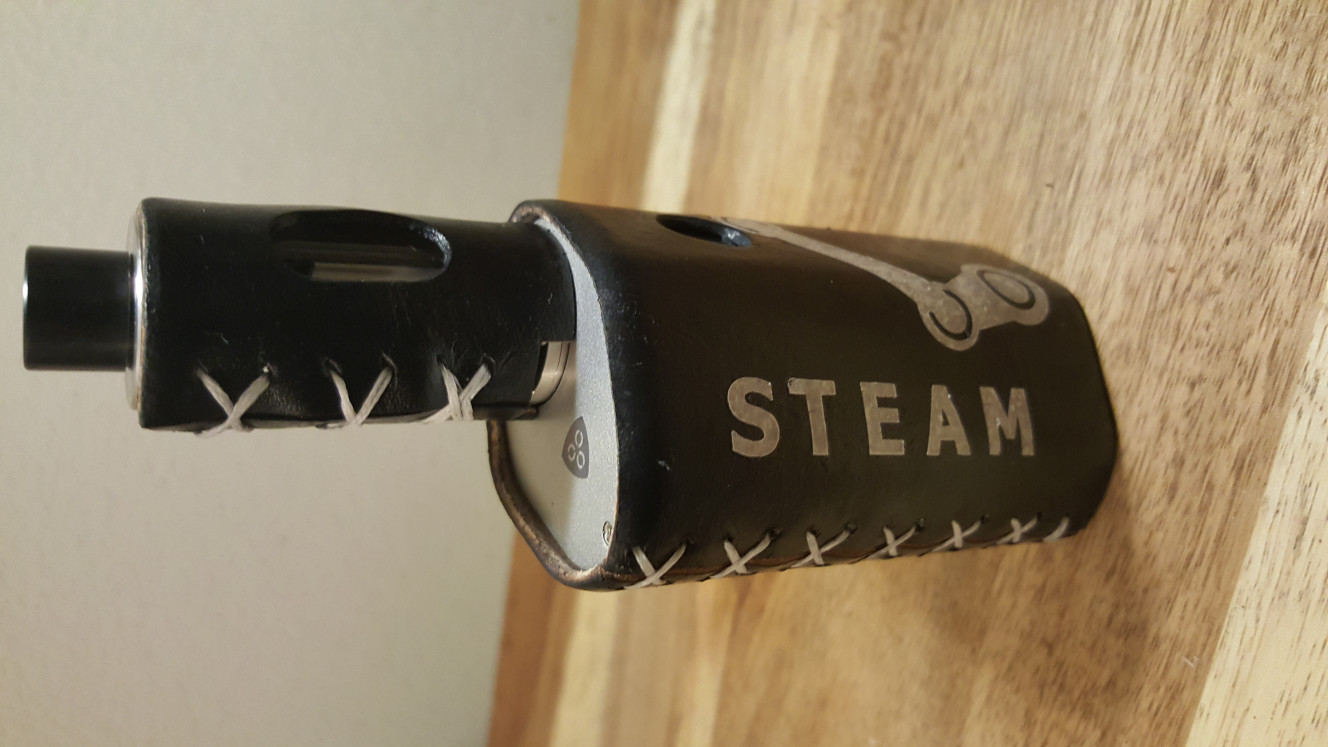
sorry I don't have final pics after putting a final finish to it.. an officer buddy I showed it too. took it. lol
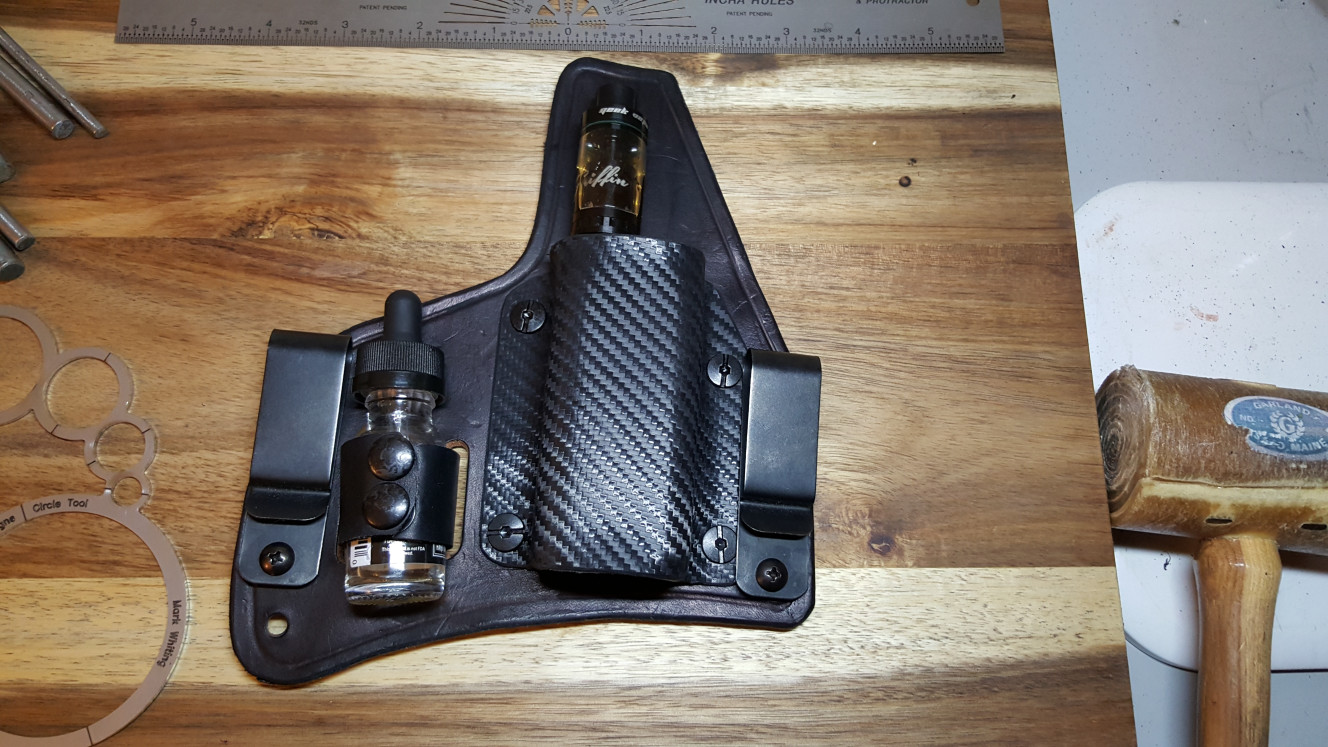
here's something I made for him in response..")
I've been lurking but learned a lot from this forum and have seen others ask for leather cases. I do leather work as a hobby and have made things like sheaths, holsters, wallets, etc.. Vaping gave me something else to practice on.. I just want to state in advance that leather work is a hobby and I am by no means an expert. I am also not selling anything.. this is a diy tutorial for those that want to try a relatively easy leather project.
I wanted something for my mods since they're pretty heavy and slick.. I kept on feeling I was going to drop it by accident every time I picked it up. Well.. I despise silicone and it's really hard to pull out of pockets sometimes and nothing really feels as nice as leather, imo.
Mods grip perfectly in the hand now. This method should work for most box mods.. not the funky shaped ones.. even then you can wet mold to get the shape into the leather. I use a ball end pen set for this.. makes it much easier to get detail.
Tools/Stuff needed:
3-4oz veg tanned leather
xacto knife or similar
hole punches / awl
ruler and / or soft tape measure
sewing needles (blunt, large enough for waxed thread)
waxed thread
colored oil dye
sponge or wool dauber
Sorry I didn't get more pics and the order is kinda confusing.. I didn't think of it until I had already stitched up the side but you can get the gist. Also it would be a good idea to remove the batteries before you start. If anyone has any questions lmk.
1. measure outside diameter of mod, then the height. Cut a piece of leather to match size. (my cuboid turned out about 5"x3.5" I think). Cut a little taller if you want to be able to curl the bottom (to prevent the mod from slipping all the way through) However, I found that once you wet mold and press fit the mod and let dry, that it works like a sleeve and only comes out if you press from the ends.
2. On the vertical ends of the leather, mark and measure stitch holes down the length's edge. punch holes down both sides. Stitching wheels work well but you can just measure evenly spaced holes with a ruler.
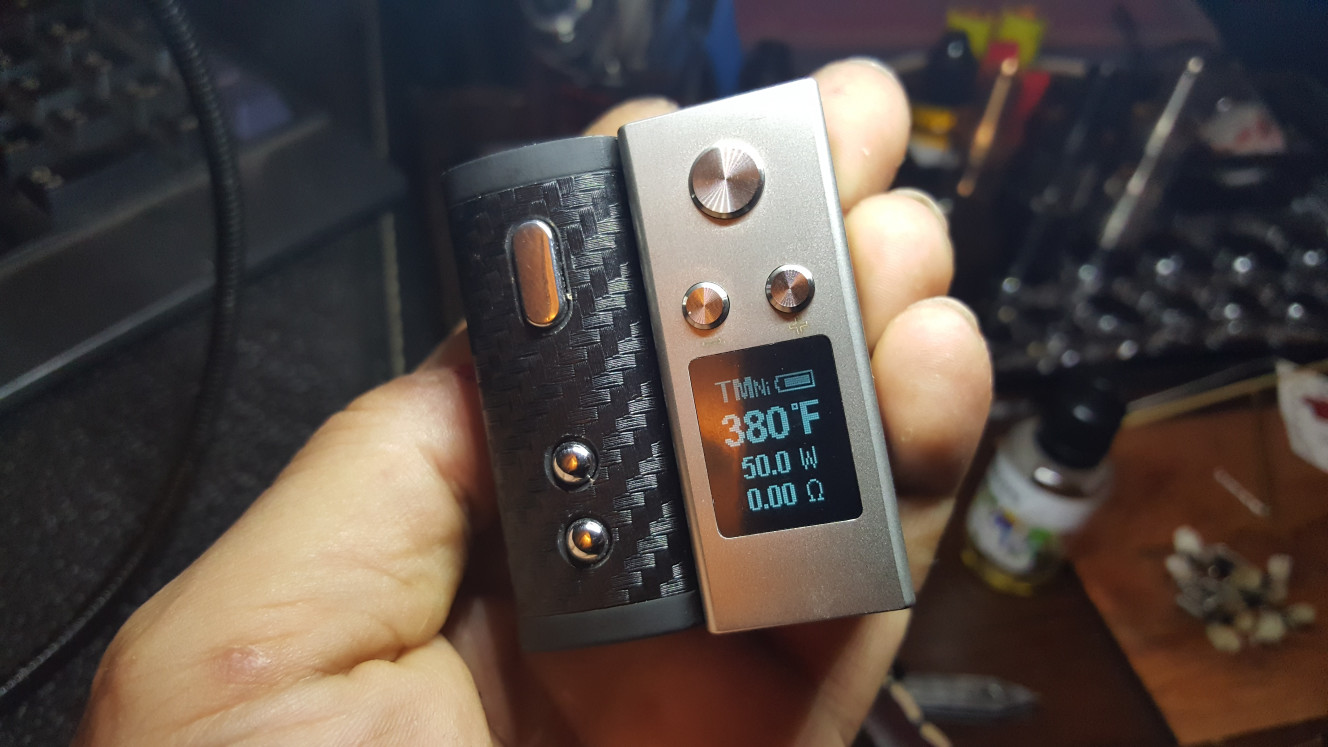
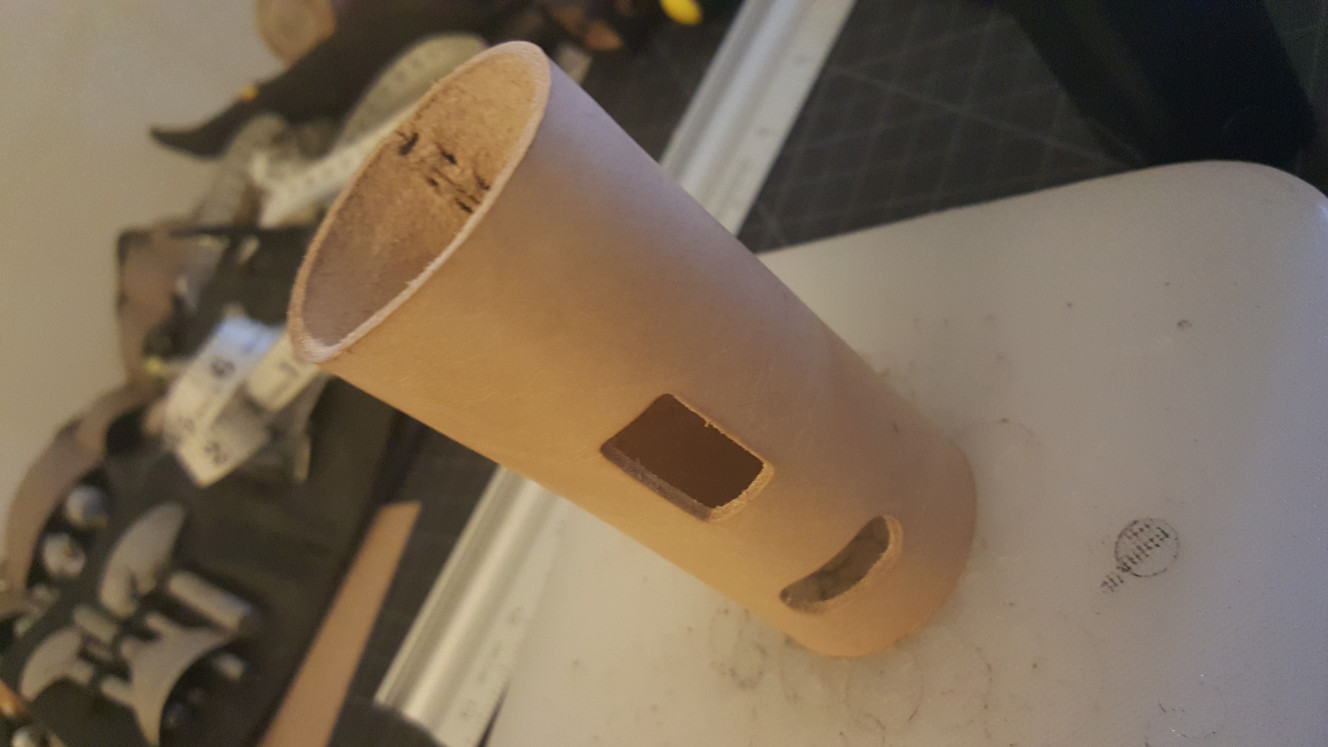
3. use a sheet of paper over your mod to determine where your holes (for screen, buttons, etc) and trace. Cut layout from sheet and place on your leather. punch/cut holes. Afterwards makes sure they line up on your mod.
Also note if you have a DNA200.. there is a PDF available with the button / screen layout. Make sure you print to scale.
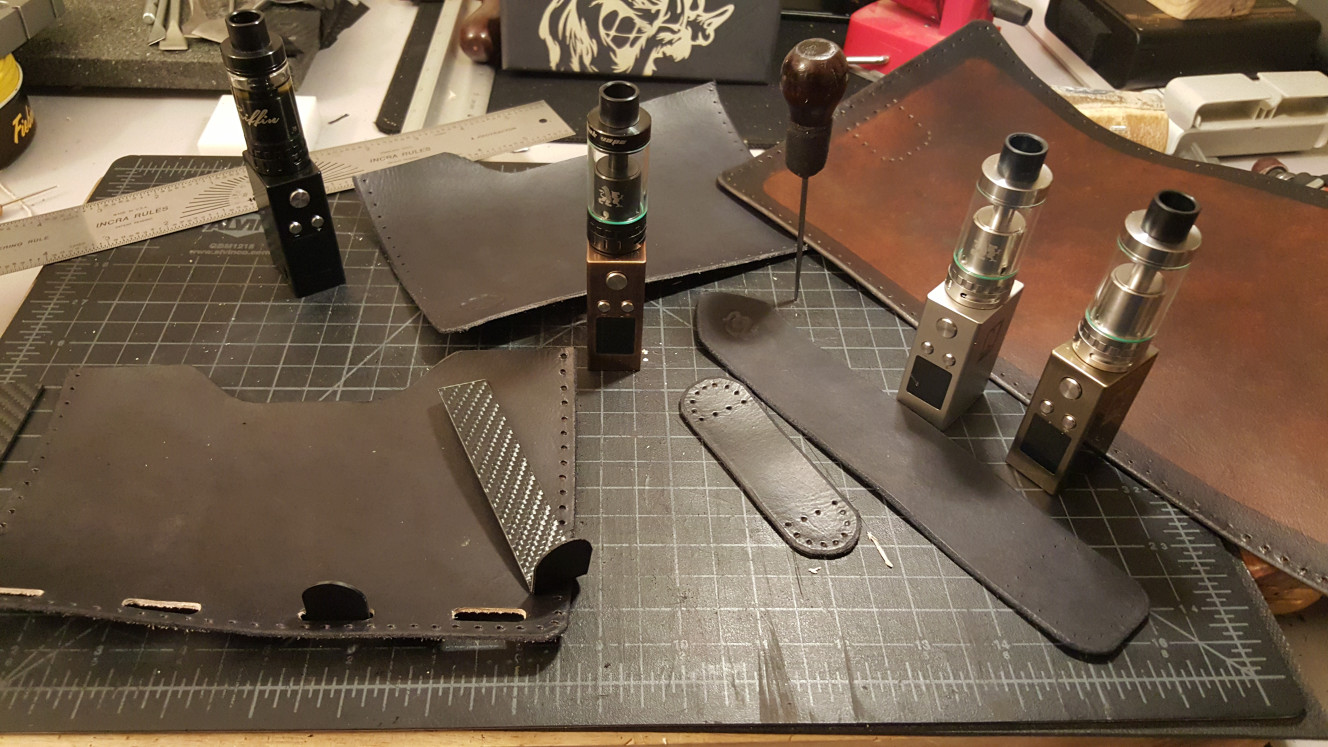
4. Stitch both sides together. You can look at youtube videos if you don't know how to stitch but I just criss crossed all the way down and melted the ends.
things should look sorta like this..
5. Spray down or dampen the leather and let sit for about 5 min. repeat until it's pliable.
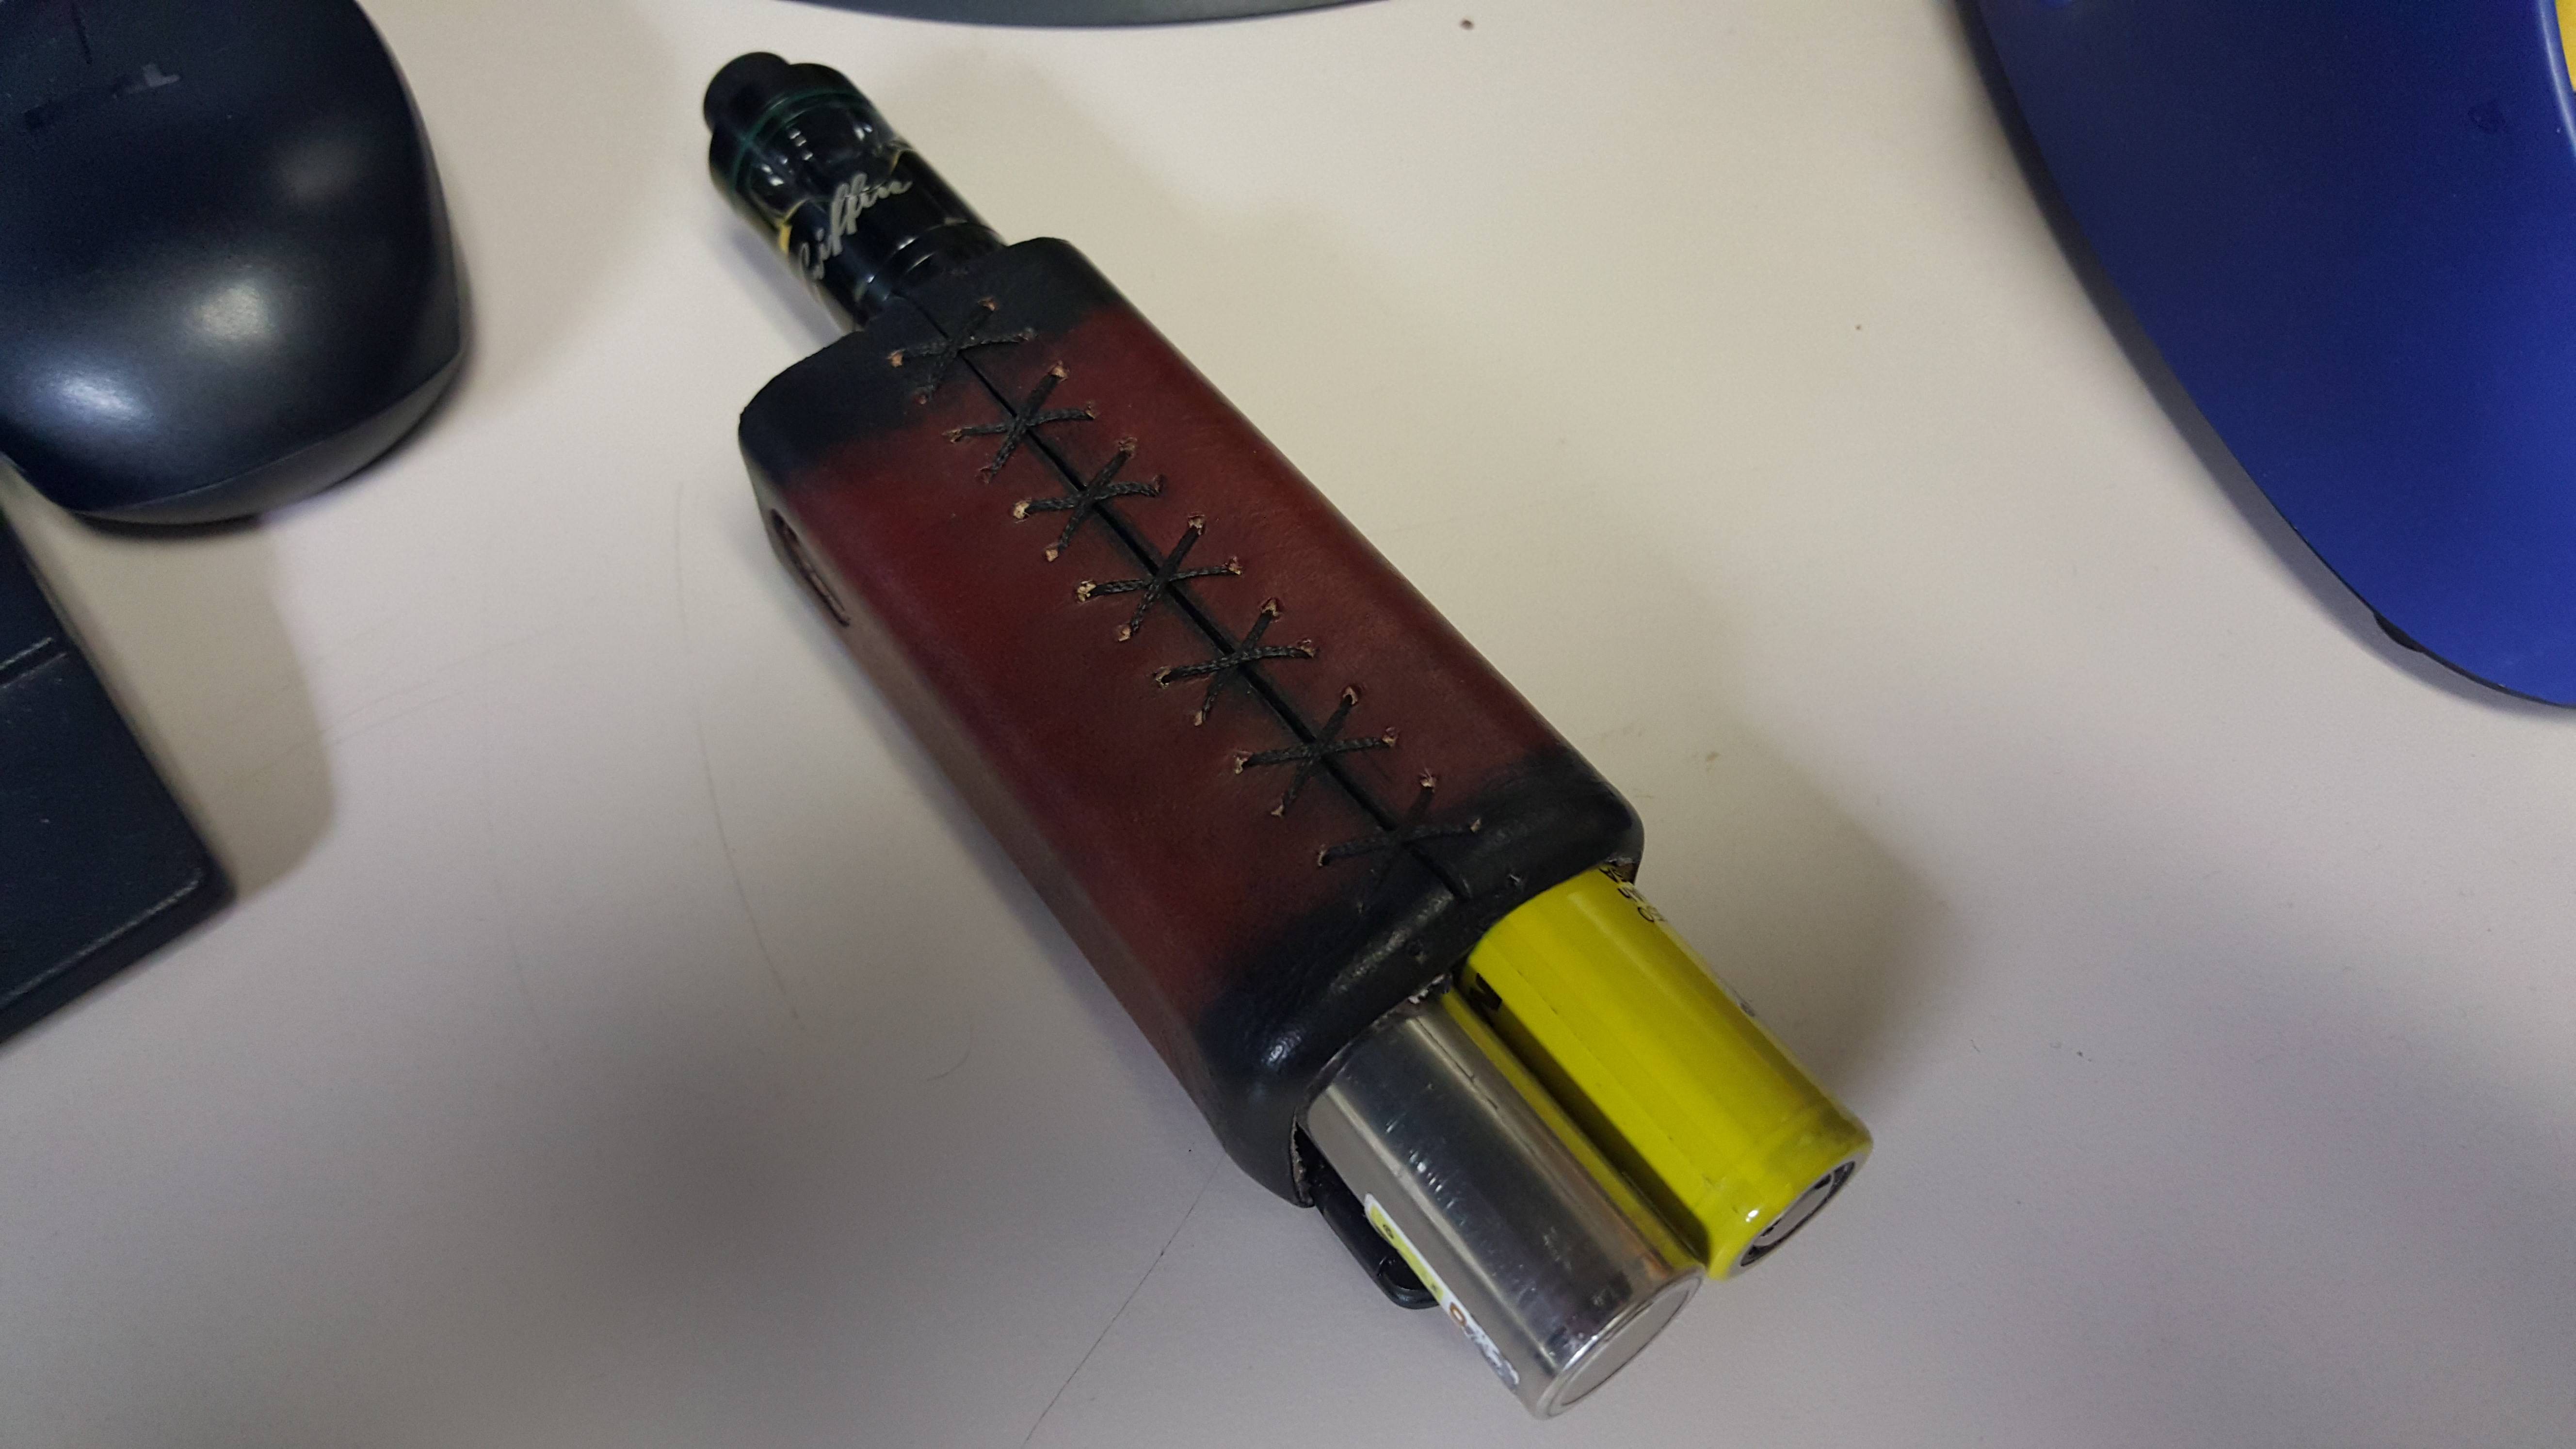
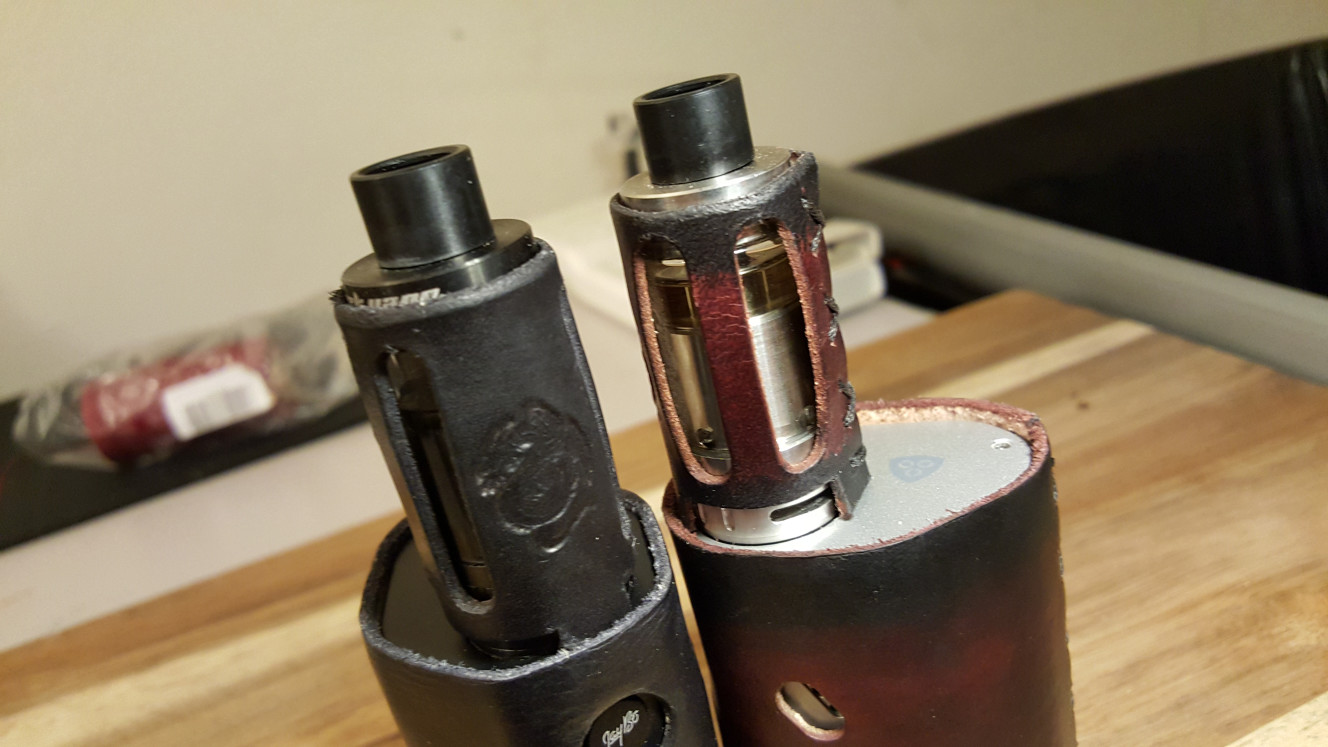
6. Press fit the leather sleeve over your mod. (wrap the mod in saran wrap to protect from moisture) It might take some stretching to get it on but wet leather will stretch a little.Leave some leather at the bottom so you can curl around the bottom edges if you want to protect the bottom of the mod. Personally I like it open on the Cuboid so I can change batteries easier. The sleeve has enough friction to not slip off unless your are pressing from the ends. Line everything up and let dry overnight.
things should look sorta like this..
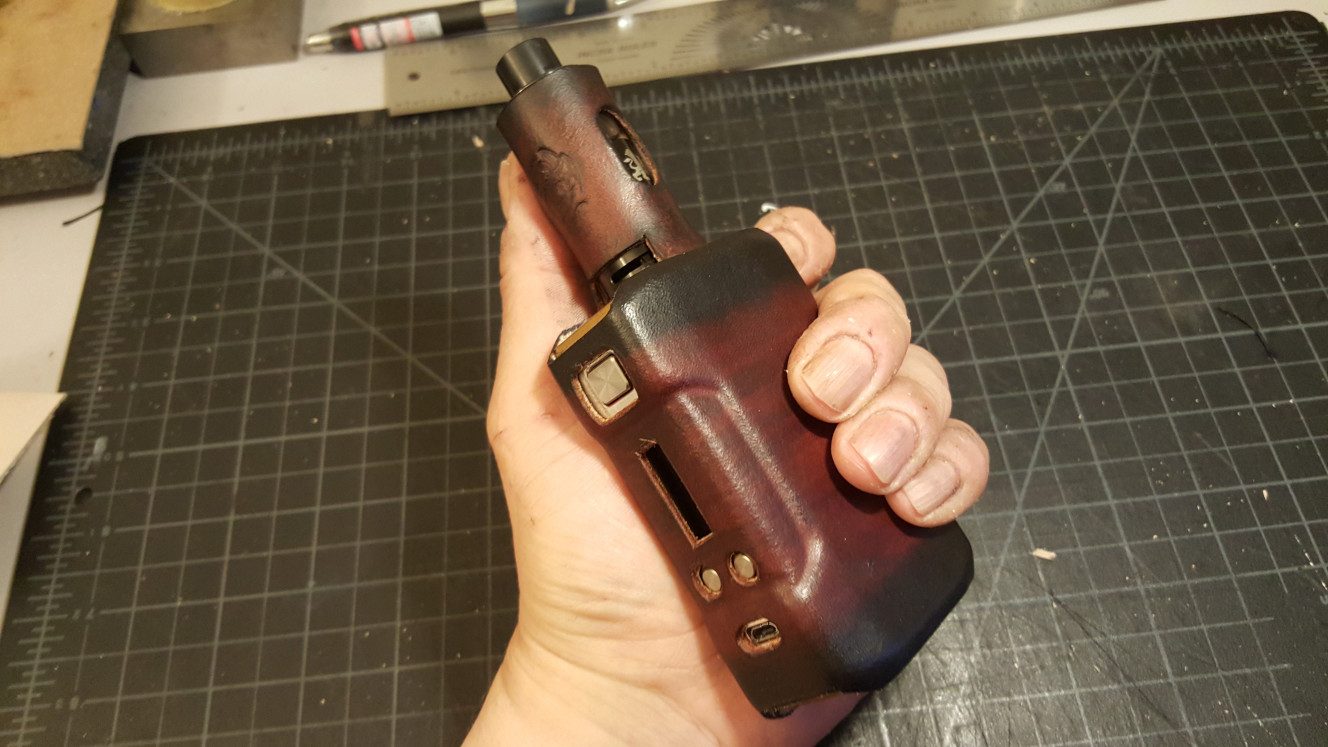
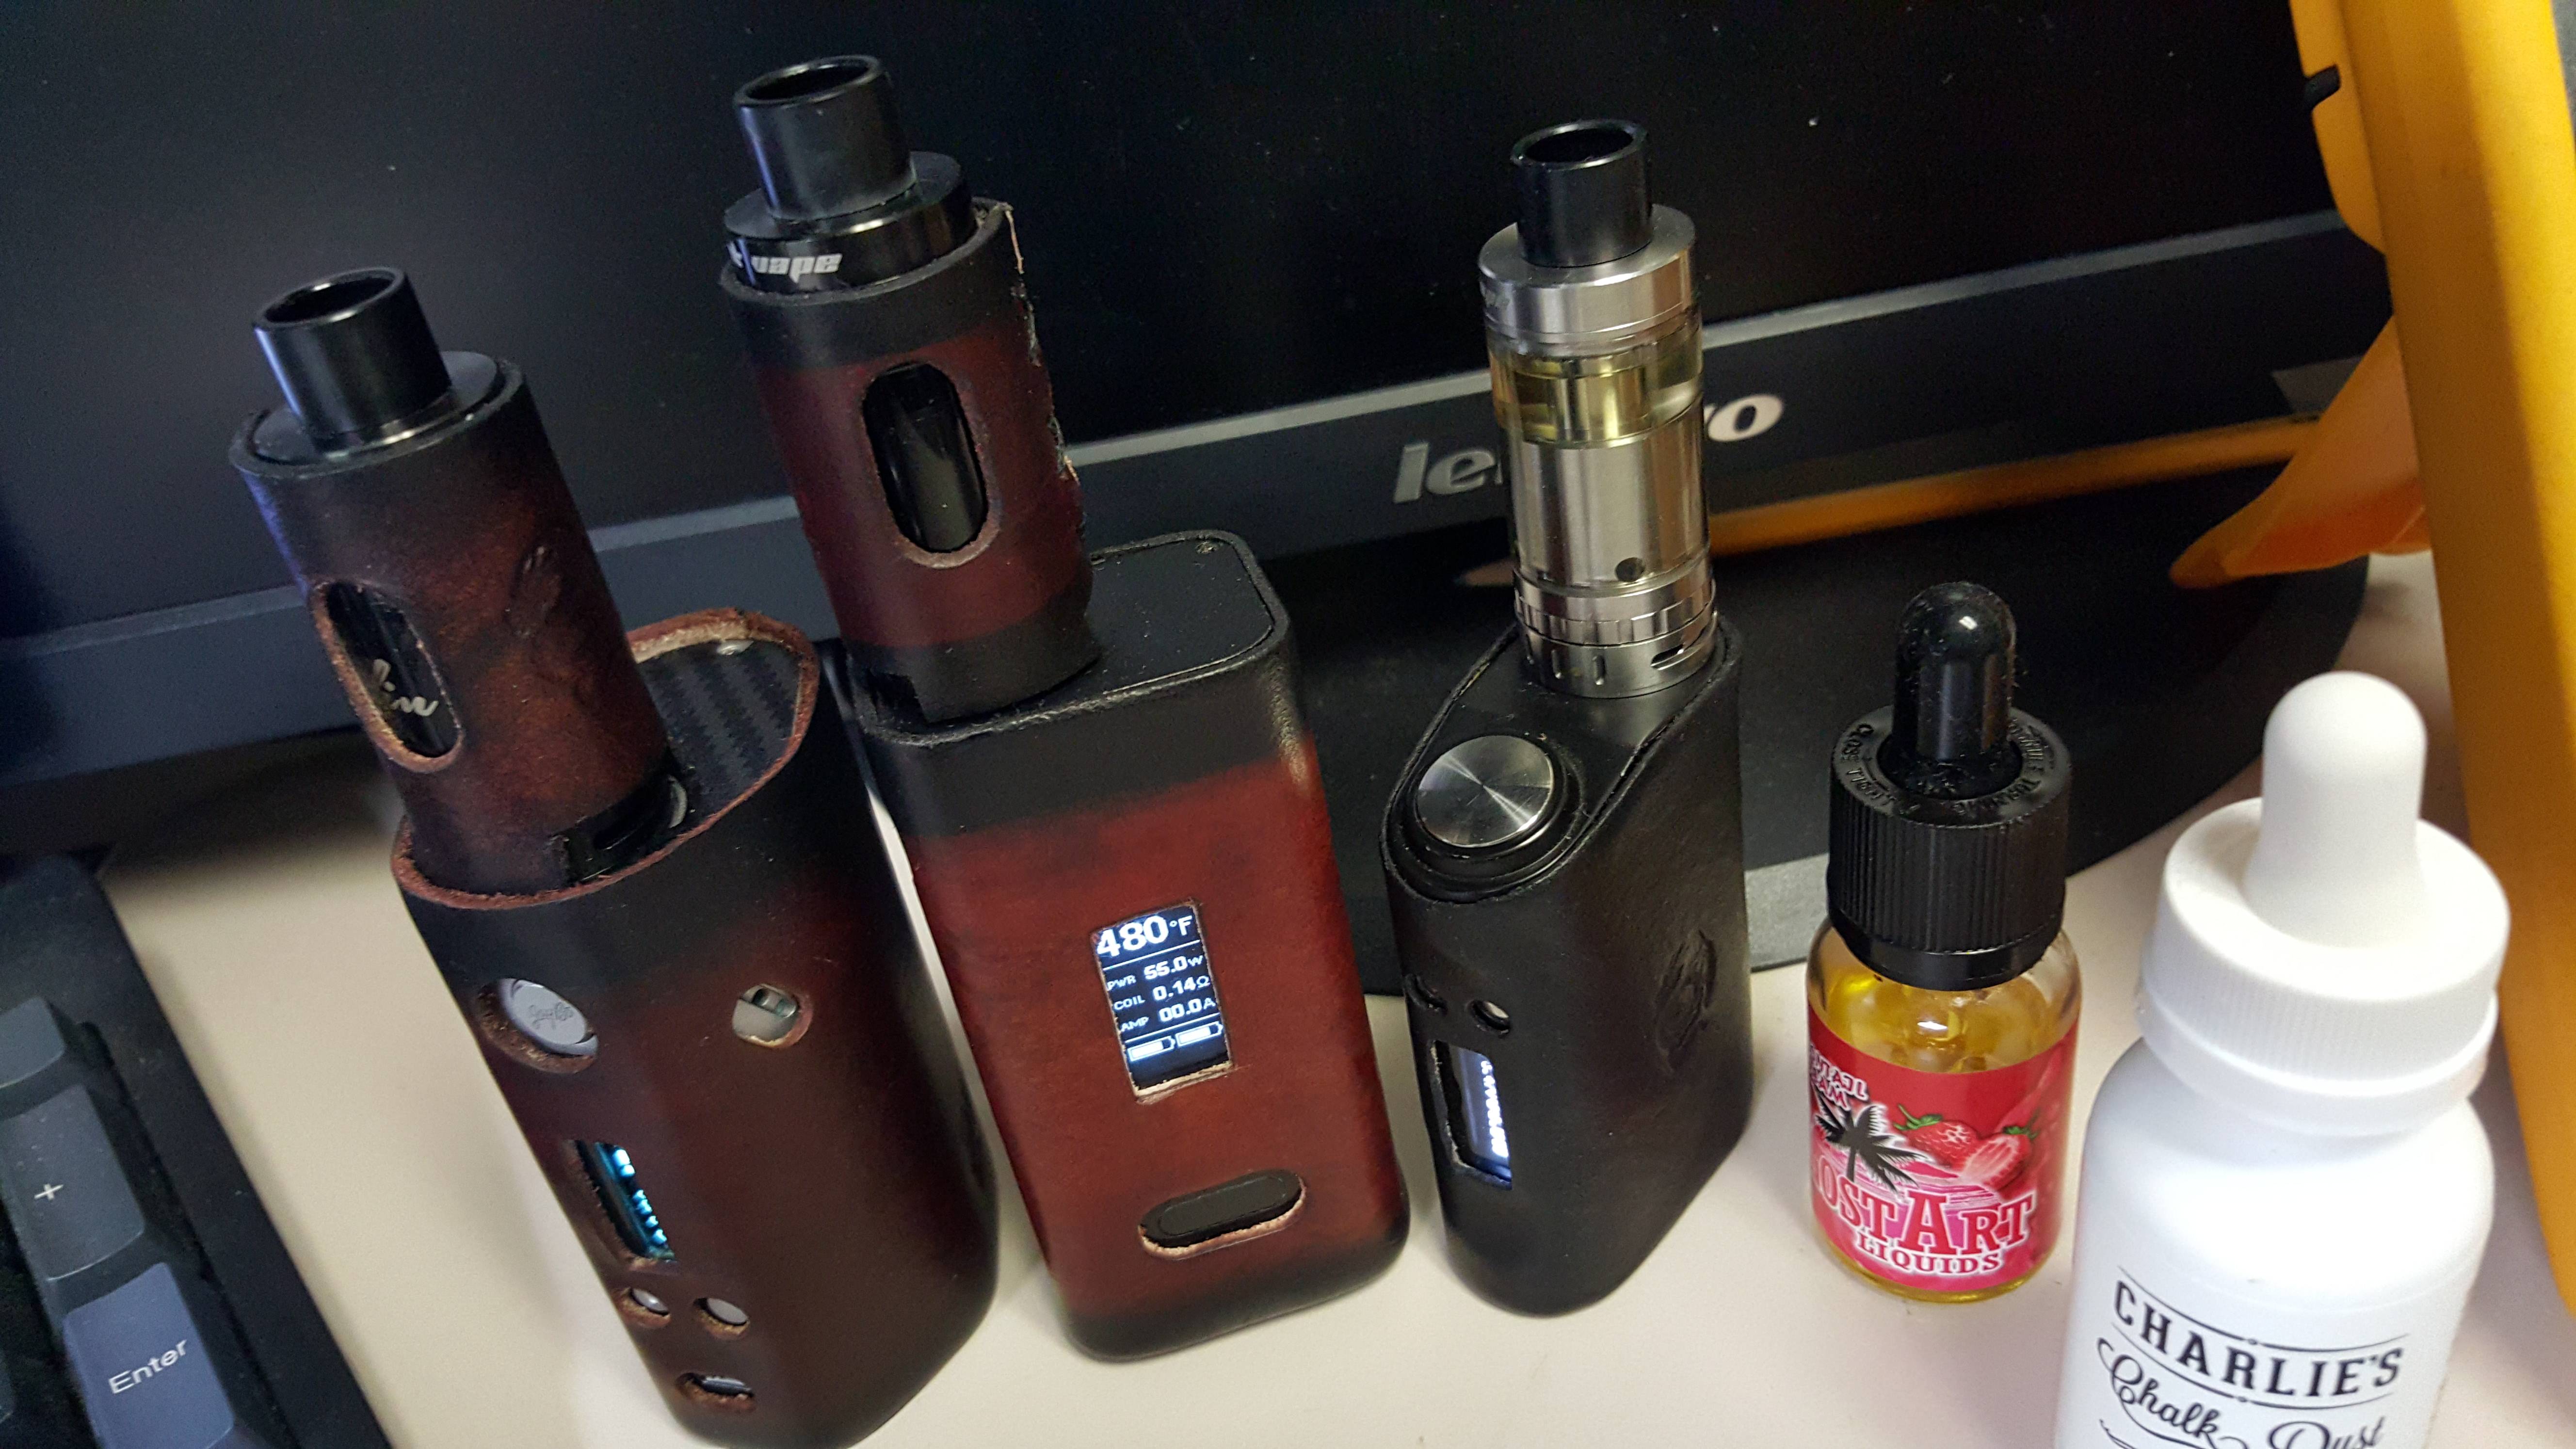
8. Now is the time to dye. (or just put a finish on) You should be able to remove the mod once dry by pressing down from the bottom while lightly holding the sides. I used Fiebings oil dye. Oil dye is less splotchy imo. Dyeing isn't rocket science.. basically use a sponge to dye, then do it again after it drys until you get the color you want. You can thin the dye also with denatured alcohol. Once dry.. rub down with leather protect-ant (and to prevent color bleed)
sorry I don't have final pics after putting a final finish to it.. an officer buddy I showed it too. took it. lol
here's something I made for him in response..
Last edited: