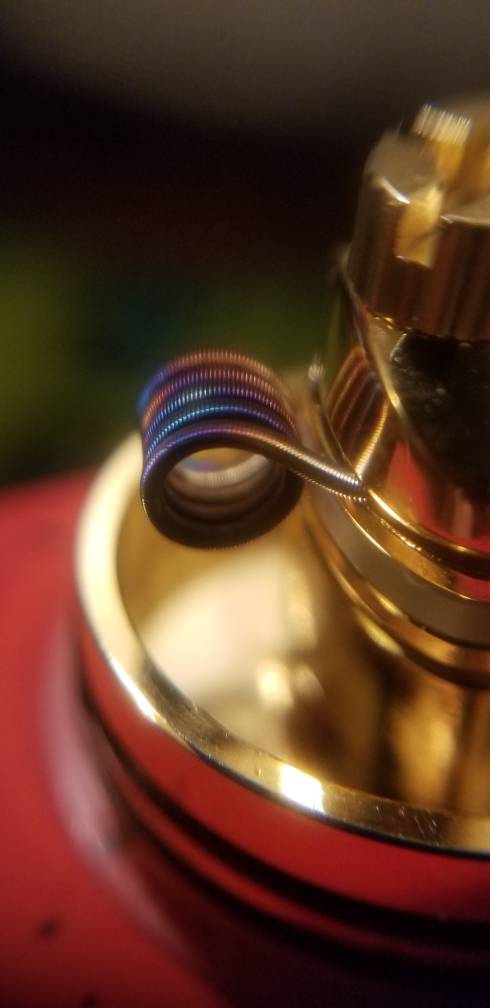
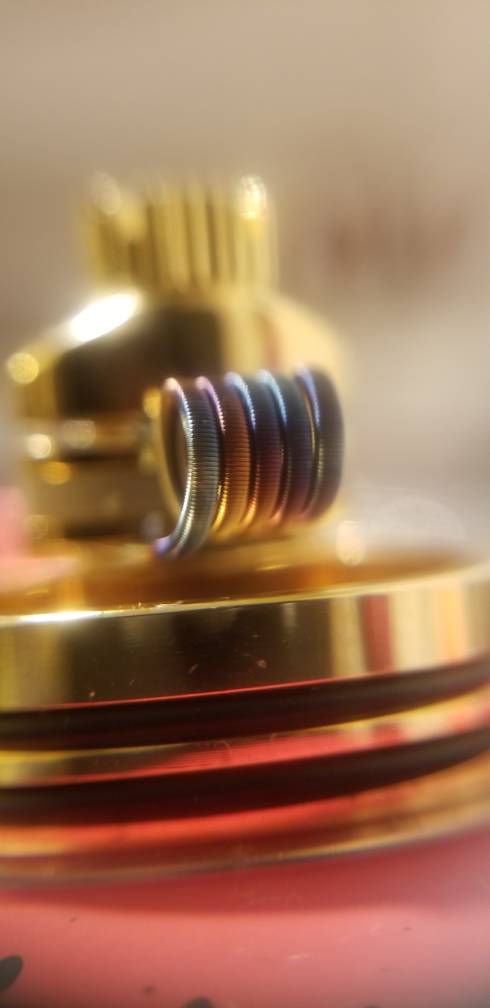
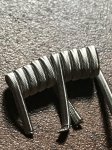
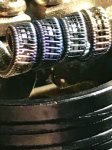
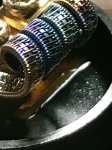
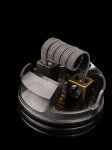
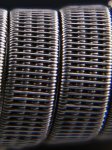
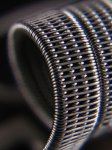
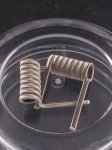
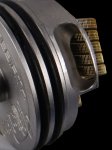
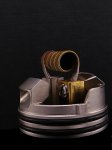
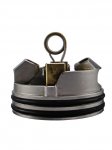
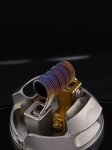
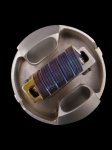
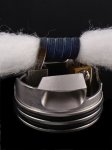
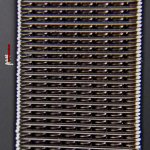
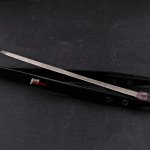
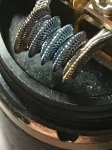
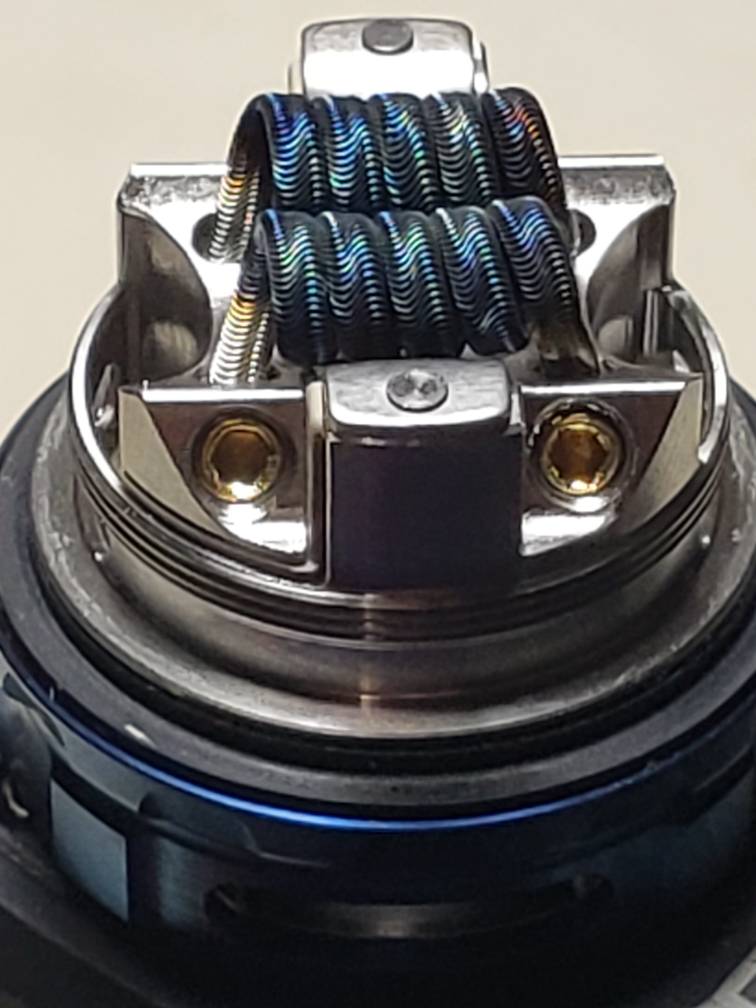
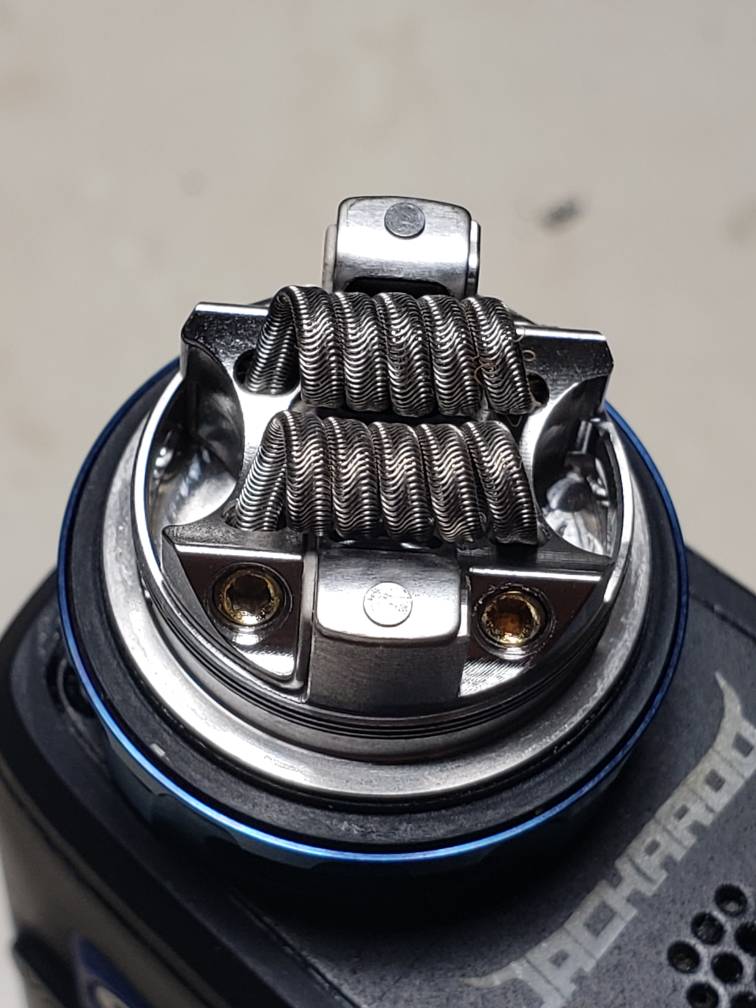
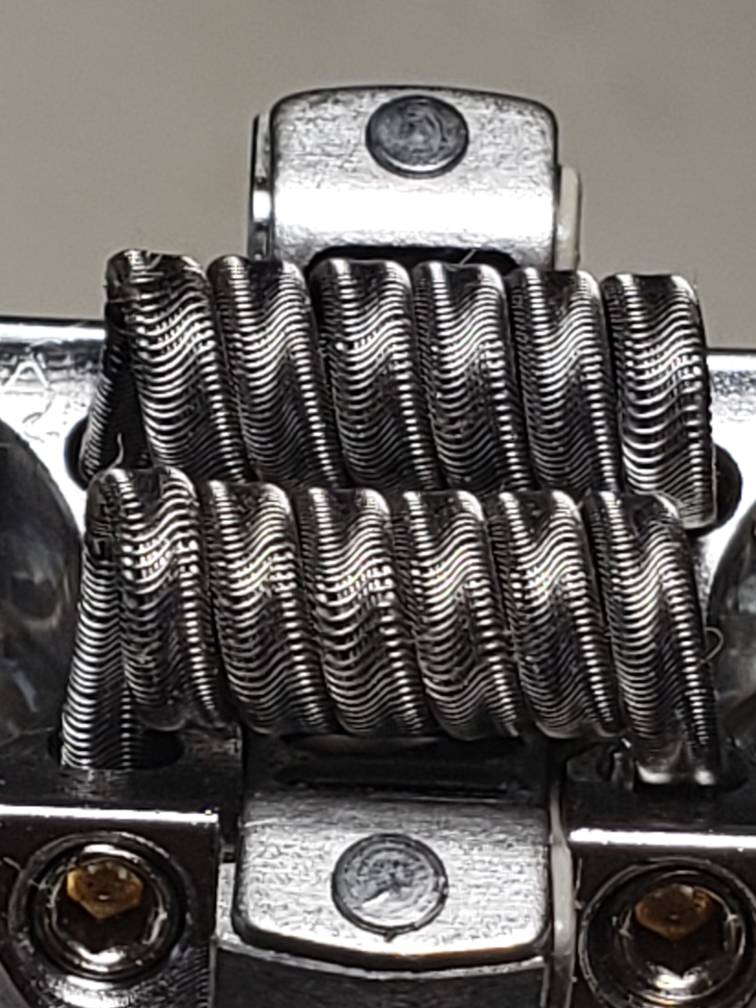
My favorite coils to Vape aside of Alien Staggs. Sitting in the Golem RDA with a Trinity Zion Glass Cap. I thought I'd feature my favorite build in my favorite RDA with my favorite new Tube and of course my clamps also
5x28g/36g N90 5 Core Aliens (usually in SS or N90)


Become a Patron!
You are using an out of date browser. It may not display this or other websites correctly.
You should upgrade or use an alternative browser.
You should upgrade or use an alternative browser.
Post your builds
- Thread starter Vape_geek
- Start date
Loved three of the shots you posted. But what was the black tube looking thing? Was it a pod.
Its a Series Mechanical Mod (8.4 Volts) with a Rebuildable dripping Atomizer (RDA)Loved three of the shots you posted. But what was the black tube looking thing? Was it a pod.
-Thanks for the tips! Ill play around a bit. I've got a couple ideas based on that infoAngle the mod so the reflection is either an all white area or a black area, use a sheet of paper and curl it around most of the mod and shoot looking downwards at the mod with the mod leaning around 20 degrees
There's a reason I started shooting shiny stuff outdoors, its just easier and it looks good. Shooting inside for shiny stuff isnt as easy.


You can always send me your mod and Ill shoot it for you
-I actually did an outdoor shot before when I realized what was happening in my box. Holy hell it's a busy image though lol

-I bet you'd like me to send it to you
Loved three of the shots you posted. But what was the black tube looking thing? Was it a pod.
A mech is basically a flashlight but you put an atomizer on top instead of a lightbulb lol. No safety features, no warning lights, no screens. Just a circuit being completed by a contact switch. A series set-up is 2+ batteries, run positive to negative so the current flows into one and out of the other, which doubles the voltage output to 8.4v. As opposed to a parallel set-up in which 2+ batteries are drawn from simultaneously resulting in double the battery life and **effectively** double that max amp output but keeps it's 4.2v output.Its a Series Mechanical Mod (8.4 Volts) with a Rebuildable dripping Atomizer (RDA)
Mechs require a good working knowledge of Ohm's Law and battery safety or you can really do some damage to the mod the atty and yourself and property. A single battery mech is about as tall as your hand is wide (give or take depending on your hand size) A series mech is basically two of them stacked together so it's double the length and known and a "Stack". This gives you twice the voltage hitting your atty.
I've been vaping since 2012 and Just got my first true mech. And I have to say I am displeased that I took so long to get one. I've always been a vv/vw guy with a splash of parallel unregulated and a box for series.
Sorry if this is all stuff you know. Just trying to be helpful. There's a great post about circuit and battery functionality --->HERE<---. Totally worth a quick read imo.
Its a Series Mechanical Mod (8.4 Volts) with a Rebuildable dripping Atomizer (RDA)
Thanks a bunch. Just making sure you wasn't posting some new great tool that I could not live without.
Just a heads up to help make your posting more organized and easy to follow for others.Thanks a bunch. Just making sure you wasn't posting some new great tool that I could not live without.
When you go to quote someone you can select the text you want to quote with your mouse (or finger) and select "Quote ME!", or you can quote the entire post with the quote button on the post you want to quote.

With the quote in your response box you can then type your response in, just make sure it is outside of the quoted material.
This way you dont get into trouble with double posting and all that jazz. I figured I'd help you out before someone complains elsewhere on the forum and you're left unaware of how to fix it.
Thanks bunch. Still a new guy.
I got a few attys that need fresh coils so I'm just gonna slam 'em out and slam 'em in ... AKA these aint pretty colored show pieces just good solid vapes 
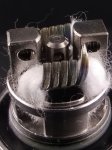
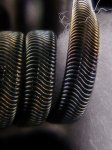
Let's start with some 3 core 28/38 Ni80, 2.5mm ID, .12 ohms in the G2
Vaping these on the CoilArt DPRO (18650 parallel unregulate)
They are a little harsh with fresh batts in this tank. But they settle into a nice warm dense cloud for the majority of the battery life. Lots of satisfying pop and crackle with non of the spit-back


Last edited:
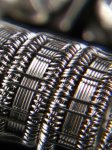
Test run on some multi-core frames. Only took this one shot to get a good look inside. Got a few tweeks to make. Will try again tomorrow.
30x 40g (x2) Ni80, 6 ply .3 ni80, 38g ni80 fuse, 5 wraps on a 3mm ID, .1 ohm dual coil
Devent vape but the ramp on them is outrageous. Definitely has to be a regulated vape.
30x 40g (x2) Ni80, 6 ply .3 ni80, 38g ni80 fuse, 5 wraps on a 3mm ID, .1 ohm dual coil
Devent vape but the ramp on them is outrageous. Definitely has to be a regulated vape.

Verry nice
Yes sir!!
I know I said I would make another run at the multi-core frames ... been trying to psych myself up cause everytime I sit down to do it it's REALLY hard to burn 40 feet of wire just on the frames.
So instead I tried something new (well new to me, this concept has been around since like 2015)
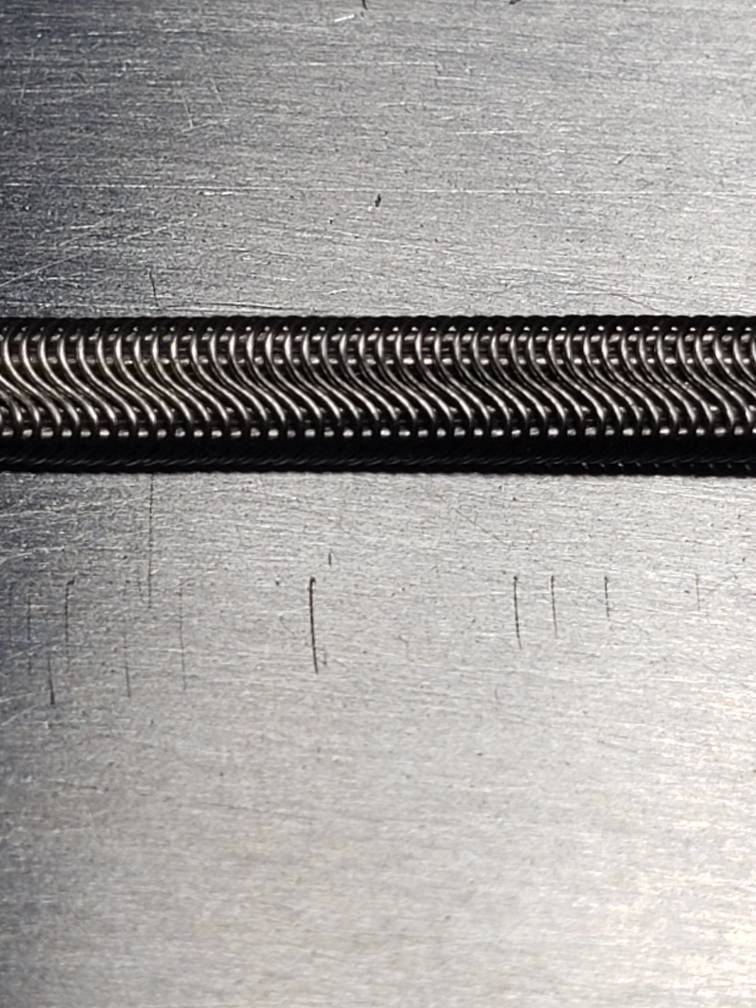
2x 28/36/38 Snake belly
So instead I tried something new (well new to me, this concept has been around since like 2015)
2x 28/36/38 Snake belly

i feel you on that. i tend to try to always use 34 gauge for that stuff because i bought most of my wire in 'bundles' that contain every gauge and i only use 34 for polished aliens (so basically never)...but its great for cat tracks and framed cable core builds lol...i couldnt figure out what to use it for until i ended up using 40 feet of something more useful on a build like yoursit's REALLY hard to burn 40 feet of wire just on the frames.
 never again!
beautiful build btw i havnt seen that in a while, and never tried it myself. whats the trick/technique to get a snake belly?
lots of great builds in the last couple pages
 i love you guys
Yah 34 is a rough one to find spots for. It's really to small for functional cores but really to big for fusing. It works for multi-core cores and cat-tracks, ect ... But 1) I don't have any 34 lol and 2) I was looking for the look of the cores being smaller than the stag/fusei feel you on that. i tend to try to always use 34 gauge for that stuff because i bought most of my wire in 'bundles' that contain every gauge and i only use 34 for polished aliens (so basically never)...but its great for cat tracks and framed cable core builds lol...i couldnt figure out what to use it for until i ended up using 40 feet of something more useful on a build like yoursnever again!
beautiful build btw i havnt seen that in a while, and never tried it myself. whats the trick/technique to get a snake belly?
lots of great builds in the last couple pagesi love you guys

Snake belly --> https://www.reddit.com/r/Coilporn/comments/3fi2it/snake_belly_coil_how_to_breakdown_in_comments/
Quick start - Para clap and decore. Seperate the interlock and slide new core(s) down 1 side. Compress and fold.
It sounds difficult and tedious. But once you get it started it only takes a few mins and is fairly easy.
Tips - Stretch the decore just a bit. This helps a TON to get them seperated. You only have to get a enough of the interlocks separated to get the new cores stared. They will separate themselves as you slide it in (oh so risque

 ). If you decide to go with a smaller core (28+) use Kanthal for the stiffness. I tried N80 at first and it's a real PITA. The loose loops with have an obvious lean to them. Fold them that direction. Give them a little pinch down the stick, like making a decore for an Arch, before running down with consistent pressure. This will help a ton with getting a good clean fold.
Dificulties - Keeping the new cores parallel in the decore and keeping the loose loops on top of the parallel cores. I fixed this by not worrying about how the decore is hanging on the cores until flattening. You can manipulate the loose side of the decore fairly easily around the cores.
If you would like to dig ... Nick did a live on it the other night. But it was a ~2 hour show and there's only about 5 mins worth of useful info on this specific build. Don't get me wrong ... I like Nick a lot. He is a central part of the build community and just about the only part of the consistant teaching community now-a-days. But looking through his videos to find some specific thing your looking to get insight on ... it can be a bitch lol
IMHO, For the OG set-up, this really needs the bigger gauges. I would go with like 34 or 36 being the smallest wire in the build ... probably 34. I like the look of it, as a stand alone coil, better when the cores look like part of the build and not just a base to wrap the 'real' build around. But I'm considering different/smaller cores (like 3x 32 twisted cores or something) and staging it with something beefy ... possibly just a naked 22g or something.The flattened side has an overhang that i could use to islolate just the top. Like poking the tip of a mohawk up between the wraps of another coil.
More playing with interlock decore/recore concept
The single para-decore looks exactly like a cored braid when completely filled in like this. 26/36 decored from 24
The other one is 30/36 decored from 26 and might look cool fully filled in like the aforementioned. Definitely an idea to play around with
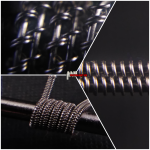
The single para-decore looks exactly like a cored braid when completely filled in like this. 26/36 decored from 24
The other one is 30/36 decored from 26 and might look cool fully filled in like the aforementioned. Definitely an idea to play around with

Well...with that and all you said about in the follow-on post....I put pants on today!I know I said I would make another run at the multi-core frames ... been trying to psych myself up cause everytime I sit down to do it it's REALLY hard to burn 40 feet of wire just on the frames.
So instead I tried something new (well new to me, this concept has been around since like 2015)
2x 28/36/38 Snake belly
View attachment 139970

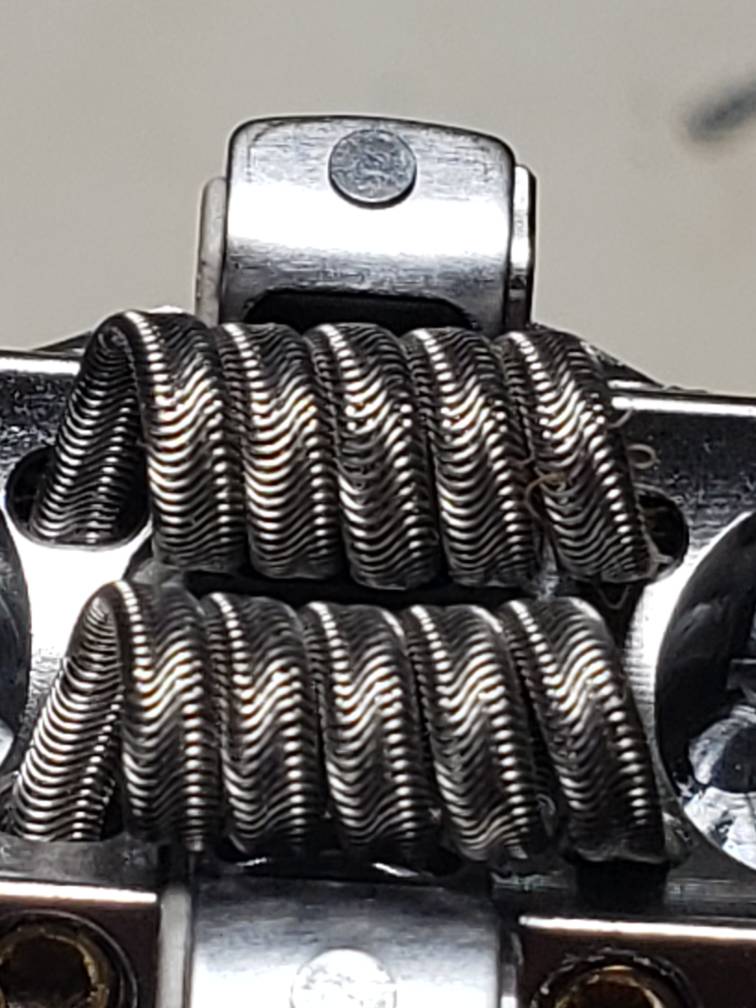
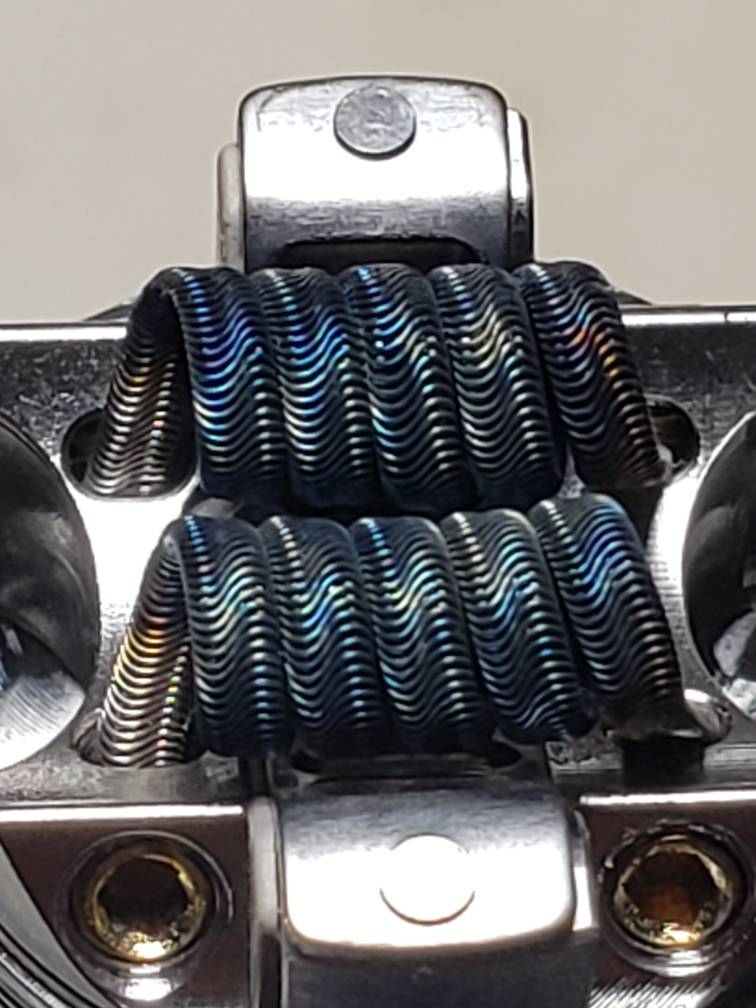
Aliens. 36g over 4x28g N80. 4.5 wraps. Ohms at .12 for the pair. Mounted in my new blue Kylin V2. Pounding them with 70 watts!
http://vapingunderground.com/threads/wts-wtt-aspex-performance-coils.434798/
Hot Damn ... you are one of the most consistent alien masters I know. Always clean through and through. Always look exactly the same every time. Beautiful brotherWell...with that and all you said about in the follow-on post....I put pants on today!
Aliens. 36g over 4x28g N80. 4.5 wraps. Ohms at .12 for the pair. Mounted in my new blue Kylin V2. Pounding them with 70 watts!


http://vapingunderground.com/threads/wts-wtt-aspex-performance-coils.434798/

Yeeeaaaah Buddy!! That is NOT easy and you got that sh*t tight!

I really appreciate that WPMac! From one coil artist to another; thank you!Hot Damn ... you are one of the most consistent alien masters I know. Always clean through and through. Always look exactly the same every time. Beautiful brother
http://vapingunderground.com/threads/wts-wtt-aspex-performance-coils.434798/
Thanks man!Yeeeaaaah Buddy!! That is NOT easy and you got that sh*t tight!
gopher_byrd
Cranky Old Fart
VU Donator
Diamond Contributor
ECF Refugee
Member For 5 Years
VU Patreon
For those who use Kidney Puncher wire, they are having a flash sale with 30% off from 9am MST (same as PDT) Thursday to 9am MST Friday.


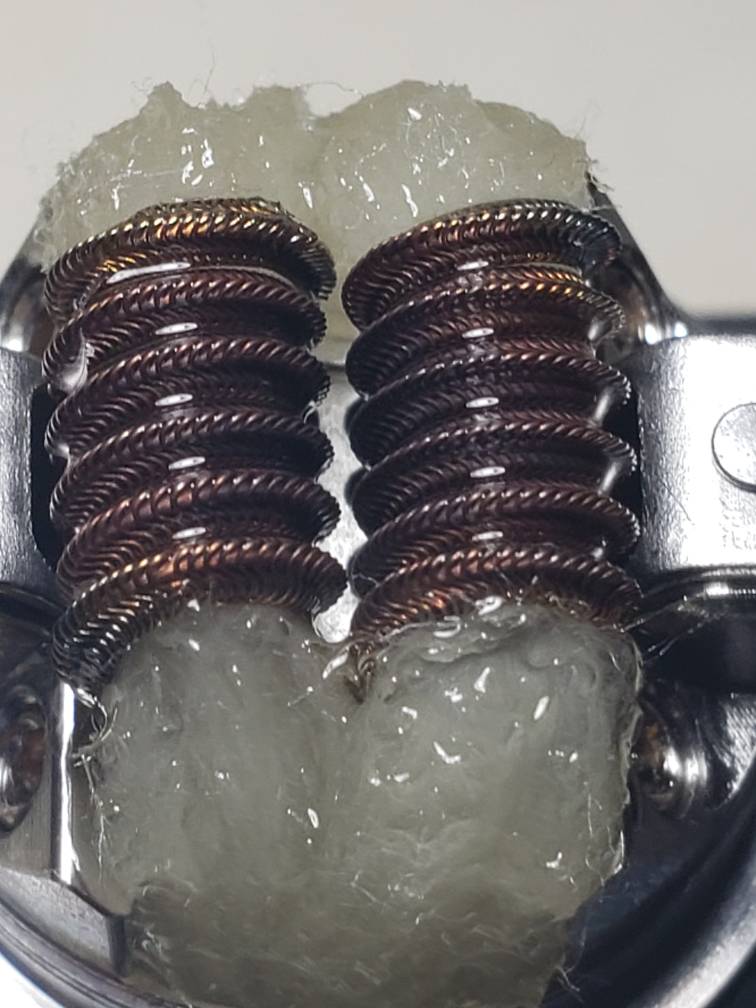
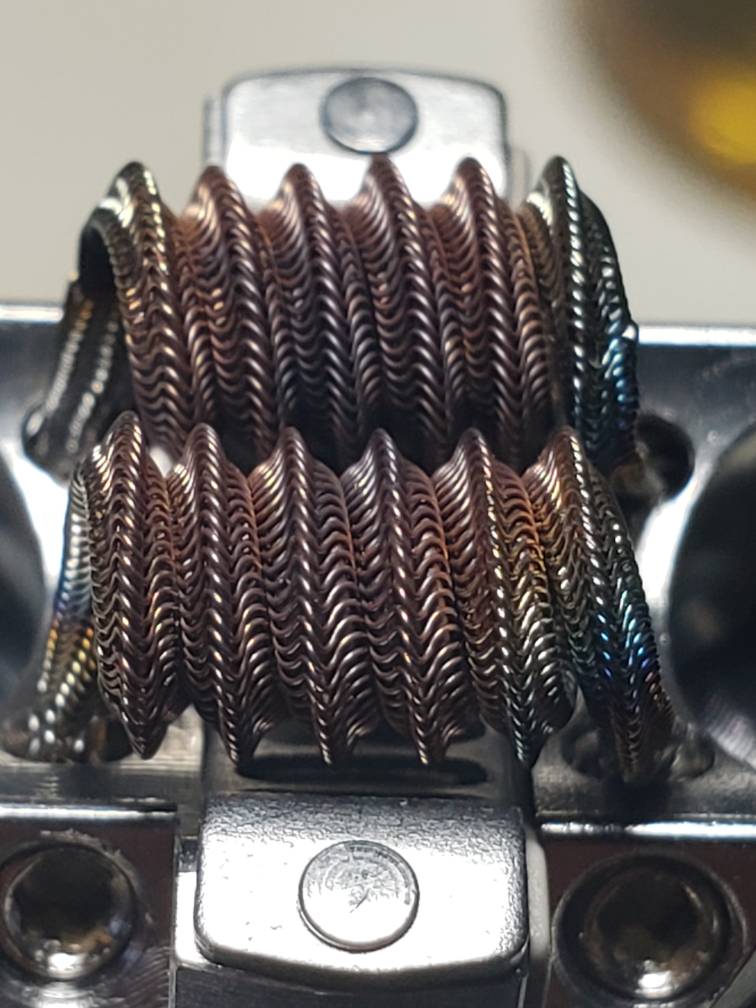
Doing what I do... All SS316L Mohawks! 36g over 3x26g. 5.5 wraps. Clocks at .10 exactly. 85 watts. Hits harder than a frozen lasagna falling on your toe!
http://vapingunderground.com/threads/wts-wtt-aspex-performance-coils.434798/


http://vapingunderground.com/threads/wts-wtt-aspex-performance-coils.434798/
those are super nice photos mac, did you change your camera rig?
Micro Fralien. 40g N80 over 2x28 N80 and 7x.4*.1 KA1. Clocks in at .11 ohms. 70 watts. Oh yeah! First 40g I've really worked with in awhile. Before my hand surgery, I couldn't feel it. Now I can actually feel it! Not 100% yet, but it's there! Also Fraliens had kinda escaped me because with a nonfunctional dominant thumb, keeping the ribbon exactly right was a huge challenge. Now this micro Fralien isn't perfect to my standards, but after having my hand surgically repaired less than 3 weeks ago, it exists, and that's important for me!
http://vapingunderground.com/threads/wts-wtt-aspex-performance-coils.434798/

http://vapingunderground.com/threads/wts-wtt-aspex-performance-coils.434798/
Well thank you sirthose are super nice photos mac, did you change your camera rig?
For reference here are a couple of the unedited shots
When it comes down to it most of the changes are minor. But, they have a big impact on the final product. Plus I'm getting better and faster with every series. And learning new things every time. As I get faster the more I am able to try new things before I loose motivation to continue the session.
Truth be told a huge part of it is forcing myself to scoot away from all the major macros so much. They are my favorites, but in the end they are MUCH MUCH harder to get to look good during every step of the process ... especially the shooting.
Clean! I love the way staged builds lookDon't have a macro lense but a shot of my most recent. Premade SS Fused Clapton (26ga*2 & 36ga) paralleled next to 28ga N80. Came out to a .15ohm on the Drop Solo to go the Luxotic BF
-James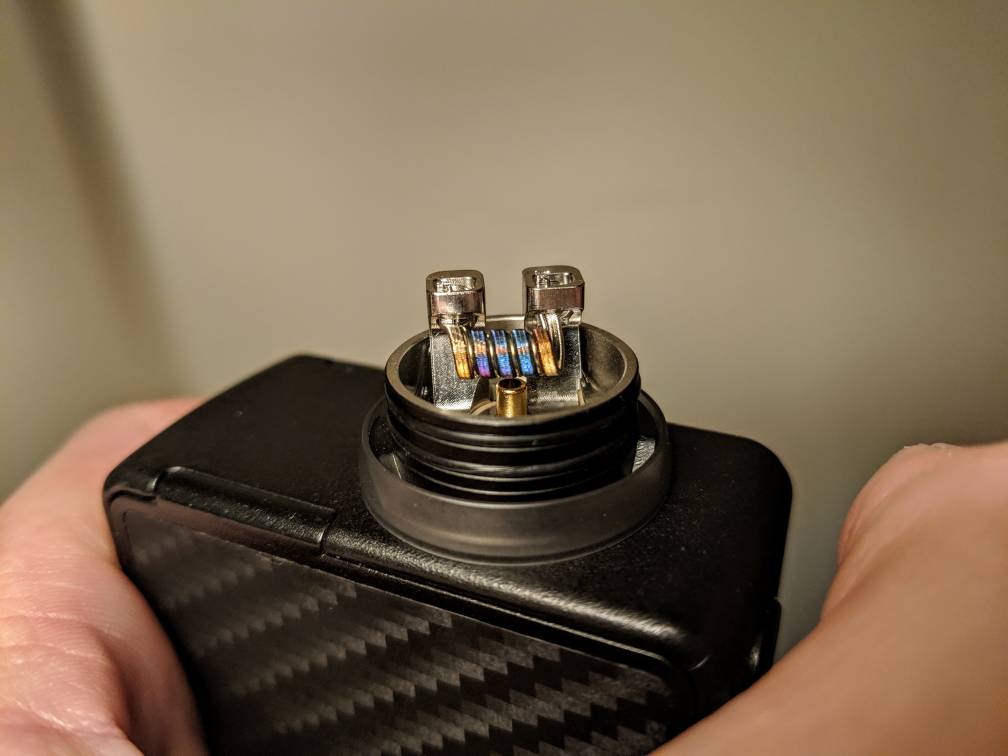
Sent from my Pixel 2 XL using Tapatalk

Hell yah man!! I've been backtracking to 38 for most of my ADV builds. 40 doesn't seem to last nearly as long in the 100 watt range that is my go-to.Micro Fralien. 40g N80 over 2x28 N80 and 7x.4*.1 KA1. Clocks in at .11 ohms. 70 watts. Oh yeah! First 40g I've really worked with in awhile. Before my hand surgery, I couldn't feel it. Now I can actually feel it! Not 100% yet, but it's there! Also Fraliens had kinda escaped me because with a nonfunctional dominant thumb, keeping the ribbon exactly right was a huge challenge. Now this micro Fralien isn't perfect to my standards, but after having my hand surgically repaired less than 3 weeks ago, it exists, and that's important for me!
http://vapingunderground.com/threads/wts-wtt-aspex-performance-coils.434798/
When you can you should pick up a 16x16" studio box similar to what I use....I think it would greatly help improve your shots...and your work deserves itWell thank you sirCamera and lenses are the same and I'm still using Helicon to stack. A month or so ago I picked up a couple more lights and built a new lightbox (old one was 1/2 arsed and falling apart). I started using GIMP to edit instead of picsart. I can kind of do a quick 5-10 min check list on most shots: Bump the high pass (clearity/resolution), drop the white point a little, clean up major ghosting, cut out the background if lightning doesn't cooperate, and depending on how much umph I have I may or may not clean up dust/hair/scratches (adds at LEAST 15 mins).
For reference here are a couple of the unedited shots
View attachment 140503 View attachment 140504
When it comes down to it most of the changes are minor. But, they have a big impact on the final product. Plus I'm getting better and faster with every series. And learning new things every time. As I get faster the more I am able to try new things before I loose motivation to continue the session.
Truth be told a huge part of it is forcing myself to scoot away from all the major macros so much. They are my favorites, but in the end they are MUCH MUCH harder to get to look good during every step of the process ... especially the shooting.
Clean! I love the way staged builds look
Hell yah man!! I've been backtracking to 38 for most of my ADV builds. 40 doesn't seem to last nearly as long in the 100 watt range that is my go-to.
First ... Thank you man, that means a lot to me!When you can you should pick up a 16x16" studio box similar to what I use....I think it would greatly help improve your shots...and your work deserves it
And, a good box is something I periodically go shopping for. I just never get up the nerve to actually buy one. But as I get more and more comfortable behind the camera I'm starting to feel like it might be worth the investment.
This is what you need broFirst ... Thank you man, that means a lot to me!
And, a good box is something I periodically go shopping for. I just never get up the nerve to actually buy one. But as I get more and more comfortable behind the camera I'm starting to feel like it might be worth the investment.
Gorgeous
Thanks man. This one went off so smoothly. I'm going to have to do another one just to make sure it wasn't a fluke. Cause this was way easier than I feel like it should have been. In all honesty it wasn't any more difficult than a 4 core, just slower. This isn't me being all ego ... I'm honestly just really surprisedGorgeous
I was only ever good at the Ribbon version of them...Im sure I couldnt even make a triple Stack version right now though...Im so out of practice.Thanks man. This one went off so smoothly. I'm going to have to do another one just to make sure it wasn't a fluke. Cause this was way easier than I feel like it should have been. In all honesty it wasn't any more difficult than a 4 core, just slower. This isn't me being all ego ... I'm honestly just really surprised
I've never done any ribbon stags other than some simple stagertons. I can't ever seem to get it clean enough to fuse 2 together without major problems.I was only ever good at the Ribbon version of them...Im sure I couldnt even make a triple Stack version right now though...Im so out of practice.
And the 4 core I did just before was the first one bigger than 2 in like 8 months. And, other than a couple hicups (due to the fact I snagged one of the staggers while gathering up the cores before fusing), that one also went off way quicker than the last attempt and without a hitch. But I've been doing staggered round so much that I can do it in my sleep now. I'm sure that contributes a lot to it. Plus the experience I've put in with super wide builds. It's a very different feeling to fuse the wide boys than it is to fuse a reasonably sized stick.
This was a fun experience. And as psyched as I am about it ... It also feels kind of melancholy cause I didn't really learn anything other than I think I can go smaller gauge and/or wider without to much trouble.
Yah bud! Hella clean wrap and install
 Those things are little bastards when it comes to coiling
Haha thanks Mac! I actually like the way they vape. When I first started trying Mohawks there was this tremendously frustrating period where I could not figure out how to wrap them. It’s hard enough to get the wire without massacring the wrap 50 times in a row, but that was a while ago lol.Yah bud! Hella clean wrap and installThose things are little bastards when it comes to coiling
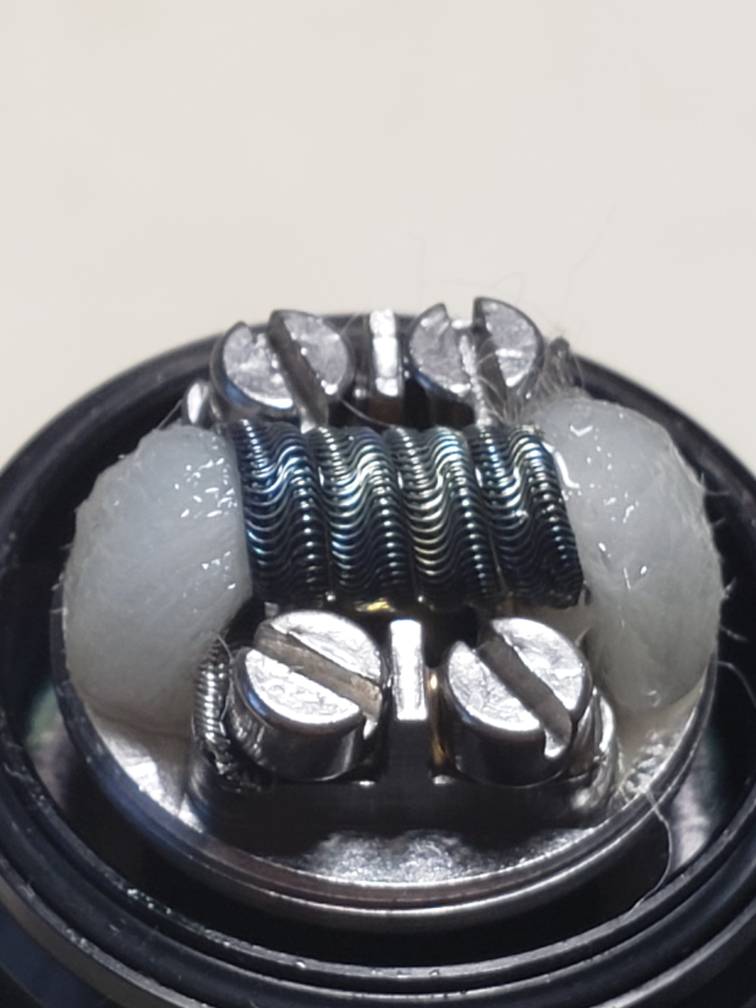
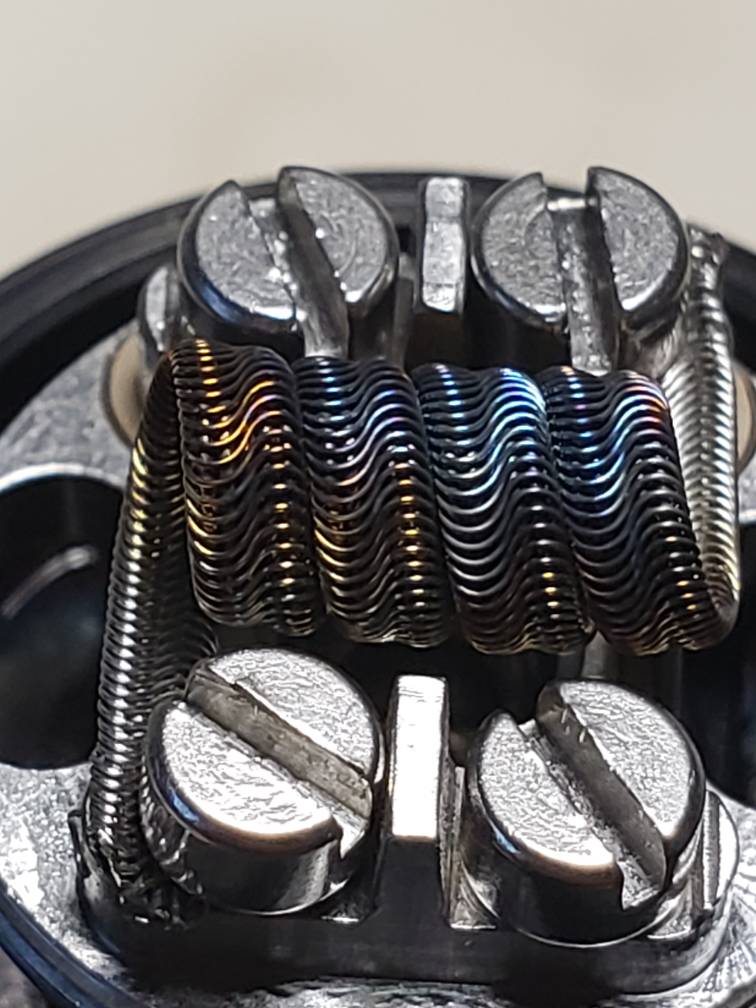
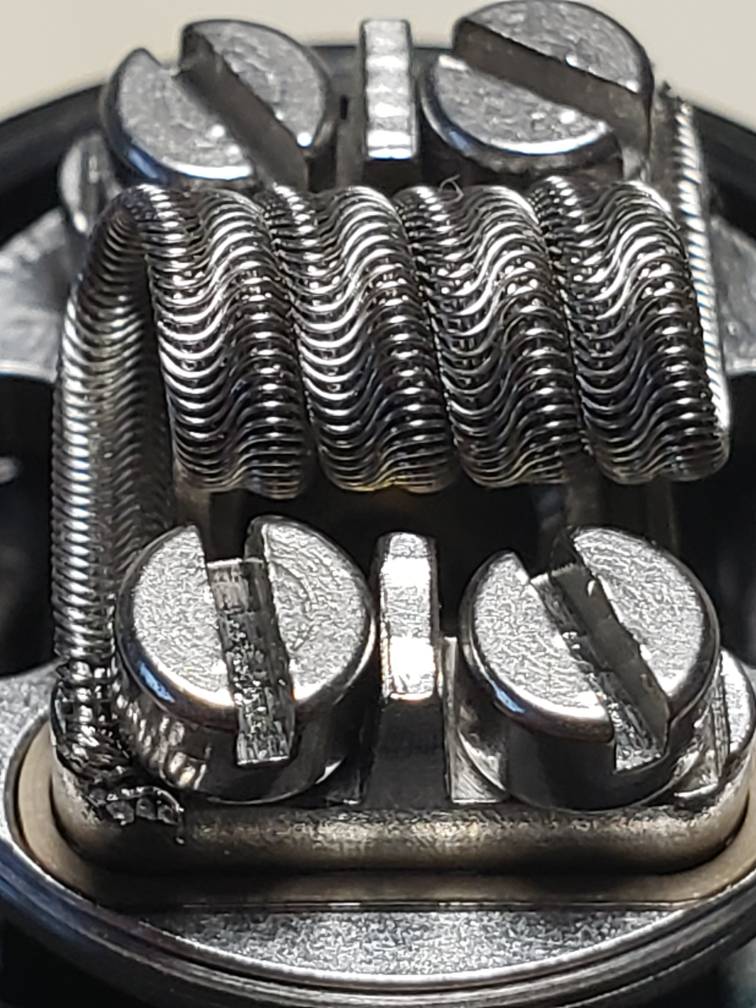
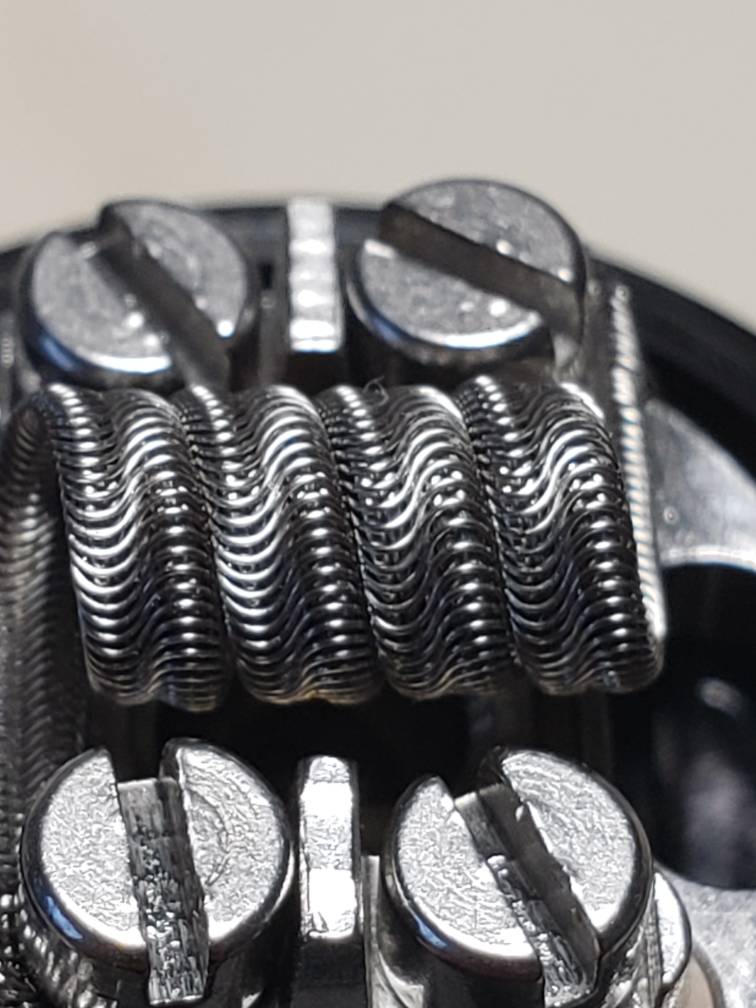
Something I crammed into the OFRF Gear RTA. 5 core Alien! 36g over 5x28g N80. 3.5 wraps. 3mm ID. Clocks at .18 ohms, firing at 60 watts! Hits as hard as your mother! Yes, that's a 22g decore for da extra swooshy swooshy!
http://vapingunderground.com/threads/wts-wtt-aspex-performance-coils.434798/


http://vapingunderground.com/threads/wts-wtt-aspex-performance-coils.434798/
NomNomNom!! Just beautiful!!!Something I crammed into the OFRF Gear RTA. 5 core Alien! 36g over 5x28g N80. 3.5 wraps. 3mm ID. Clocks at .18 ohms, firing at 60 watts! Hits as hard as your mother! Yes, that's a 22g decore for da extra swooshy swooshy!


http://vapingunderground.com/threads/wts-wtt-aspex-performance-coils.434798/

