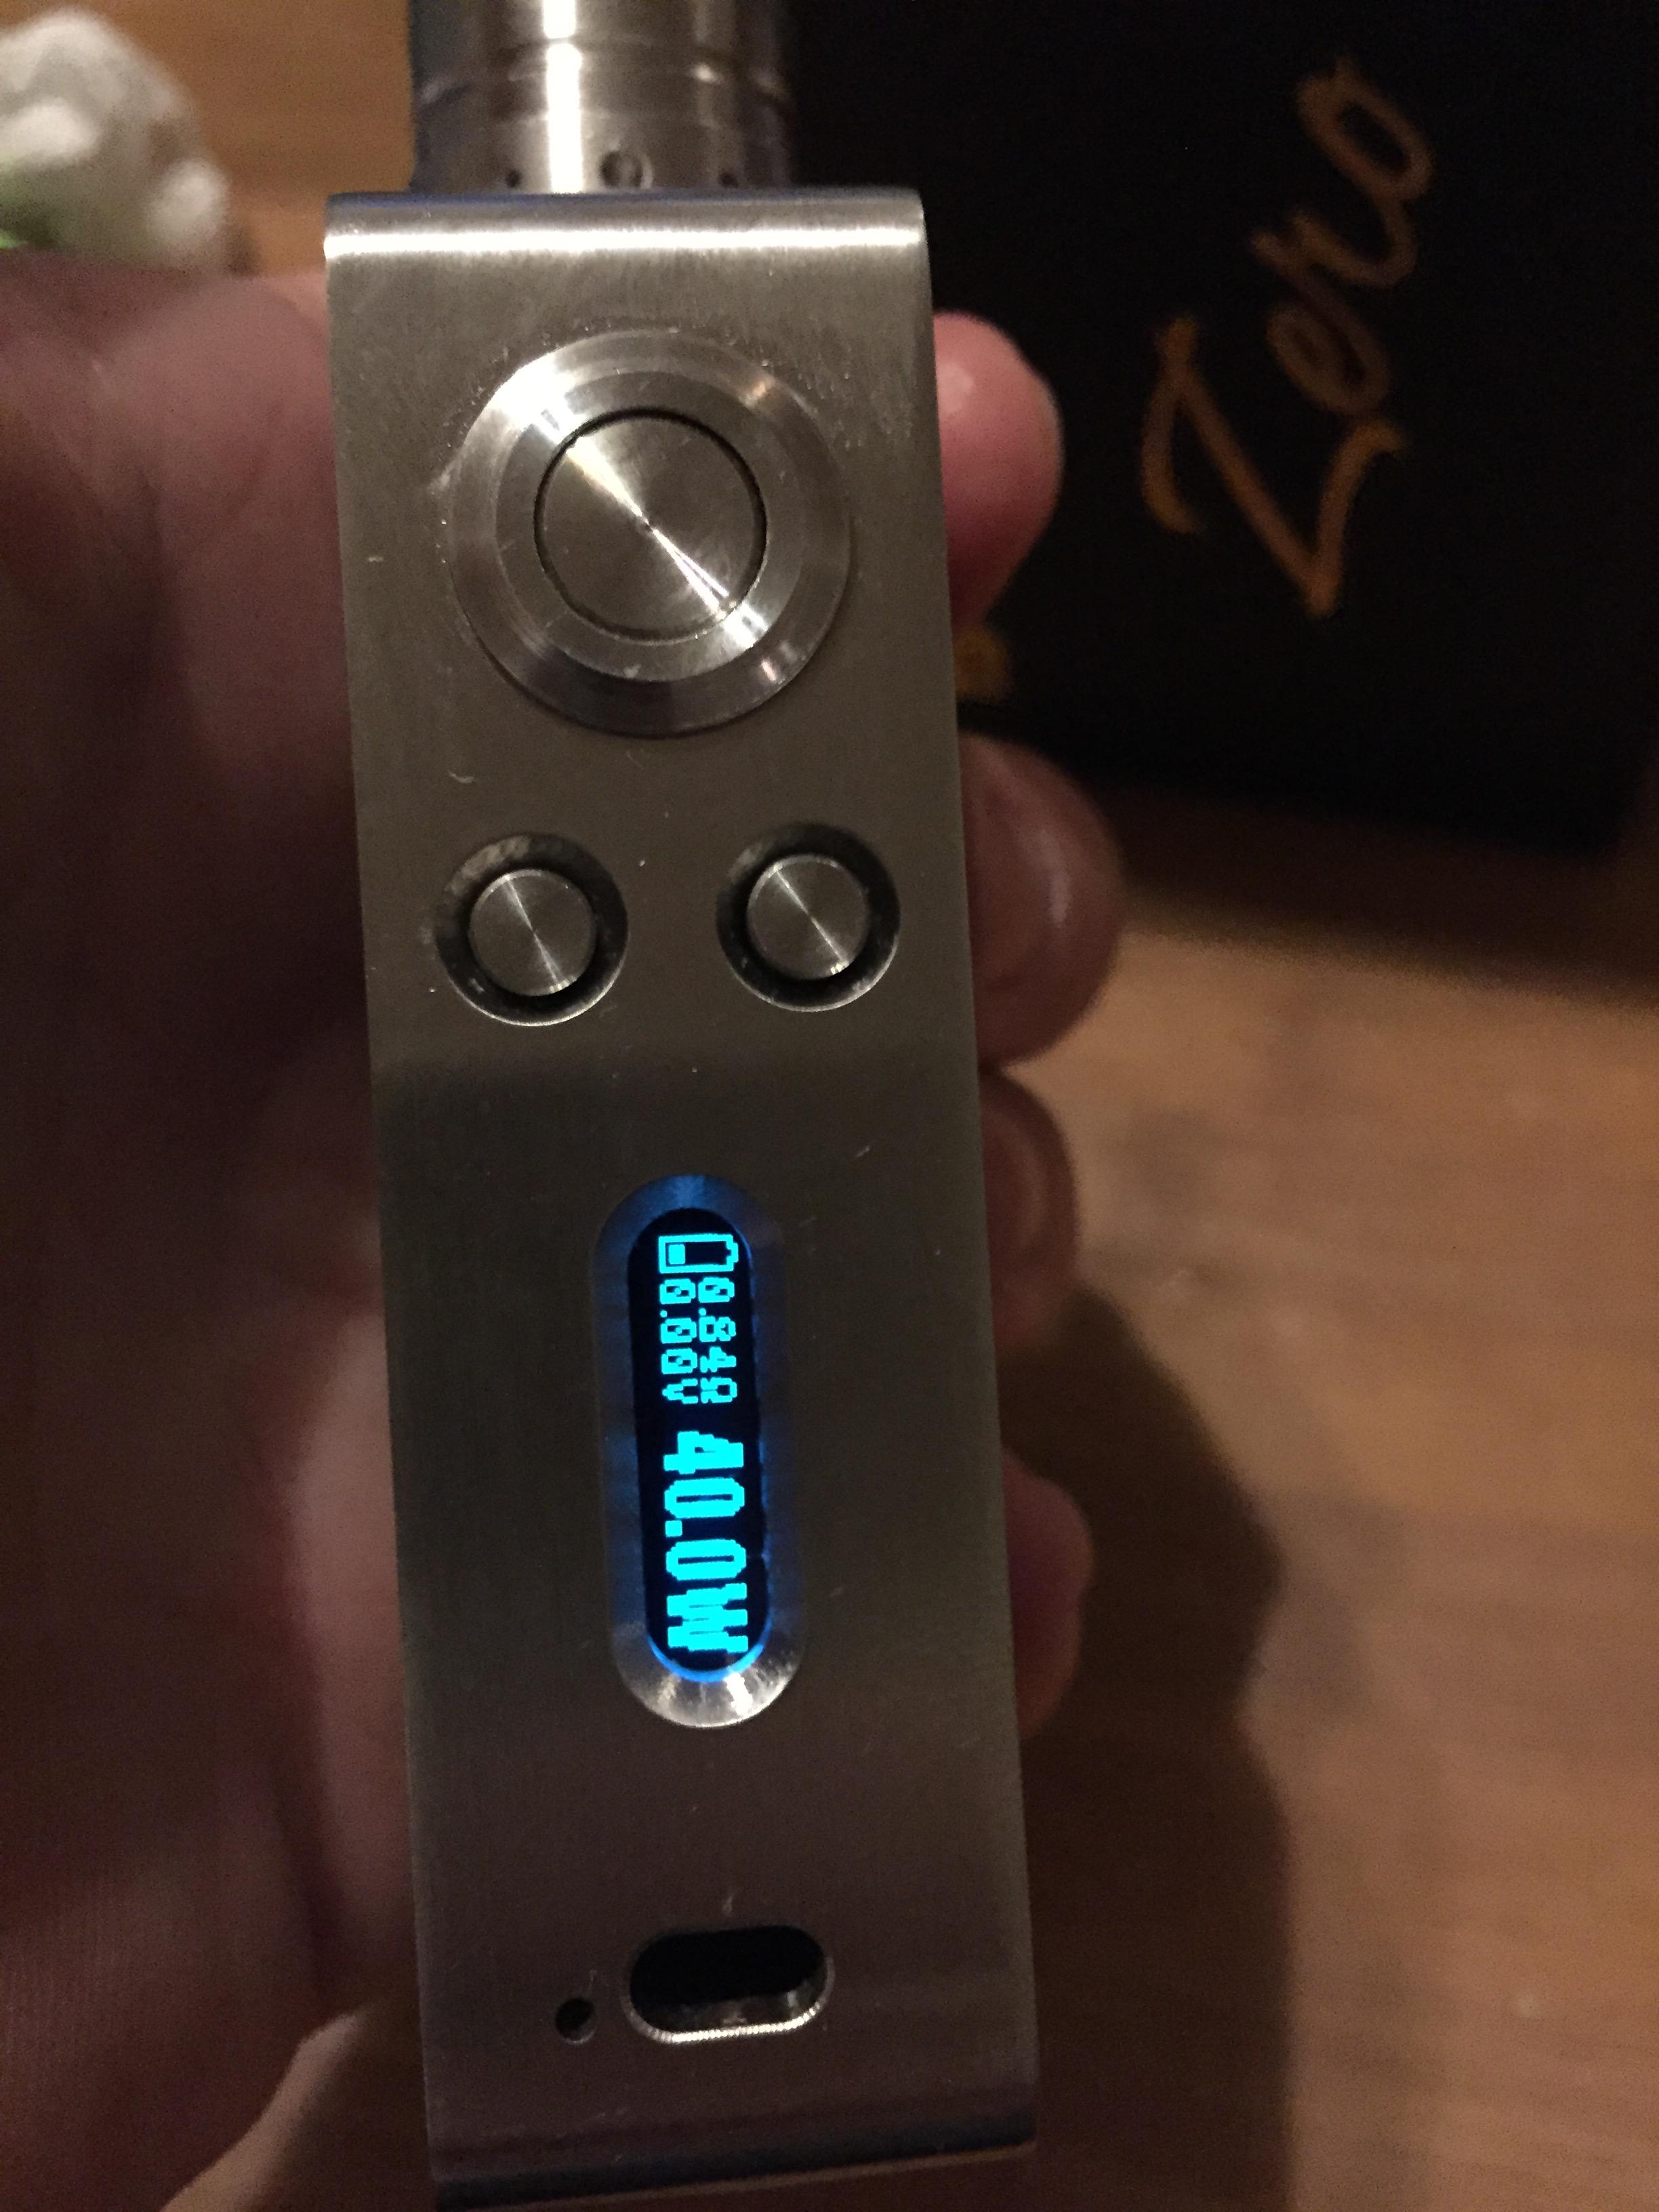
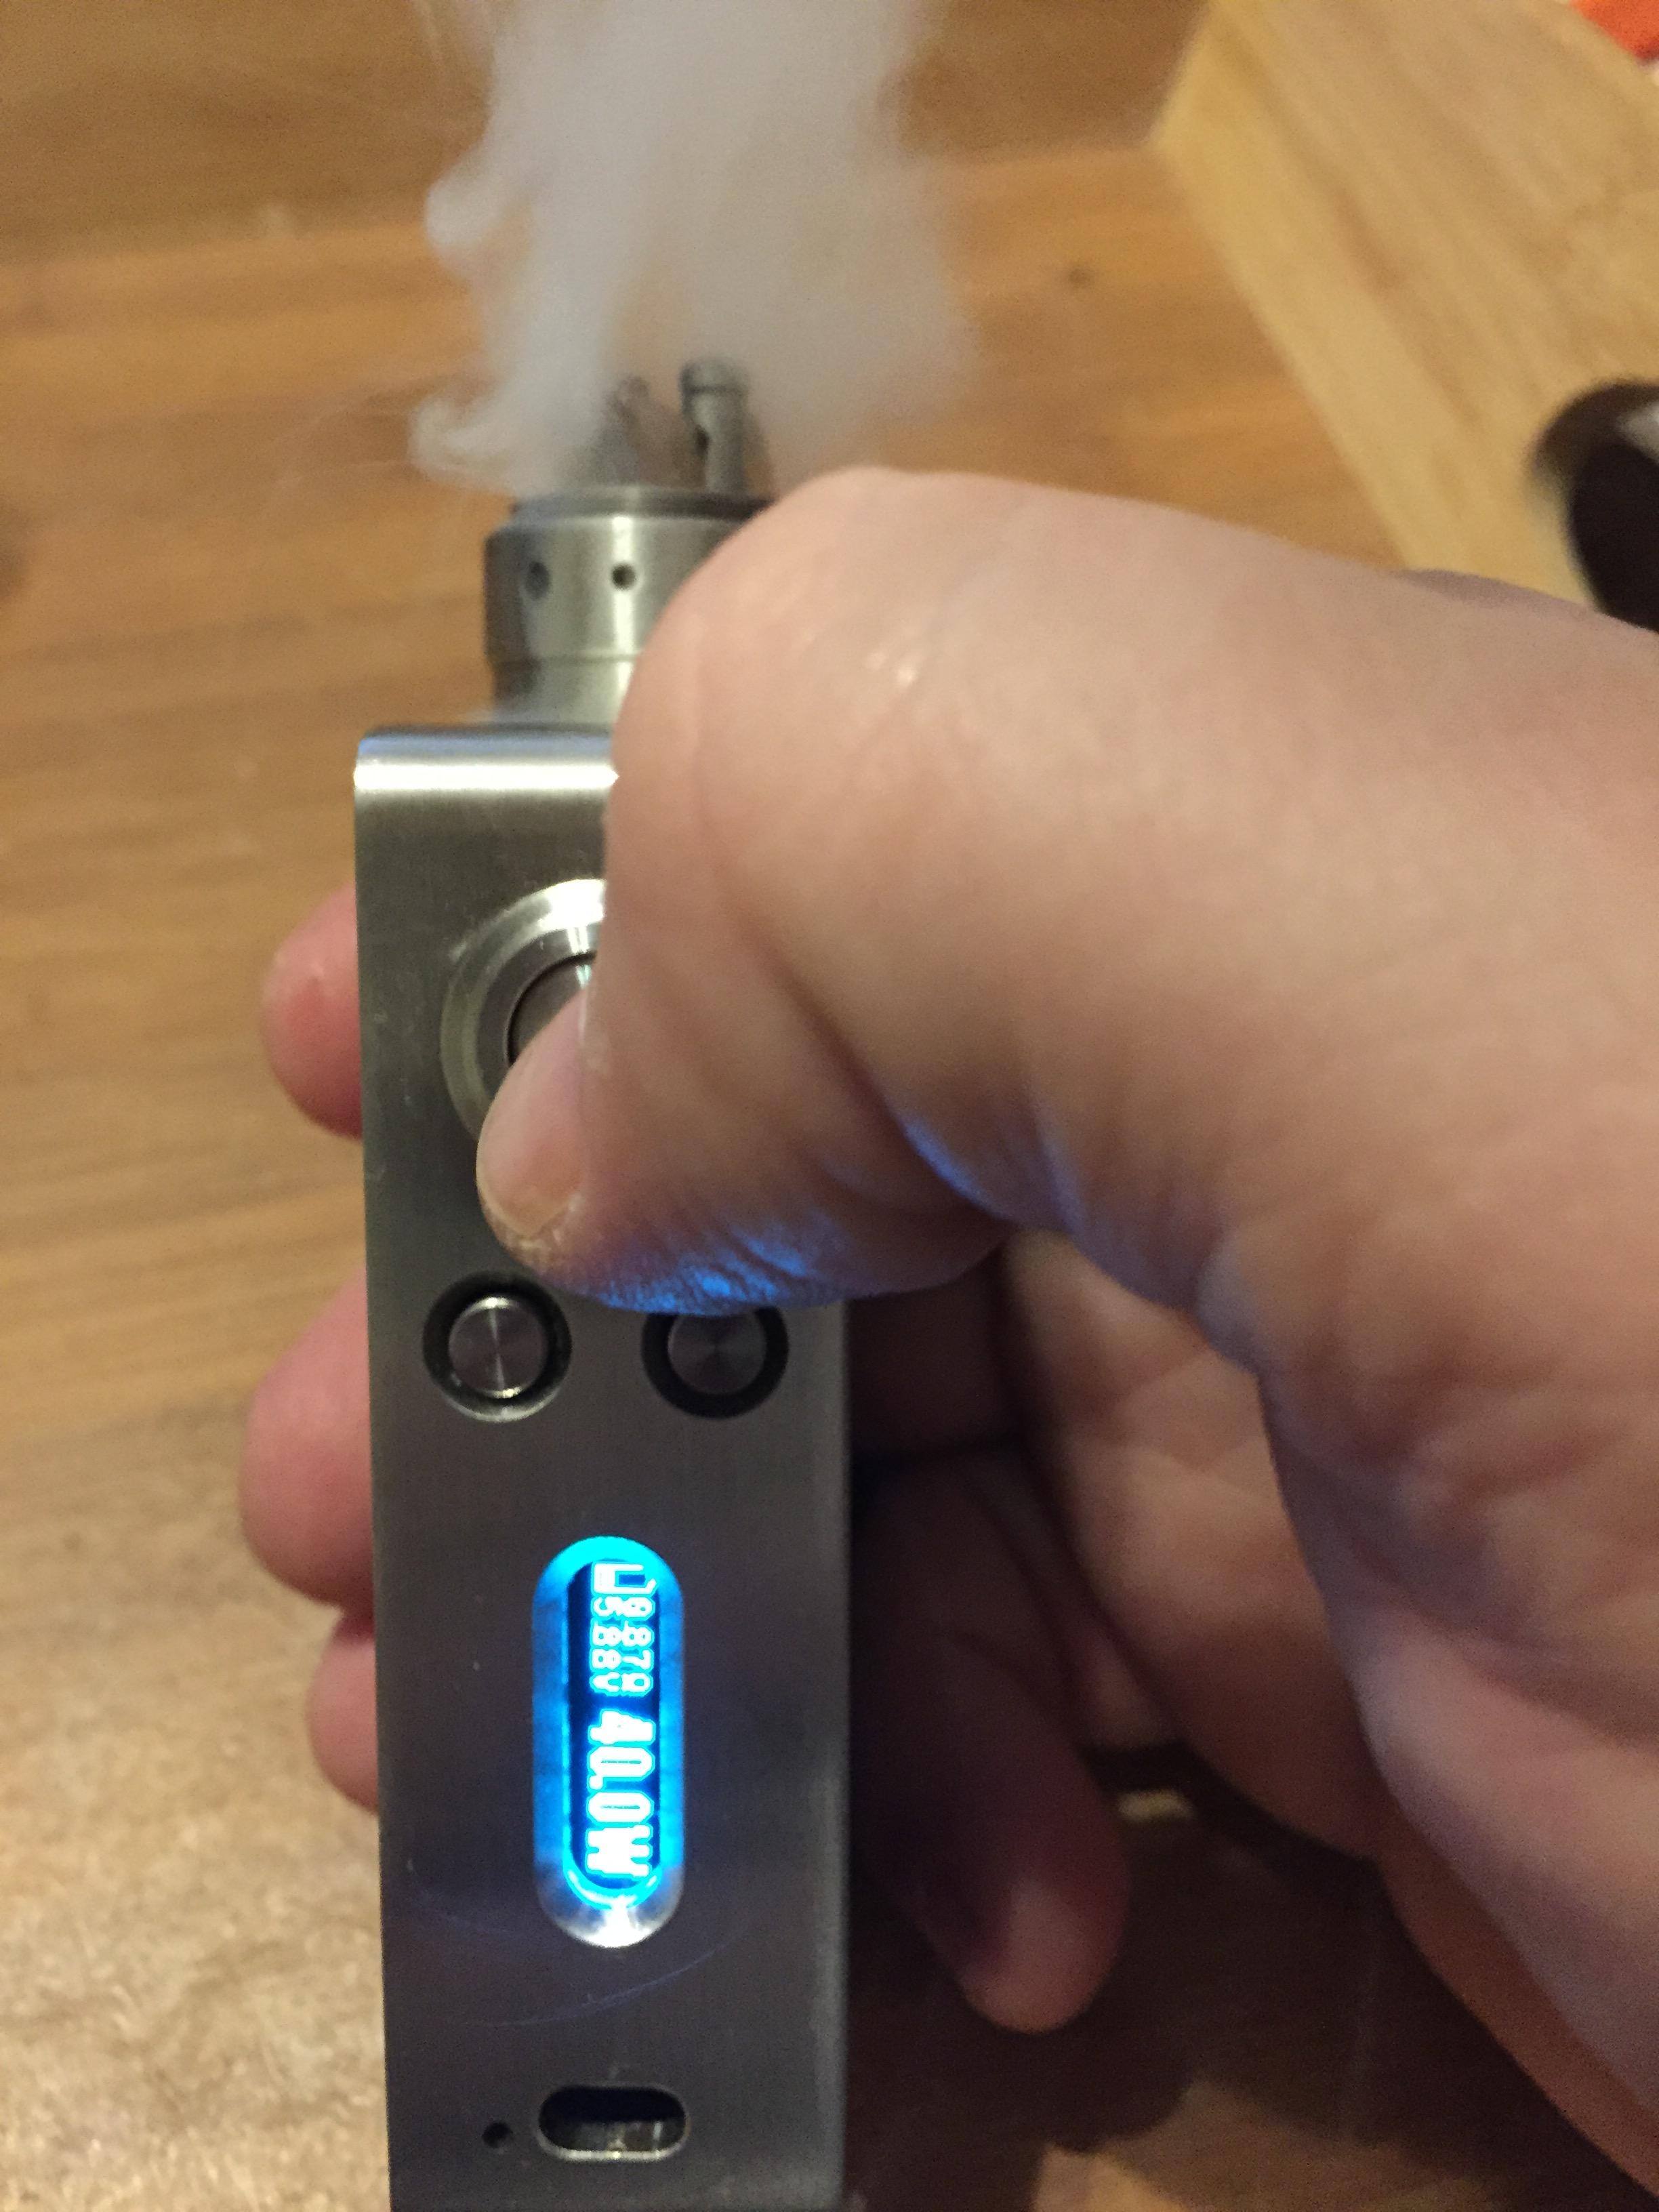
Found some time to get the 40 installed today and it's working grreaat! I think this may be my new favorite mod.
I left out the USB charge port because I don't use it. I think the screen is a little tiny bit off so I will be readjusting and may install the charge port later.
Bring some patience with you because it's really tight in there.
Wiring
See DNA40 Wiring diagram for button wiring layout and specifics. (Page 8)
http://www.evolvapor.com/datasheet/dna40.pdf
Zero specific wiring:
Ground is wired directly to stainless steel body - Reuse the solder spot already present on the zero body. I wired both battery ground and ground to body and used them as legs for the board. Similar to how it shipped from Yosen.
Red lead wire from the Zero insert wired to Out on the DNA board (Atomizer).
Black lead wire from the Zero insert wired to Battery + on the DNA board (Positive Battery).
**If your doing this your Zero may be wired from Yosen differently than mine was. You need to verify this before wiring to your DNA chip. You can see the wire soldered to the 510 pin - that one goes to Out. On mine it was red, but don't assume another Zero would be the same.
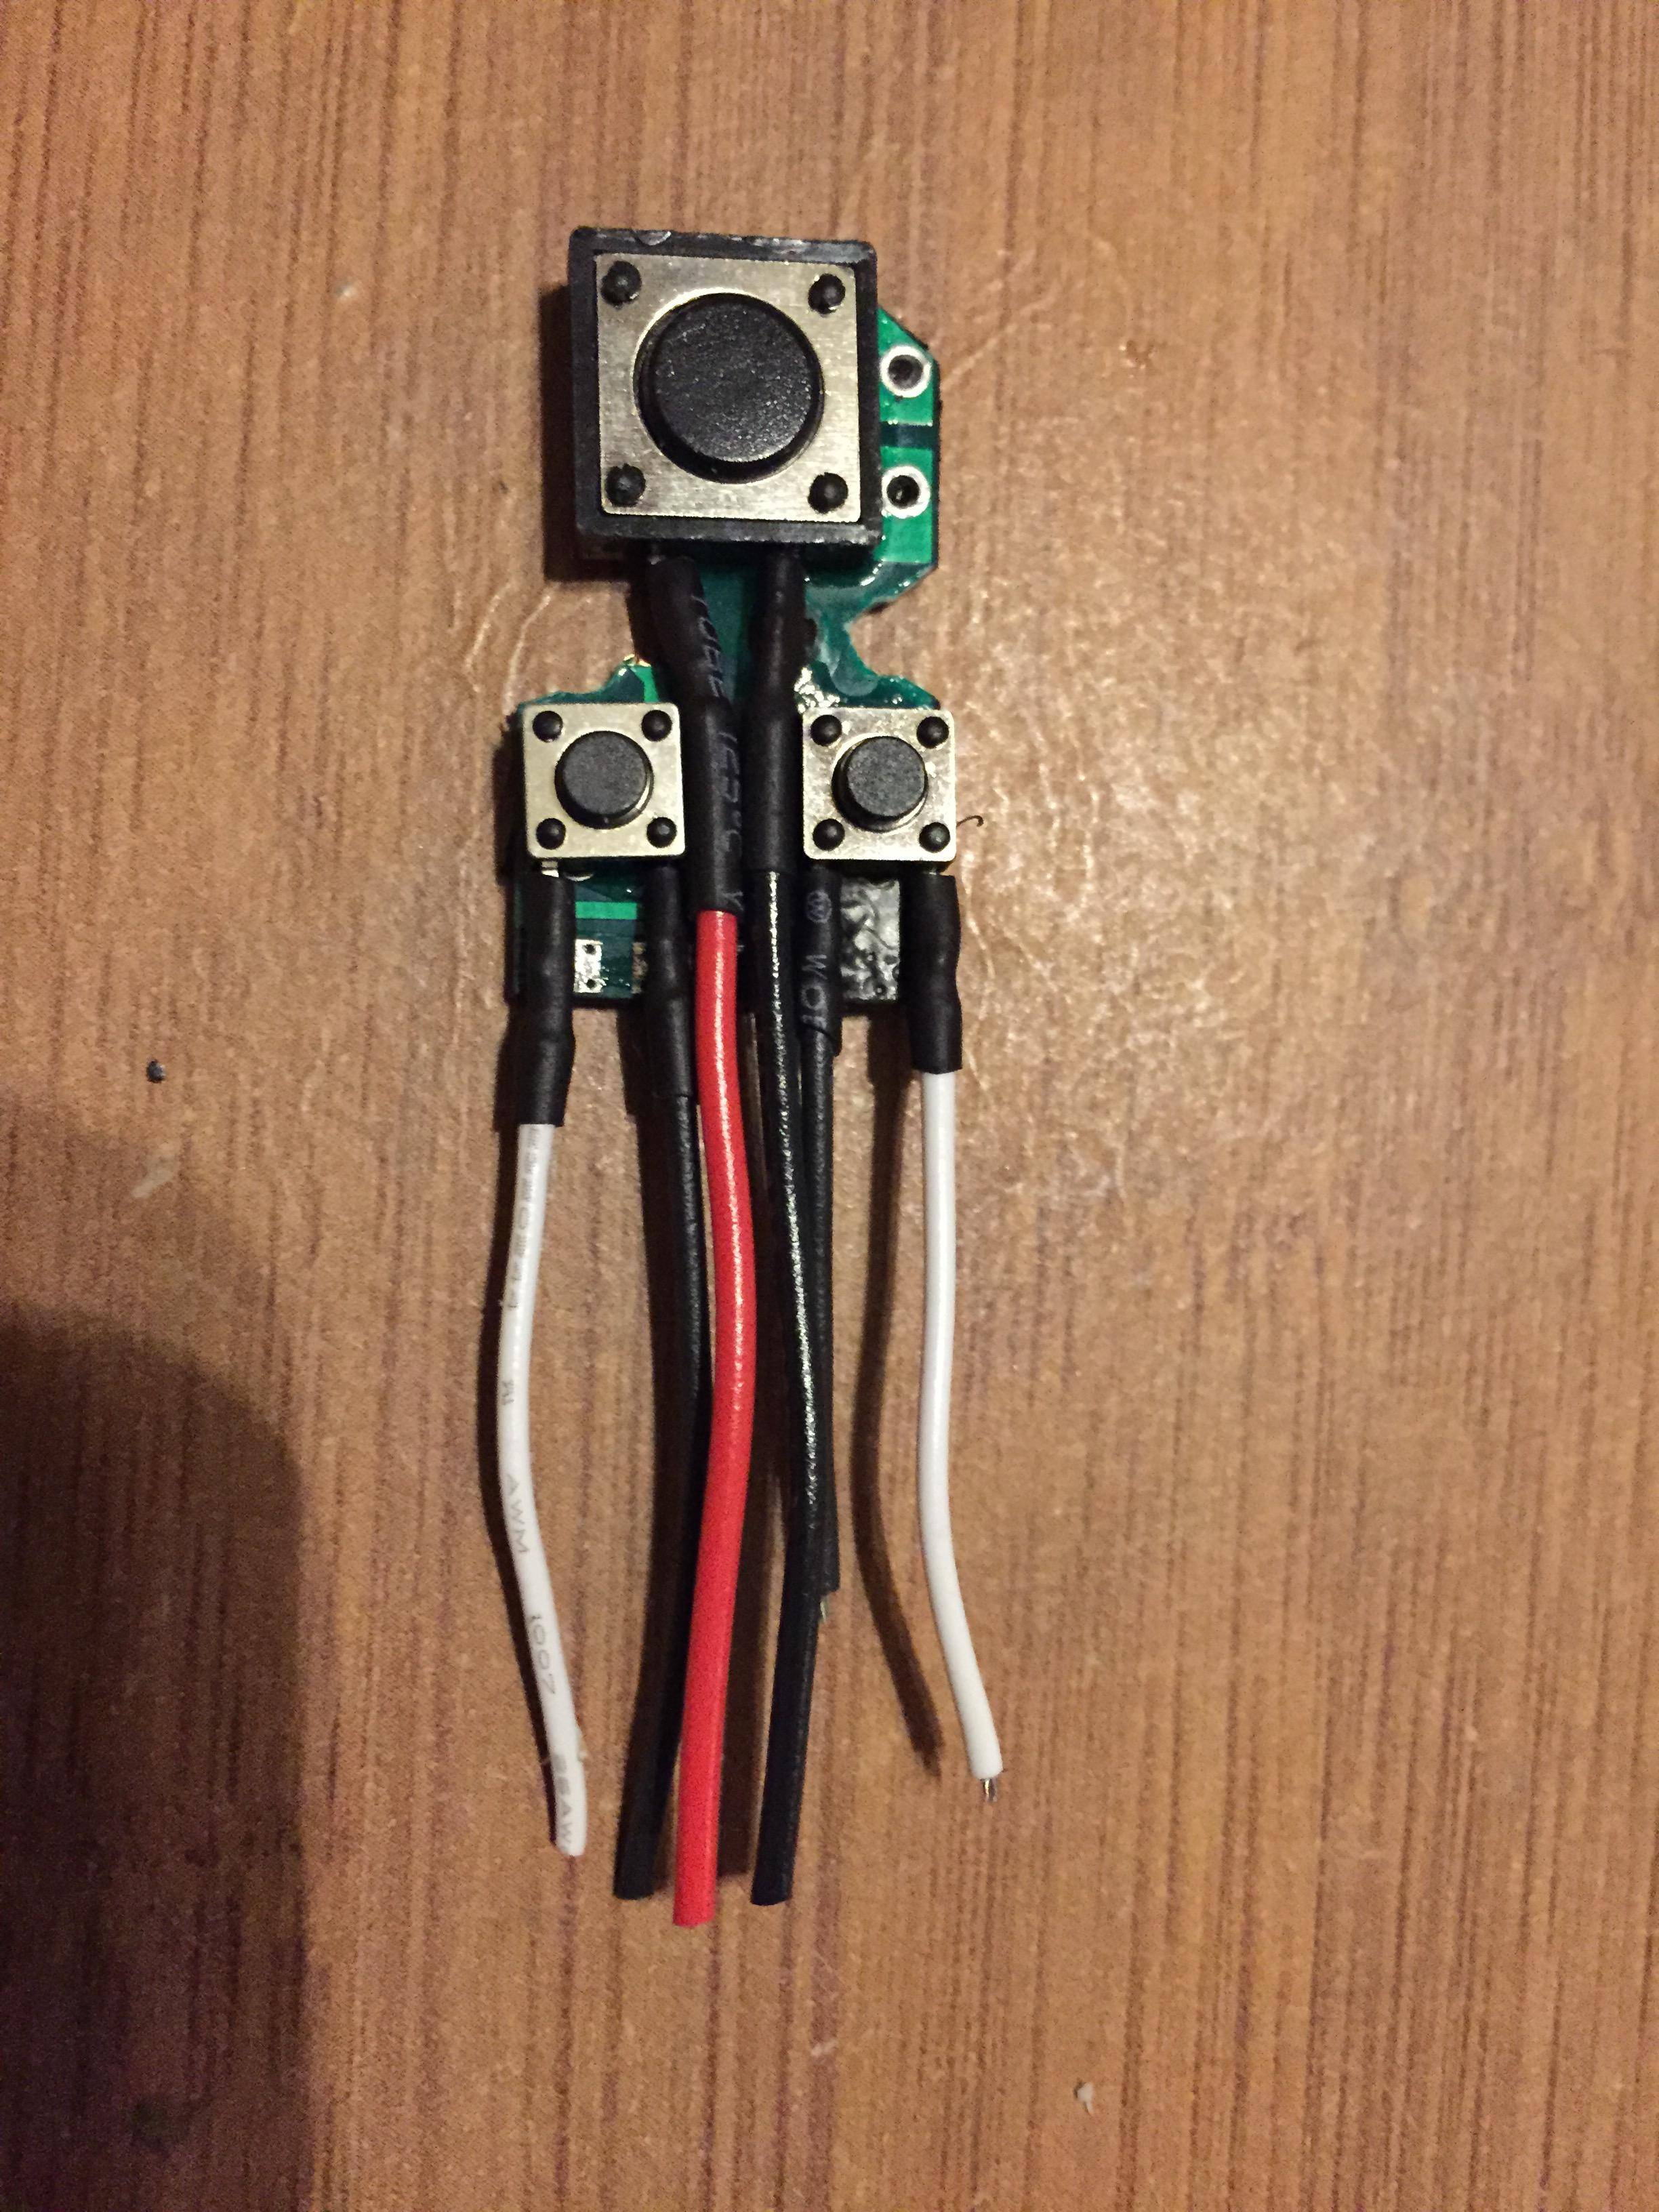
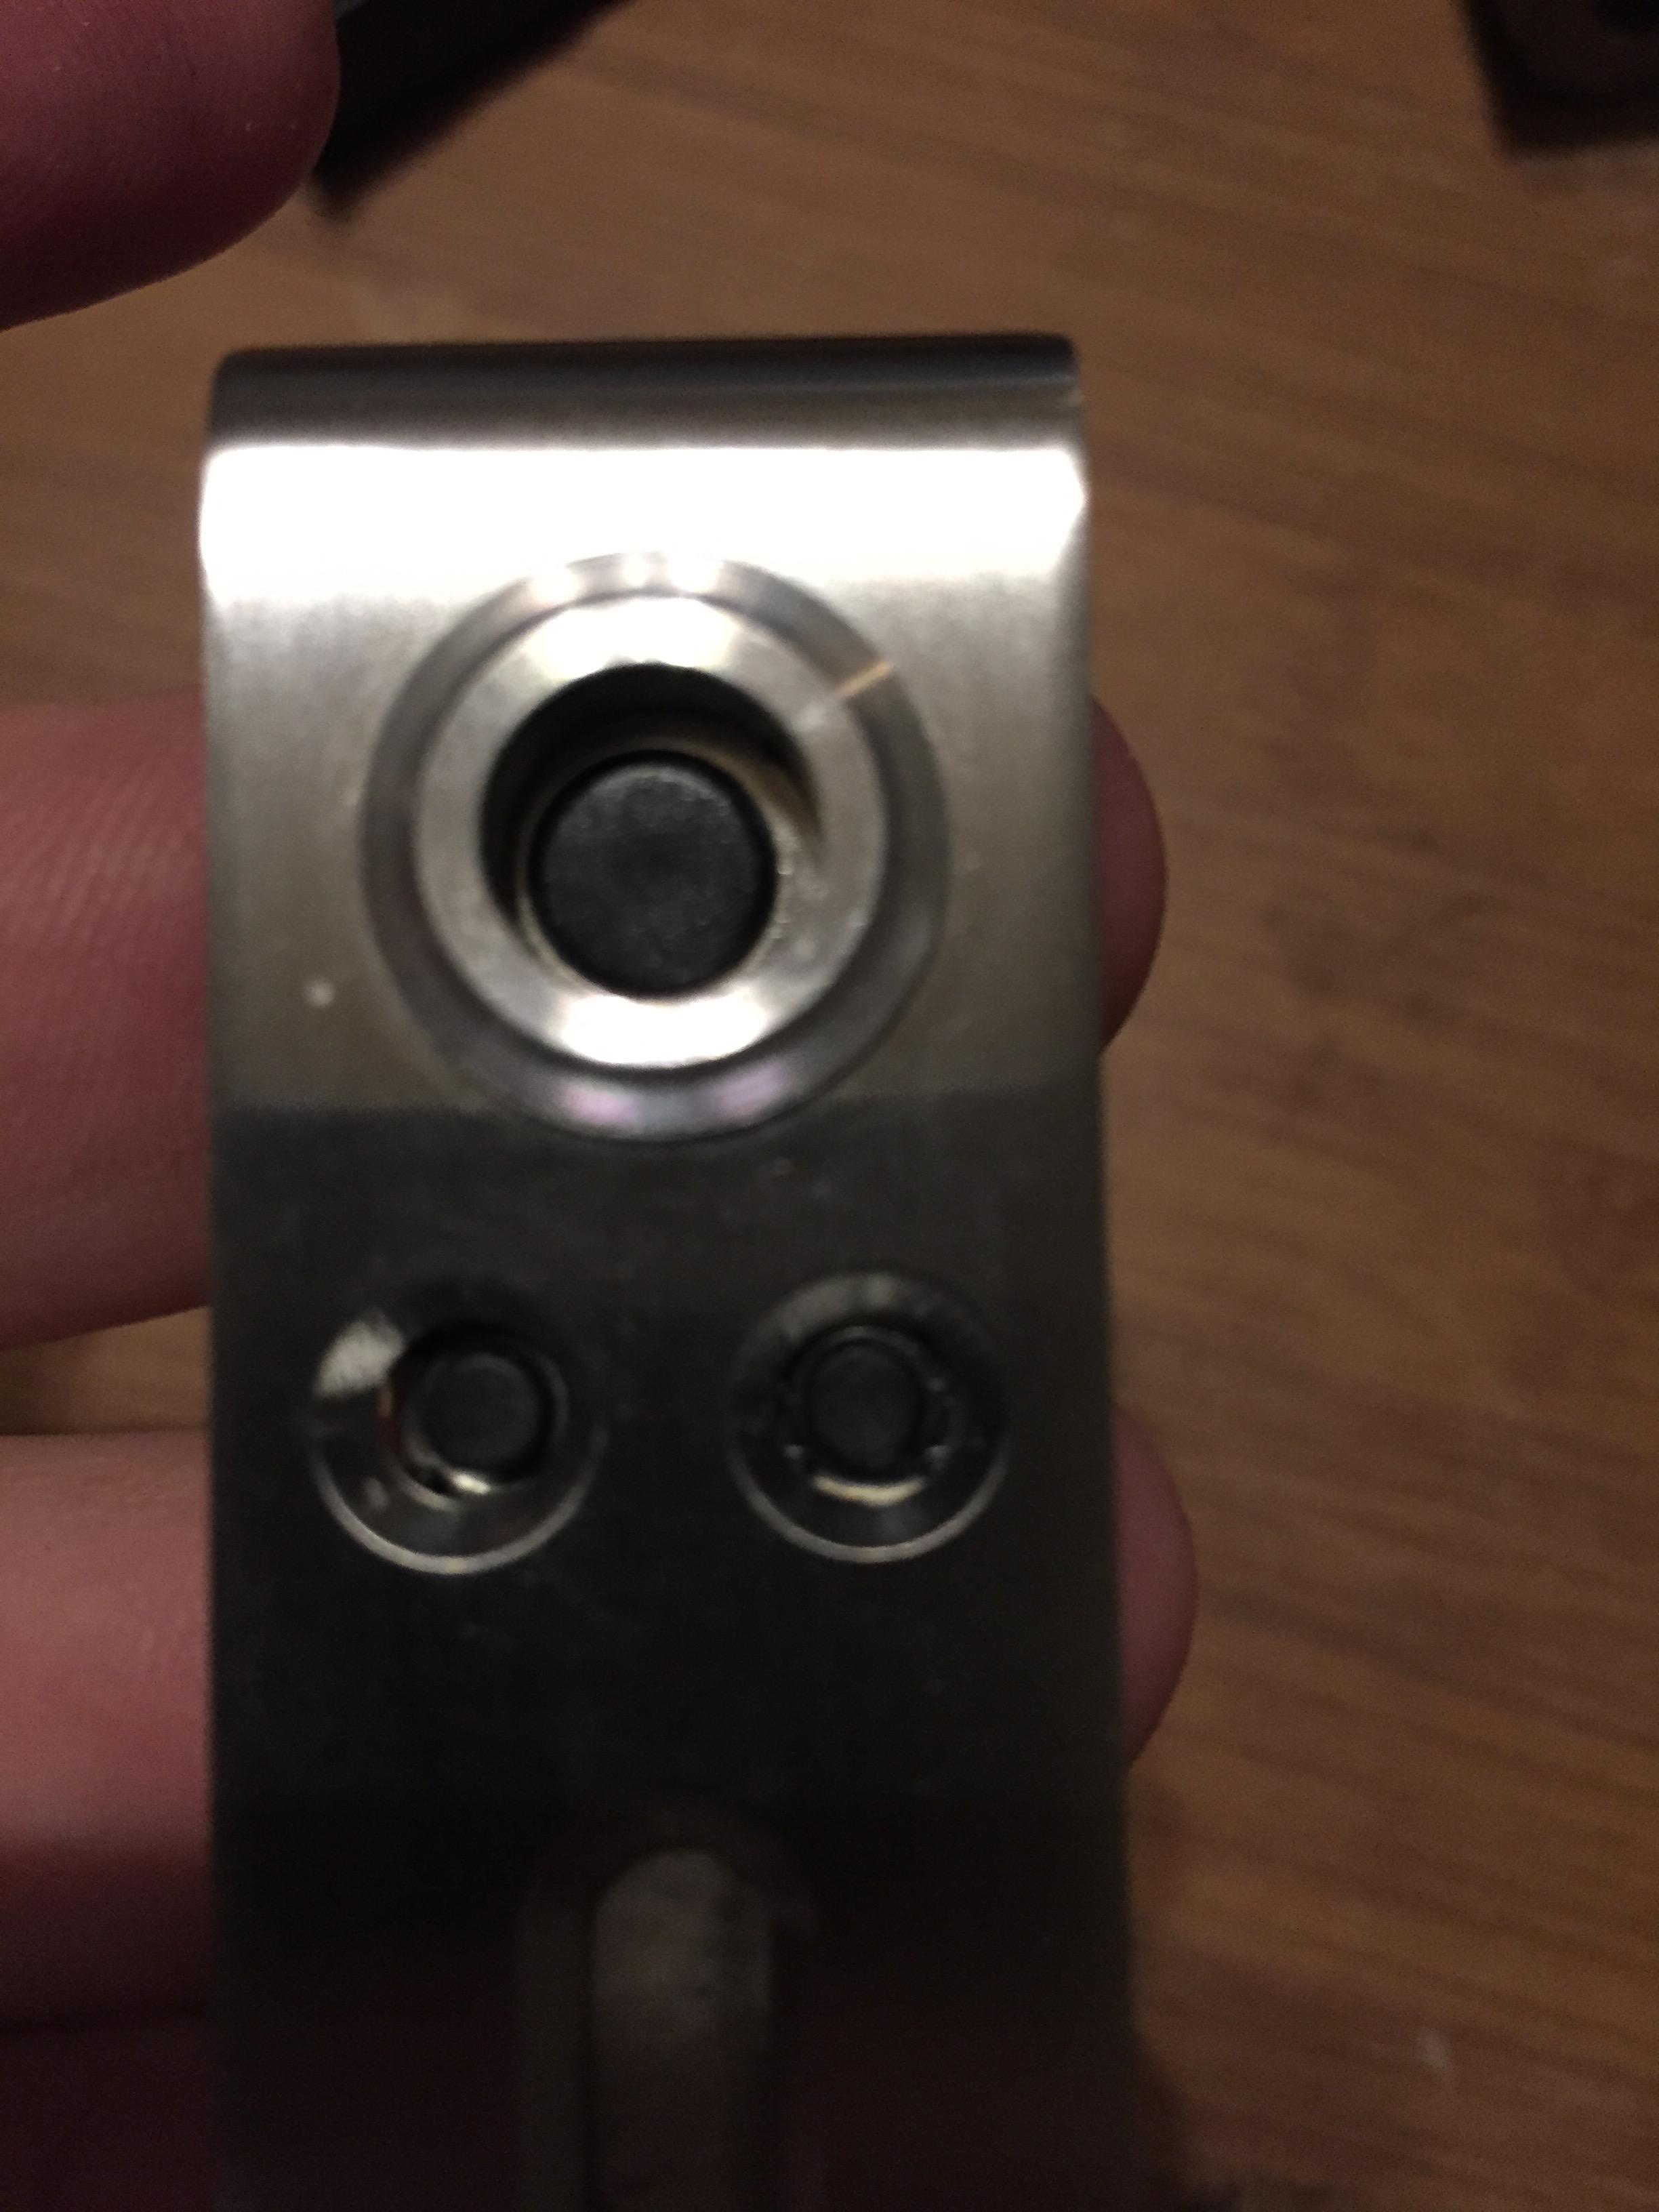
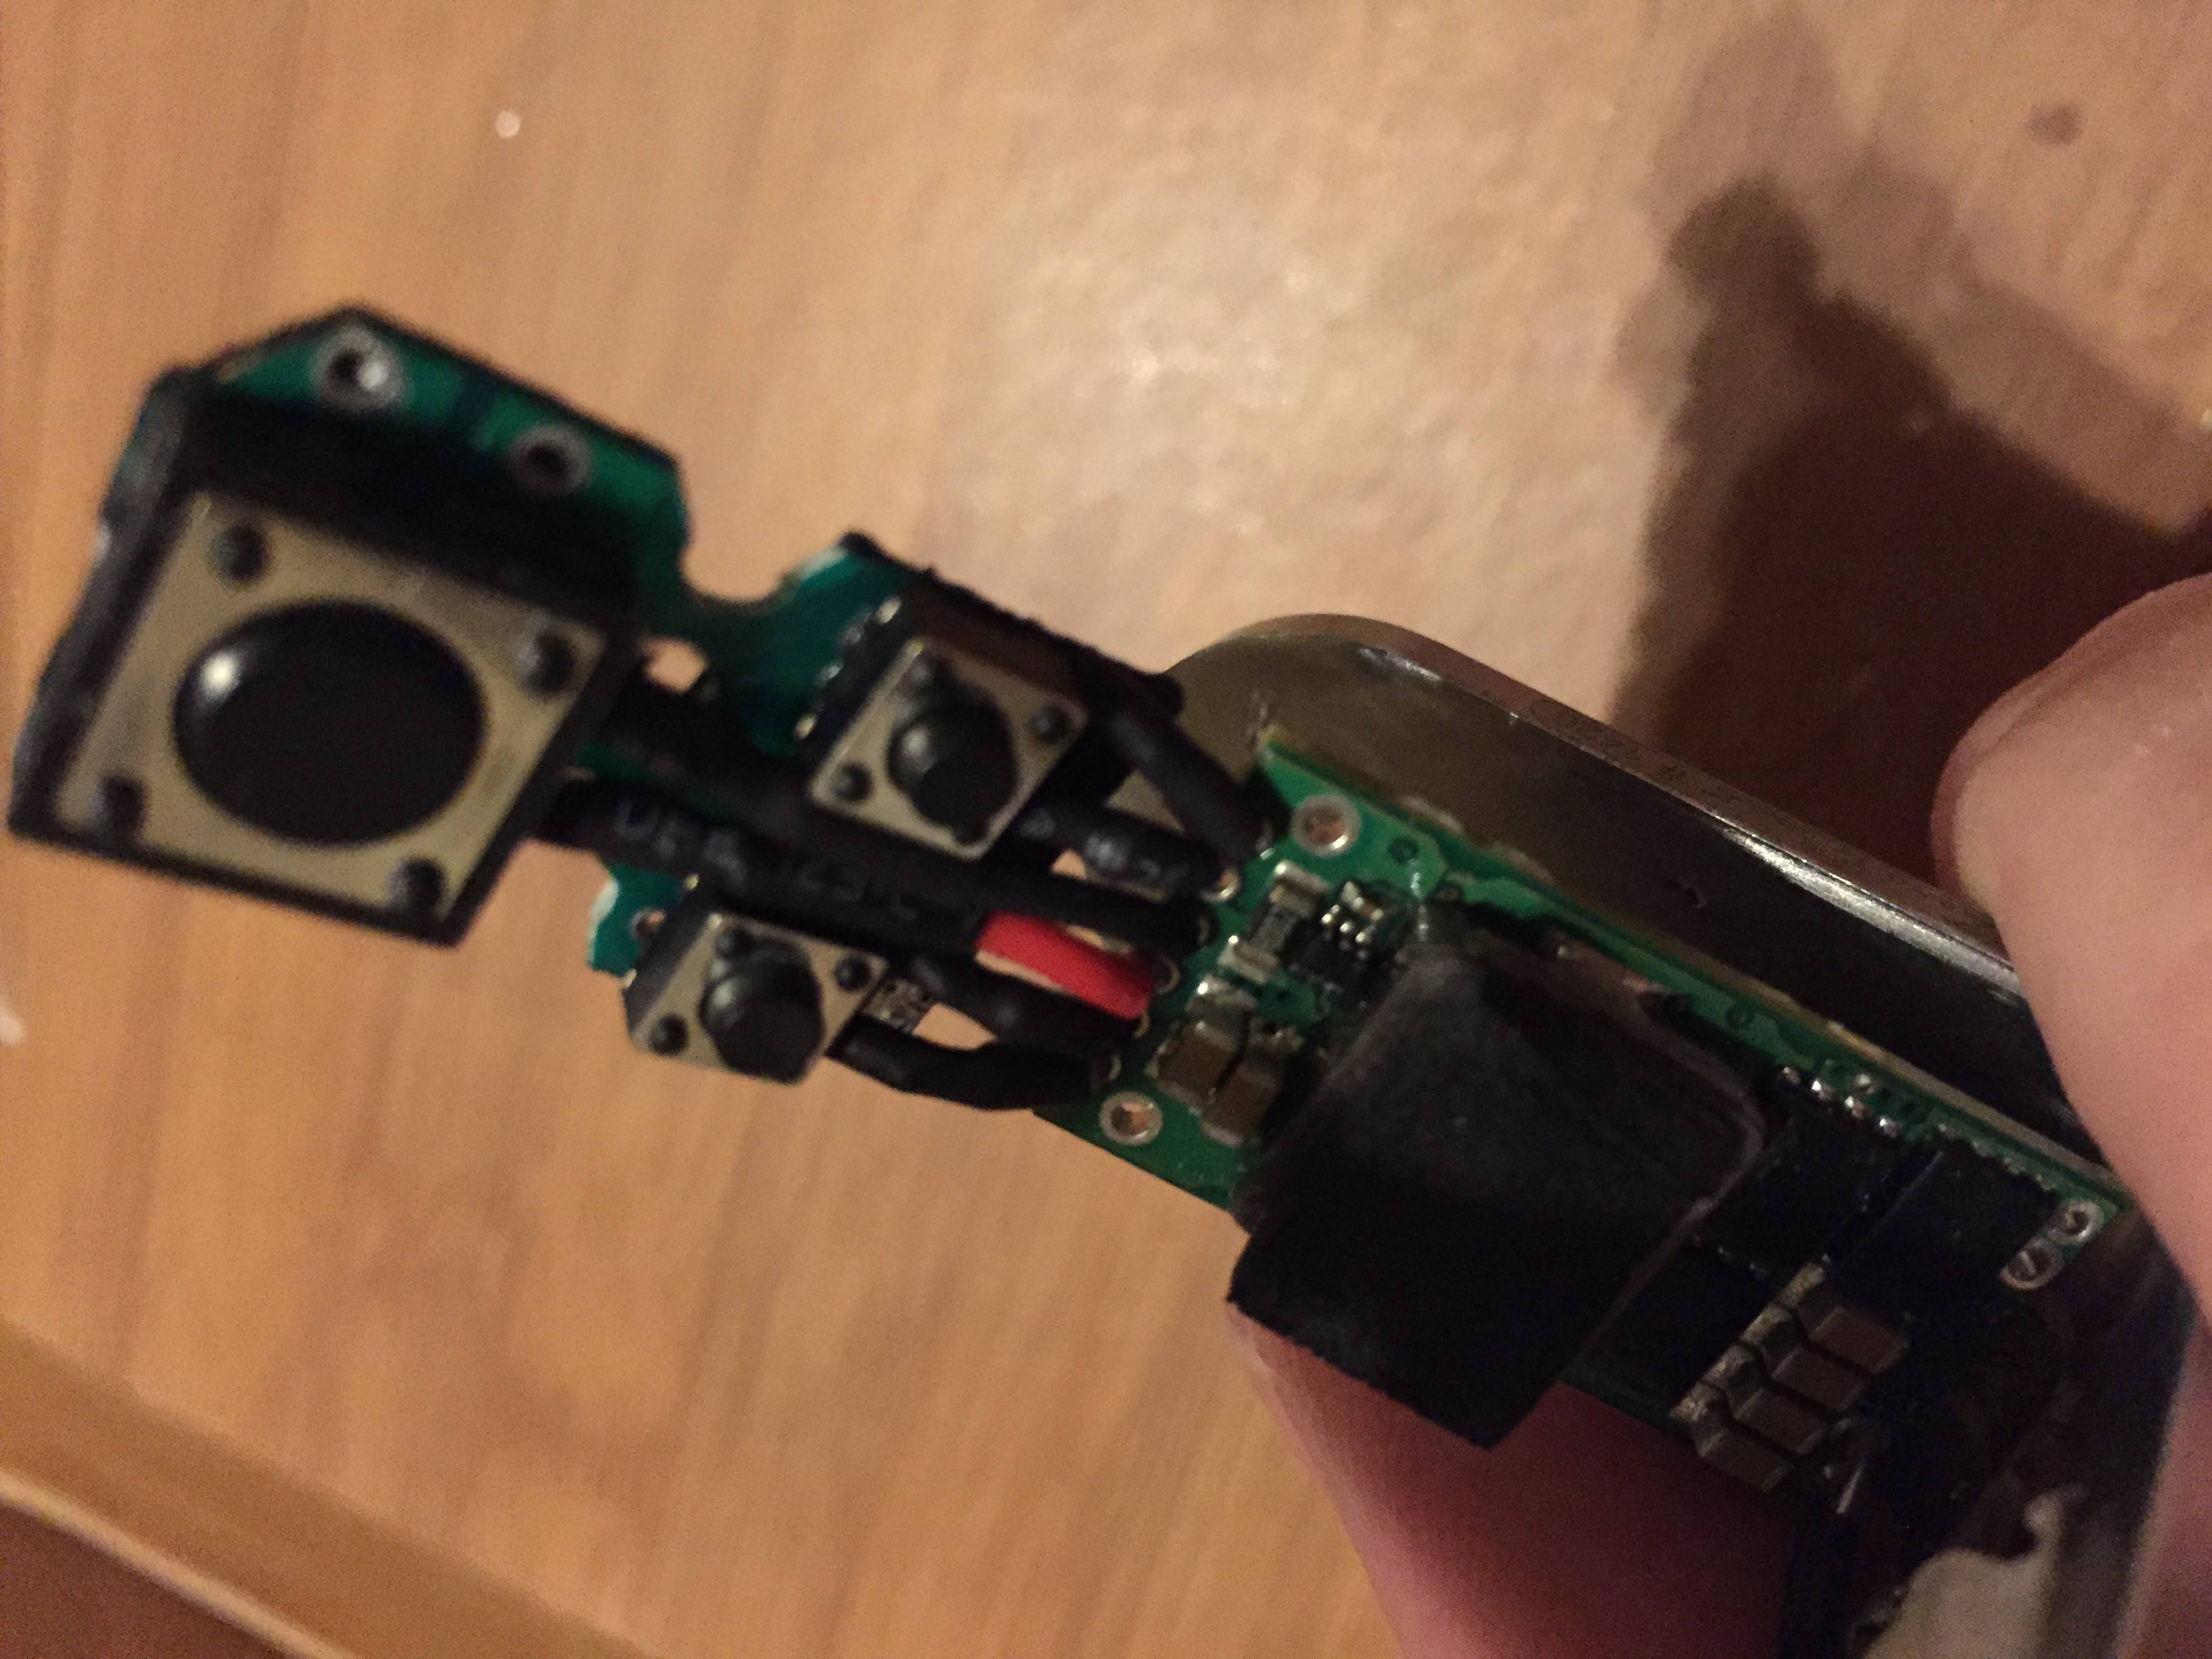
Buttons
I used these switches off of Amazon:
12mm x 12mm x 4.3mm Momentary Tact Switch (Fire)
6mm x 6mm x 5mm Momentary Tact Switch (Power Adjustment)
Notes:
On the 12 x 12 fire switch I snipped the 4 plastic dots off of the face of the switch
Smaller wire is better - Evolv calls for 28 gauge minimum - it's tight in there.
I got to the end thinking I was all done and buttoned everything up and it wasn't working. The buttons seemed ok, but they were getting pressed just enough. This prevented the device from turning on. So, make sure your tact switches have good clearance.
I reused the board and super glued the switches to it after soldering the leads - it may have been easier to leave out the board.
Make sure to verify placement - this wasn't my first try
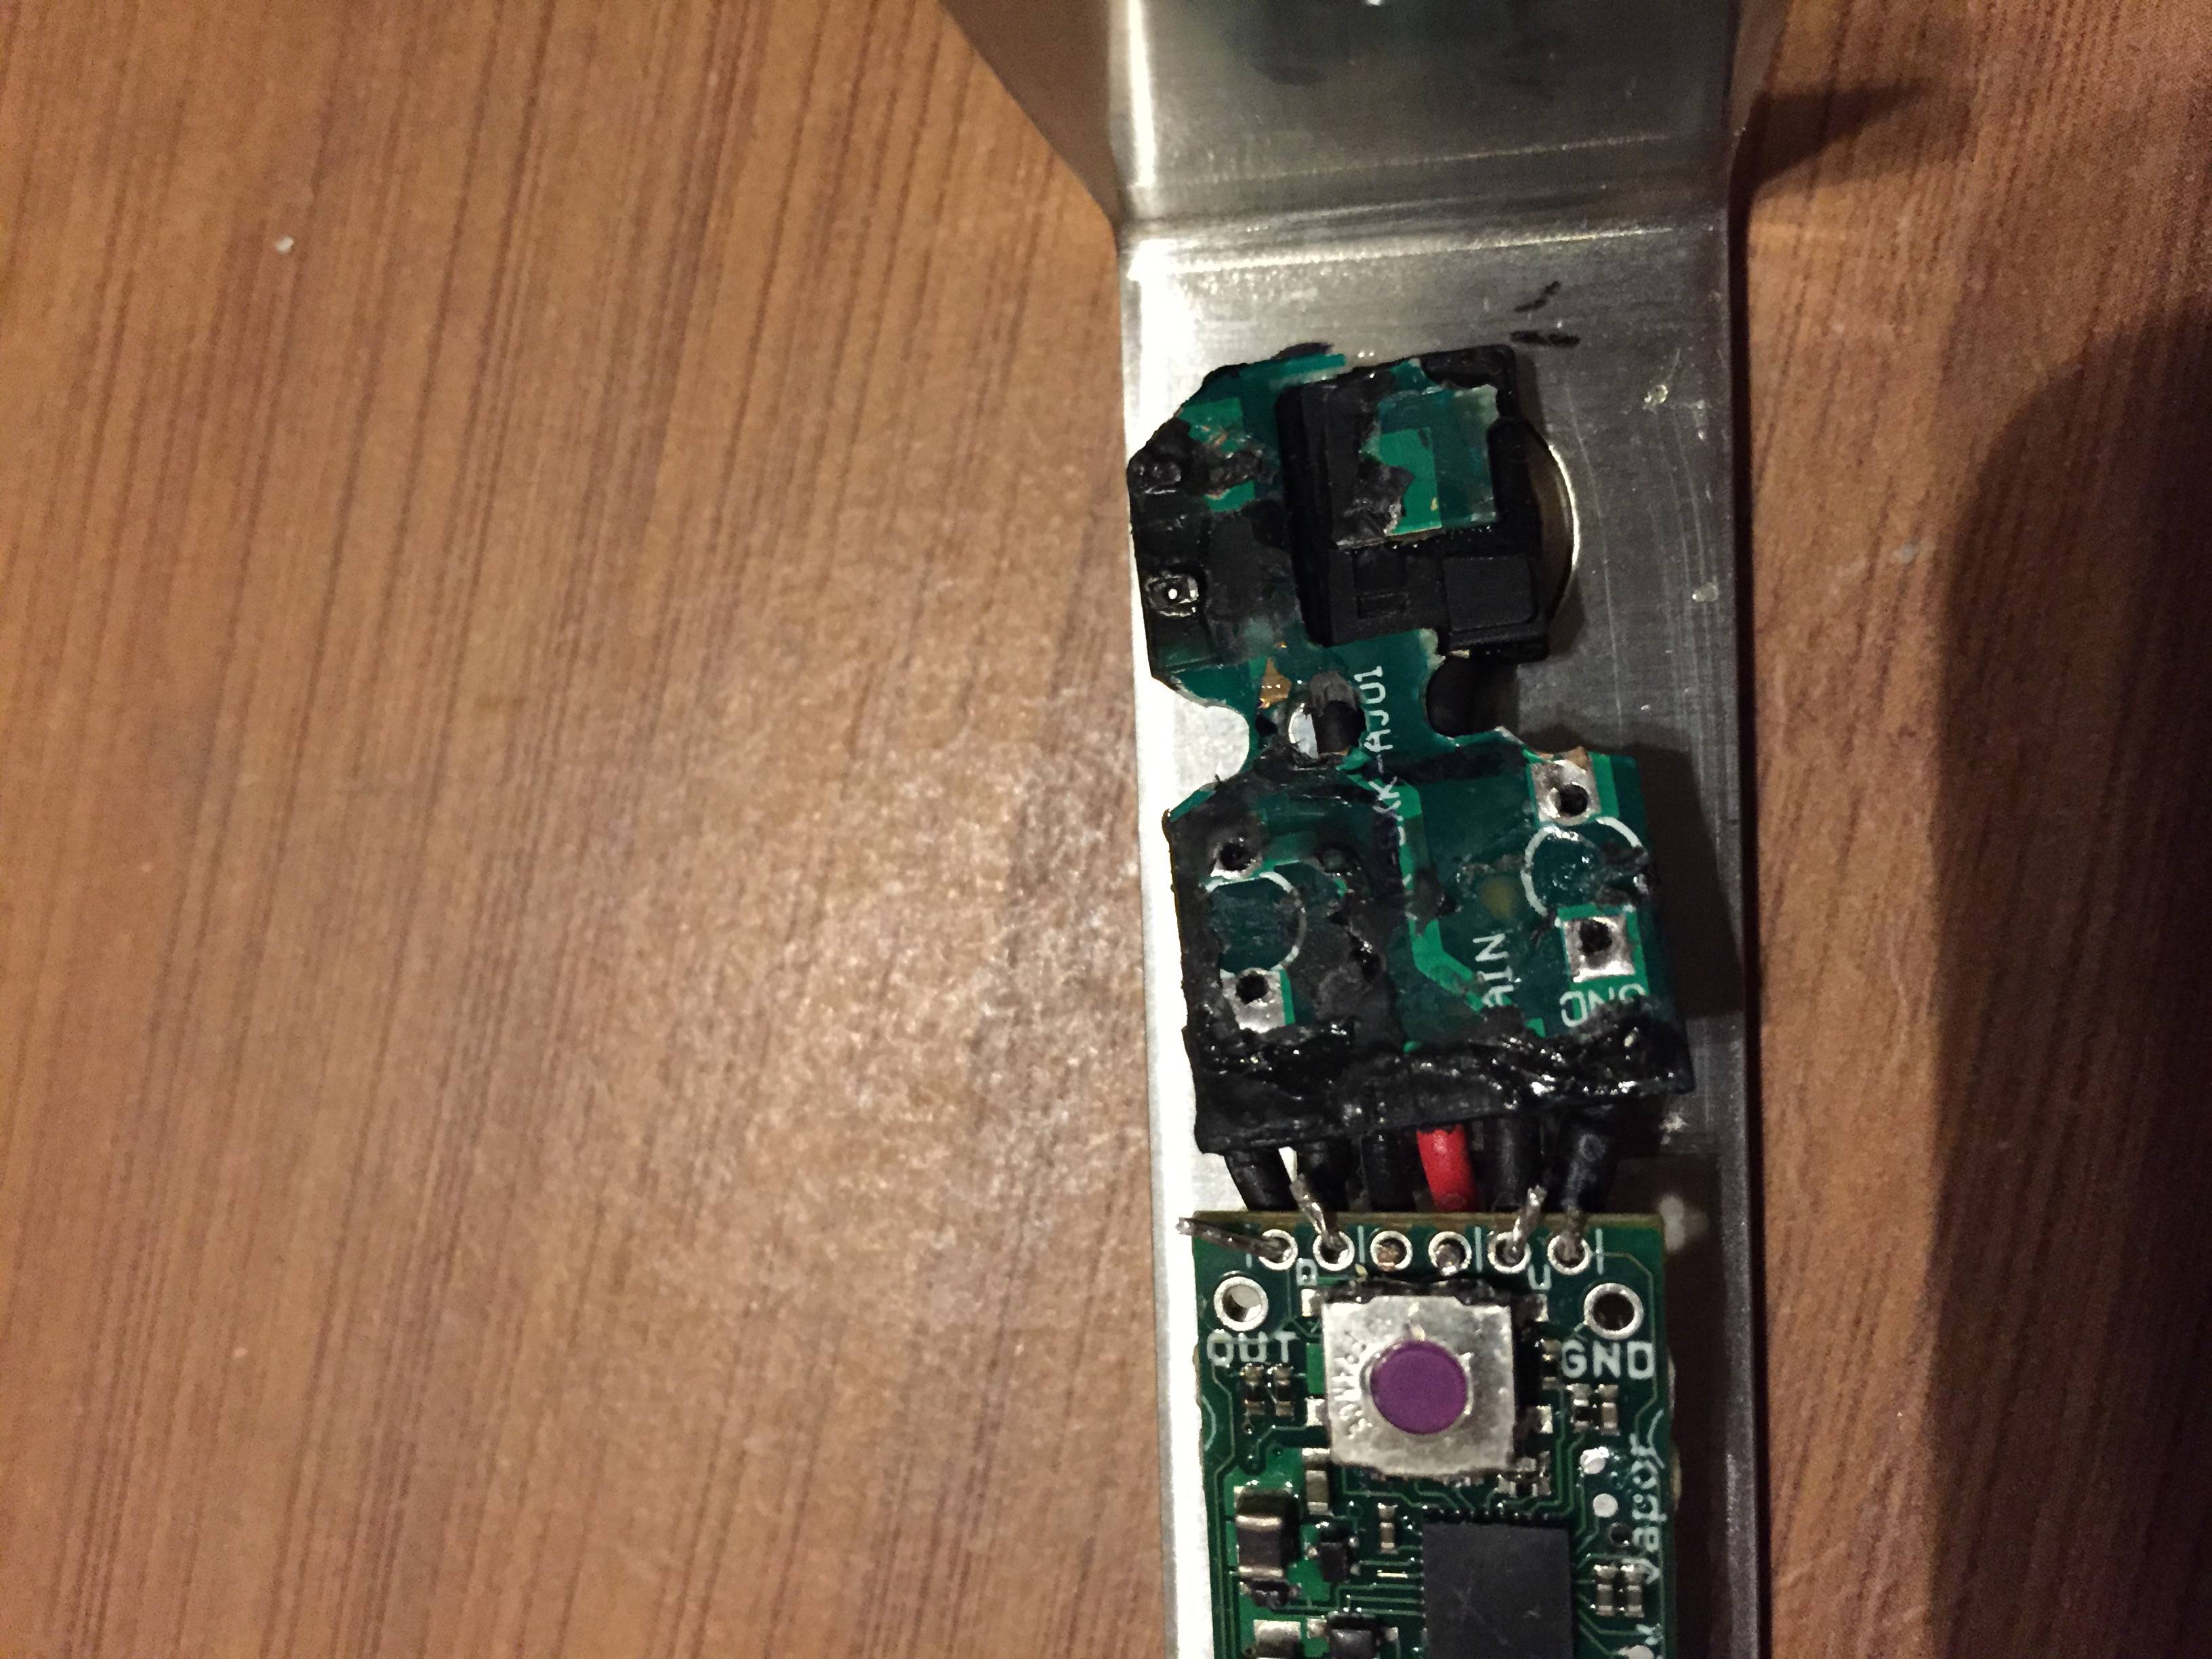
Connected to board and ready for solder
From the bottom
Screen
I reused the tape from the factory to keep the alignment while it's being installed. If you hold it up to a light source you can make out the outline of the screen and get it aligned pretty straight then fold the tape down over it.
Also, the solder next to the usb port on mine was preventing me from adjusting the screen so I had to remove some of the solder to get the screen straight.
Time for a vape
I'm done building for today. I'll test the temp control tomorrow.
") I hope you are in no hurry I have to buy atleast 2 now the Gf wants one she is not getting a replaced chip she gets it as is hahaha
I hope you are in no hurry I have to buy atleast 2 now the Gf wants one she is not getting a replaced chip she gets it as is hahaha